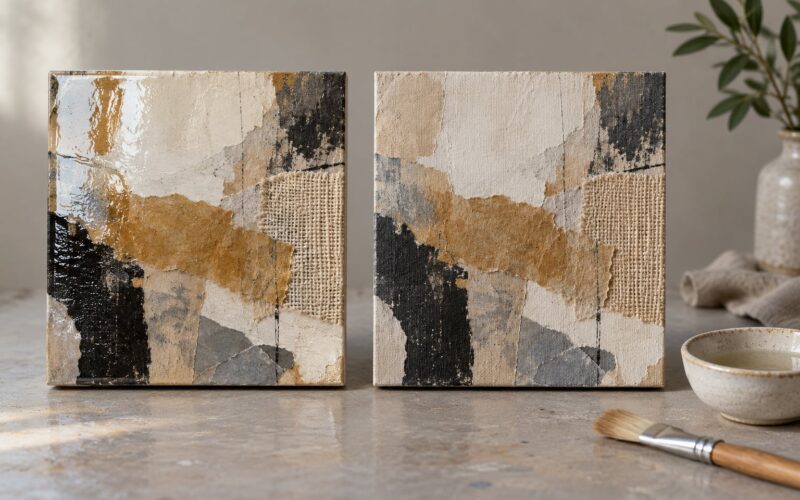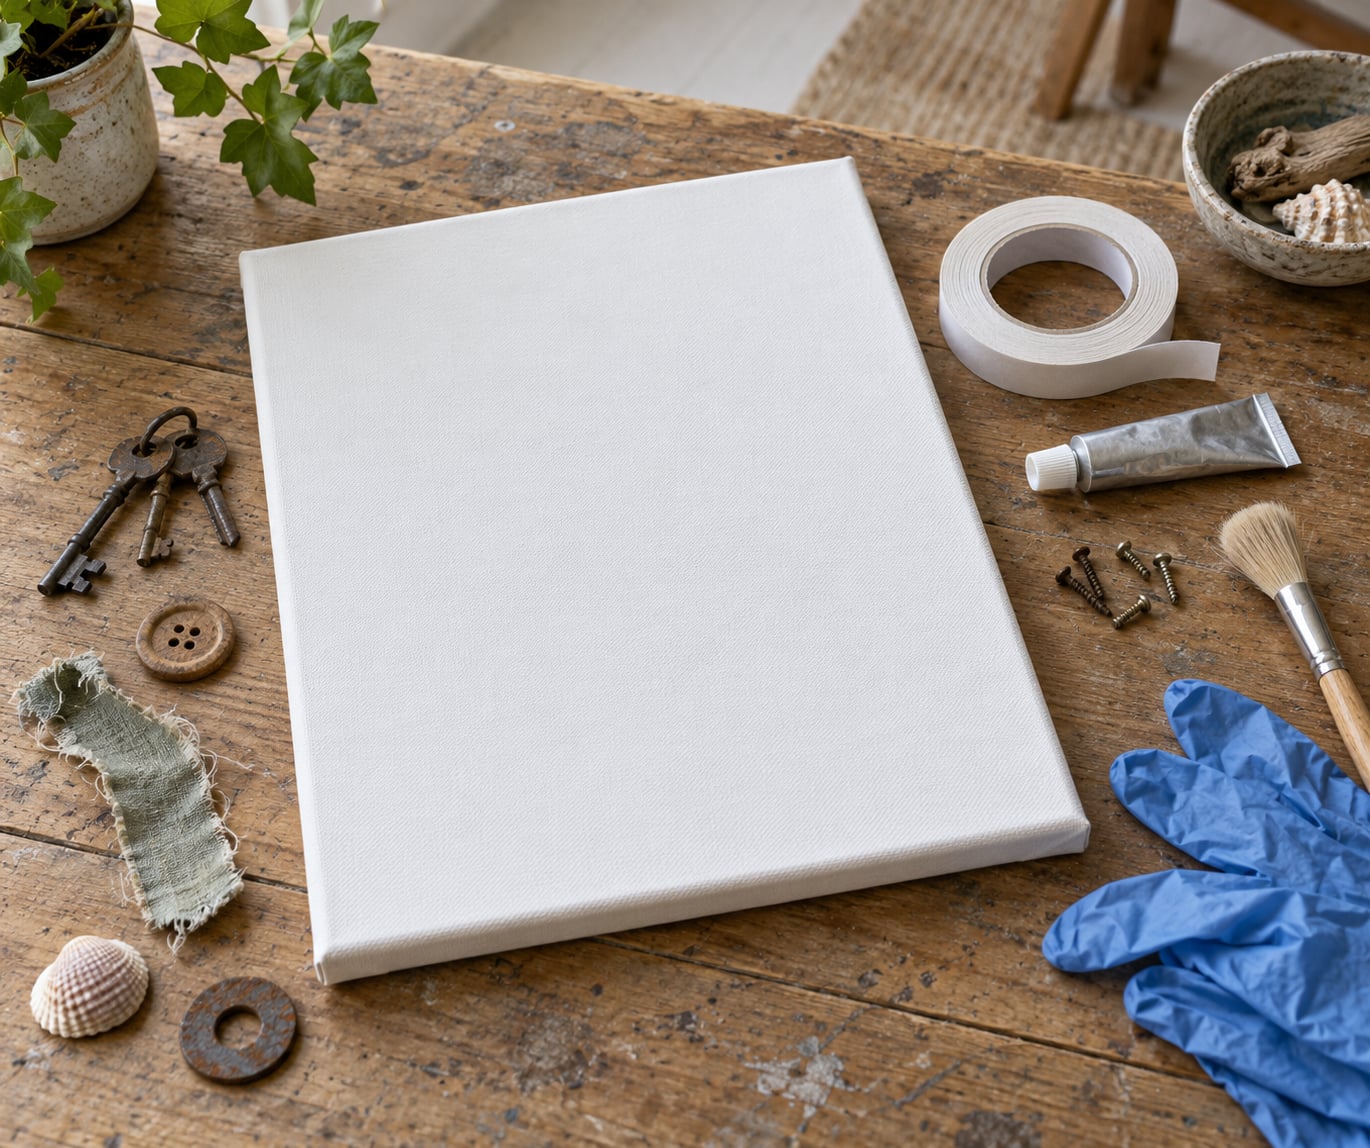
Securely attaching found objects to canvas means de-greasing each object, matching the adhesive to the object’s material and weight, then pressing it down and letting it cure fully so the bond survives handling, transport and humidity change. Adhesive alone carries light pieces. Heavy or rigid objects need epoxy, stitching or fasteners through a reinforced panel.
The whole job takes an afternoon on a small assemblage and gets fiddly past about six objects, mostly because of cure time rather than difficulty. What counts as a found object is wide open: keys, buttons, rusted hardware, fabric offcuts, ribbon, shells, leaves, feathers, ticket stubs, sea glass, packaging clips, ceramic shards, a license plate. Nothing needs to be crafted for the piece. That is the appeal, and it is also why adhesion is tricky. A thrift-store button has grease and sizing in it. A piece of driftwood holds moisture. Canvas is woven fabric that expands and contracts with the seasons, while the objects stuck to it are rigid.
That mismatch is the whole story. Most objects that pop off canvas did not fail because the glue was weak. They failed because the surface was dirty, the adhesive was mismatched to the material, or the piece was handled before the bond reached full cure.
Table of Contents
- What You Need
- Surface preparation
- Adhesives
- Fasteners and reinforcement
- Protection and testing
- Finishing
- Step-by-Step: How to Add Found Objects to a Canvas Securely
- Step 1: Plan the Placement and Test the Object
- Step 2: Prepare the Canvas and Object
- Step 3: Choose the Right Way to Attach Found Objects to Canvas
- Double-sided tape and fabric tape
- PVA, gel medium and acrylic medium
- E6000 and similar craft adhesives
- Two-part epoxy resin
- Screws, rivets, wire and stitching
- Step 4: Apply the Adhesive or Fastener
- Step 5: Reinforce and Distribute the Weight
- Step 6: Check the Secure Hold
- Common Mistakes and How to Fix Them
- Skipping the de-greasing step
- Too much adhesive
- Insufficient contact area
- Attaching over wet acrylic
- Canvas bowing under a heavy object
- Using a rigid adhesive on a flexible surface
- Handling the piece before full cure
- Sharp protrusions and no clearance plan
- Choosing an Attachment Method by Object Weight
- Safety and Preservation Tips
- Frequently Asked Questions
- What is the best way to attach a found object to canvas?
- Can I attach heavy objects to canvas without making holes?
- How do I attach a fragile or porous found object?
- What adhesive works for found objects on canvas?
- How long should I wait before moving or painting over the attachment?
- How can I tell if a found object is securely attached?
- Conclusion
What You Need
Collect these before you start, grouped by the job they do.
Surface preparation
- Soft brush or clean toothbrush for dust and loose canvas fibres
- Isopropyl alcohol or dish soap and water for grease and skin oils
- Fine steel wool or a nylon scrub pad for rust and corrosion on metal
- Clean lint-free cloth and a paper towel for drying
Adhesives
- PVA or archival pH-neutral glue for light paper and fabric
- Acrylic gel medium or matte medium for collage and semi-matte surfaces
- E6000 for jewelry findings, charms, beads and mixed materials
- Two-part epoxy resin for glass, ceramic and load-bearing bonds
- Tacky glue or silicone adhesive for flexible, non-yellowing holds
Fasteners and reinforcement
- Small screws, bolts and washers for heavy or top-heavy objects
- Rivets and a rivet gun where a screw head would be visible
- Strong wire, embroidery thread or leather lacing for stitched attachment
- A thin plywood or MDF backing panel to stiffen the canvas behind the object
- Extra stretcher bars or cross braces for large formats
Protection and testing
- Wax paper or release film to keep squeeze-out off the painted surface
- Brayer, roller or flat weight for even pressure while the bond sets
- Scrap primed canvas for test bonds before touching the real piece
- Waxed paper template or pencil and a ruler to trace the outline first
- Nitrile gloves, safety glasses and a face mask for dusty or rusty finds
Finishing
- Matte or satin varnish for the painted and sealed areas only
- Clear acrylic sealer if you want a barrier between object and varnish
- A shadow box frame or floater frame with enough depth for 3D elements
You do not need all of it. Most small assemblages need the preparation kit, one adhesive and a brayer. Buy the epoxy and fasteners the day you reach for objects over about 150 grams.
Step-by-Step: How to Add Found Objects to a Canvas Securely

Step 1: Plan the Placement and Test the Object
Weigh the object in your hand first, then weigh your expectations. A bottle cap, a button or a paper scrap needs nothing more than a thin film of adhesive. A ceramic tile, a metal keyring bundle or anything with real mass needs a wider contact area or a mechanical fastener. Judge weight against contact area rather than weight alone: a heavy plate lying flat across fifty square centimetres of canvas is a different problem from the same plate balanced on one corner.
Before you commit, make a paper template. Trace the object’s outline, cut it out, and pin or tape it to the canvas where you want it. Stand back six feet. That test tells you in ten seconds what a failed bond would tell you in six months, and it costs nothing.
Also test the bond itself on a scrap of primed canvas, using the same object or a similar one. Wait the full cure time before you judge it. A bond that feels solid at thirty minutes is often still at half strength.
Step 2: Prepare the Canvas and Object
Everything that causes adhesion failure gets removed here. On the canvas, brush away dust and loose fibres and wipe the area with a barely damp cloth. On the object, the job depends on what it is made of.
- Metal: remove rust with fine steel wool or a nylon pad, then degrease with isopropyl alcohol. Rust under a bond line is a weak layer that keeps moving.
- Plastic: wipe with soapy water, then alcohol. Glossy plastics also benefit from a light scuff with sandpaper so the adhesive has something to grip.
- Wood and driftwood: dry it fully. Moisture trapped under a bond line turns into steam in a warm room.
- Fabric and ribbon: wash out sizing and fabric softener if you can, then press flat.
- Ceramic and glass: wash off dust and any film, and score the glazed back lightly for grip.
- Organic material: leaves, feathers and shells carry oils. Press them between paper and a warm iron for a minute, or accept that they are a temporary addition.
Give both surfaces time to dry. Then mark your placement line in pencil on the canvas edge or on a strip of painter’s tape rather than scoring the painted surface. If the canvas already carries acrylic paint, that is fine once it is fully cured: cured acrylic is a stable plastic surface and adhesives bond to it well. Wet acrylic is a different story. Nothing sticks reliably to paint that has not dried, and water-based adhesive smeared into damp acrylic will lift it rather than bond to it.
Step 3: Choose the Right Way to Attach Found Objects to Canvas
Match the method to the material and the mass. There are five approaches worth knowing, and each has a clear job.
Double-sided tape and fabric tape
Peel-and-stick tape gives an immediate grab with no cure time and no mess. It suits light, flat, non-porous objects under about 50 grams: paper scraps, small metal tokens, beads, thin plastic. Its limits are heat and humidity, since the bond softens in a hot car or a sunlit wall, and it never fills a gap between an uneven object and a woven surface.
PVA, gel medium and acrylic medium
PVA is the workhorse for paper, fabric and light wood, and it dries slightly flexible, which is exactly what a moving canvas wants. Gel medium is heavier, semi-transparent and bridges small gaps. Both need full cure, generally a day or two. Neither is a good choice for metal or glass under real load, and standard white glue is acidic enough to discolor paper over years, so use archival pH-neutral PVA when you want the piece to age well.
E6000 and similar craft adhesives
E6000 grabs almost immediately, fills gaps, flexes instead of cracking, and bonds a dozen different surfaces to each other. Mixed media artists reach for it constantly on thrift-store jewelry and hardware. It cures in about three days. The fumes are strong, so work outdoors or with serious ventilation. It is not waterproof enough for a bathroom or an outdoor display, and it can yellow slightly over long periods.
Two-part epoxy resin
Epoxy is the load-bearing answer for glass, ceramic, dense metal and anything that has to last. Mix the resin and hardener as directed, apply, and clamp or weight the object while it sets. Full cure runs to about 24 hours, with strength continuing to build for several days. Epoxy is rigid, so it will eventually crack if the canvas flexes much under a heavy load. Use it where the canvas behind it is well supported, and the crack risk drops away.
Screws, rivets, wire and stitching
For real mass, mechanical fastening beats every adhesive. Screws with washers spread the load across the fibres, and rivets give a cleaner face. Stitching and wire work well on fabric-heavy assemblages and add visible texture. The risk everyone asks about is warping: a tight screw pulls the weave out of alignment, and the canvas dents around it. That is a fixable problem, covered in Step 5.
Step 4: Apply the Adhesive or Fastener
With liquid adhesive, work in thin, even layers. Thick glue traps air, cures soft in the middle, and starves the edges of contact. On porous objects like wood or fabric, let the first coat soak in for a minute, then add a second. On glass and metal, one thin coat is enough.
Lower the object straight down rather than sliding it, which drags adhesive into a ridge on one side. Once it touches, press with the flat of your fingers, not the tips. Then lay wax paper over the bond and roll it with a brayer or roller, moving from the centre outward to push air toward the edges. Squeeze-out gets wiped away immediately with the cloth dampened in solvent for non-porous objects, or with water for PVA, before it cures.
For screws, mark the hole position with the object in place, push a needle through the canvas to start the hole so the fibres do not tear, and screw in until the washer sits flat against the surface. Stop tightening the moment the washer contacts the canvas. Over-tightening is what causes the dent.
For stitched or wired attachment, work from the back, pass through the same hole repeatedly to build strength, and keep the tension even. A lacing pattern that crosses over itself distributes load better than a single row of stitches.
Step 5: Reinforce and Distribute the Weight
This is the step people skip on commissions and regret later. If the object weighs more than roughly 150 grams, feels top-heavy, or hangs over the canvas edge, the canvas alone will not carry it. Woven cotton and linen stretch. Under a concentrated load the surface dips, the bond works in tension instead of shear, and the object eventually works loose.
Three fixes, in order of preference:
- Backing panel: glue a thin plywood or MDF panel to the back of the canvas over the object area. Now the load runs into the panel and the stretcher frame rather than into loose weave.
- Extra fasteners: a second screw or rivet on the far side of the object spreads the pull. Two small fasteners spaced apart hold better than one large one.
- Wider contact: a bed of adhesive, a bead of epoxy, or a stitched backing patch increases the bonded area, which reduces stress at every point.
For large canvases, add a cross brace between the stretcher bars before you attach anything heavy. It stops the whole panel from twisting under an off-centre load.
Step 6: Check the Secure Hold
Leave the piece flat and undisturbed for the full cure time on the adhesive you used, then handle it gently. A clean hand and a soft brush are enough for the check: press lightly on each edge of the object with a fingertip, then draw the brush across the bond line and watch for movement. A secure bond shows no lift at the perimeter and no movement under light pressure. Any rocking, any click of adhesive releasing, or any visible gap means more reinforcement, not more weight on top.
Add paint and varnish only after the bond is fully cured. Spraying varnish too early can lift a partially set adhesive film, and thick paint over a joint hides a weak bond that fails later. If you want to seal the objects as well as the painting, use a light coat of clear acrylic sealer first, keep varnish off anything rubbery or metallic, and leave generous clearance in a shadow box frame so nothing touches the glazing.
Common Mistakes and How to Fix Them
Skipping the de-greasing step
Skin oils, fabric softener and road grease sit on top of the material and nothing bonds to them. The object looks stuck for a week, then releases along one edge. Fix: clean both surfaces properly before any adhesive goes near them, and re-clean the object if it has been handled since.
Too much adhesive
A thick bead spreads the load unevenly and cures rubbery in the middle. Excess squeeze-out squeezes out from under the edges as the object settles and leaves visible ridges. Fix: two thin coats beat one thick one. On porous objects, let the first coat soak in.
Insufficient contact area
A domed object resting on a single small spot concentrates all the force into that spot. Fix: let the object sit in a shallow bed of epoxy, use gel medium to fill the gap, or add a squashed layer of pH-neutral PVA that spreads the load across a wider patch of weave.
Attaching over wet acrylic
Nothing holds reliably on paint that has not dried, and water-based adhesive will lift and blend with it. Fix: wait for full cure, then test the bond on a hidden area. Cured acrylic accepts adhesive normally, including scrubbing a small spot lightly first to give it tooth.
Canvas bowing under a heavy object
A concentrated load stretches the weave and the panel dips. Fix: add a plywood backing panel over the object area, spread the load across two or more fasteners, or move the object closer to the stretcher bars where the support is closest.
Using a rigid adhesive on a flexible surface
Epoxy and superglue form a rigid film. Canvas moves with humidity, the film does not, and the joint cracks from the inside. Fix: use a flexible adhesive such as E6000 or tacky glue where the object is light, and reserve epoxy for heavy objects backed by a rigid panel.
Handling the piece before full cure
Initial tack is not strength. A bond can feel set at four hours and still be soft underneath, so a single jolt during transport pops it off. Fix: observe the full cure time, and add a little extra for thick or humid applications.
Sharp protrusions and no clearance plan
Wire, nails and jagged metal damage the object, your hands and any glazing you add later. Fix: file or cover sharp points with a dab of epoxy, and choose a shadow box or floater frame with depth before the work is finished rather than after.
Choosing an Attachment Method by Object Weight
Weight decides the method, but surface area, fragility and where the piece will live matter just as much. A brittle eggshell and a solid lead weight can share the same mass and need completely different treatment.
| Object type and weight | Recommended attachment | Why it works | Full cure |
|---|---|---|---|
| Paper, ticket stubs, light fabric, under 20 g | PVA or pH-neutral archival PVA | Dries flexible, stays clear, archival if pH-neutral | 24 to 48 hours |
| Flat paper and photo transfers | Acrylic gel medium or matte medium | Bonds to existing acrylic paint and paper alike | 24 to 72 hours |
| Beads, buttons, small metal tokens, 20 to 100 g | E6000 or fabric tape | Quick grab, fills small gaps, flexes with the weave | 48 to 72 hours |
| Ribbon, thread, soft fabric trims | Stitching or wire lacing | No adhesive needed, load spread over many points | Immediate |
| Wood scraps, 100 to 300 g | PVA plus a wide contact area | Cheap, flexible, easy to sand back if it slips | 48 hours |
| Driftwood, bark, porous wood | Two-part epoxy | Gap-filling and rigid enough for irregular surfaces | 24 hours, stronger over 4 days |
| Glass, ceramic, 100 g and up | Two-part epoxy | Load-bearing, non-porous, bonds to gessoed canvas | 24 hours, full strength in 72 |
| Metal keys, hardware, flat steel | E6000 for light, epoxy for heavy | Degreased metal needs a rigid or gap-filling bond | 48 to 72 hours |
| Heavy metal, 300 g and above | Screws or rivets through a backing panel | Load goes into the panel and frame, not loose weave | Immediate once set |
| Leaves, feathers, shells, seed pods | PVA or gel medium, press under a book | Simple hold; treat as temporary and expect to replace | 48 hours |
| Glossy plastic, light | Tacky glue or E6000 | Flexible bond, minimal yellowing, no rigid cracking | 24 hours |
| Rubber or rubberised items | Silicone adhesive | Only adhesive that bonds well to rubber | 24 to 48 hours |
Cure time shifts with the room. Cold and damp slow everything down; a warm, dry room can cut epoxy cure by a third. When in doubt, wait longer than the label says. Add a day for thick beads, for humid weather, and for any adhesive applied to porous material.
Safety and Preservation Tips
- Ventilate properly. Epoxy, solvent-based adhesives and E6000 give off fumes you do not want in your studio. Open windows, run a fan, or work outside. Never use solvent adhesives in an enclosed room without airflow.
- Gloves for sharp and dusty finds. Nitrile gloves protect hands from rust, metal edges and old finishes. Safety glasses matter when you are filing, sanding or knocking loose dust off a brittle object.
- Support the piece while it cures. Lay small works flat. Stand larger panels upright with support at the base only, or the weight of the wet adhesive will drag objects down while they set.
- Watch humidity and temperature. Rigid adhesives crack when the canvas moves through seasonal swings. A little flex in the bond is a feature, and it is why a flexible adhesive outlasts a stronger rigid one in many cases.
- Keep organic finds honest. Leaves and feathers degrade. If you use them, know that you are making a temporary arrangement and date it in your notes.
- Document the materials. Write down which adhesive went on which object and the date. Six months later, when an edge lifts, you will want to know whether you used E6000 or epoxy, and the answer decides how you reattach it.
- Plan the frame. Dimensional work needs a shadow box or floater frame with real depth. Measure the tallest object before the frame is bought, and keep clearances generous so nothing touches the glazing or the wall.
Frequently Asked Questions
What is the best way to attach a found object to canvas?
Clean the object and the canvas first, then use an adhesive matched to the material: PVA or gel medium for paper and fabric, E6000 for small mixed finds, two-part epoxy for glass, ceramic and anything heavy. Press the object down, roll it with a brayer to push out air, and let it cure fully before handling. Heavy objects also need a backing panel.
Can I attach heavy objects to canvas without making holes?
Yes, but the canvas has to carry the load some other way. Glue a thin plywood or MDF panel over the object area on the back, then bond the object to the panel with epoxy. The stiffness of the panel takes the weight instead of the loose weave. This avoids the denting and warping that come with screws while keeping the bond strong.
How do I attach a fragile or porous found object?
Porous material absorbs adhesive unevenly, so apply it in two thin coats and let the first soak in for a minute. Fragile edges need a full contact bed rather than a spot: rest the object in a shallow pool of epoxy or gel medium so the whole base is supported. Press it under a flat book with wax paper for even pressure, then wait the full cure time.
What adhesive works for found objects on canvas?
There is no single answer, because the material decides. Archival pH-neutral PVA or acrylic gel medium works for paper and fabric. E6000 bonds beads, charms, metal and plastic in one pass and flexes with the canvas. Two-part epoxy handles glass, ceramic and load-bearing bonds. Silicone adhesive is the one that grips rubber. Match the adhesive to the object, not to the project.
How long should I wait before moving or painting over the attachment?
Wait for the full cure of whatever you used, not the dry-to-touch time. PVA and gel medium need one to three days. E6000 needs about three days. Epoxy reaches usable strength in 24 hours and full strength in three. Handle gently after that, and add paint or varnish only once the bond is completely set, because spraying too early can lift a soft adhesive film.
How can I tell if a found object is securely attached?
Press gently on each edge with a clean fingertip and draw a soft brush across the bond line. Any rocking, clicking or lift at the perimeter means the contact area is too small or the cure is incomplete. Hold the piece by its stretcher bars, not by the object, and never carry a finished assemblage by the element you just added. Give anything that moves a backing panel or an extra fastener.
Conclusion
Start with the two things that cost nothing: weigh the object and trace its outline on a scrap before it touches the canvas. Pick the least damaging adhesive that still carries the weight, spread that weight over a wider area than feels necessary, and reinforce anything above roughly 150 grams with a backing panel before the paint or varnish goes on. The pieces that survive are the ones that were tested, not the ones that used the strongest glue.