Art quilting is faster to start than most people expect: choose one small composition, cut a dozen fabric shapes, join them, quilt the layers and bind the edge, and you have a finished piece in roughly six to ten hours of work spread over two or three weeks. This guide covers how to start art quilting for beginners, from the supplies on the table to the last stitch on the binding, with a visible success check at every stage so you always know whether a step actually worked.
The part that stops most new quilters is not sewing. It is the belief that quilting comes with rules about block size, matching prints and matching measurements. Those rules come from bed-cover quilting, where a quilt has to sit flat on a mattress and survive washing. An art quilt is a wall piece, and the rules you have read about the rule of 7 or the golden rule of quilt sizing simply do not apply to it.
Table of Contents
- What You Need
- Step-by-Step
- Step 1: Choose a Manageable Art Quilting Project
- Step 2: Prepare and Press Your Fabric Pieces
- Step 3: Build the Quilt Top
- Step 4: Add Texture and Surface Detail
- Step 5: Layer and Baste the Quilt
- Step 6: Quilt the Layers Together
- Step 7: Bind and Finish the Quilt
- Common Mistakes
- Frequently Asked Questions
- What supplies do I need to start art quilting?
- Can I make an art quilt by hand or do I need a sewing machine?
- What fabrics work best for a beginner art quilt?
- How long does it take to finish a small art quilting project?
- How do I display an art quilt if I do not want to hang traditional quilting?
- Start With One Small, Finished Quilt
What You Need
Art quilting is the practice of making a quilt as an art object rather than a functional bed covering, and that single sentence removes most of the traditional constraints. No pattern matching, no required block size, no symmetry, and no seam-allowance precision that a traditional quilt demands. What you need instead is fabric, a way to cut it cleanly, a way to join it, and three layers to work with.
Traditional sizing guidelines exist and they are worth knowing about, even if only so you can set them aside. The rule of 7 is a traditional design guideline suggesting an unfinished quilt should be at least seven blocks wide so the pattern reads clearly. The golden rule of quilting usually refers to sizing a coverlet so it drapes over a bed rather than hanging short. Neither rule has anything to say about a 12 by 16 inch composition on your wall.
A practical starter kit for your first piece:
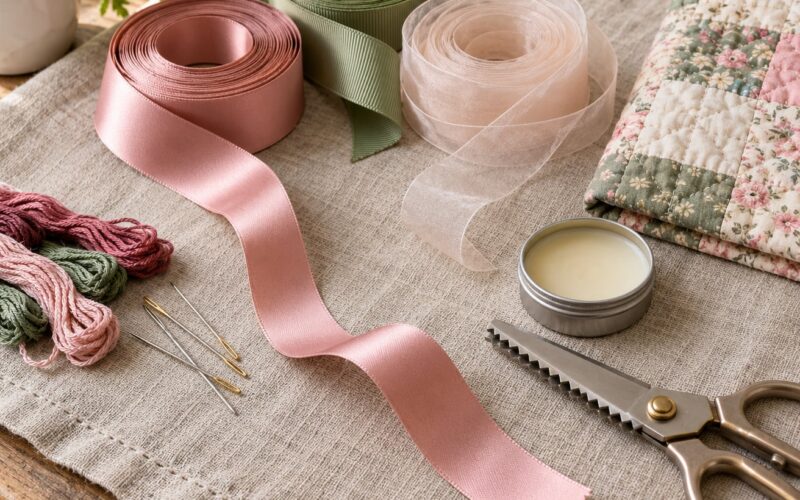
- Fabric. Medium-weight 100% cotton, a few small prints plus two or three solids. Cotton presses flat, takes fusible web cleanly and does not stretch while you sew. Keep fabric weights close to each other so the quilt top does not pucker.
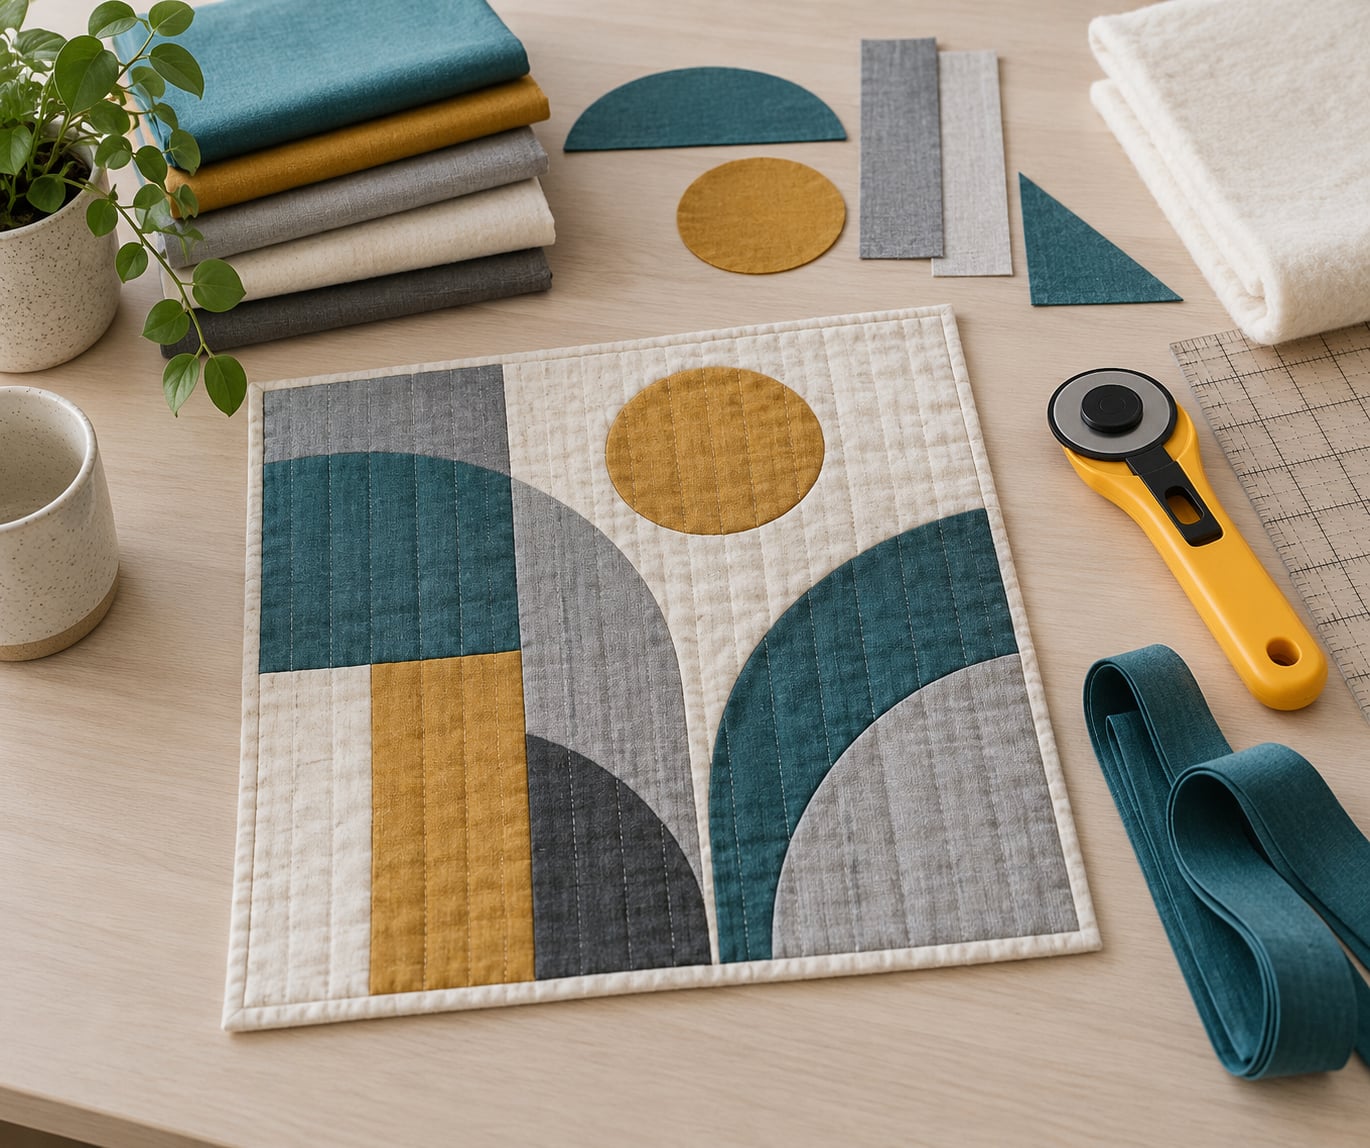
- Cutting tools. A rotary cutter, a self-healing mat and a quilting ruler, or a pair of sharp scissors and a paper template if you have no mat. A rotary cutter on a flannel sheet works if you cannot get a mat yet.
- Marking tools. A fabric marker or tailor’s chalk, and a small clear ruler for checking sizes after cutting.
- Joining. A sewing machine with a walking foot makes this fast, but a sharp hand-sewing needle and cotton thread work just as well. Many beginners hand-piecing an art quilt never touch a machine at all.
- Adhesive and structure. Fusible web for appliqué, a handful of straight pins, and optional small paper templates cut with scissors.
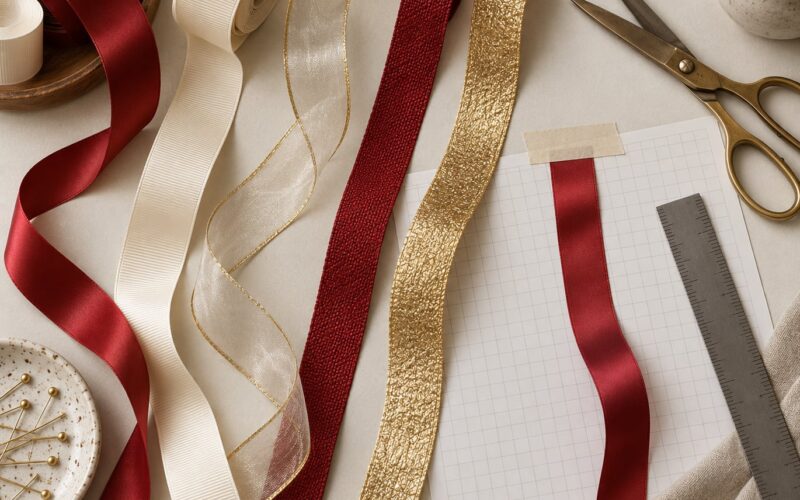
- The three layers. Batting, a plain backing fabric, and binding strips cut on the straight grain from fabric or bought ready-made.
Wash and dry every fabric before you cut it, then press it. Unwashed fabric shrinks the first time it is washed, and a piece that looked square on the wall can come out of the machine a quarter inch smaller in both directions. This one habit prevents more beginner frustration than any other.
On a first project, gather more fabric than the design strictly needs. Running out of background fabric halfway through a composition is the fastest way to make patches appear in places you never planned, and the replacement color is never quite right.
Step-by-Step
A first art quilt takes seven stages, and each one has a simple test that tells you it worked. Do not skip ahead on a stage that has not passed its check, because every later step inherits the problem.
Step 1: Choose a Manageable Art Quilting Project
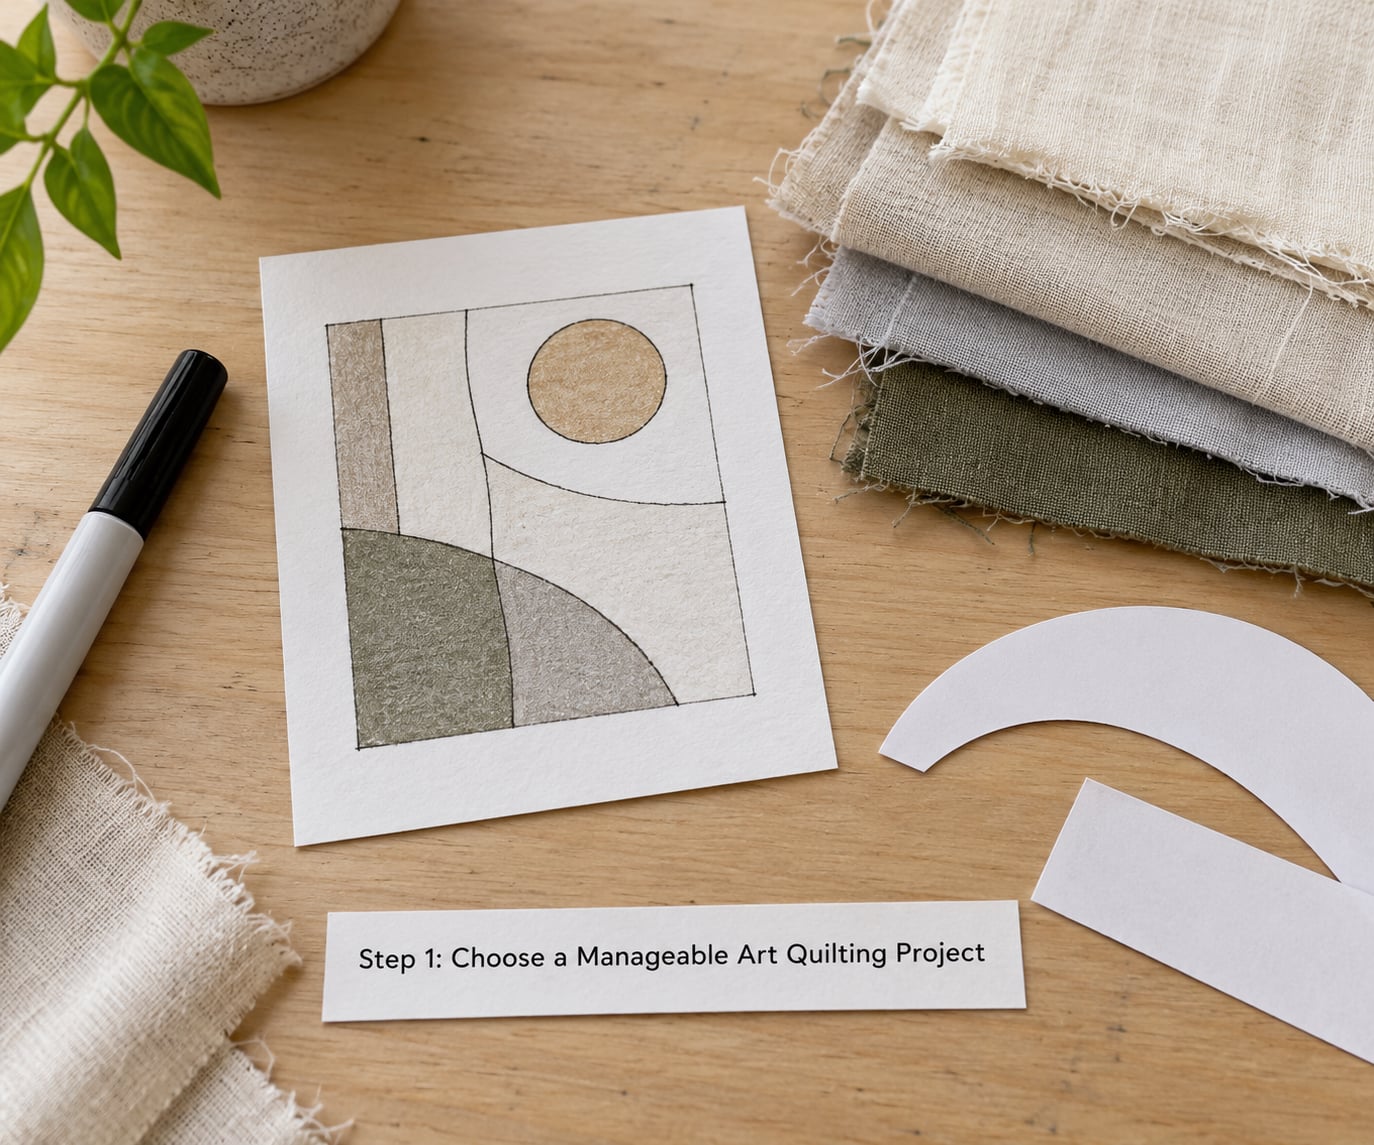
Start with a composition 12 by 16 inches or 16 by 20 inches and a theme loose enough to survive your own uncertainty, such as a horizon, a cluster of leaves or an arrangement of three shapes. Draw it on paper first, roughly, with no expectation of accuracy.
Decide the scale before anything else. A motif that is too small for the finished piece turns into visual noise once the seams and batting take up room, and most beginners make their shapes too small. Check that you have one clear focal point, some quiet empty background around it, and at least one strong contrast in value between light and dark.
Success check: you can describe the design in one sentence and point to the area your eye lands on first. If the sketch needs three sentences, the piece is too complex for a first attempt.
Step 2: Prepare and Press Your Fabric Pieces
Press each fabric smooth, then cut the shapes from your sketch using paper templates. Trace the templates onto the fabric with a fabric marker, keeping the grainline of the fabric straight for every piece, and cut slightly outside the traced line. Hand shears and a small paper template work fine at this size.
Keep every piece in the order you cut it, then organize the shapes on a cleared table or a piece of plain fabric laid out on the floor. Label the background pieces separately from the focal shapes so you can tell at a glance whether anything is missing.
Success check: every piece is flat with no wrinkles, the traced lines sit at least a quarter inch inside the raw edge, and all the background shapes together cover more area than the surface they will sit on. Press again if a piece looks doubtful.
Step 3: Build the Quilt Top
Layer the background pieces first, joining them with seams pressed open or to one side, and work toward the focal shapes on top. Sewing uneven shapes together is a matter of matching edges that share a side, not of forcing everything into equal squares. In art quilting the seam can wander a little and the eye reads the composition, not the seam line.
Press after every addition and flatten the whole top on your work surface before the next piece. A top that stays flat under a flat palm has no lurking distortion, and you can see a shape sitting crooked before it is stitched down permanently.
Success check: the top lies completely flat with no ripples, waves or bulges, the seams run past the edge of the next piece rather than stopping short, and there are no raw gaps anywhere in the background.
Step 4: Add Texture and Surface Detail
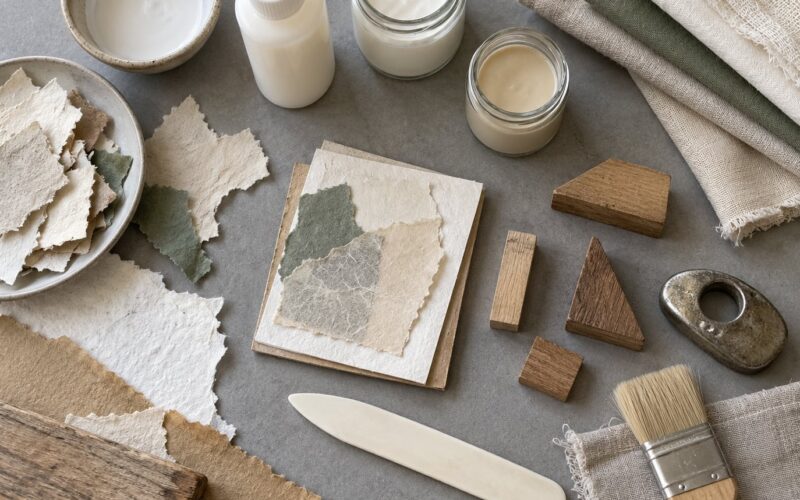
Texture is what separates a fabric collage from an art quilt, and there are three easy routes. Layer shapes with fusible web and stitch around the edges with a short running stitch or a machine zigzag. Fold, gather or pleat a strip of fabric and tack it down for a raised ridge. Or draw directly on the surface with textile paint, diluted acrylic mixed one to one with water, or fabric marker.
Two more options suit beginners well. Freezer paper templates let you trace curved shapes directly onto fabric with a pencil that disappears when you press. And attaching small objects straight to the surface with thread, a method usually called dirty quilting, gives you texture without any cutting at all.
Whatever you choose, secure every loose edge. A raw edge appliqué is meant to fray slightly, and a painted surface needs time to dry fully before it goes into the quilt sandwich.
Success check: tug gently at each added element and nothing lifts or shifts, and the front of the top has some visible depth rather than reading as one flat layer.
Step 5: Layer and Baste the Quilt
Build the quilt sandwich in this order: backing fabric face down, batting on top of it, then the quilt top face up. Cut the backing and batting two to three inches larger than the top on every side so you have something to grip while you work.
Make the sandwich on a flat floor, a large table or a bed rather than in your lap. Smooth from the center outward in every direction, then baste with long safety pins or a running stitch about an inch apart, working from the center to the edges. Basting is not decoration, it is what keeps the three layers from shifting as you quilt.
Success check: the sandwich is flat with no ripples, the batting sits evenly with no bald patches or thick spots, and the layers do not move when you lift one corner.
Step 6: Quilt the Layers Together
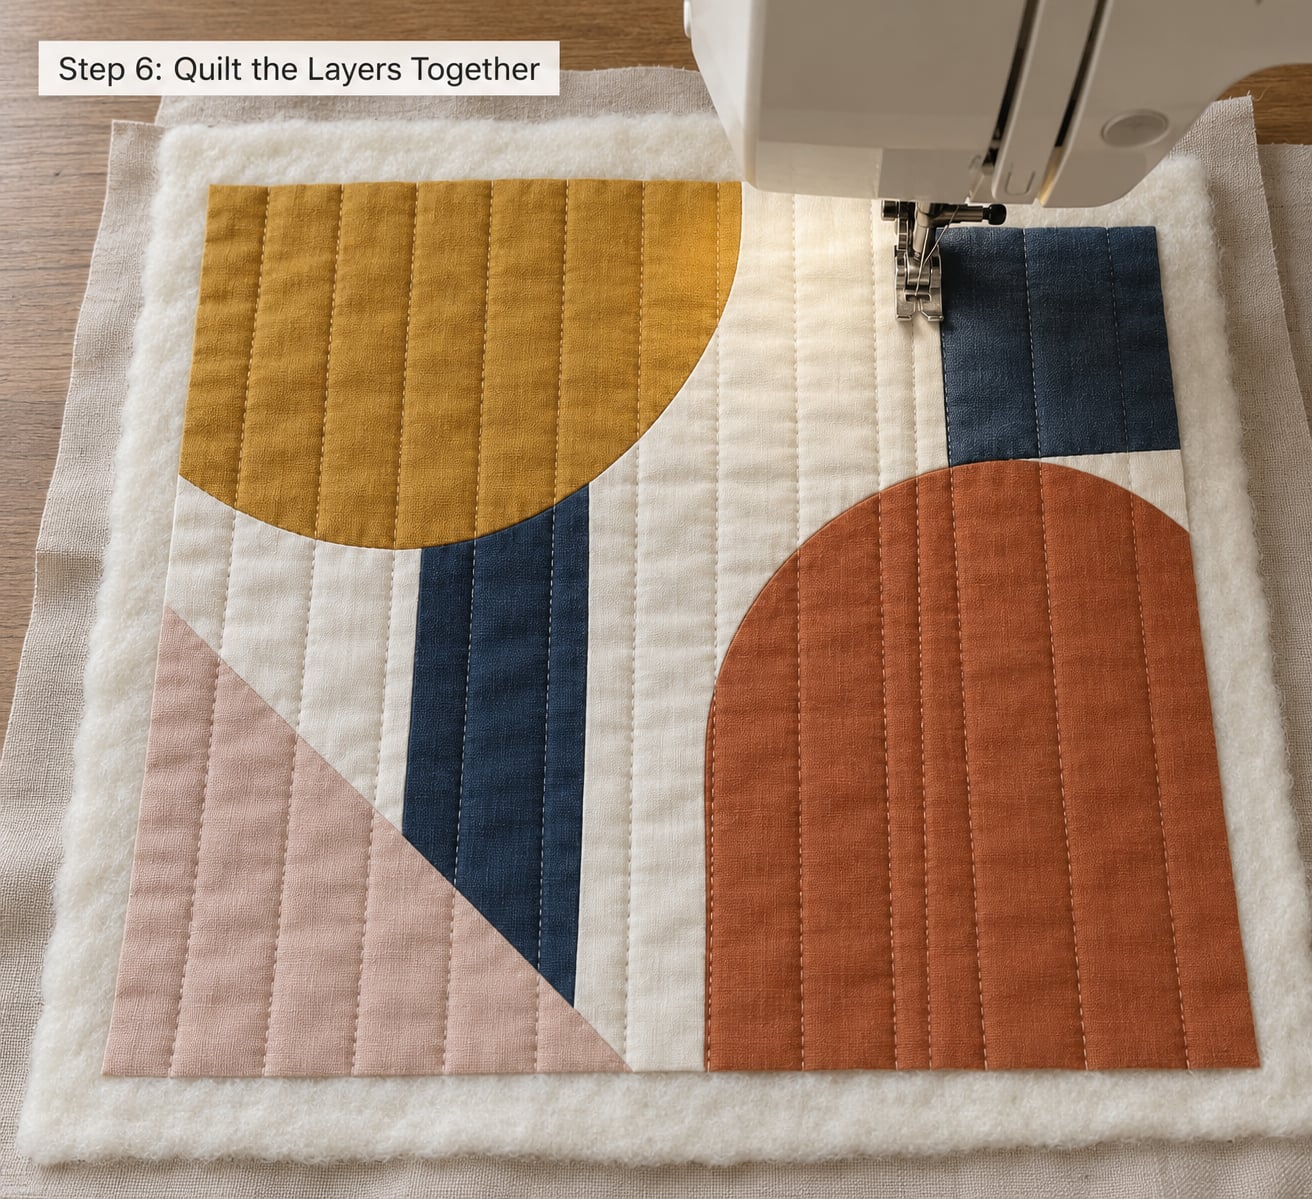
Quilting just means stitching through all three layers so they act as one. For a first piece, straight lines about a quarter inch apart are enough, and you can follow a long ruler or a piece of masking tape taped to the backing as a guide. Curved paths, free motion quilting and echoing around shapes all work, but straight lines are the easiest way to see whether your tension is even.
Start and stop by lowering the needle fully into the fabric, which prevents thread nests at the beginning and end of a line. Work from the center outward so the excess batting has room to flatten as you go.
Success check: lay your hand on the finished stitching and it feels flat with no ridges, no puckers and no thread pulling the layers into ripples. If the surface ripples, your top tension is tighter than your bobbin tension.
Step 7: Bind and Finish the Quilt
Trim the sandwich square using a quilting ruler and a rotary cutter, cutting a couple of inches of batting and backing away from the folded edge allowance. Then make the binding: cut strips from fabric, join them into one long strip with diagonal seams, fold the strip in half lengthwise and press it.
Attach the binding with the raw edges aligned to the raw edge of the quilt, working around all four sides, then fold the strip over the edge and stitch it down on the back by hand. Press the final result and the seams disappear inside the fold.
Success check: the finished piece measures the same on all four sides, no batting or backing peeks out at the corners, and the binding lies flat with no bulges where the strips join.
Common Mistakes
- Uneven cutting, with pieces that should match ending up different sizes. Cut on a flat surface with a large ruler, keep one hand well back from the blade, and check each piece against a small ruler before you set it down. Cutting while reaching over a pile of scraps is where drift comes from.
- Fabric that distorts, with ripples that appear after quilting. Press as you go, never pull the top taut when sewing it to the next piece, and keep every shape on the grainline. Distortion comes from tension, not from the batting.
- Layers shifting during quilting. Baste more often than you think you need, at roughly one inch spacing, and start basting from the center outward. A sandwich that moves will always wrinkle.
- Poor thread tension. If the top and bobbin threads do not sit together in the middle of the fabric, the seam will pucker. Test on a scrap of the same fabric before you sew a visible line.
- Wandering quilting lines. Tape a ruler or a long strip of masking tape to the backing as a guide, and always anchor the foot before you start stitching. Straight lines are not dull, they are proof you can control the machine.
- Bulky binding. Trim the batting and backing back further than you think necessary, use a single layer of binding, and cut the joining seams at a diagonal so the strip lies flat around the corner.
- A first project that is far too ambitious. A small finished piece teaches more than a large abandoned one. Scale any idea that takes more than ten hours down until it fits in an afternoon of cutting plus two evenings of sewing.
Frequently Asked Questions
What supplies do I need to start art quilting?
Start with medium-weight 100% cotton in a few colors, a rotary cutter with a mat and quilting ruler, a sewing machine or sharp hand-sewing needles, all-purpose thread, fusible web, batting, plain backing fabric and binding strips. Everything else is optional. Wash and press all the fabric before cutting, and pick up extra background fabric so you do not run short mid-composition.
Can I make an art quilt by hand or do I need a sewing machine?
Hand sewing works well for an art quilt, particularly a small one. A running stitch joins the pieces and a shorter stitch secures appliques and surface detail, and a sharp needle with cotton thread is enough. Expect more time than machine work, and skip hand quilting entirely on your first piece: sew the layers with a running stitch, then mount the result on canvas.
What fabrics work best for a beginner art quilt?
Medium-weight 100% cotton behaves the most predictably because it presses flat, takes fusible web well and does not stretch while you sew. Use one or two base fabrics plus a handful of accents, and keep fabric weights close together so the top does not pucker. Wash and dry everything first, then press. Add silk, blends or very lightweight cloth after the first piece is finished.
How long does it take to finish a small art quilting project?
A 12 by 16 inch composition with a dozen or so shapes takes roughly six to ten hours of work, spread across two or three weeks. Cutting and pressing take an evening, piecing takes another, and basting plus quilting the sandwich takes the longest. The real limit is attention rather than skill, so split the work into short sessions instead of trying to finish in one sitting.
How do I display an art quilt if I do not want to hang traditional quilting?
Treat it as wall art rather than a cover. Mount the finished piece on a stretched canvas or a shallow wooden frame so the raw edge disappears behind it, add a hanging wire to the back, and keep it out of direct sun to protect the dyes. A small piece also works as a table runner, a placemat or an insert in a picture frame, and it travels rolled inside a tube.
Start With One Small, Finished Quilt
Do one thing before anything else: pick a single small composition, no larger than 16 by 20 inches, and reduce your palette to one background, two accent colors and one light and one dark for contrast. Wash and press that fabric, cut the shapes, and see how far you get this week.
That is how to start art quilting for beginners in practice: finish one small piece rather than admiring a gallery of difficult work. The cuts will be uneven, the lines will wander, and the first binding will be a little lumpy. That is the process working exactly as it should.
Once a finished piece is hanging on your wall in 2026, you will know which color relationships you like, how your machine behaves and how long each stage really takes. Then, and only then, plan the bigger one.