To incorporate hair ribbon in textile art, treat the ribbon as a structural material rather than an accessory: match its width and fibre to your fabric base, mark where the line will run, hold it with basting or fusible web, then secure it permanently with couching or running stitches. Prepping the ribbon and managing fray come before any needle touches the ground.
This guide is about art, not bows. Search engines read this phrase as hair-bow making, so let me be clear: nothing here is wearable. We are talking about narrow woven ribbon — grosgrain, satin, silk, velvet, sheer trim — used as line, surface and structure inside a fabric artwork.
Most beginners lose an afternoon to the same three problems: the ribbon slides while they stitch, the cut edge frays within an hour, and the whole panel puckers once the piece is stretched. Every one of those is a preparation issue, not a talent issue. Fix them at the start and ribbon behaves like any other textile.
Table of Contents
- What You Need
- Step-by-Step: How to Incorporate Hair Ribbon in Textile Art
- 1. Choose a Stable Foundation and Ribbon
- 2. Mark a Deliberate Ribbon Path
- 3. Cut and Shape the Ribbon
- 4. Attach the Ribbon Securely
- 5. Layer Ribbon with Fabric and Thread
- 6. Finish and Inspect the Work
- Common Mistakes
- Fraying cut edges
- Slipping and bunching under the needle
- Puckering along a couched line
- Stiffness where you wanted drape
- Uneven spacing between repeated strips
- Weak adhesion or a mark showing through
- Colour problems and bleeding
- Frequently Asked Questions
- What type of hair ribbon works best for textile art?
- Can I sew hair ribbon onto a quilt or fabric wall hanging?
- Should I use fabric glue or stitching to attach ribbon?
- How do I keep ribbon edges from fraying?
- How do I wash and store a textile artwork containing ribbon?
- Can sheer ribbon be used in a quilt that will be handled often?
- Conclusion
What You Need
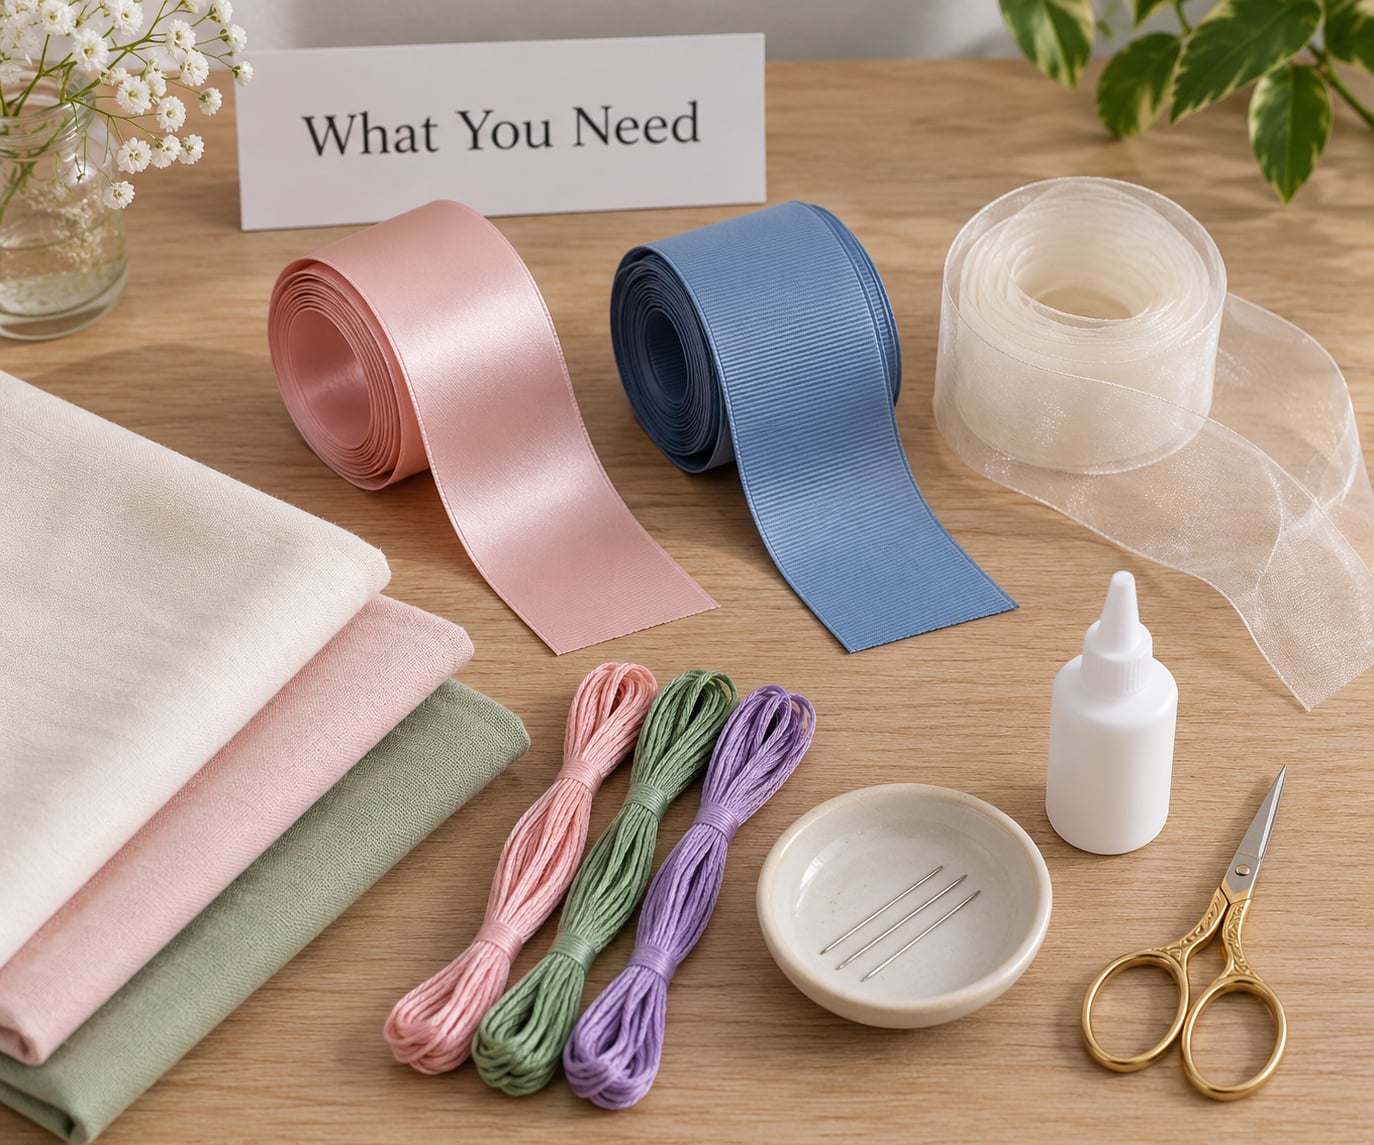
Ribbon, a stable foundation, and a way to hold the ribbon flat while you work. That is the short version, but the details matter more than the list.
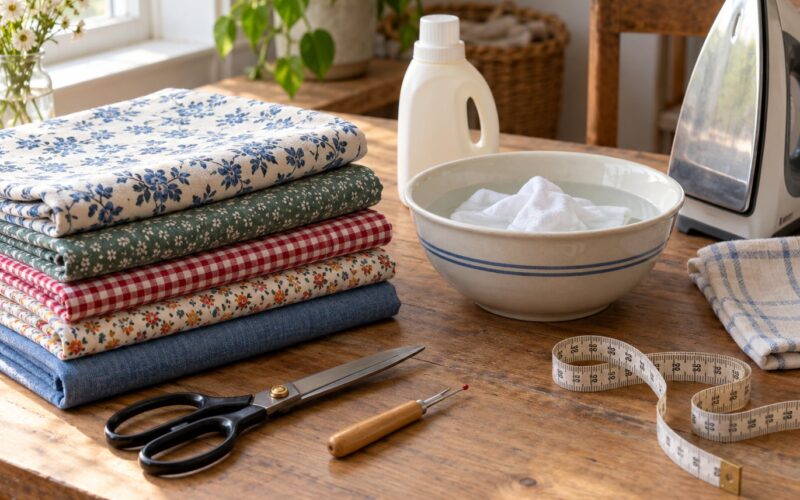
- Ribbon — save bows from thrift shops and family hair drawers, unwrap new ribbon reels, and keep deadstock off-handspinners and estate sales. Thrifted bows are the most common source and they come with a colour history you cannot buy new.
- Foundations — quilting cotton, canvas, denim, felt, wool felt for needle felting, or a stabilised muslin. For a wall piece, mount the work on board after stitching.
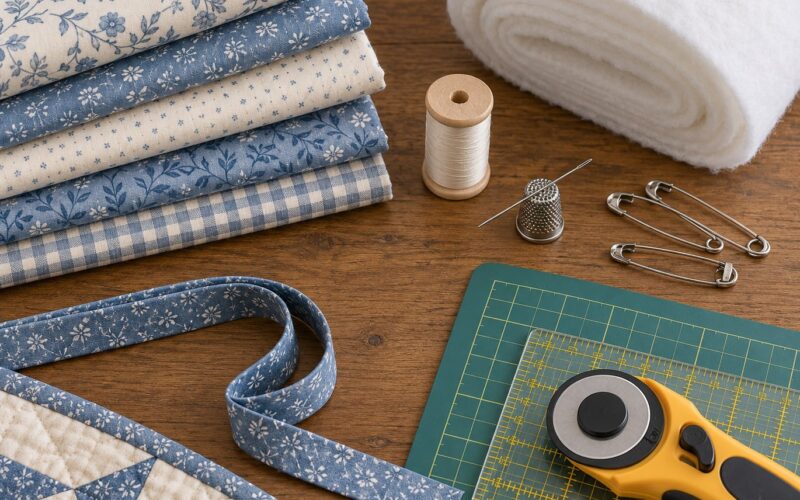
- Needles — a tapestry needle for couching through thick ribbon, a sharp embroidery needle for satin and silk, and a machine needle in the correct size if you sew by machine.
- Thread — embroidery floss for couching, a fine polyester thread for machine work, and a heavier topstitch thread for visible anchoring stitches.
- Stabilisers — fusible web, tear-away stabiliser, spray adhesive, or basting tape. Basting tape is the easiest for curved lines because it peels off without residue.
- Adhesives — fabric glue for flat pieces, glue dots for temporary holding, and fabric glue rather than hot glue when drape matters.
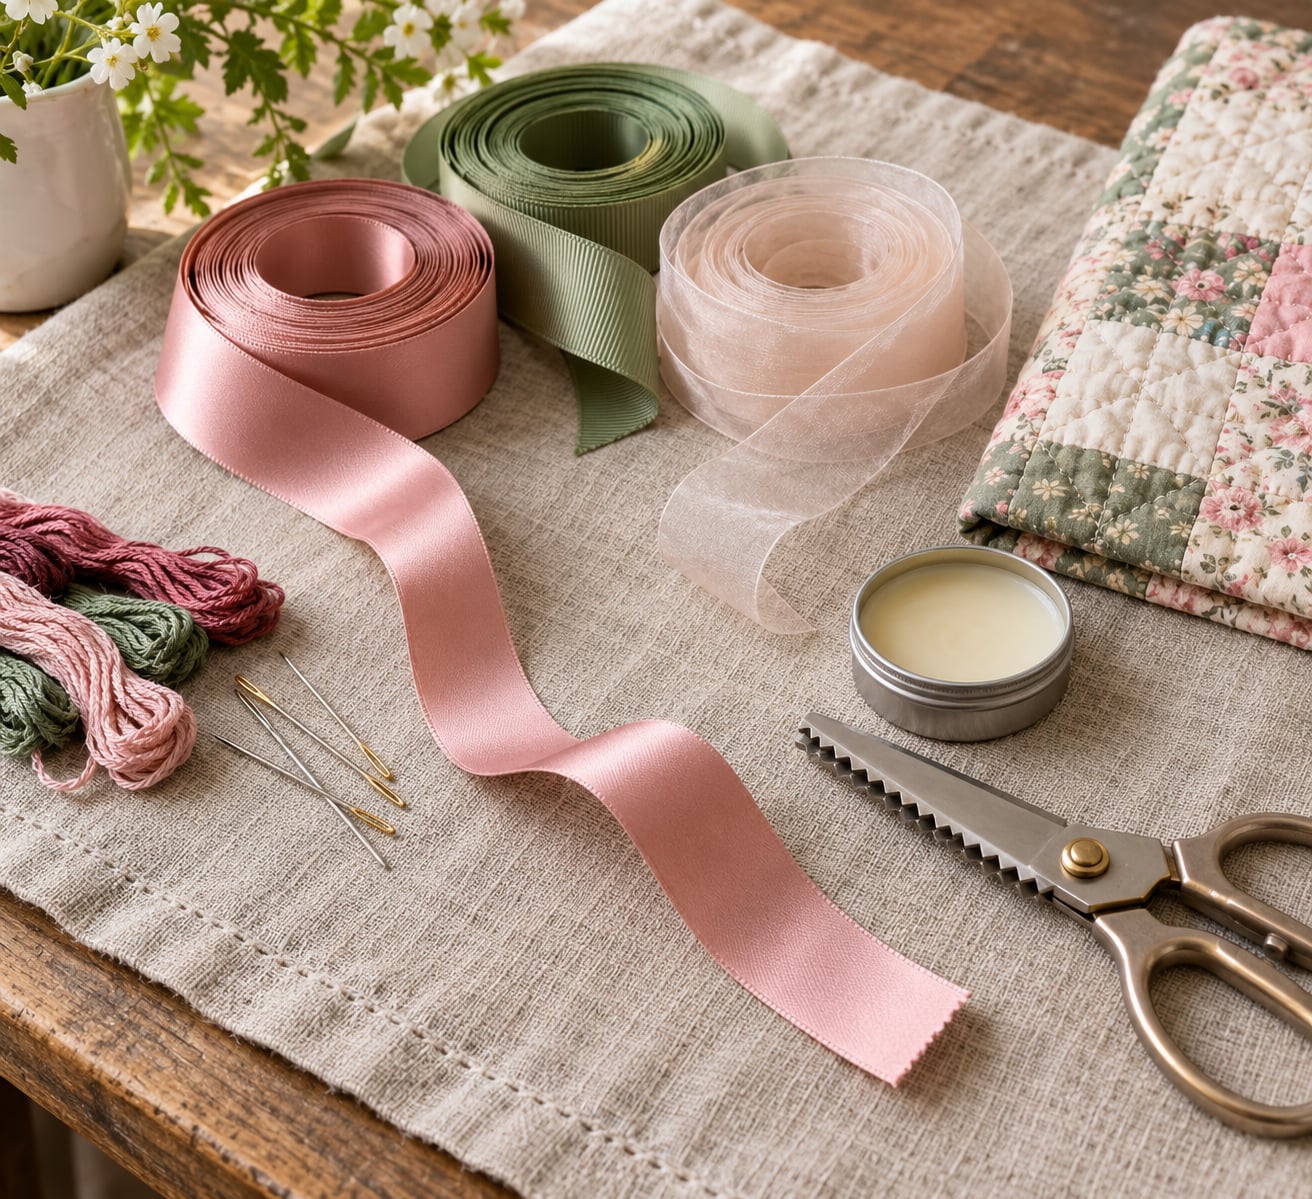
- Finishing tools — fray-control liquid or clear nail varnish, small sharp scissors, pinking shears, tweezers, and a pressing cloth.
- Optional — seed beads, embroidery floss for couching threads, textile paint for painted marks, and sheer organza for layering.
Ribbon width and fibre content change the technique more than most people expect. Narrow trim under 6 mm behaves like thread and can be couched directly. Anything wider than 25 mm has real weight, so it needs anchoring along both selvedges or it will sag on a vertical piece.
Fibre decides the rest. Polyester satin is slippery and heat-sensitive. Silk and rayon take dye beautifully and fray the fastest. Grosgrain is ribbed, matte and holds a folded edge, which makes it the easiest to work with. Velvet adds a directional nap that changes colour as light moves across it.
Wired ribbon carries a core you can shape, so it never lies flat in appliqué. Cut the wire out along the seam allowance before you use it, or save the wired piece for sculptural wraps and bow forms where the stiffness is the point.
Step-by-Step: How to Incorporate Hair Ribbon in Textile Art
The process below takes an afternoon for a small panel and scales to a wall hanging. The order matters: preparation first, attachment second, layering last.
1. Choose a Stable Foundation and Ribbon
Match the ribbon weight to the textile base, then test a 5 cm sample before cutting the full length.
Sheer ribbon belongs on organza, lightweight cotton or a translucent layer where you want light to pass through. Grosgrain and denim-weight ribbon belong on canvas, quilted cotton, denim or felt, because those bases will not stretch under the pull of a couching stitch.
Stretch test matters more than weight. Pin a 10 cm strip of ribbon to your base and pull gently. If the base distorts or the ribbon stretches more than a few millimetres, add a layer of fusible interfacing behind the work before you go any further.
2. Mark a Deliberate Ribbon Path
Decide what job the ribbon does — a line, a grid, a border, a fold or a repeated motif — and mark it before cutting.
Use tailor’s chalk, a water-soluble pen or pins for the path. A paper template cut to your final line lets you test the placement on the base and move it without marking the fabric.
Two lines of ribbon change the reading of a piece far more than one. A single strip can feel like a scratch; a pair with even spacing reads as intentional design. Measure the spacing twice, since your eye is more forgiving than your ruler.
3. Cut and Shape the Ribbon
Measure, cut and finish the edges according to the texture you want, then press the ribbon flat.
Cut on a sharp angle rather than across, and use pinking shears or a fray-control liquid on any end you plan to leave exposed. To make a fringe, cut the ends into a deep V so the point survives while the outer fibres release into a soft edge.
For clean edges, fold the raw end over and hem it with a running stitch, or fold it under at the point where the ribbon disappears beneath another element. Folded and hemmed ends are the only ones that survive handling.
Press satin and polyester ribbon with a pressing cloth on a warm setting and no steam, or the face will scorch and the sheen will go flat. Test on a scrap first. Silk and grosgrain take a little more heat without complaint.
4. Attach the Ribbon Securely
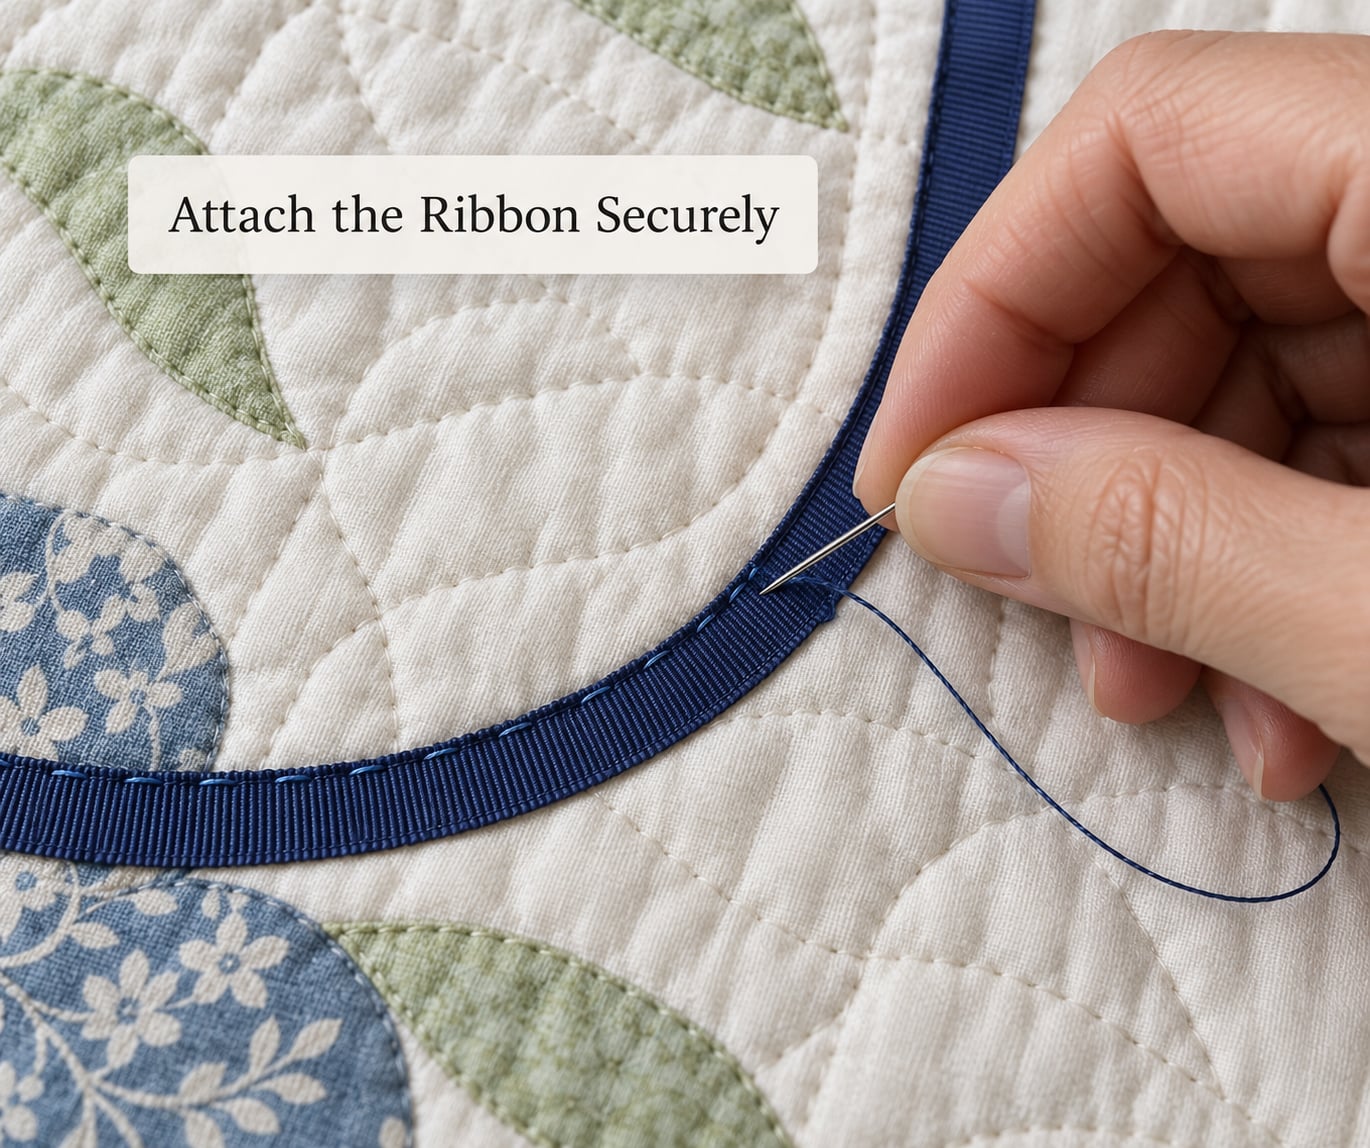
Hold the ribbon flat first, then secure it permanently. Skipping the holding step is what causes slipping, puckering and bunching.
Hand couching gives the most control. Anchor the ribbon end with a small backstitch, then lay couching threads across it every 15 to 20 mm. Work selvedge to selvedge on wide ribbon so the whole strip is held, not just the centre.
Machine stitching is faster on long lines. Baste the ribbon down first with a long stitch length, then topstitch along the selvedge. A walking foot and a slightly reduced presser pressure keep satin from creeping.
Fusible web is the fastest for flat, non-stretchy pieces. Iron the web to the back of the ribbon, trim to shape and bond it in place. Test on a scrap, because fusible web applied directly to a visible face leaves a shine-through mark.
Fabric glue works for mixed media on canvas or board. Apply it sparingly in dots rather than a continuous line, and stay clear of hot glue — it hardens the drape and leaves lumps exactly where the surface should be soft.
5. Layer Ribbon with Fabric and Thread
Build the ribbon into the composition so it reads as part of the work, not as one strip added at the end.
Tuck ribbon under appliqué shapes and let only the line you want show. Cut the ribbon longer than the visible section so the hidden length stays glued or stitched underneath the fabric on top.
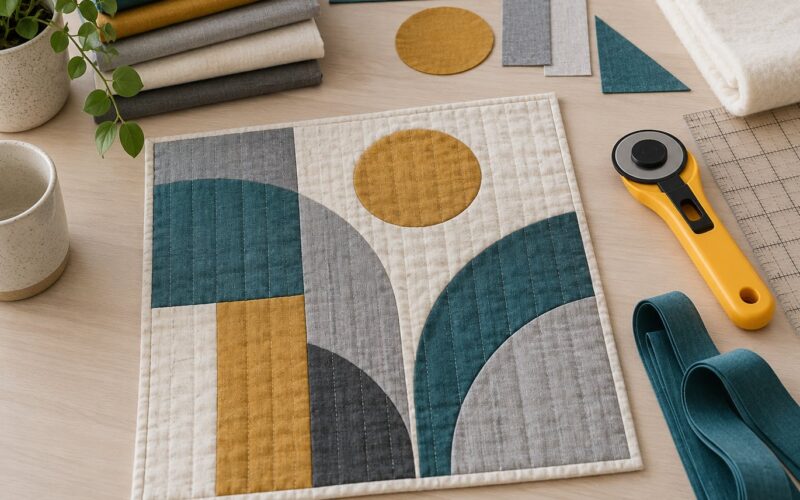
Combine widths: a wide satin band for weight, a narrow grosgrain line for definition, and a sheer layer between them for softness. Repeat one ribbon colour at three scales — a wide band, a medium trim and a fine line — and the piece holds together without matching everything exactly.
For quilting, sew the ribbon to the quilt top before batting and backing go on, so the layers compress together and nothing shifts later. Add couching thread or embroidery stitches on top of that join to catch the light.
6. Finish and Inspect the Work
Secure every loose end, trim uneven fibres, press only what tolerates it, then check the piece under real handling.
Fold the last 15 mm of the ribbon under and stitch it flat, or anchor it beneath a neighbouring layer. Run a finger along every cut edge and catch the fibres that lift. Fray control applied now is invisible later; applied after mounting, it shows as a darker line.
Press only if the fibre tolerates it, and always through a pressing cloth. Test the finished piece by holding it, lifting it from one corner and flexing it gently. Gaps along a couched line or a ridge where the ribbon lifts means the basting came loose somewhere and the attachment needs a second pass.
Photograph the piece flat and in raking light, and note which ribbon you used and from which source. That record saves you guessing the next time, and it is the beginning of a reference sample you can actually build on.
Common Mistakes
Almost every ribbon failure traces back to preparation or tension. Here is what goes wrong, why, and what to do about it.
Fraying cut edges
Silk, rayon and sheer synthetic ribbon start to unravel almost as soon as the end is cut. Angled cuts and fray control liquid slow it, but a folded hem is the only permanent fix on an edge that will be handled. On fringe edges, leave the fray — it is the texture, not the fault.
Slipping and bunching under the needle
That is a holding problem. Basting with long stitches, glue dots, fusible web or a layer of stabiliser under the line stops the slide. Never try to correct drift mid-stitch; remove the row and start again from a pinned position.
Puckering along a couched line
Puckering means the ribbon or the base is stretching while you stitch. Use a tapestry needle with a blunt point to avoid piercing extra fibres, work in 20 cm sections, and add fusible interfacing behind any stretchy ground.
Stiffness where you wanted drape
Hot glue and heavy fusible web create a rigid panel that cracks rather than folds. Switch to couching stitches, cut the ribbon to a longer length so it can curve naturally, and use a lighter thread for anchoring.
Uneven spacing between repeated strips
Mark the positions with a template rather than eyeballing each one, and measure the gap rather than the centre. Consistency of the gap matters more than where the strips sit on the field.
Weak adhesion or a mark showing through
Glue applied in a continuous line cracks as the fabric moves. Dot it instead, let it dry fully, and always bond fusible web to the back of the ribbon, never to the visible face.
Colour problems and bleeding
Dye behaves unpredictably on shiny ribbon because the sheen resists absorption, and saturated colours can wick along the weave. Dye a short test length first, use cold water, and keep dyed ribbon out of the piece until it has been rinsed and dried twice.
Frequently Asked Questions
What type of hair ribbon works best for textile art?
Grosgrain is the easiest starting point because its ribbed weave is matte, holds a fold and does not slip. Satin and silk give you sheen and take fine embroidery stitches, but they are slippery and fray faster. Velvet adds depth and hides stitching marks. Wired ribbon works for sculptural wrapping once the core wire is removed. Match width to the ground: trim under 6 mm behaves like thread, while anything over 25 mm needs anchoring along both selvedges.
Can I sew hair ribbon onto a quilt or fabric wall hanging?
Yes, and quilting is one of the most reliable uses. Sew the ribbon to the quilt top before the batting and backing go on, so all layers compress together. Baste the length first, then topstitch along the selvedge or couch across it every 15 to 20 mm. On a wall hanging, interface the base first if it is light, and anchor both ribbon selvedges so a vertical piece does not sag under its own weight.
Should I use fabric glue or stitching to attach ribbon?
Stitching is the permanent, washable and repairable option, and it is the right choice for anything that will be handled or laundered. Fabric glue is fast on flat mixed-media pieces on canvas or board, applied as dots rather than a continuous line. Fusible web suits non-stretchy fabric and light ribbon. Avoid hot glue in art pieces: it hardens the drape and leaves lumps on the surface where you wanted softness.
How do I keep ribbon edges from fraying?
Cut on an angle, then treat the end with fray control liquid or clear varnish and let it dry fully. For edges that will be touched, fold the raw end under and hem it with a running stitch, which is the only permanent solution. Pinking shears help but do not stop fraying on their own. If you want a soft fringe, skip the treatment and snip the ends into a deep V so the point holds while the outer fibres release.
How do I wash and store a textile artwork containing ribbon?
Hand wash cool with mild detergent and no wringing, or spot clean the ribbon areas if the piece allows it. Do not tumble dry satin or polyester ribbon, and skip the iron over synthetic faces, which scorch at temperatures that seem modest. For storage, roll rather than fold along a ribbon line, since a sharp crease splits the fibres. Acid-free tissue between layers protects dyed ribbon from light and yellowing.
Can sheer ribbon be used in a quilt that will be handled often?
Sheer ribbon adds light and movement but has almost no body, so it shifts under tension and its cut edges wear first. On a frequently handled quilt, sew sheer ribbon as an underlayer between appliqué shapes rather than as the exposed line, and hem the ends that fall inside the quilt. If you want sheer ribbon visible, couch it at closer intervals, around 10 mm, and anchor both selvedges so it cannot stretch between stitches.
Conclusion
Start with a stable foundation and one deliberate ribbon placement, then test a 10 cm sample before committing to the full piece. Prep the ends, hold the ribbon flat while you stitch, anchor both selvedges on anything wide, and layer other materials over the join so the ribbon belongs to the composition from the first line.