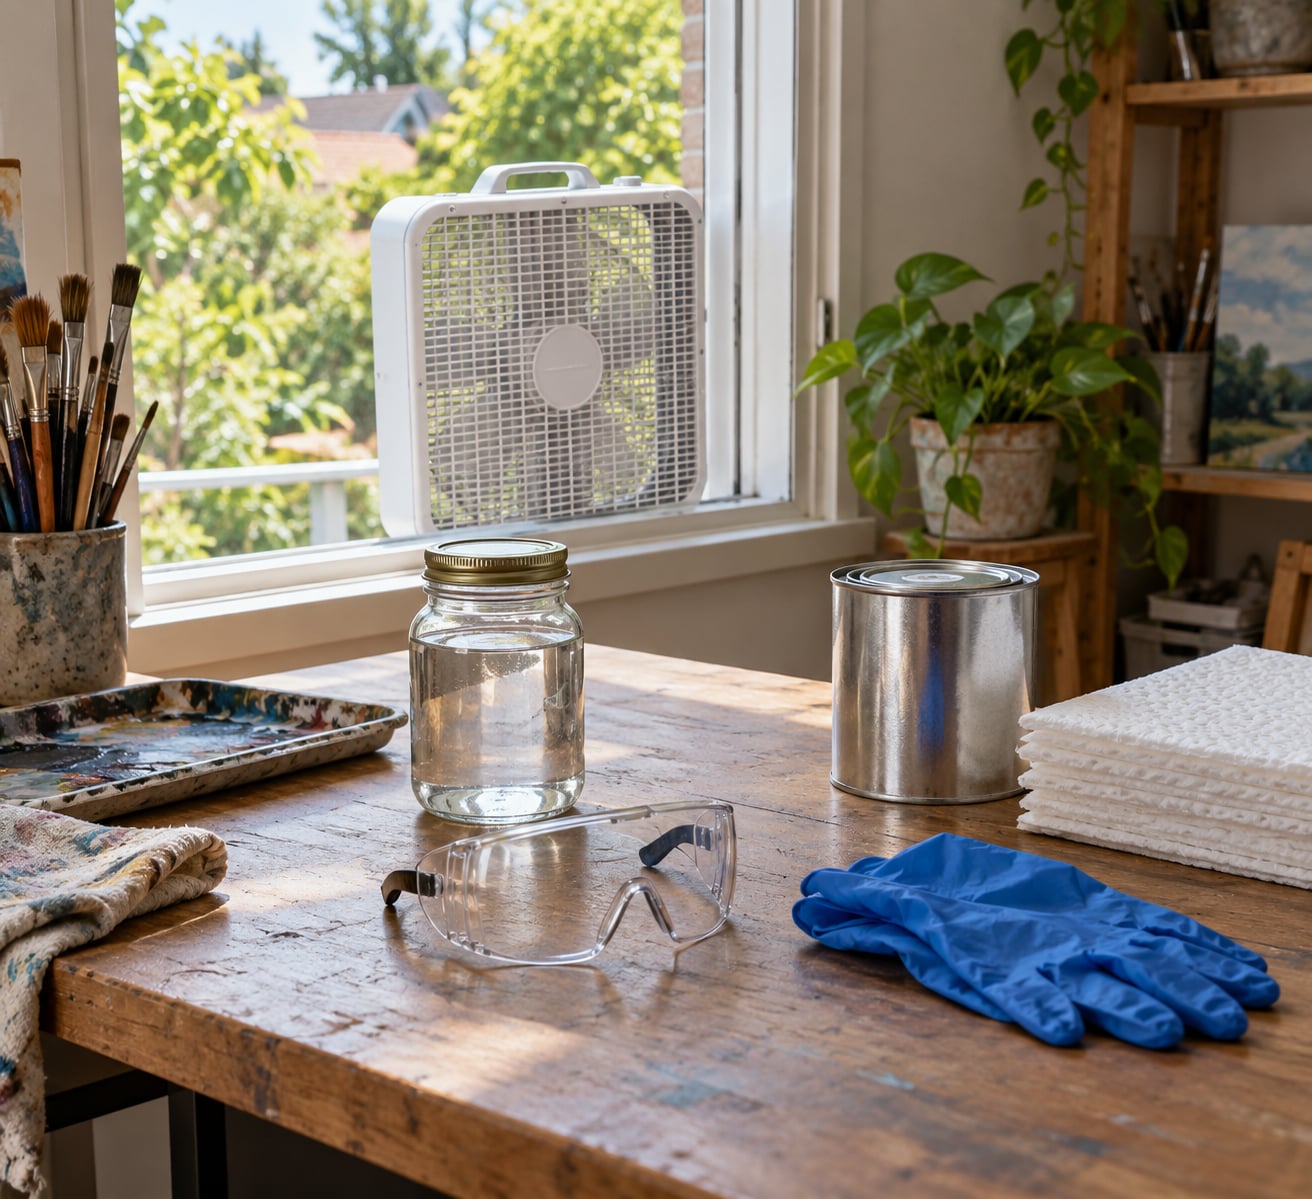
Working safely with solvents in a small studio comes down to three controls: airflow that pulls vapour out of the room, distance that keeps vapour away from your face, and respiratory protection for whatever still reaches you. Miss any one of them and the session belongs outdoors. Most small studios can get there with a window, a fan pointed out of it, and a written routine.
The reason a small room is harder than a big one is simple arithmetic. Solvents evaporate at room temperature into volatile organic compounds, and vapour has to go somewhere. In a 120-square-foot corner with one closed door, the concentration climbs while your room volume stays tiny, so you end up breathing the leftovers of every coat you sprayed that hour.
Headache, nausea, watering eyes and a scratchy throat are the complaints artists most often describe after an unventilated fixative session in a rented room. Those are symptoms, not a scare tactic. Read on before you open the first jar, then print the steps near your table.
Reviewed for October 2026. Every recommendation below is general practice, not a substitute for the safety data sheet that ships with your specific product.
Table of Contents
- What You Need for How to Work Safely With Solvents in a Small Studio
- The safety data sheet and the label
- Ventilation, in the order you should build it
- Respiratory protection, chosen by what you need to filter
- Skin, eyes, spill and fire supplies
- Storage and disposal
- Step-by-Step: Set Up, Work, and Finish Safely
- Step 1: How to Work Safely With Solvents in a Small Studio
- Step 2: Prepare the Work Area and Personal Protection
- Step 3: Use the Solvent in Controlled Amounts
- Step 4: Finish, Store, and Dispose of Materials
- Common Mistakes
- Frequently Asked Questions
- Is an open window enough to work safely with solvents in a small studio?
- What type of respirator do artists need when using solvents?
- How should artists choose gloves for solvent use?
- What is the safest way to clean up a small solvent spill?
- Can students use solvents in an art classroom or shared studio?
- How can artists reduce their exposure to solvents?
- Conclusion
What You Need for How to Work Safely With Solvents in a Small Studio
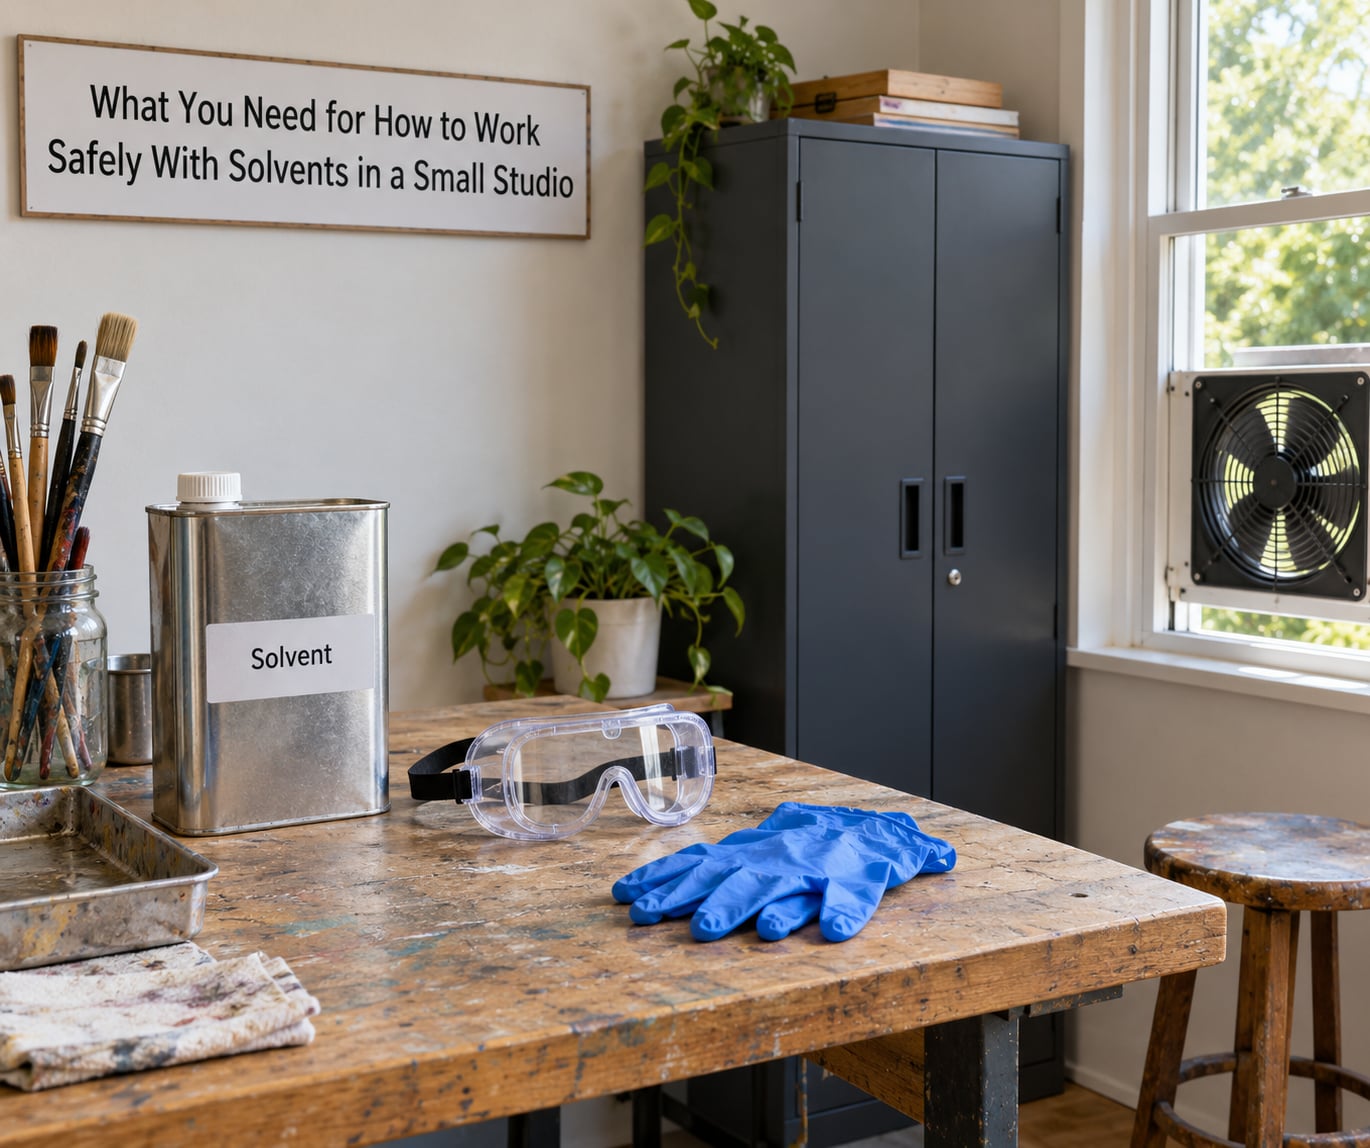
Gather these before the first session, not during a spill. The list is short, and the two items people skip are the safety data sheet and somewhere to put oily rags.
The safety data sheet and the label
Every solvent container sold in the US carries a 16-section Safety Data Sheet, usually folded into the carton or available as a PDF from the manufacturer. Section 2 gives you the signal word, Section 7 gives handling and storage, and Section 10 plus Section 11 cover exposure limits and symptoms. Art materials sold in the US also follow ASTM D-4236 labeling, which is the standard that forces a toxicity rating and a health-hazard statement onto the package. The signal word is the fast read: Danger beats Warning, and neither one means “safe to use indoors.”
Ventilation, in the order you should build it
Open a window, then a second window on an opposite wall if the room has one, then add a fan. Cross-ventilation alone moves air through the room instead of stirring it. A box fan or window fan set in an opening and aimed outward moves far more air than the opening does on its own, because it pulls from the room and pushes to the outside rather than pulling in as much as it sends out. If your lease stops you from drilling, a fan resting in a window opening works without a single hole in the wall.
A portable HEPA or carbon-filter air purifier is a different tool. HEPA captures particles such as dust and mist, not solvent gas, and a carbon pre-filter slows some vapors but saturates quickly. Run both if you like, but a purifier does not replace moving air out of the room.
Respiratory protection, chosen by what you need to filter
Most masks sold for dust and fumes do nothing here, so match the respirator to the job.
- Cloth or surgical mask: catches large droplets and a few particles, then lets vapour molecules straight through. No protection against solvent vapour.
- N95 or N100 particulate respirator: built for dust and aerosols, not gas. No protection against solvent vapour.
- Half-face respirator with organic vapor cartridges: filters vapour and particles when the cartridge matches the solvent and the change schedule is followed. This is the practical choice for most studios.
- Full-face or powered air-purifying respirator: adds a larger fit area and eye protection. Highest protection, and the most cost and training.
Organic vapor, or OV, is the term to look for on the cartridge. NIOSH approval tells you the respirator has been tested and certified for that class of protection. Follow the cartridge change schedule, because an exhausted cartridge gives you the look of protection without the function.
Skin, eyes, spill and fire supplies
Chemical-resistant nitrile gloves, splash goggles, a jar or metal can with a tight lid for oily rags, absorbent pads or a spill pad, a broom and dustpan, a fire extinguisher rated for flammable liquid, and a hand-washing setup with soap and a vegetable oil. Never clean skin with solvent. Rub a little vegetable oil into paint, then wash with soap and water; the oil lifts the pigment and the soap takes the oil away.
Storage and disposal
A cool, shaded cabinet or a sealed metal container on a high shelf, away from radiators, ovens, light bulbs and pilot lights. A lidded metal can doubles as your rag container. Know your local household hazardous waste day before you need it, since solvent-soaked rags and used solvent rarely belong in the kitchen bin or the drain.
Step-by-Step: Set Up, Work, and Finish Safely
Four stages, and most of the work happens in the first one. Budget ten minutes before you start and five after, and this becomes ordinary rather than heroic.
Step 1: How to Work Safely With Solvents in a Small Studio
Identify the exact product before anything else, then read its safety data sheet. Find the flash point, the exposure limits, the required glove material, the ventilation guidance and the first-aid section. Most artists who get hurt were working from memory of a product they used two years ago rather than the bottle on the table.
Separate what should not meet. Solvents and their vapour sit badly with oxidizers, and any solvent with a low flash point needs distance from heat, sparks and static. Pull the space apart before you work, not after a spill has spread.
Mark the work zone. A sheet of painter’s plastic or a clear plastic bin under the work surface catches drips, and a sign on the door stops other people walking into a ventilated room that they assume is just damp. Write down your ventilation plan and your emergency steps on the back of the sheet you taped inside the cabinet, where you will find them while your eyes are watering.
Step 2: Prepare the Work Area and Personal Protection
Set up a stable, uncluttered surface with the window on your far side and the fan pulling air toward that window. Then work at the opposite wall from the opening. Distance does more for you than any mask: every inch of separation between the container and your face lowers what you inhale, and a small room makes that cheap to do. Spraying from about a foot away rather than six inches, thin coats rather than one heavy pass, and a session that takes ten minutes instead of an hour all reduce exposure for the same amount of work.
Open the second window if you have one on the opposite wall. Cross-ventilation clears a room far faster than a single opening, and in a rented space this is the whole difference between adequate and marginal.
Then dress for the task. Put on nitrile gloves before you unscrew the cap, not after your hands are already coated. Add splash goggles for anything sprayed or poured, and keep your hair tied back so you are not sweeping vapour toward your face. Move food, mugs, pet beds, bird cages and anything else that absorbs odour out of the room for the duration, and take them back in after the purge period rather than right when you stop spraying.
Have the spill kit within arm’s reach before you open anything: absorbent pads, a scraper, a dustpan, the lidded metal can, and a bag you can seal. Reaching across a room for a rag while fumes are thick is how small spills become large ones.
Finally, the many-brushes trick. Every brush you clean is solvent leaving a jar and landing on a rag in a small room. Use three or four cheap brushes per session instead of one good brush you clean repeatedly, and set used brushes outside or in a sealed jar rather than swishing them in a solvent tray beside your easel.
Step 3: Use the Solvent in Controlled Amounts
Pour out what you need for one session and put the rest back with the cap on tight. A container left open is a slow evaporator, and in a small room that open cap is the main source of your exposure. Do not decant solvent into an unmarked bottle, a jam jar or a water bottle, and never mix two solvents or a solvent into your rinse water to make disposal easier.
Keep ignition sources out of the room while the cap is off. No candles, no incense, no hot-plate coffee, no space heater running nearby, and no welding-adjacent sparks. Static cling on a synthetic apron is worth thinking about too. Keep the container away from a lit lamp or a bulb that heats the shelf.
Handle oily rags as a fire risk, not a mess. Solvent-soaked rags and oil-soaked waste can self-heat, oxidize and ignite with no external spark at all, which is one of the leading causes of studio fires. Drop every used rag straight into a lidded metal container, and take that container outside or to a hazardous waste site the same day. Do not leave a heap of rags in an open bin overnight, and do not put them in a plastic bag or the kitchen trash.
Stop for air when you notice something. A headache, a scratchy throat, watering eyes, nausea or a smell you can still detect ten minutes after the cap went back on are all signals that the room is not doing its job.
Step 4: Finish, Store, and Dispose of Materials
Close everything, then purge. Leave the fan running and the window open for roughly half an hour after you finish spraying, and longer after a heavy session. If you can still smell solvent when you turn the fan off, give it another fifteen minutes. A closed sketchbook or a sealed portfolio traps off-gassing vapour, so let sprayed work cure with the room open for at least a day before you slide it into a drawer or under glass; a full 24 to 48 hours is a sensible habit for thick fixative layers or sprayed stacks.
Return the container to its storage spot, sealed, upright, away from heat and out of reach of anyone who might open it. Wipe the bench and let the room air out again. Sweep or vacuum dried pigment dust before it becomes a re-suspended particle, since vacuuming solvent-wet dust spreads the problem.
Handle waste according to local rules, not habit. Used solvent, contaminated rags and solvent-bearing filter papers usually belong to a household hazardous waste program or a collection point, and pouring residue down the drain or putting it in the bin is both unsafe and usually illegal. When the SDS lists a specific disposal method, that method wins. For a small studio, most waste is rags and water-based rinse water, and the rag stream is the one to plan for.
Common Mistakes
These are the errors that show up again and again in home studios, with the correction next to each one.
Treating an open window as the whole system. An open window with still air creates a slow exchange and often a pocket of higher concentration at your desk. Add a second window or an outward-facing fan, and work away from the opening.
Putting a purifier where a fan belongs. HEPA filters collect particles, and a carbon pre-filter saturates fast. Purifiers improve dust and odor, but only a fan or exhaust moves contaminated air out of the room.
Wearing a dust or cloth mask. Neither filters vapour, and both create a false sense of safety. For a solvent you need a NIOSH-approved respirator with organic vapor cartridges, and ventilation is still the primary control.
Storing solvents near heat or light. A shelf above a radiator, beside a window in direct sun, or under a hot lamp is a fire risk. Move the container to a cool, shaded cabinet and treat the flash point on the label as a limit, not a detail.
Pouring residue down the drain. It does not disappear, and it can ignite in a trap or a sewer line. Save it for a hazardous waste program in a labeled container.
Leaving solvent-soaked rags in an open bin. These are the classic spontaneous-combustion cases. Lidded metal container, emptied the same day, every time.
Picking gloves by colour or price instead of chemical compatibility. Nitrile suits many common solvents but degrades with prolonged contact with ketones and some others, and thin exam-glove nitrile is not a substitute. Check the SDS glove recommendation, change gloves often, and wash your hands with soap and water afterward.
Continuing to work through symptoms. Dizziness, nausea, headache and irritation mean the session is over. Ventilate, get into fresh air, and if symptoms persist or recur, talk to a doctor and mention the exact product and its SDS.
Swapping at the cleanup stage only. Substituting water-based mediums is easy when you decide it at the medium stage. If oils are core to your work, use a low-VOC or water-based substitute for fixative and hand cleaning, and keep oil cleanup as the one solvent job of the week.
Framing or closing work that is still off-gassing. Dry to the touch is not the same as finished off-gassing. Give sprayed pieces a day or two in a ventilated room before they go into a frame, a drawer or a stack.
Frequently Asked Questions
Is an open window enough to work safely with solvents in a small studio?
An open window alone is usually not enough in a small room. Still air exchanges slowly, so vapour pools near your work surface while the rest of the room feels fine. Open a second window on an opposite wall for cross-ventilation, and add a fan in an opening aimed outward so air leaves rather than circulates. If you cannot manage airflow, take the session outside.
What type of respirator do artists need when using solvents?
A NIOSH-approved half-face respirator with organic vapor, or OV, cartridges. Cloth masks, surgical masks and N95s filter particles and droplets, not solvent vapour, so they give no protection here. Match the cartridge to the solvent, follow the manufacturer’s change schedule, and check the face seal with a fit test. A respirator is a backup layer, never a substitute for moving air out of the room.
How should artists choose gloves for solvent use?
Read the glove recommendation in section 8 of the safety data sheet for that exact product. Nitrile is a common choice for many studio solvents, but some ketones and other aggressive chemicals attack it faster, and thin disposable exam gloves give less protection than heavier ones. Change gloves when they feel damp or stiff, never touch a phone or a door handle with a contaminated glove, and wash with soap and water afterward.
What is the safest way to clean up a small solvent spill?
Ventilate first, then contain. Open the windows, turn on the outward-facing fan, and keep people and pets out. Cover the spill with absorbent pads, scoop it up with a scraper and dustpan, and put everything into a lidded metal container for hazardous waste. Never pour solvent into a drain, and never clean it with a vacuum, since a vacuum can spread vapour or ignite it.
Can students use solvents in an art classroom or shared studio?
Only where the facility has active ventilation, solvent storage, a spill plan and trained supervision. Because many studios ban aerosol fixative and solvent cleanup indoors, students working at home should follow the same controls: airflow, distance, correct gloves, closed containers, and a metal can for oily rags. Anyone pregnant, asthmatic or chemically sensitive should discuss the material with their instructor and a doctor first.
How can artists reduce their exposure to solvents?
Cut the amount of solvent that leaves the jar. Work at the far side of the room from the window, spray from about a foot away in thin coats, use several cheap brushes instead of cleaning one repeatedly, scrape excess paint off with a card before it hits solvent, and take brush cleanup outside. Substituting a water-based or low-VOC medium for fixative and hand cleaning removes the biggest daily source of vapour.
Conclusion
Start with the safety data sheet, not with the gear. Identify the solvent, read sections 2, 7, 8 and 10, and let that document set your gloves, your ventilation and your waste plan.
Then build airflow before you build anything else: a second window, a fan aimed outward, and a work spot on the far side of the room. Add a NIOSH-approved organic vapor respirator for the sessions you cannot push outside, and keep the metal rag can by your elbow every single time.
Finally, write the routine down. A short sheet taped inside your cabinet, with the ventilation plan, the emergency steps and the disposal day, turns a good habit into the way your studio works.