Preparing thrifted fabric for sewing comes down to one rule: wash it the way you plan to wash the finished garment. That means inspecting the piece for pests and stains, testing whether the dye will bleed, cleaning it in cold water, letting it dry the same way the finished item will dry, and pressing it flat before you ever pick up your rotary cutter.
Most thrift finds need 30 to 45 minutes of hands-on work. A vintage piece with no readable label can take an afternoon of soaking and air drying, and honestly, some items are not worth prepping at all.
Here is the whole process in six steps:
- Sort and inspect the haul for pests, odors, stains, and flaws.
- Identify the fiber, or treat the piece as the most delicate thing you own.
- Test a hidden spot for colorfastness before it goes anywhere near a washload.
- Clean it conservatively in cold water with a small amount of mild detergent.
- Dry it the way the finished project will be dried.
- Press, trim loose threads, label, and store it clean.
That governing rule settles most of the argument you will read online about pre-washing. If you intend to machine wash the finished garment, pre-wash by machine. If you intend to hand wash it or send it to the cleaner, prep it that way instead. Anything else means you are sewing with a guess.
Table of Contents
- What You Need
- Step-by-Step: How to Prepare Thrifted Fabric for Sewing
- 1. Sort and Inspect the Fabric
- 2. Identify the Fiber and Care Requirements
- 3. Remove Loose Dirt and Surface Debris
- 4. Clean the Fabric Conservatively
- 5. Test for Colorfastness and Bleeding
- 6. Test for Shrinkage and Stretch
- 7. Treat Stains and Remaining Wrinkles
- 8. Press, Label, and Store the Prepared Fabric
- Common Mistakes
- Tips for Using Thrifted Fabric Successfully
- Frequently Asked Questions
- Can you sew thrifted fabric without washing it first?
- What is a good cleaner for vintage fabric?
- How do I know if thrifted fabric will bleed?
- What if a vintage garment says dry clean only?
- How do I get storage smell out of thrifted fabric?
- How do I stop thrifted fabric from fraying in the wash?
What You Need
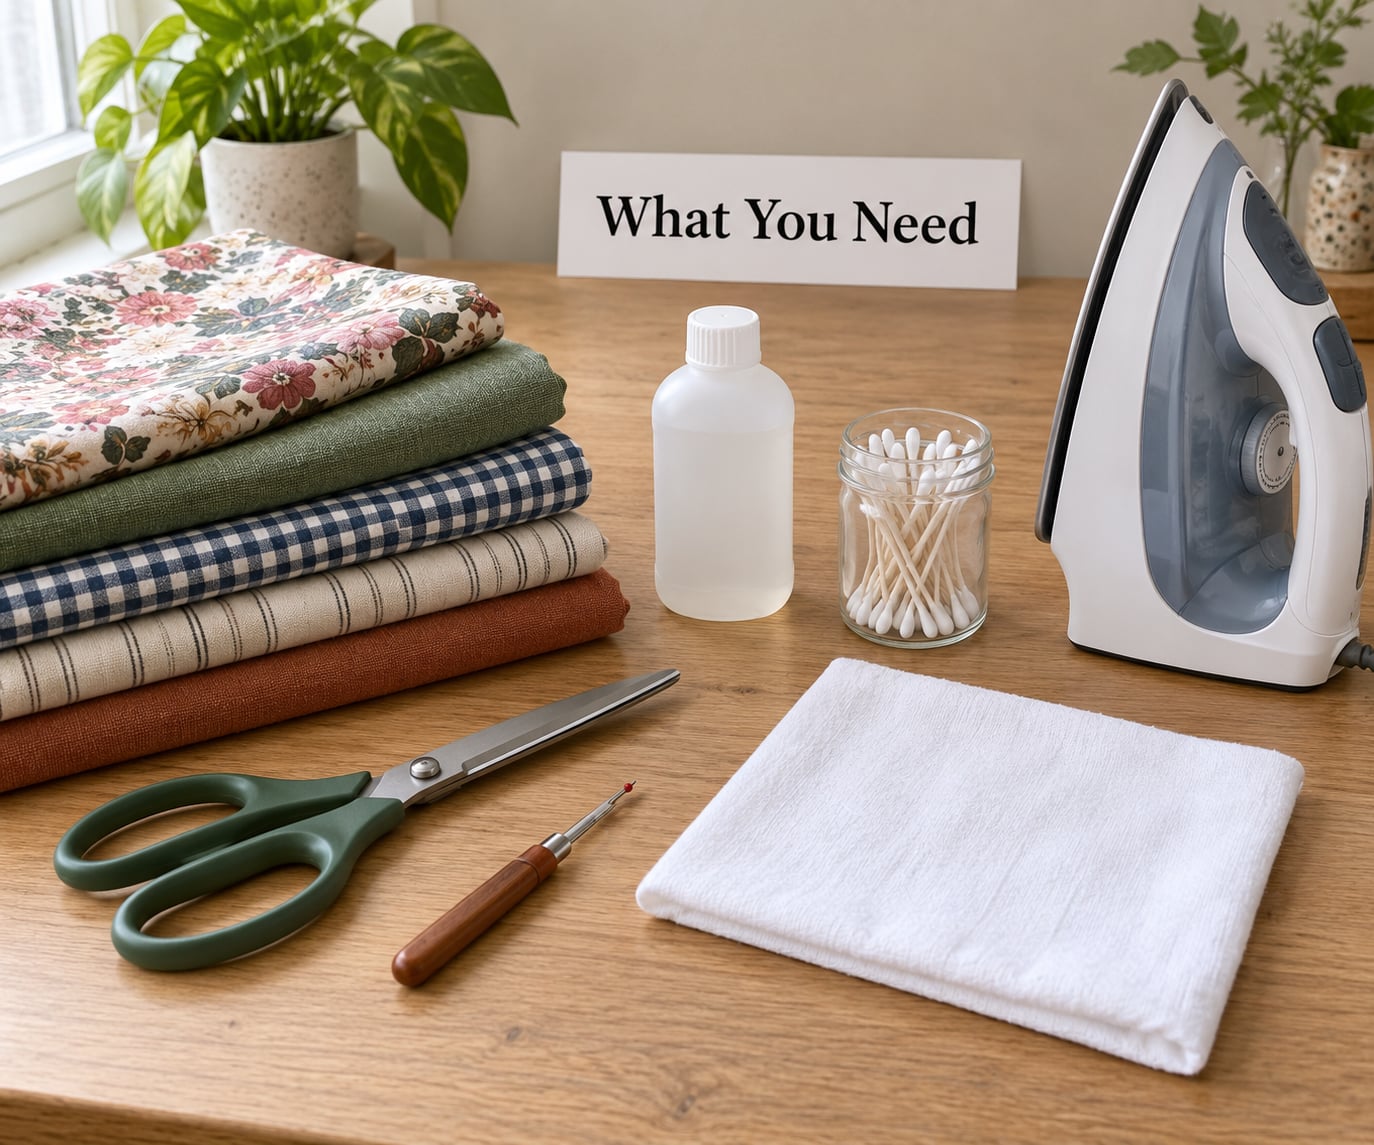
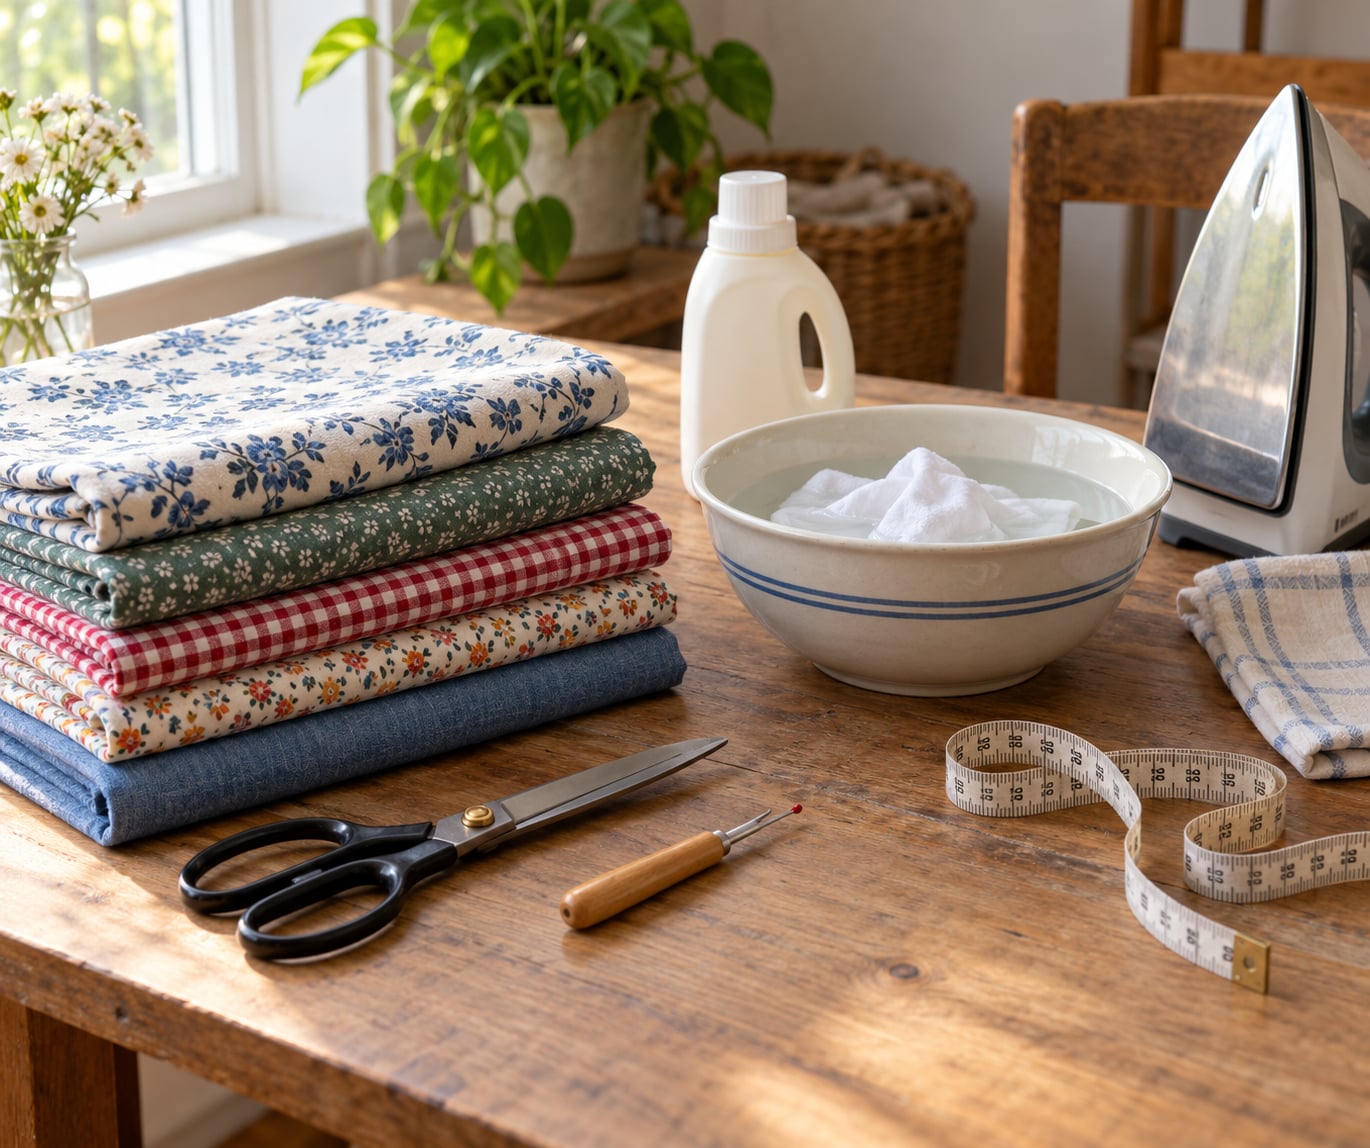
Most of this is already on a sewing shelf. The specialty item is a mesh laundry bag, and the one worth buying fresh is a pack of color catcher sheets.
- Fabric scissors and a seam ripper for cutting and opening seams
- A plain white cotton cloth or T-shirt for the colorfastness rub test
- Cotton swabs for checking seams, hems, and hardware
- Mild laundry detergent, plus an enzyme detergent for protein stains
- White vinegar and baking soda for odor
- Oxygen bleach for yellowed white cotton
- A mesh laundry bag for cut edges that will not stop fraying
- Color catcher sheets for reds, purples, and indigos
- A washing basin, a clean towel, and a drying rack or hanger
- A tape measure and marking pencil for the shrinkage test
- An iron and a pressing cloth
Step-by-Step: How to Prepare Thrifted Fabric for Sewing
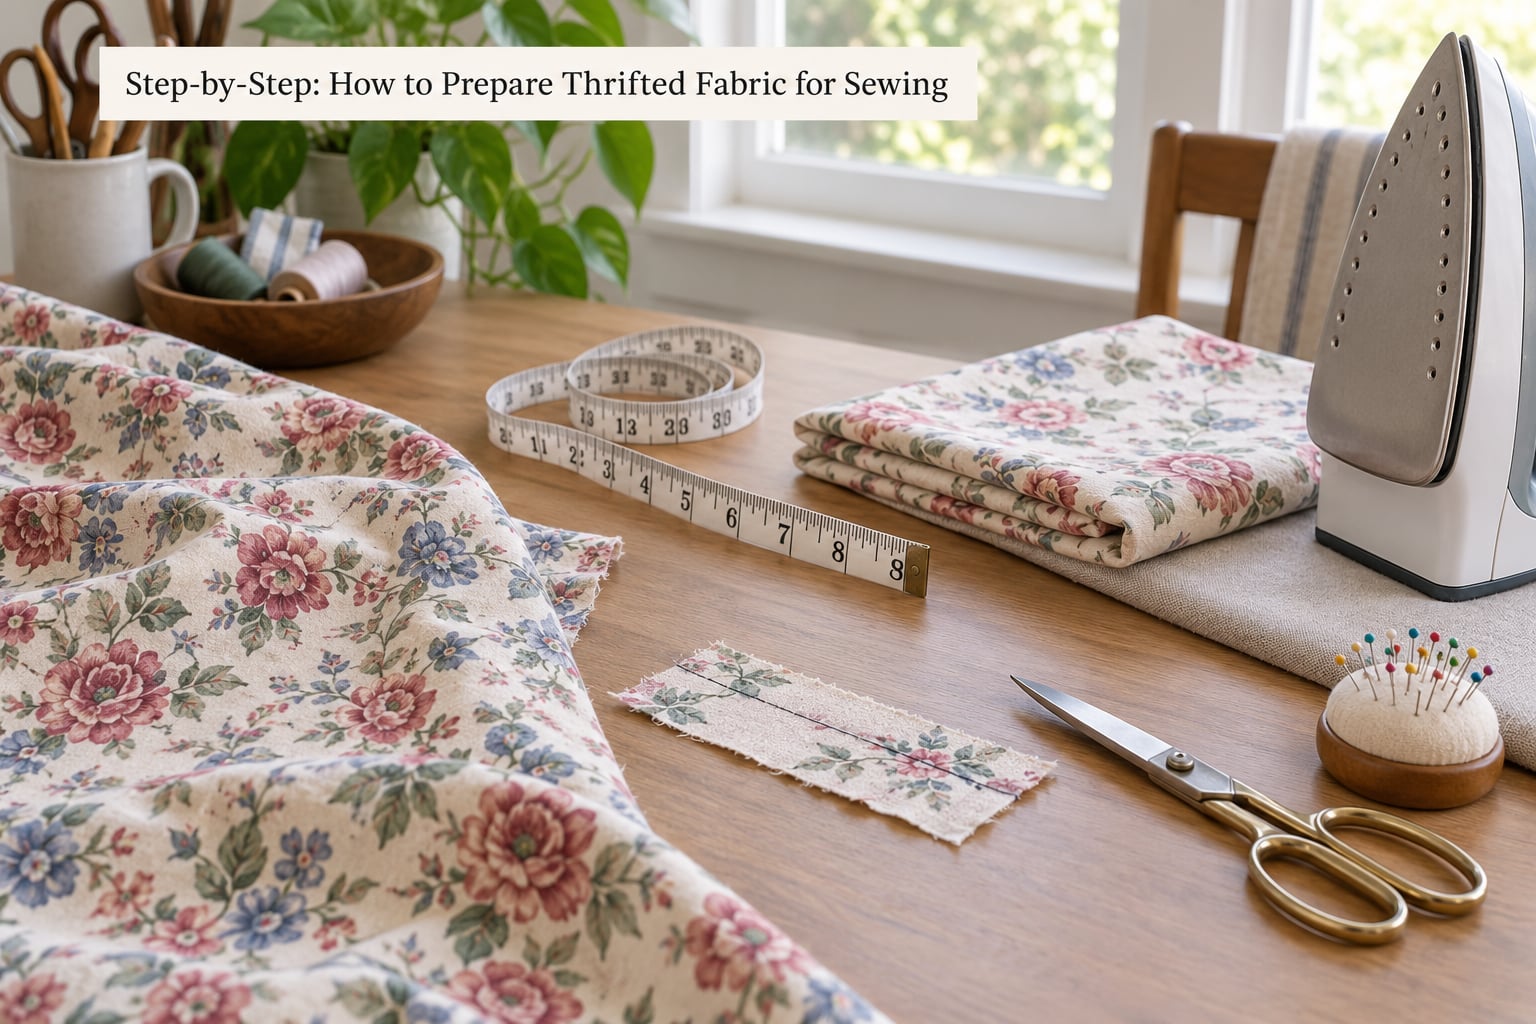
1. Sort and Inspect the Fabric
Spread everything out on a surface you can walk around, then hold each piece up to the light. Check seams first, because that is where damage hides.
Pull anything you would not want to end up in a finished project: holes, permanent stains, broken zippers, faded panels, cracked or peeling prints, and seams with large gaps. Moth damage shows up as small irregular holes, often clustered near seams and edges. Bedbugs leave rust-colored spotting and dark speckling on the fabric or lining, and that is a reason to walk away rather than wash.
Smell it. Closet odor and a faint mustiness are fixable. A sharp chemical or sour smell that survives a wash is not.
Write down where each piece came from and roughly how large it is. That note is what stops you from prepping the same fabric twice, which is the most common way a thrift haul gets worn out.
2. Identify the Fiber and Care Requirements
Check the care label even if it is faded. Polyester content is usually the reason an old garment survived decades in a donation bin without shrinking.
When the label is gone or unreadable, infer from the hand and drape. Crepe and satin fall into soft folds, often silk or rayon. A crisp, matte surface with a visible weave is cotton or linen. Something that stretches in more than one direction is a knit. Suiting that stands up on its own when you hold the hem is fused or interlined, and needs gentler handling than cotton.
Sort the haul into groups: washable cotton and linen, knits, silk and rayon, wool and structured suiting, and a bucket for anything you cannot place. Grouping is what keeps a delicate blouse out of a load with heavy canvas.
3. Remove Loose Dirt and Surface Debris
Work over a white sheet so you can see what is coming off. A lint roller or a soft-bristled brush lifts dust, lint, and loose threads before any water touches the fiber.
Pet hair comes off a damp rubber glove rubbed across the surface. Skip stiff brushes on ribbed knits, corduroy, velvet, and anything already pilling, because you will take the surface pile with you.
Snip protruding threads instead of pulling them. A long loose thread at a cut edge is exactly how fabric unravels in the wash.
4. Clean the Fabric Conservatively
Cold water, gentle cycle or hand wash, and a small amount of detergent. No hot water, no bleach on an unknown fiber, and no scrubbing. Sewers on Reddit generally land on the same default for anything fragile or unlabeled: a warm sink soak with an enzyme detergent, then air drying.
For a soak, fill a basin with cool water and a squirt of enzyme detergent. Submerge the fabric and press it down with your hand to release trapped air bubbles, then leave it 30 to 60 minutes. Swish gently, drain, refill with clean water, and repeat until the water runs clear.
For a large piece you cannot wring out, the soak-and-swish routine in the sink followed by a spin cycle on its own in the washer gets the detergent out without your arms giving up.
The table below is the short version for each fabric type.
| Fabric type | Water | Method | Soak time | Drying |
|---|---|---|---|---|
| Quilting cotton | Cold | Machine, gentle, alone | 10 to 15 minutes | Line dry or low tumble |
| Woven cotton and linen | Cold to warm | Machine gentle or hand wash | 20 to 30 minutes | Line dry |
| Knits, jersey and fleece | Cold | Hand wash, never wring | 15 to 20 minutes | Lay flat, reshape |
| Silk and rayon | Cold | Hand wash with mild soap | 20 to 30 minutes | Lay flat, out of sunlight |
| Wool and structured suiting | Cold | Soak, no agitation | 20 minutes | Lay flat, dry fully |
| Lined or interfaced dress goods | Cold | Spot clean or hand wash | Skip a full soak | Air dry, no heat |
Cut thrift fabric frays more than fabric from a bolt, because the edges have already been cut once and nothing is overlocked. Run a loose basting stitch along raw edges before washing, or overlock them if your machine does that. A mesh laundry bag is the second line of defense.
Skip the dryer on anything you have not identified. Heat is what turns a small shrinkage surprise into a project you cannot finish.
5. Test for Colorfastness and Bleeding
Wet a two-inch square in a spot you will never see, press it against your plain white cotton cloth, and rub firmly 10 to 15 times. Then wash that scrap alone with detergent and look at the water.
Vintage red, purple, and indigo are the usual offenders, and they will happily dye your towels along with the fabric.
If you see any transfer, wash the piece on its own with a color catcher sheet and test again after it dries. Persistent transfer means keeping it away from other fabric, and telling the person who ends up sewing or wearing it.
6. Test for Shrinkage and Stretch
Mark 10 inches along the length and 10 inches across the cross-grain with a pencil. Wash and dry that sample the way you plan to handle the whole piece, then measure again.
Cotton commonly comes back 3 to 5 percent smaller, and knits can lose 10 percent or more in the length. Differential shrinkage, where the fabric shrinks unevenly in two directions, is what leaves you with a wavy hem and a bodice that no longer meets the skirt.
Then buy with a cushion. Add 20 percent to the yardage your pattern calls for before you cut, because you will also lose to fraying, seam trims, and flaws you find after washing.
7. Treat Stains and Remaining Wrinkles
Blot, never rub. Rubbing grinds a stain into the fibers and thins the fabric.
Dish soap and cool water handle grease. An enzyme detergent handles protein stains like milk and blood. Oxygen bleach handles yellowed white cotton when the color history allows it. Baking soda works for odors and some fresh marks. Vinegar in the rinse cuts closet smell, but keep it away from protein stains, where it can set them.
Test any treatment on an inside corner and wait about 15 minutes before you go further. Press remaining wrinkles only after the fabric is fully dry, using a pressing cloth and a temperature that matches the fiber: cool for silk and rayon, low for wool and synthetics, warm to hot for cotton and linen.
8. Press, Label, and Store the Prepared Fabric
Press from the wrong side first when the fiber is uncertain, then flip for a crisp finish if the fiber allows it.
Trim loose threads, note every flaw, and measure usable yardage at the widest usable point. On masking tape, write the fiber if you know it, the color, the dimensions, the word WASHED, the date, and where it came from.
Store it clean, completely dry, folded, with a layer of tissue between colors, somewhere dark and breathable. Plastic bins trap the moisture that grows mildew, and sunlight fades a dye that may still not be fully set.
Common Mistakes
- Skipping the inspection. Hidden stains and moth holes appear after cutting, when the yardage is already gone.
- Assuming the washing machine handles everything. Unknown fiber means hand washing in cold water with minimal movement.
- Washing reds in with the whole haul. One bleeding piece can tint every load it touches.
- Skipping the colorfastness test. It takes two minutes and can save a load of fabric.
- Treating stains aggressively. Hot water and oxygen bleach weaken aged fibers; blot, test, then treat.
- Pressing the right side at full heat. A scorch or a permanent shine on silk and rayon will not wash out.
- Storing fabric damp. Fold it while damp and you get a musty smell that is slow to remove later.
- Ignoring the yardage loss. Assume 15 to 20 percent less usable fabric after washing and trimming.
There is one deliberate exception to the always-pre-wash rule, so it is worth stating clearly: quilting cotton. Many quilters skip the wash because they like the slightly textured hand of unwashed cotton for the top layer, and batting is never washed either. If you are quilting, skip it and press the fabric thoroughly before cutting. If the finished quilt will go through a wash cycle later, wash it. Either choice works, as long as you know which one you made.
Tips for Using Thrifted Fabric Successfully
- Choose the project after washing, not before. Two yards of clean usable cloth is a different design problem than two yards with a hole in the corner.
- Cut a half-inch seam allowance. Raw thrift edges fray during sewing as well as during washing, and that little extra absorbs it.
- Lay your pattern pieces on the fabric and check for fading, pilling, or thin spots before you commit to a placement.
- Keep the test swatch from the colorfastness check. Pin it to the fabric with your note so the next person knows what was tested.
- Know when to skip a piece. Heavy fading, widespread moth damage, or a smell that does not lift means the haul is not worth the effort.
- Disassemble with care if you are harvesting yardage from a vintage garment. Open the seams from the inside with a seam ripper, keep the largest intact panels, and expect to lose an inch or more at every opened seam.
Weight matters too when you mix sources. A thrifted denim panel next to a lightweight quilting cotton will not hang the same way, and no amount of clever seaming changes that.
Frequently Asked Questions
Can you sew thrifted fabric without washing it first?
You can, but you are betting on the outcome. Unwashed secondhand fabric carries unknown sizing, unknown dye, and unknown shrinkage, and any of those can show up after your first seam is already stitched. The only common exception is quilting cotton, which many quilters use unwashed for texture. For everything else, washing first is the cheaper option.
What is a good cleaner for vintage fabric?
A mild laundry detergent used in a small amount is the safest starting point. An enzyme detergent works better on protein stains and on fabric that has sat in a closet for years. Wool wash handles wool and delicate knits. Reserve oxygen bleach for sturdy white cotton and check for colorfastness first, since bleach can take dye out of a vintage fabric and leave a pale patch.
How do I know if thrifted fabric will bleed?
Rub test it. Wet a two-inch square of fabric in a hidden spot, press it against plain white cotton, and rub firmly 10 to 15 times. Then wash that scrap alone with detergent and look at the water for dye. Reds, purples, and indigos are the usual culprits. If color transfers, wash the piece by itself with a color catcher sheet and retest once it dries.
What if a vintage garment says dry clean only?
That label tells you about the finished garment, not about the fiber, and many dry-clean-only labels exist mainly because of gluing, lining, or shoulder structure. If you plan to dry clean the finished item, you can hand wash the fabric gently with a mild detergent and dry it flat, which is usually enough. Never machine wash an unlabeled structured piece just because you want to.
How do I get storage smell out of thrifted fabric?
Start with a normal cold-water wash using a small amount of mild detergent, then air dry. For a smell that lingers, soak the fabric for 30 minutes in cool water with baking soda, or add half a cup of white vinegar to the rinse. Enzyme detergent helps with mustiness caused by body oils. A sharp chemical odor that survives all of this is usually in the finish itself, not the fiber.
How do I stop thrifted fabric from fraying in the wash?
Baste the raw edges with a loose running stitch before the fabric goes anywhere near water, then put it in a mesh laundry bag. Overlock or serge the edges if your machine does that, which is stronger than a basting stitch. Nothing fully stops fraying on an already-cut vintage edge, so also add a half-inch seam allowance when you cut the pattern.
Start with sorting, not washing, since the inspection takes five minutes and decides whether the rest is worth your afternoon. Pick up the piece you most want to sew, check its seams and its smell, run the rub test, and let the results tell you how carefully to clean it. Get that habit in place and how to prepare thrifted fabric for sewing stops being the part of the project that worries you.