To prime raw canvas for mixed media, seal the fabric with a flexible white acrylic gesso laid on in two or three thin coats, each dried fully and lightly sanded before the next. Brush the second coat in the opposite direction to the first. Drying time does most of the work, so plan on roughly two days for a small panel.
That is the short version. Everything below is the same process written out so you can follow it without second-guessing halfway through a coat.
Raw canvas is an open weave of cotton or linen with nothing in the way of paint. It drinks, it drags the brush, and it stains. A ground closes those gaps so colour sits where you put it. Painters on r/oilpainting reach the same conclusion from the other direction: when paint is sinking into the fabric instead of sitting on top, the answer is a proper ground, not thinner paint.
Priming also stiffens the fabric slightly and holds a brush stroke instead of letting it feather out. For mixed media that matters twice over, because you are usually stacking glued paper, acrylic, pastel and ink on the same surface, and each layer behaves differently depending on how thirsty the thing underneath it is.
Table of Contents
- What You Need
- Acrylic gesso, oil primer, or something else
- Step-by-Step
- Step 1: Inspect and Prepare the Raw Canvas
- Step 2: Choose the Primer for Your Mixed Media
- Step 3: Mix the Primer to a Usable Consistency
- Step 4: Apply the First Coat
- Step 5: Let Each Coat Dry Thoroughly
- Step 6: Sand Between Coats
- Step 7: Apply Additional Coats and Finish
- Common Mistakes
- Frequently Asked Questions
- Can you paint directly on raw canvas?
- Can I prime canvas without using gesso?
- Should you sand between layers of gesso?
- What is the best primer for canvas?
- Should you gesso a canvas that is already primed?
- What are the disadvantages of gesso?
- Conclusion
What You Need
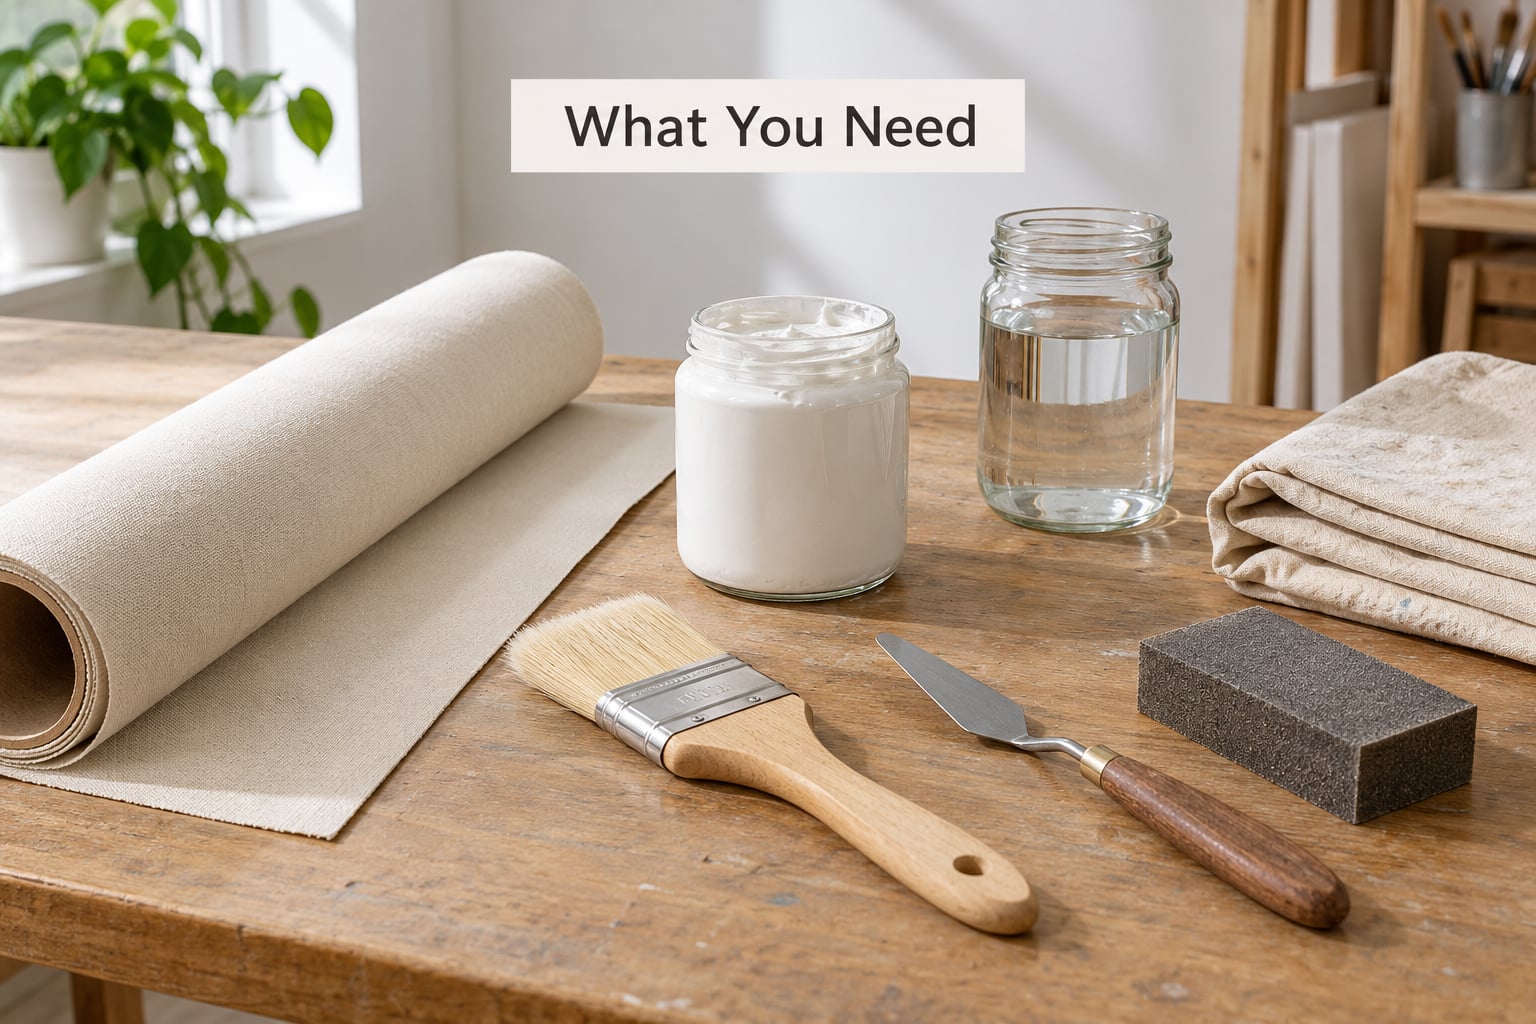
None of this is specialist equipment. Most studios already have most of it.
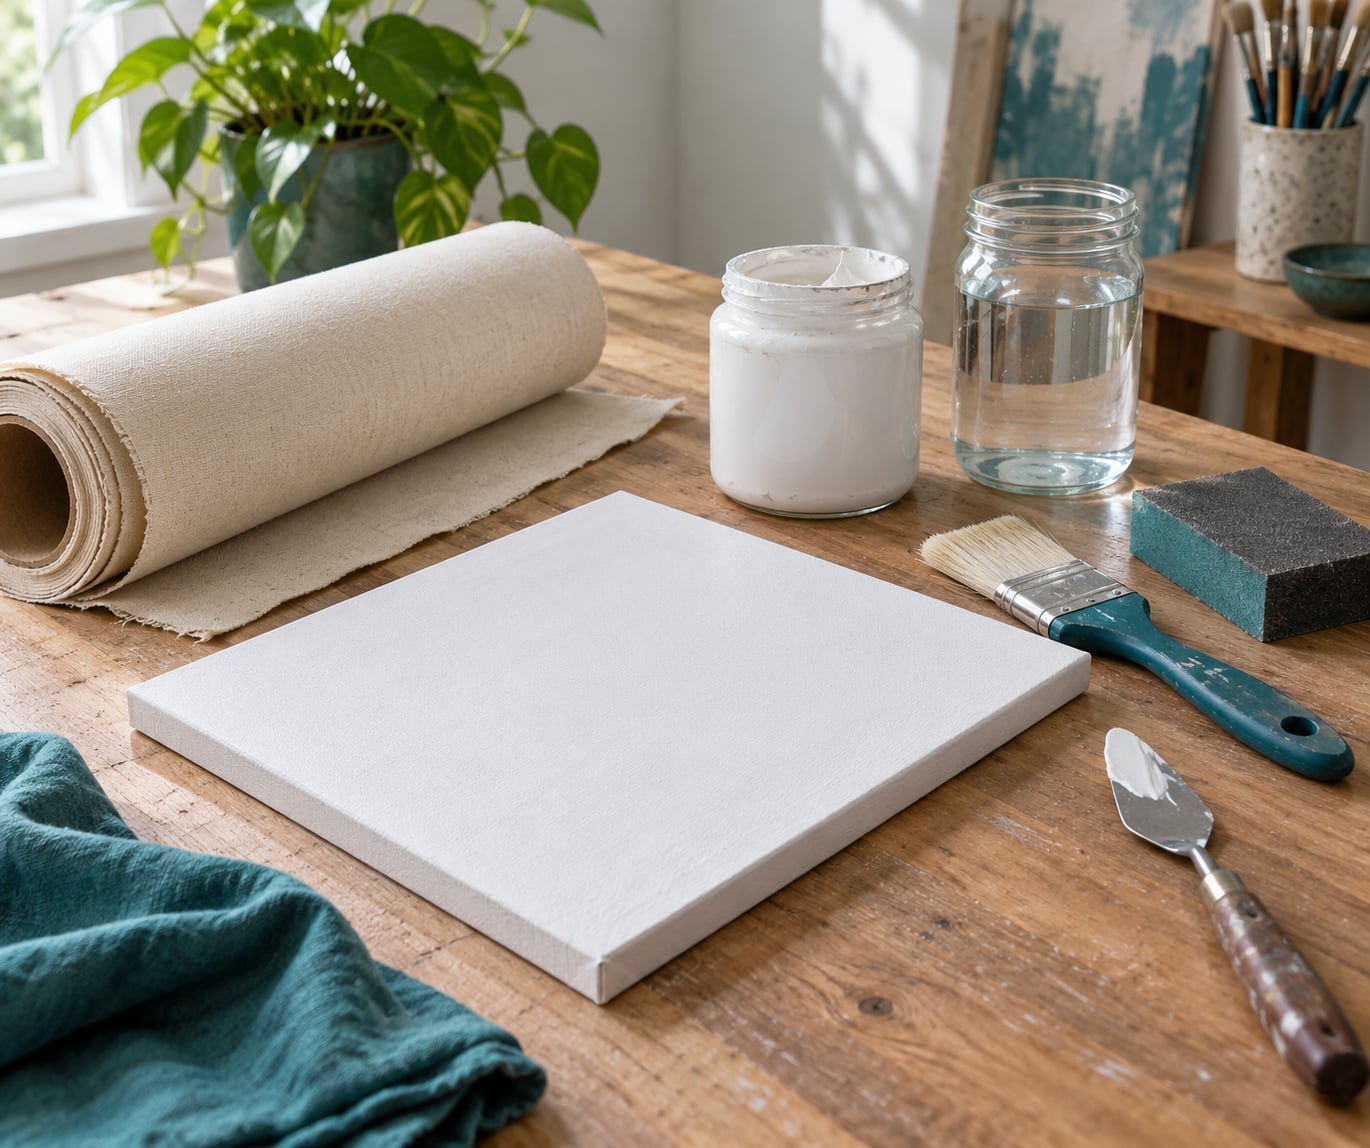
- Raw canvas or canvas duck, medium to heavy weight. Cotton duck is stable and affordable; linen is finer and holds a smoother surface.
- White acrylic gesso for the coats. This is the default choice for mixed media.
- A wide flat soft brush, roughly 2 to 4 inches. Wide matters more than expensive.
- A palette knife, spatcher blade or scraper card if you want a flatter, more even film than a brush gives.
- 220 to 400 grit sandpaper or a small sanding block for levelling between coats.
- Two water containers, one for rinsing the brush and one for thinning. Keeping them apart saves you muddy gesso.
- A mixing cup or palette, a clean rag or tack cloth for dust, and a drop cloth under your work.
- Ventilation, plus a dust mask if you are sanding indoors. Gesso dust is fine and it gets everywhere.
Acrylic gesso, oil primer, or something else
Acrylic gesso is a white, matte, flexible acrylic emulsion. It bonds to cotton duck, sands smoothly, and stays slightly porous, which is what most mixed media wants. It is my default for any stack that mixes acrylic with paper, fabric or pastel.
Oil or alkyd primer is pigmented and oil-based. It makes a much stiffer, less absorbent film and handles heavy oil paint well, because a rigid ground resists the acidic bite of oil. The trade-off is that it sands slowly, brushes less easily, and can look dull under translucent colour. It is not wrong for mixed media, just less flexible if you are layering glue-heavy collage on top.
Absorbent ground, sold for watercolour and ink work, is designed to soak up water and pigment on purpose so you can lift and blend. Coloured grounds and imprimaturas are simply gesso tinted, or gesso with a wash of colour over it, useful when you want the white to stay out of your final image. Pastel and fixative primers are a separate category with extra tooth for soft media.
One word on PVA or school glue. Art supply shops will happily sell it as a cheap primer, and it does size fabric, but it can disintigrate and go brittle inside a painting. Use it as a size under a gesso ground, never as the ground itself.
Step-by-Step
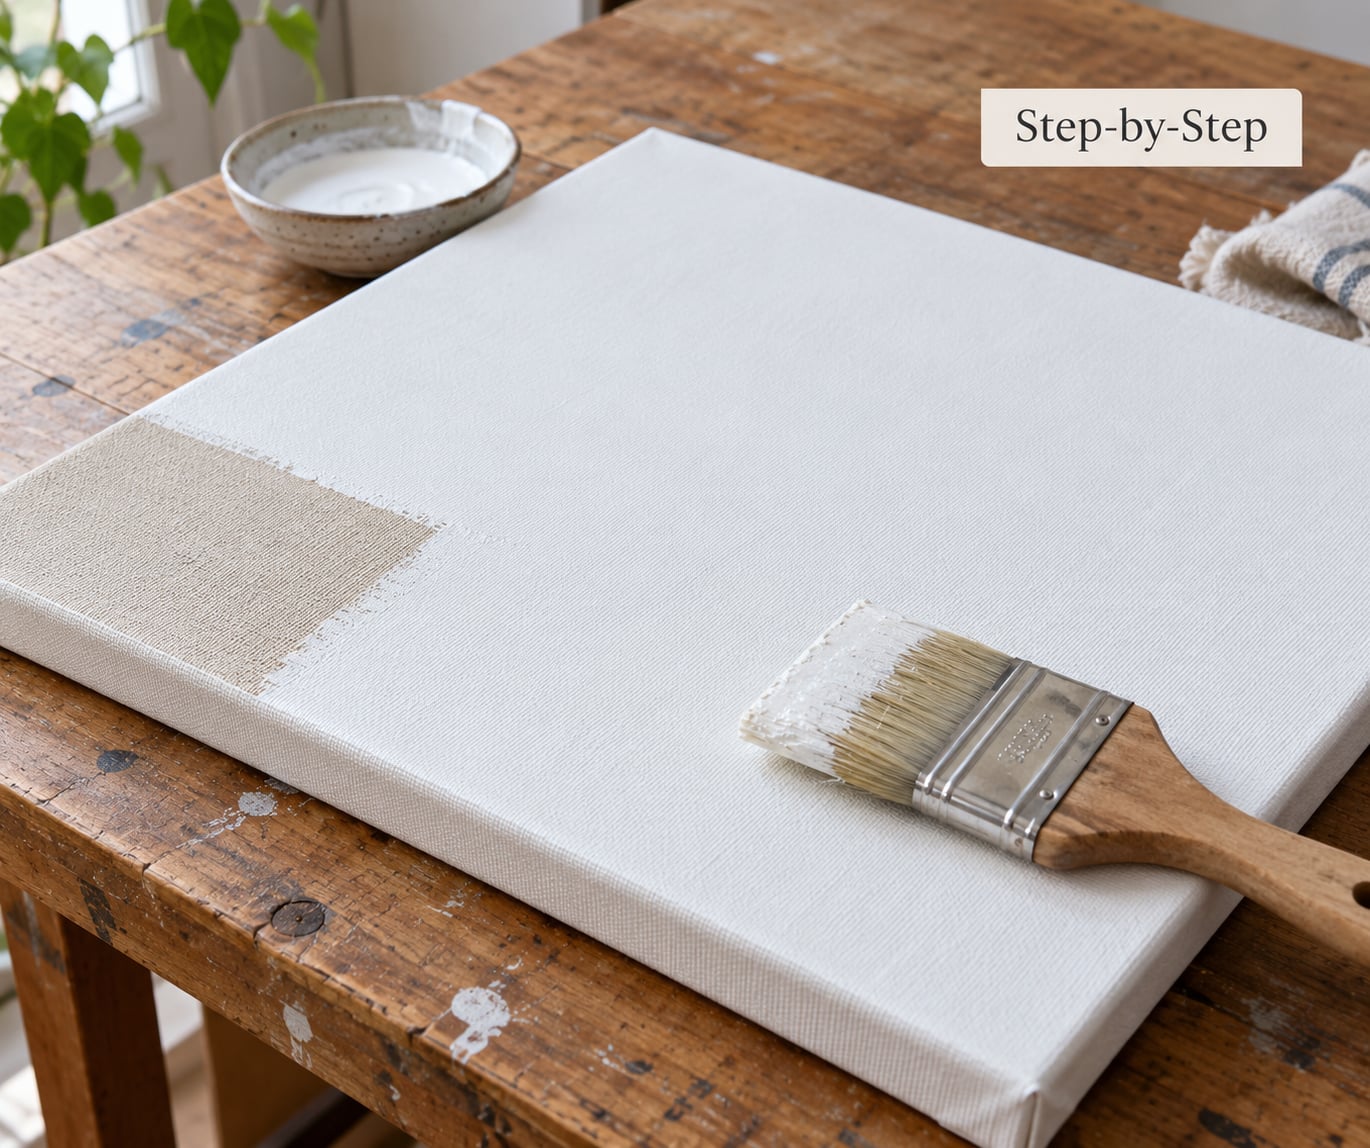
Step 1: Inspect and Prepare the Raw Canvas
Look at the weave before you touch it with anything wet. Check the corners and the edges, and press gently with your palm: a well-stretched canvas feels firm and springs back, a slack one feels hollow and moves under your hand.
Check the reverse too. Many factory-stretched canvases are already sized with a thin glue or acrylic coating, which is good. What you cannot prime over is oil, wax, dirt, sap or a previous coating of anything unknown, so clean that off first with warm water and a little detergent, then let it dry.
Brush off loose fibres and dust. If the canvas is dry cotton duck and feels loose, mist the back lightly with water and let it tighten before you prime. Do not soak the front.
Step 2: Choose the Primer for Your Mixed Media
Match the primer to the heaviest thing going on top of it, because that layer sets the rules for everything beneath.
- Acrylic plus paper collage: white acrylic gesso, two to three coats, sanded between. The film needs to grip glue and paper, and gesso does that without going brittle.
- Acrylic plus pastel or charcoal: gesso with more tooth, or a pastel primer with extra pigment. Light media needs something to hold onto.
- Ink or watercolour on canvas: absorbent ground, so the water spreads and you can lift colour back out.
- Oil over acrylic layers: acrylic gesso is fine underneath, and more flexible than an oil ground, which matters when a rigid film sits under a moving brush.
- Spray paint or acrylic pouring: a smoother, less absorbent ground, because spray needs a sealed surface to sit on rather than soak into.
- Very heavy build-up, impasto or large canvases: an extra coat, and consider oil or alkyd primer for stiffness.
On panels and canvas board, the same rules apply but the substrate does most of the work already, so two coats is usually enough. Hand-stretched canvas that you stapled yourself benefits from a dampening step and a third coat, since a looser weave drinks more.
Step 3: Mix the Primer to a Usable Consistency
Factory gesso is thick enough to slump, especially warm. Loosen it with clean water, a little at a time, and stop before it looks like milk.
For the first coat, thin it to the consistency of heavy cream so it soaks into the weave and seals the fibres. Later build-up coats want to be thicker, closer to soft paste, so they level the surface instead of just filling it.
Pour what you need into a separate cup and work from that. Never put your water, brush or dirty palette back into the original tub. Water in the can thickens it, one rinse of pigment turns the whole batch warm beige, and you will not get that pure white back.
Step 4: Apply the First Coat
Use the wide brush, load it lightly, and work in long even passes from the centre outward. Stay consistent: horizontal strokes across the whole face, then the vertical edges, then the narrow returns.
The goal is to fill the gaps in the weave while still leaving the texture visible. Let the canvas keep a faint grainy texture at this stage. Bare patches, dry brush skipping and puddles all get corrected by the next coat, but running out of gesso halfway through leaves you stuck.
Use a spatcher blade if you want a flatter film. Hold it at a shallow angle and pull across the surface in one direction; the excess collects at the edge and can be reused. Take any build-up off the edges, because a thick ridge there is exactly where the first layer of your artwork will lift later.
Step 5: Let Each Coat Dry Thoroughly
Read the label for a drying time, then treat it as a minimum. Most acrylic gesso wants 24 hours between coats in ordinary room conditions. Warm, dry air around 18 to 25 C with humidity under 50 percent speeds things along; a cool, damp studio can double it.
A dry coat should feel dry all the way through, not just on the surface. Cool to the touch or slightly tacky means water is still moving out of the film, and a second coat applied then will lift the first one instead of bonding to it.
A fan and gentle airflow help. Skip the hairdryer on high heat and never point one straight at the surface, because a fast skin over the top traps moisture in the middle and that is where cracking starts. If you use a dryer, keep it on cool, hold it moving, and keep the dust out.
Step 6: Sand Between Coats
Sand only a fully dry coat. Start with 220 grit if the weave is coarse or the gesso has built up, and move to 320 or 400 if you want a genuinely smooth surface for detail work.
Use light, even pressure with a sanding block. You are knocking down ridges and filling weave valleys, not removing the tooth. Let the block do the work and keep moving, because a hand pressed down in one spot grinds a bald hole through the gesso and exposes raw fabric underneath.
When you see beige canvas through a sanded patch, that is fine at this stage as long as it is a small scuff. Bare fabric means the coat went on too thin or you pressed too hard, so wipe dust away with a damp cloth and let another coat cover it.
Wipe the surface with a clean damp cloth or vacuum the dust off before the next coat. Dust left behind gets sealed in and shows up as speckling in the finished piece.
Step 7: Apply Additional Coats and Finish
Each cross-stroke coat fills the valleys the last one left, which is why the second coat goes in the opposite direction to the first. Two coats is a sensible floor. Three is better for heavy collage, large canvases or a smoother finish.
Two coats is enough on a small panel. Three or more earns its keep on raw duck with a loose weave, on anything you will sand smooth, and on anything that carries glue, tape or heavy collage elements.
Do not go past that. A very thick gesso film becomes brittle as it dries and across seasons, and a ground applied in thick slabs will crack along the weave first.
Stop and test before you build. Run a wet finger lightly across the surface: it should dampen without a dry patch appearing. Add a drop of water and a wipe of black paint to check the tooth is even, and press a scrap of masking tape down to see if adhesion is holding after 24 hours.
Two extra checks are worth the minute they take. Rub a finger over the dry surface to look for a rough patch or a bald spot, and lay a straight edge along the weave to see whether the grain reads evenly in the light. If it does, you are ready to paint.
Now decide the topcoat for your stack. Acrylic layers over a gesso ground can stay as they are, or take a thin clear acrylic medium if you want extra sheen and scrub resistance. Pastel, charcoal and collage paper want a sealing medium or fixative worked into the surface before anything goes on top.
For panels and hand-stretched work, keep the edges and reverse consistent. A thin coat on the returns and the back helps the panel handle humidity swings without warping.
Common Mistakes
Nearly every failure I have seen comes down to one of six things.
Priming dirty canvas. Wax, oil or an unknown coating stops the gesso bonding, and it peels off in sheets later. Correction: clean and dry first, then prime. Prevention: wipe the surface with a damp cloth and inspect it in good light before opening the gesso.
Guessing that a factory-primed canvas is done. Fine for a quick sketch, often too thin for collage or glue. Correction: check for pinholes and weak spots, then add one more coat. Prevention: keep priming your own batch of surfaces so there is always one that suits the job.
Gesso applied too thickly. It slumps, dries hard in the middle and cracks. Correction: scrape back with a blade and rebuild with thinner coats. Prevention: the first coat thin, later coats only moderately heavier.
Skipping the sanding. The surface keeps its lumps, brush skips across high points and the artwork holds texture you did not ask for. Correction: one light pass with 220 grit between coats. Prevention: put the sandpaper next to your gesso so it is an automatic step, not an optional one.
Painting on an unprimed surface and hoping a sealer will fix it. Paint sinks in, colours go dull and blotchy, and later layers lift at the edges. Correction: seal what is there with a clear medium or fixative, then prime over it before continuing. Prevention: prime first, unless you are deliberately going for a raw texture.
That last exception is real. Some acrylic painters on r/acrylicpainting work straight onto dry raw canvas and enjoy the grit of it; r/ArtistLounge has artists doing graphite and acrylic on raw duck, then clear gesso and oil over the top. It works, but it is a style choice and it costs you brightness and edge control, so make it deliberately.
Rushing the drying. Paint applied over a damp coat lifts and bubbles. Correction: wait the full time on the label and double it in a damp room. Prevention: airflow and a second dry day, not a hairdryer on hot.
Sand too hard. You grind through the ground and expose fabric, which then drinks the next coat. Correction: wipe and cover with another coat. Prevention: a sanding block and light pressure.
Choosing the wrong primer for the stack. An absorbent ground under spray paint, or a slick oil primer under heavy collage, both cause adhesion problems. Correction: match the ground to the heaviest medium. Prevention: decide the full stack before you prime, not halfway through the collage.
Two more worth naming: stretching slack canvas yourself and ignoring it. Buckled corners ruin a piece no matter how well it is primed, and slack fabric moves under a brush. Tighten it with extra staples and a little tension, or start again on stretcher bars.
And keep primed surfaces stored flat or leaning against a wall, face to face is fine, dust out of the air and off the surface. Once you have a small batch of properly primed panels you will stop rushing this job entirely.
Frequently Asked Questions
Can you paint directly on raw canvas?
Yes, and plenty of acrylic painters do it on purpose for the texture. The trade-off is brightness and control: colour soaks in, the first layer goes blotchy and paper or tape is more likely to lift at the edges. For mixed media, prime first. Raw canvas works when that untreated look is part of the piece.
Can I prime canvas without using gesso?
You can. An oil or alkyd primer is the usual alternative, and it gives a stiffer, less absorbent film suited to heavy oil work. A thin glue size followed by paint is another route, but PVA used as a full primer can disintigrate and go brittle inside the work. A diluted watercolour ground is fine for ink and wash.
Should you sand between layers of gesso?
Yes, one light pass between coats. Use 220 grit to level a coarse weave and 320 or 400 for a smoother surface. Keep pressure light, wipe the dust away afterwards, and never sand a coat that is still cool or damp. Sanding a fully dry film knocks down ridges without taking the tooth away.
What is the best primer for canvas?
For mixed media, flexible white acrylic gesso is the safest default: it grips glue and paper, sands smooth and stays slightly absorbent. Absorbent ground wins for ink and watercolour. Oil or alkyd primer wins for stiff, less thirsty oil painting surfaces. Pick based on the heaviest medium in the stack, not on a single universal answer.
Should you gesso a canvas that is already primed?
Only if the existing coat is thin or weak. Scrape a thumbnail across it: if it lifts, flakes or shows pinholes and beige fabric, add a coat. If it is sound, a light sand is enough and a new coat is wasted effort. Factory-primed canvas from a shop is usually fine for acrylics as it stands.
What are the disadvantages of gesso?
The main one is brittleness when it is applied thickly, which leads to cracking and flaking along the weave. It also sands to powdery dust, adds drying time, and leaves the surface absorbent, so it cannot take spray paint or spray fixative directly. Used thin and dried properly, those problems mostly disappear.
Conclusion
Start by deciding your full stack of media, then prime raw canvas with two or three thin coats of white acrylic gesso, cross-stroked, dried 24 hours between coats and lightly sanded at 220 to 400 grit.
Before you open the tub: the canvas is clean and dry, it is tight enough not to flex under your hand, your first coat is thinned to cream and your build-up coats stay no thicker than soft paste.
Give it the full drying time, then wipe on water and a little black paint to check the surface. If both behave evenly, you have a ground that will hold collage, pastel, ink and acrylic without any of them sinking in or lifting later. That is what priming raw canvas for mixed media is actually for.