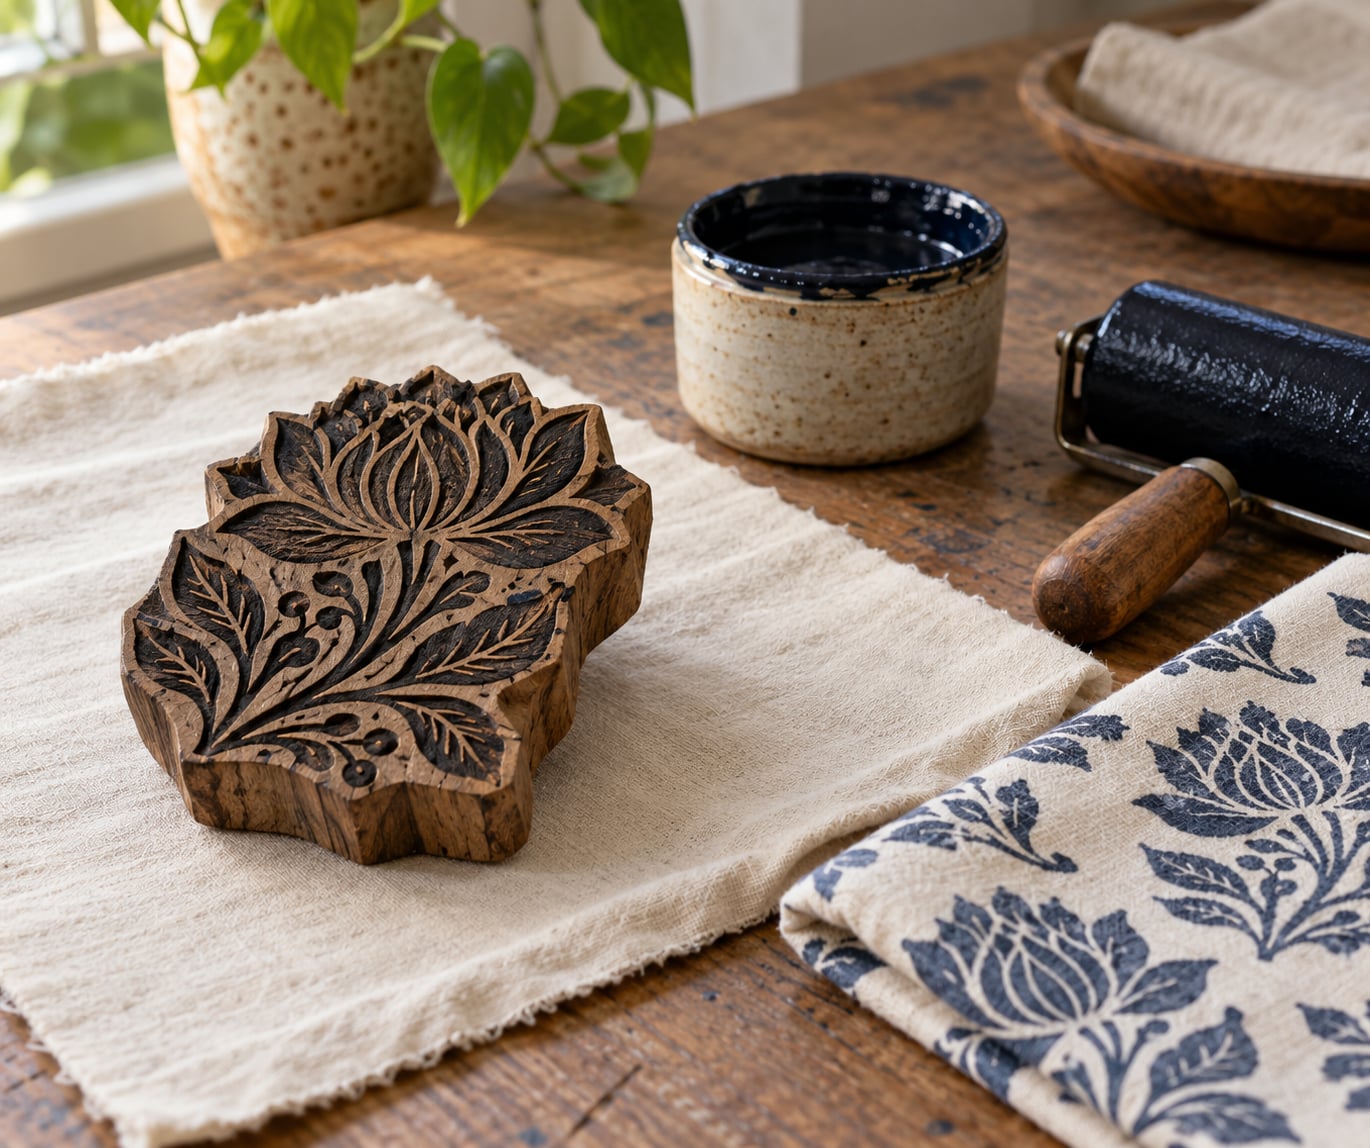
How to print fabric with hand carved stamps comes down to relief block printing: carve a design in reverse into a soft block or linoleum, roll ink onto the raised surface with a brayer, then press it onto pre-washed fabric by hand. The whole thing takes about ten minutes once you have the hang of it, and every impression is slightly different, which is the reason people keep doing it.
If you are new to it, my advice is to make three test prints before you touch the panel, garment or towel you actually care about. Almost every beginner problem I see comes down to one of three things: too much ink, uneven pressure, or fabric that still has sizing in it.
Table of Contents
- What You Need
- Which block material should you carve?
- Which ink should you use on fabric?
- Step-by-Step: How to Print Fabric with Hand Carved Stamps
- 1. Prepare and Test the Fabric
- 2. Choose and Prepare the Stamp
- 3. Choose Ink or Paint for the Fabric
- 4. Ink the Stamp Correctly
- 5. How to Print Fabric with Hand Carved Stamps: Even Pressure
- 6. Layer, Repeat, and Create Variations
- 7. Dry and Fix the Print
- Common Mistakes and How to Fix Them
- Frequently Asked Questions
- Can I block print on fabric?
- Which fabric is best for block printing?
- What are the best stamps for fabric printing?
- How do I make my own fabric stamp?
- How long should a fabric print take to dry and how do I set it?
- Is block printing on fabric beginner friendly?
- Conclusion
What You Need
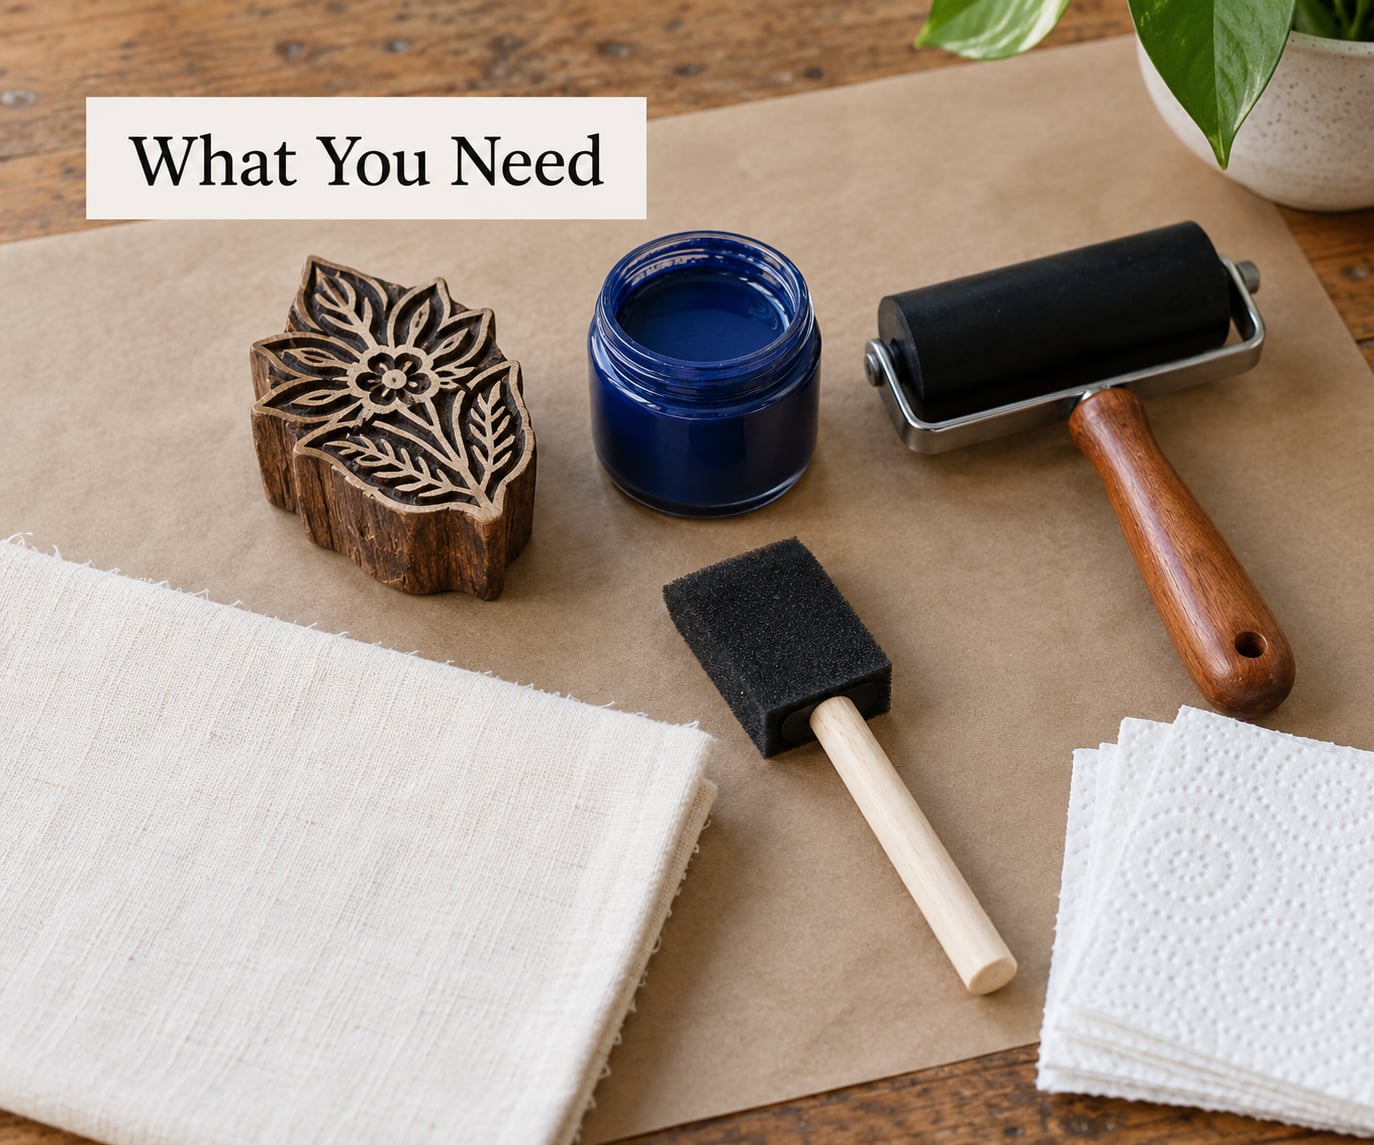
Start with a short list. You can block print fabric with a surprisingly little equipment, and adding tools later is cheaper than buying everything at once.
Essentials:
- A hand-carved block, or a blank soft-carve or lino block plus cutters
- Plain fabric in a natural or white colour
- Fabric block printing ink, acrylic fabric paint, or a textile medium mixed with acrylic
- A flat printing surface such as a melamine board, acrylic sheet or a table covered with paper
- A brayer (a small roller) with a foam or rubber surface
- Paper towels, a sponge and a scrap of muslin for testing
- An iron for heat setting, plus a pressing cloth
Useful additions: a baren for extra pressure, a hair dryer or heat gun for speeding drying between colours, tweezers for lifting ink-filled fibre crumbs, and a small jar of water for cleaning the brayer between colour changes.
Which block material should you carve?
Soft carve rubber is the usual starting point for fabric work because it forgives imprecise cutting. Hard lino gives finer detail but punishes hesitation. Here is how the common ones compare.
| Block material | Best for | Carving feel | Durability |
|---|---|---|---|
| Soft carve rubber | Beginners, bold shapes, fabric printing | Soft, forgiving, easy to cut | Good for hundreds of impressions |
| Linoleum | Fine detail, lettering, small batches | Firm, needs a sharp blade | Very good |
| Rubber stamp block | Quick repeat prints with a handle | Pre-cut designs only | Very good |
| Wood engraving block | Small detailed motifs | Very hard, specialist tools | Excellent |
| Craft foam | Cheap experiments, kids’ projects | Trivial to cut with scissors | Low, ink dries it out |
For fabric specifically, makers in the community groups I follow almost all land on Speedball Speedy Carve style soft blocks. They are widely sold, take ink well and survive a thimble full of impressions before the edges crumble.
Which ink should you use on fabric?
Ink choice matters more than block choice for wash durability. Every ink behaves differently on cotton versus linen, and none of them behave the same on polyester.
| Ink or medium | Best fabric | Wash durability | Drying behaviour |
|---|---|---|---|
| Water-based textile printing ink | Cotton, linen, muslin | Good after heat setting | Dries fast, can dry on the block |
| Oil-based printing ink | Cotton, heavy fabric, paper | Very good | Stays open longer, harder to wash out |
| Acrylic fabric paint | Cotton and blends, opaque coverage | Good with a textile medium | Fast, slightly stiff hand |
| Fibre reactive dye | Natural fibres, soft hand, tonal effects | Excellent when hot-set | Needs heat and a longer cure |
| Screen printing ink | Experienced printers, bold solids | Very good on cotton | Slow to clean up |
Water-based textile ink is the one I recommend for a first fabric printing session. It cleans out of the brayer with soap and water, and it is forgiving if you make a mess.
Step-by-Step: How to Print Fabric with Hand Carved Stamps
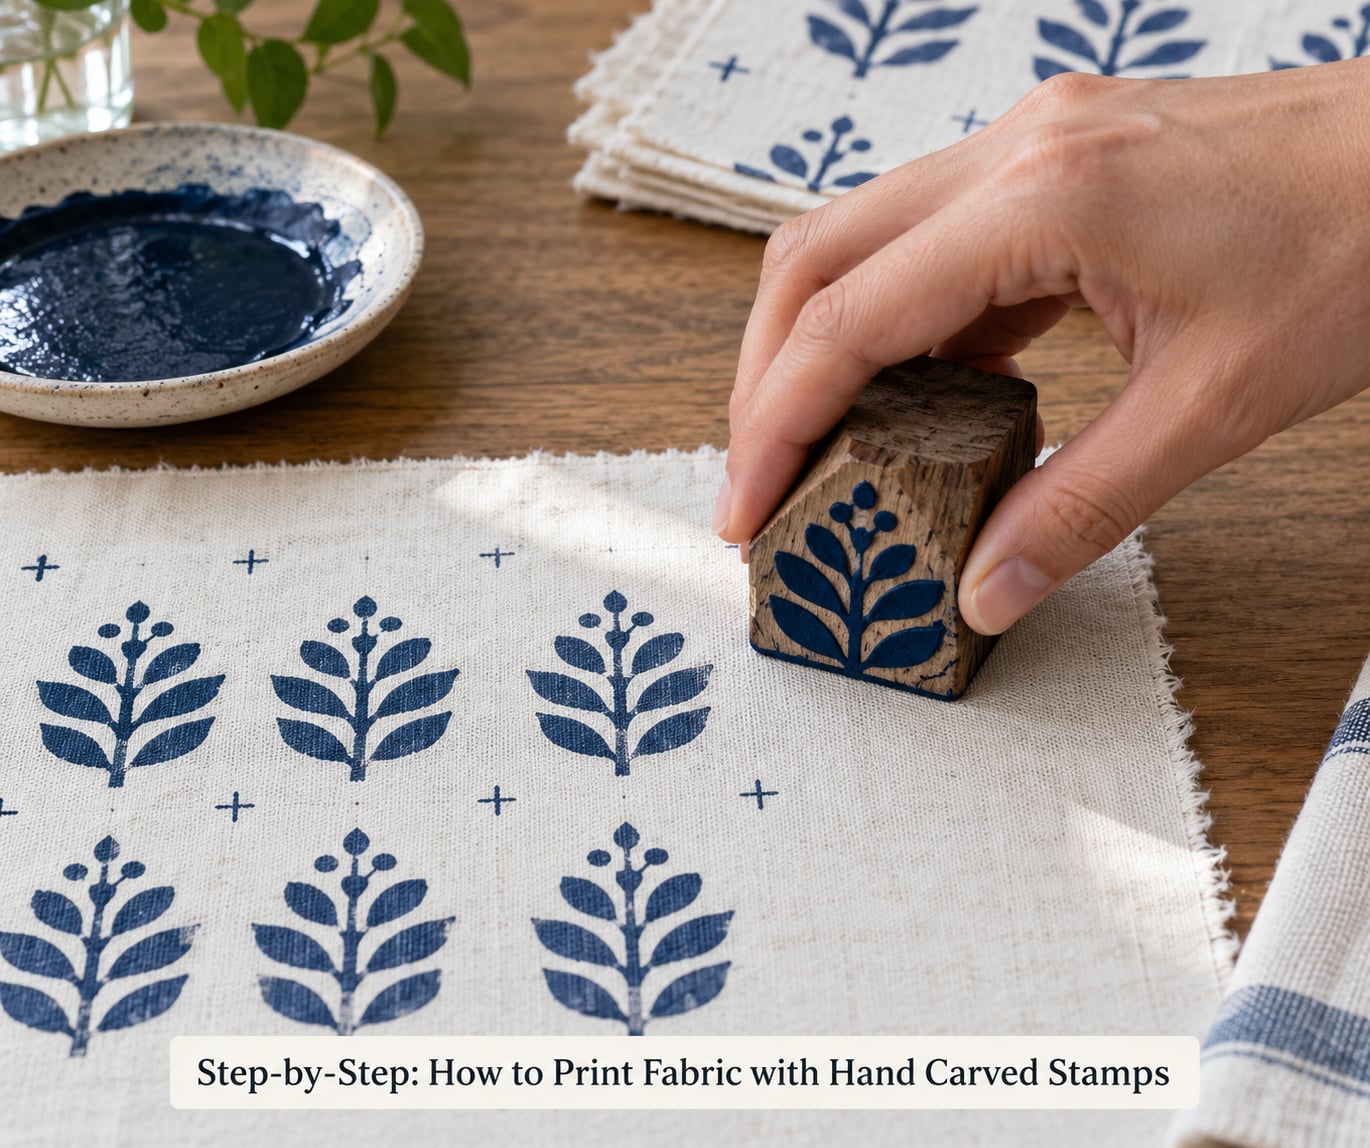
Here is the sequence that works, in the order I would actually do it. Seven steps, and the order matters more than people expect.
1. Prepare and Test the Fabric
Prewash the fabric without softener, then dry it and press it flat. Mill starches and fabric finishes sit on new cloth and make ink bead on the surface instead of soaking in, which is the single most common reason a first print looks weak.
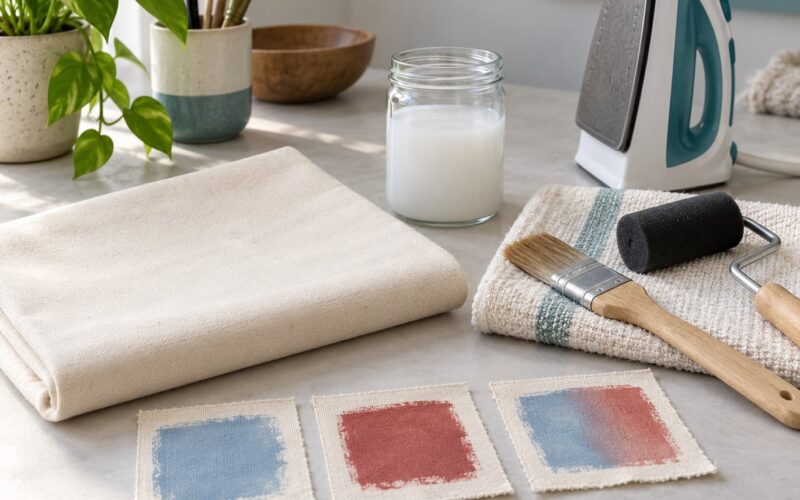
Next, test the cloth. Draw a small square of ink on a scrap of the same fabric with a brush, let it dry, and wash it. If the colour stays put, your ink suits the fibre. If it feathers into the weave or lifts when you rub it, change the ink rather than changing your technique.
For a large panel, stretch the fabric and staple or tape it to a board so it cannot shift under pressure. For small pieces like a tea towel corner, a flat table is enough.
2. Choose and Prepare the Stamp
Your design has to be carved in reverse, because the block prints as a mirror of whatever you cut. That matters for lettering and less for a leaf or a spiral, but transfer the design mirrored before you start cutting anything.
Transfer with tracing paper or a carbon transfer sheet, then cut away the areas that should stay blank. A relief depth of roughly 3 mm is plenty; there is no benefit to cutting deeper and you will only weaken the block.
Work from the outside in, clearing large spaces first with a U-gouge, then shaping with a V-gouge. Brush away the cuttings and give the surface a quick wipe so no loose fibre is left to roll into the ink. A small trim of the outer edge gives you a clean, straight registration border, which is how you keep a repeat pattern lined up.
3. Choose Ink or Paint for the Fabric
Scoop a small amount of ink onto a non-porous surface or palette and work it back with a palette knife until it is smooth. Thick, lumpy ink prints as lumps; ink thinned with a little water or textile medium prints as a thin film that soaks into fibre better.
Natural fibres such as cotton, linen and muslin take ink readily. Rayon and silk accept water-based ink with care. Polyester, nylon and most blends are the problem cases: they repel water-based medium, need a synthetic-compatible ink, and heat setting has to be done on the reverse or the fabric can scorch or glaze.
Run a scratch test on the actual fabric before you commit. Ink sitting on top of the cloth with no absorption is your signal to switch media.
4. Ink the Stamp Correctly
Load the brayer by rolling it out on a clean area first, then roll back over the ink three or four times until the foam is evenly loaded. You want a film of ink on the roller, not a thick coat sitting in the nap of the foam.
Roll the block face up and roll the brayer over it in a light, even pass, starting at one end and moving in a single direction. Many thin coats beat one heavy coat. Then make two or three passes over the same block, letting each dry a little in between, to build coverage without puddling.
Re-ink after every one or two impressions. A block left uninked picks up dust, the ink starts to skin over, and you get that pale, patchy print everyone recognises.
5. How to Print Fabric with Hand Carved Stamps: Even Pressure
Whether you carved lino or a soft block, the print itself is the same motion. Lay the fabric flat, position the block, and press straight down with the heel of your hand. Rocking or dragging the block while it is down smears the design and pulls the edges out of line.
Hold steady pressure for two to three seconds so the ink transfers, then lift straight up in one motion. Do not peel a corner, which lifts the fibres and leaves a pale corner on the print. When you lift, the block should feel faintly tacky against the cloth; if it sticks hard, the ink is too thick.
Lift, check, and test the second impression before continuing a row. Look for skipped areas, heavy edges and pooling. If the print is weak, add a pass; if it is plasticky and shiny, scrape off excess ink and start over with a lighter coat.
6. Layer, Repeat, and Create Variations
For a repeat pattern, mark the fabric lightly with a pencil or tailor’s chalk to set your grid, then register each impression to the same marks. A border block with a straight carved edge is the single most useful thing to carve, because it gives every repeat a reference line.
Rotate the block a quarter turn, print it upside down, or swap colours halfway down a row. Deliberate overlap, where a new print crosses the edge of the last one, gives a layered look that reads as intentional only if you let each layer dry enough not to lift the one underneath.
Budget for drying time when planning a batch. A small ink load covers roughly three to five medium impressions before it needs re-inking, and a printed row should lie flat for at least 15 to 30 minutes before you handle it again or flip it over.
7. Dry and Fix the Print
Let the print dry completely before you touch it. Most water-based textile inks need a few hours; thick layers can take overnight. Speed it with a hairdryer held at a distance if you are working in a small room.
Heat set the dried print with a hot iron on the reverse of the fabric, using a pressing cloth, for two to three minutes per area, following the ink manufacturer’s instructions. Fibre reactive dyes usually want a longer hot soak. Work in a ventilated room, keep ink off skin, and follow the safety data for anything solvent-based.
Then wait a few days before the first wash, wash cool, inside out, and skip the fabric softener. Softener coats the fibre and holds ink against it, so it shortens the life of the print.
Common Mistakes and How to Fix Them
Almost every disappointing fabric print comes down to ink load, pressure, drying or preparation. Here are the symptoms I get asked about most, with the fix for each.
The print looks patchy and inconsistent. The block is drying out between impressions, or you skipped re-inking. Re-ink every one to two prints, and if the ink skins over on the block, wipe the face with a damp cloth and reload.
The print is shiny, plasticky, or has thick spots. Too much ink went on the brayer. Roll the brayer out on a clean surface before touching the block, and build coverage with two thin coats instead of one heavy one.
The design bleeds or blurs into the weave. Either the ink is too watery or the fabric is too absorbent. Thicken the ink, press harder for a longer hold, and consider a tighter weave such as poplin instead of loose muslin.
Words or letters come out backwards. The design was carved the right way up. Nothing fixes it on the fabric; trace the design mirrored next time, or print onto a fusible and use a transfer method instead.
The ink will not adhere to a synthetic garment. Standard water-based block printing ink is not built for polyester or poly blends. Use a synthetic-compatible medium and heat set on the reverse, or accept a temporary surface print that will need a fabric-safe fixative.
The print cracks, peels or fades after one wash. Heat setting was skipped or rushed, or the print was washed before it had cured. Heat set fully, wait about three days, then wash cool and inside out.
The block edge crumbles while carving. The blade is dull or you are cutting thin sections against the grain. Use a sharp blade, cut with the softer blocks last, and leave a slightly wider border than you think you need.
Repeats drift out of alignment. The fabric shifted under pressure. Stretch and tape the fabric down, and register every impression to a drawn grid or a straight carved border edge rather than eyeballing it.
You are printing straight onto a thrifted garment. Seams, pockets, buttons and topstitching are awkward. Print on a flat panel first and sew it on, or choose placements on the back of the garment where the surface is plain.
Frequently Asked Questions
Can I block print on fabric?
Yes. Block printing on fabric is a centuries-old technique that needs no press, no studio and very little equipment. Carve a design into a soft block, roll it with a brayer, and press it onto pre-washed cotton or linen. The main limits are synthetic fabrics, where most water-based inks will not bond, and printed garment seams, which make a flat surface hard to find.
Which fabric is best for block printing?
Undyed cotton and linen are the most reliable. Muslin, poplin and quilters cotton take ink well and forgive a beginner’s uneven pressure. Linen gives a beautiful textured result once the slubs catch the ink. Silk and rayon work with water-based textile ink if you keep the ink thin. Polyester, nylon and poly blends are the hard cases, needing a synthetic-compatible medium and heat setting on the reverse.
What are the best stamps for fabric printing?
Soft carve rubber blocks are the usual pick for fabric because they are forgiving to carve, take ink evenly and survive many impressions. Linoleum blocks give finer detail for lettering and small motifs but need a sharp blade. Wood engraving blocks last longest and are the least forgiving. Craft foam works for a first experiment but the ink tends to dry it out after a few dozen prints.
How do I make my own fabric stamp?
Transfer your design to the block mirrored, then cut away the areas that should stay blank. Clear large spaces with a U-gouge and shape detail with a V-gouge, working from the outside in. A relief depth of about 3 mm is plenty. Brush off every cutting, then test the block on scrap muslin with a thin coat of ink before you commit to fabric you care about.
How long should a fabric print take to dry and how do I set it?
Let the print dry fully before touching it. Thin water-based layers dry in a few hours and thick ones may need overnight. Once dry, heat set it with a hot iron on the reverse of the fabric with a pressing cloth for two to three minutes per area, following the ink manufacturer’s instructions. Then wait about three days before the first cool wash, done inside out.
Is block printing on fabric beginner friendly?
It is one of the more forgiving textile techniques. There is no expensive equipment and the process has only a handful of steps. The first few prints usually look heavy and slightly uneven, which is normal and improves fast. Printing three test swatches before you start on a finished piece will teach you almost everything you need to know.
Conclusion
Start by testing your stamp and ink on a small scrap of the same fabric you plan to print. Take three impressions, adjust the ink load and the pressure until the print is even with no shine and no skipped lines, and only then move to a larger panel or a thrifted garment. Once the test swatch looks right, the rest is just repetition and a hot iron.