Knowing how to blend oil pastels on fabric comes down to three things: soften the wax, work it into the weave with light pressure, and give the oil binder time to soak in before you seal anything. The short version is that you lay down thin layers, blend while the surface is still buttery with a finger, a paper stump or a cotton swab dipped in rubbing alcohol, then wait several days before you heat set the piece. Most beginners who struggle are fighting the medium too hard instead of working with it.
Oil pastels are pigment suspended in a non-drying oil and wax. That wax is why they feel creamy and why they refuse to mix the way oil paint does. Warmth and friction melt the surface slightly, and a drop of solvent dissolves the oil binder so two colours can actually merge rather than sit next to each other. On fabric you get one extra problem the paper tutorials never mention: the weave grabs the pastel, so a careless blend pulls the colour out of the cloth instead of spreading it.
This guide covers the whole process, from choosing cloth to a piece you can wash. It takes about 20 minutes per shirt, plus curing time you do not have to sit and watch. No special equipment, and no products you cannot borrow.
Table of Contents
- What You Need
- Step-by-Step
- 1. Prepare and Test the Fabric
- 2. Apply a Light First Layer
- 3. Blend the Colors While They Are Soft
- 4. Build Layers and Add Texture
- 5. Fix and Protect the Finished Fabric
- Common Mistakes
- Frequently Asked Questions
- Can you blend oil pastels directly on any fabric?
- Do I need to prime fabric before using oil pastels?
- What is the best tool for blending oil pastels on fabric?
- Will oil pastel wash out or flake after it dries?
- How do I make oil pastel colors blend smoothly without becoming muddy?
- How long should I wait before fixing and handling blended oil pastel fabric?
- Conclusion
What You Need
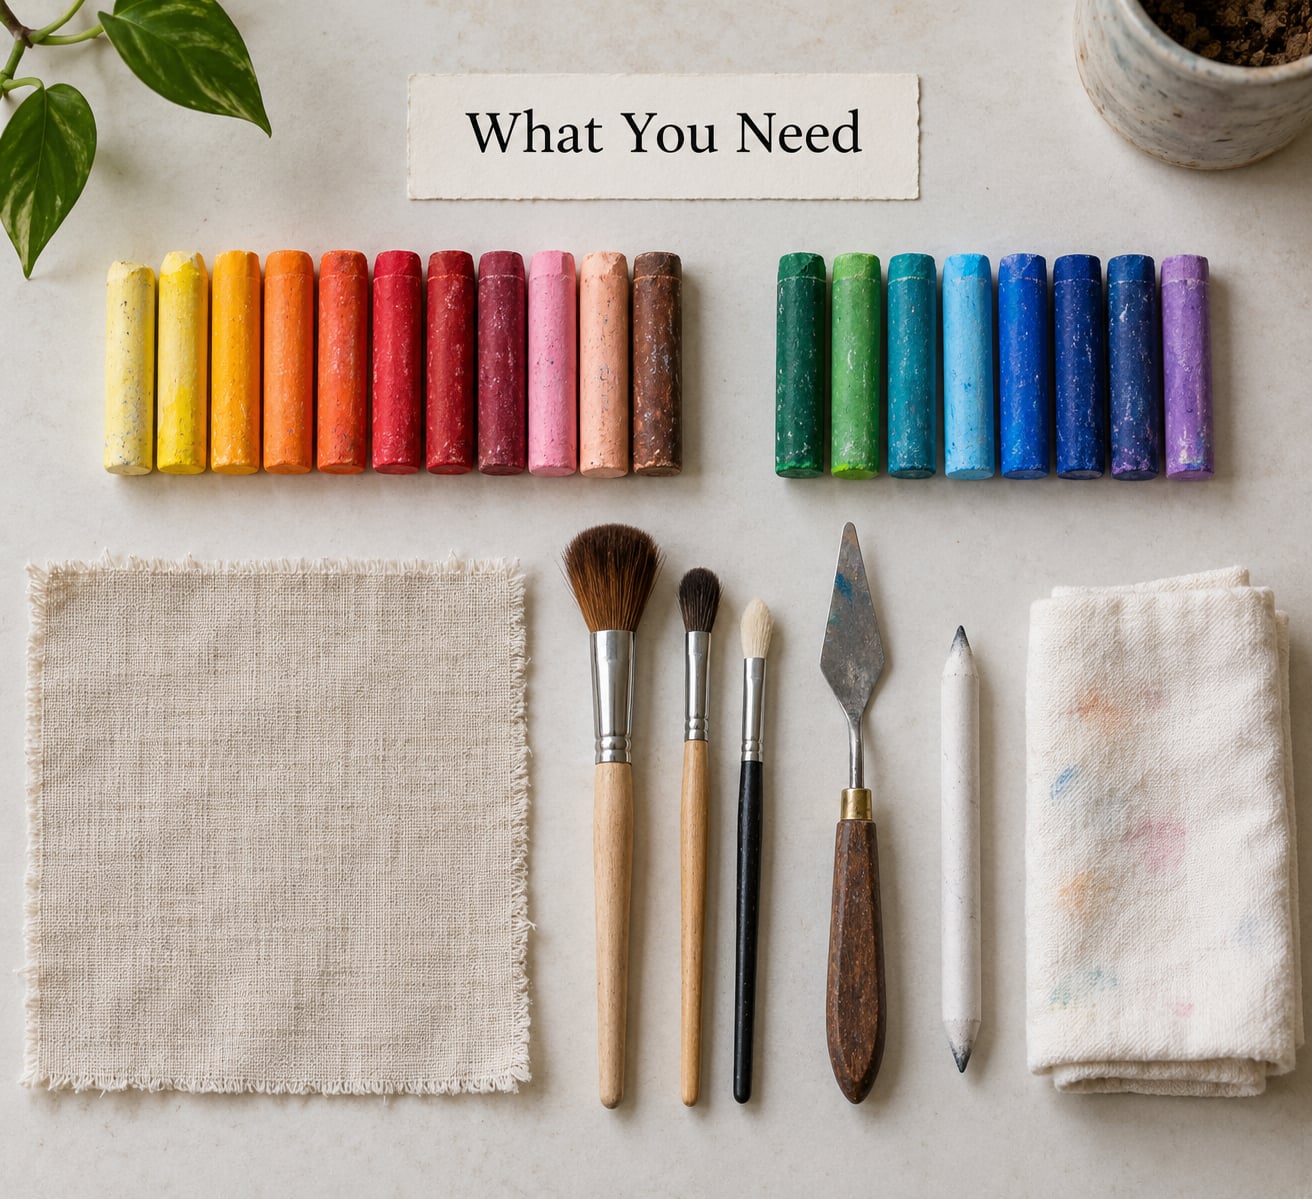
The materials list is short, and most of it you probably already own.
Fabric. Medium-weight cotton or a cotton-linen blend works best because the weave has enough tooth to grip the wax. Denim and canvas are excellent too. Very smooth synthetics and tightly pressed sateen are the hardest, because the pastel slides and lifts instead of catching.
Oil pastels. Grade matters more here than brand. Extra-soft sticks such as Sakura Cray-Pas Expressionist or Monte Marte blend with almost no pressure, while hard and mid-range sticks need a solvent or a lot of warming first. Beginners often assume a brand is the problem when the real issue is the hardness.
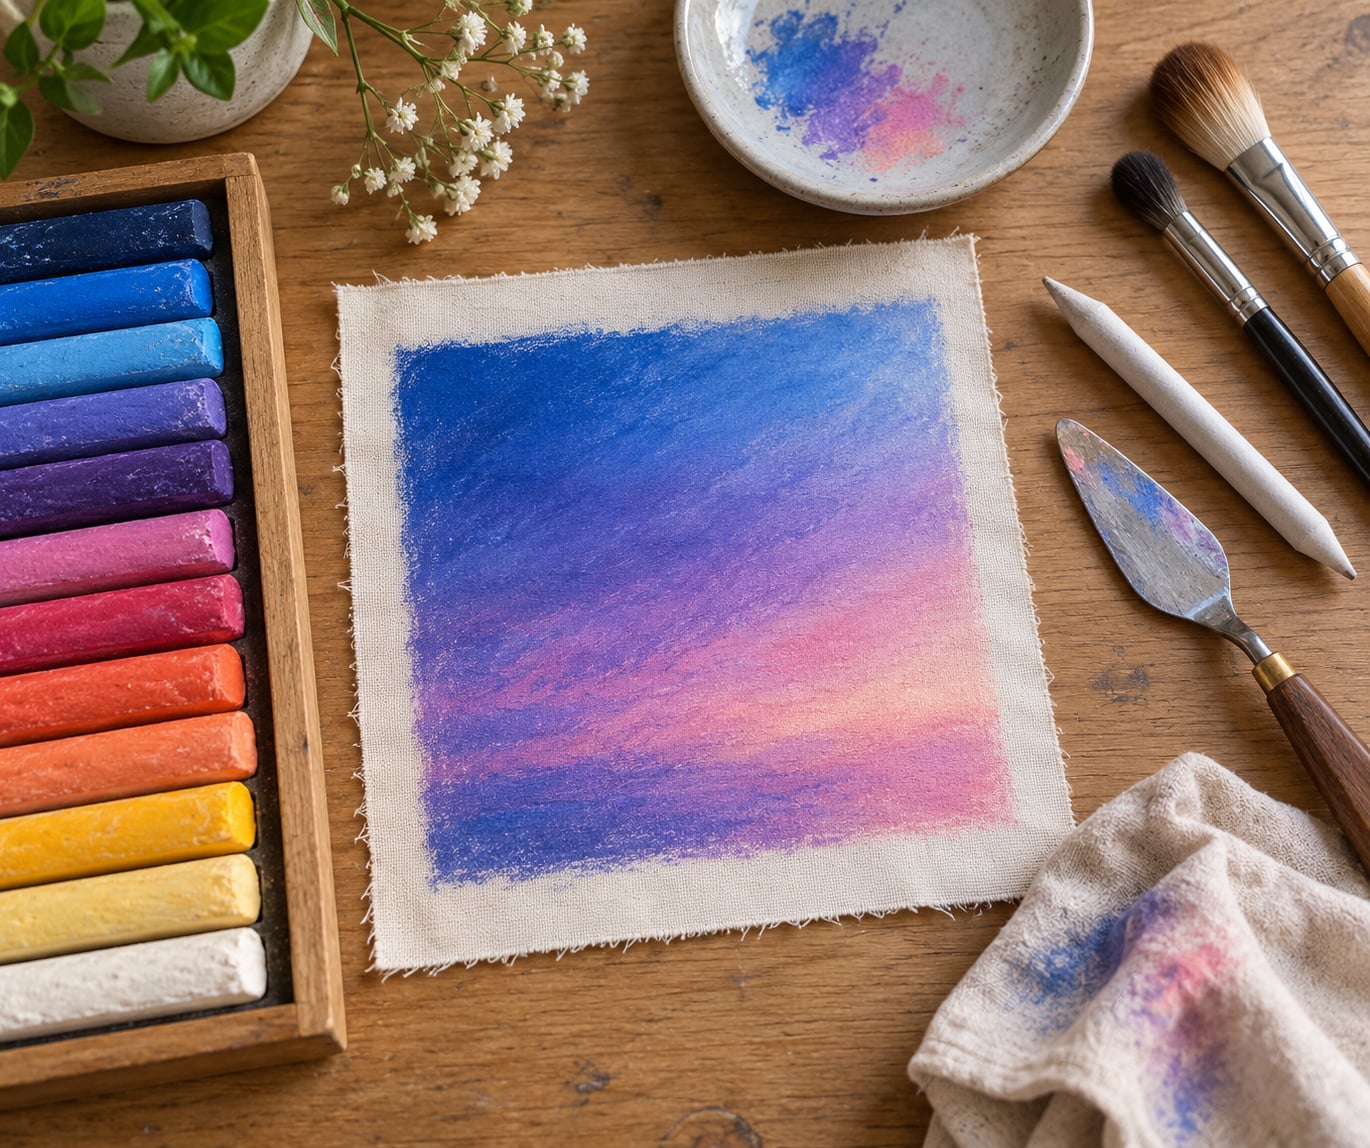
Blending tools. A paper blending stump (tortillon) is the workhorse. A cotton swab and a small bottle of rubbing alcohol handle tight areas. Soft round brushes, a silicone sculpting tool, or a scrap of soft cloth all work for larger areas. A palette knife lifts and moves wax when you want sharper edges.
Sealing options. Acrylic fabric medium or textile medium brushed over cured dry media, or heat alone through a pressing cloth. Aerosol fixative is a paper product and is not what you want on cloth.
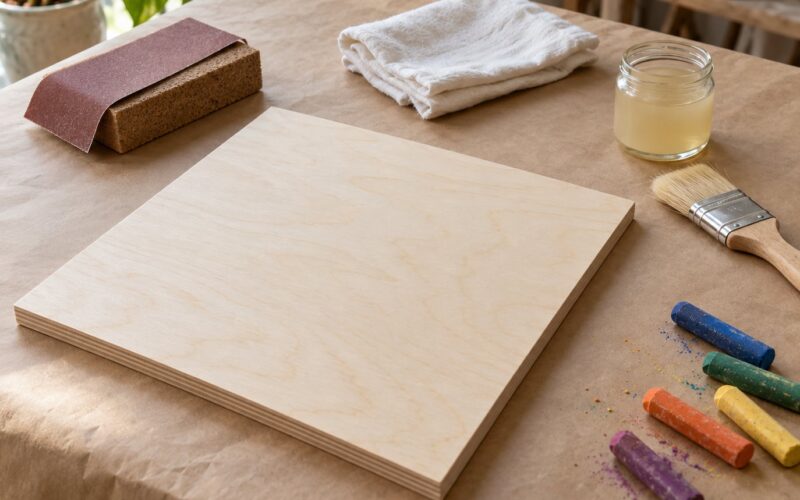
Protective supplies. A sheet of scrap paper or freezer paper under your work, a clean table, and window ventilation if you are using solvents.
Step-by-Step
1. Prepare and Test the Fabric
Wash the fabric first, before any pastel goes near it. Most cottons and linens arrive with a starch or cellulose sizing that sits on the fibre and repels oil; one wash cycle in warm water with detergent strips most of it. If you skip this, expect patchy adhesion and a piece that flakes where it was thickest.
Iron the fabric while it is still damp, then let it cool flat. You want a smooth, wrinkle-free surface with the weave open rather than flattened shut.
Prime only when you need to. A spray-on gesso or acrylic base gives hard pastels something to bite into, but it fills the tooth, so skip it if you are using extra-soft sticks on cotton. A thin coat of matte medium sprayed onto the cloth and left to dry works as a blending base and is a good idea on smooth fabric.
Then test. Scrape a small patch of each colour you plan to use onto a scrap of the same cloth, blend it, and wait a day. You are checking two things: does the colour grip, and does it stay put when you rub it with a finger. This five-minute test saves the whole project.
2. Apply a Light First Layer
Apply the first layer thin and broken, with gaps of fabric still showing between the strokes. Heavy first coats turn into waxy plates that nothing will blend into later.
Work light to dark. Starting with the lighter colour and moving toward the darker one gives you a long ramp to blend across, which is what stops a transition from looking cut out with scissors. Leave your lightest values as thin marks on bare cloth if you want the fabric itself to be the highlight; that is easier than trying to paint white in later.
Hold the pastel at a low angle, almost flat, and use the side of the stick. That lays down a film rather than a ridge, and a film blends; a ridge just sits there.
3. Blend the Colors While They Are Soft
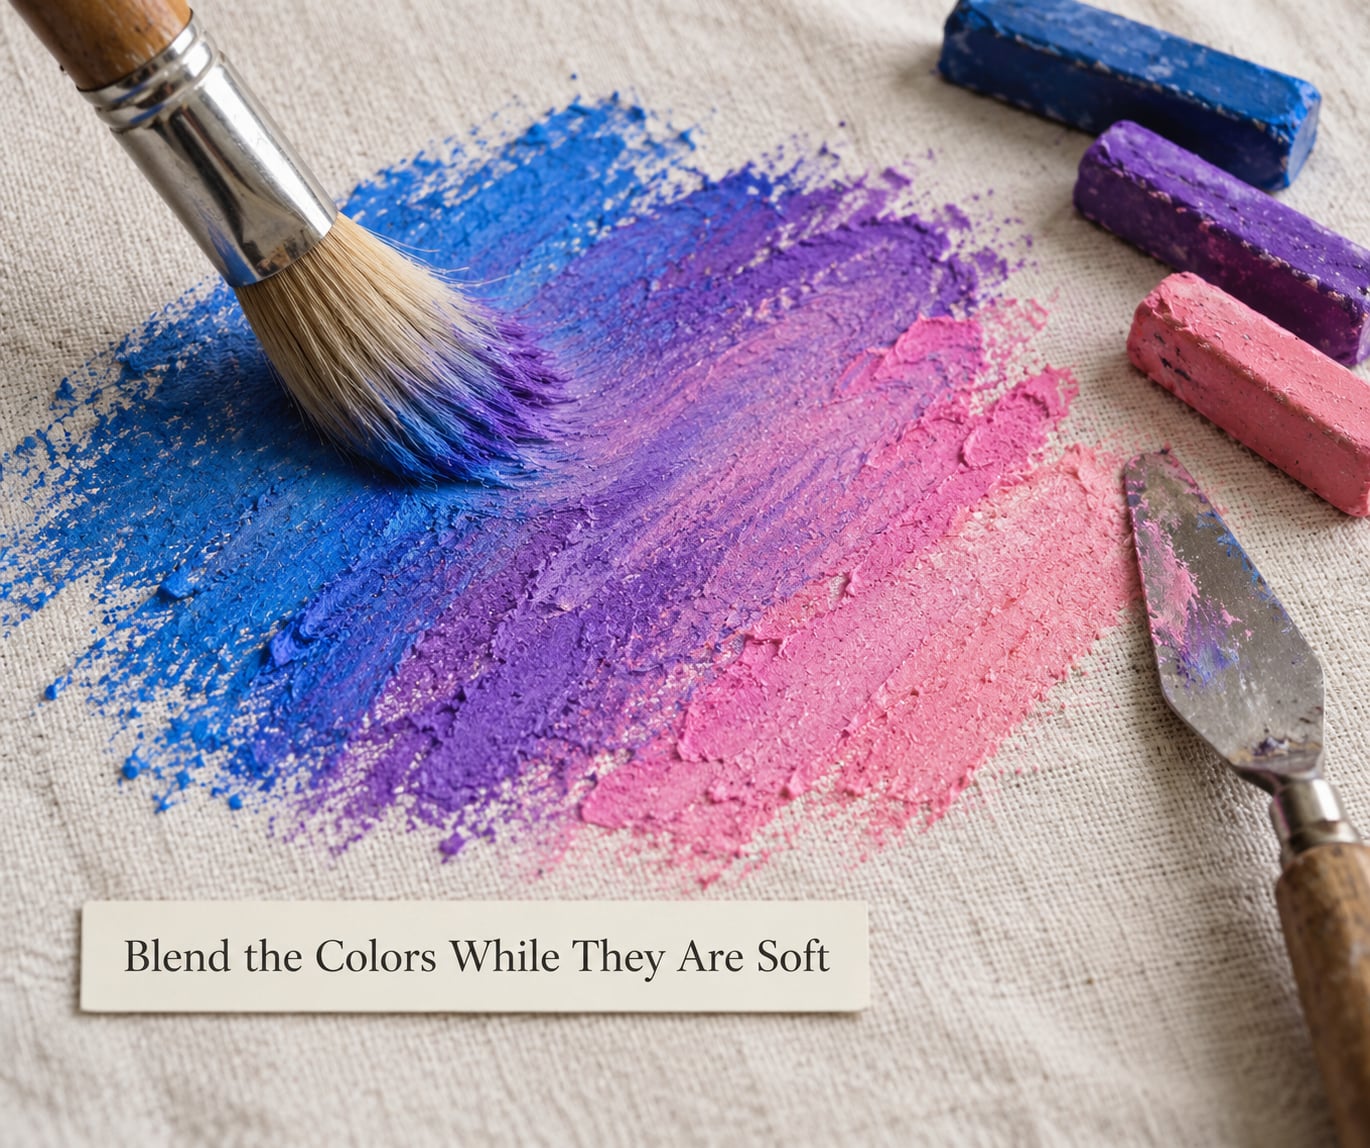
Blend immediately, while the surface is still soft. Once the wax firms up you are grinding pigment into loose fibres instead of moving it, which is the single biggest difference between how to blend oil pastels on fabric that lasts and one that smudges.
Four methods, in order of how gently they treat the cloth:
- Finger. The warmth of skin melts the surface wax. Use light circular strokes, keep moving, and lift your finger frequently so you are not dragging wax back over the same spot. This is the one beginners overdo, and it is the main reason colour lifts off the weave.
- Paper stump. Roll the stump in small circles with almost no downward pressure. It holds a clean edge, so it is the right tool for the transition between two areas and for keeping a border sharp.
- Cotton swab dipped in rubbing alcohol. The alcohol dissolves the oil binder on contact, so the two colours merge properly instead of sitting as separate films. Use it for tight spots, around stencils and inside small shapes. It is the fastest way to fix a transition you have already over-blended.
- Palette knife and silicone tool. The knife moves wax without smearing it and lets you lift colour back off. The silicone tool softens a hard line between strokes without touching the fabric much.
Two rules keep the blend from turning to mud. First, do not scrub an area you have already blended; each pass re-lifts colour and mixes it with itself until it goes grey. Second, stop when the transition looks right rather than when it looks perfect. Fabric hides small differences well, and you can add another layer in a few minutes.
4. Build Layers and Add Texture
Once the first layer is blended and has set for a few minutes, add a second. Hold the pastel more upright this time so it scumbles, breaking colour over the layer below and letting earlier colour show through in the gaps. This is how you get depth without a thick waxy build-up that cracks later.
Add light passages last with a white or pale stick held flat, and deepen shadows by pressing a dark stick lightly into the existing colour rather than laying a new coat over it. Pressing lets the new pigment catch the old wax instead of sealing it away.
For texture, the fabric itself is the easiest tool. Drag a pastel sideways across a coarse weave and the threads pick out the colour in a broken line. Scrape a stick lightly across the surface with a knife for a sgraffito effect that cuts through the top layer and reveals what is below.
Cold wax is the one method that truly fuses colour. Melt shavings of wax in an iron on a protected surface, place the fabric on top, and press. It gives you a genuine encaustic look on cotton, and it is the only approach here that will not be undone by washing.
5. Fix and Protect the Finished Fabric
Timing is the part most guides get wrong. Let the finished piece cure in a warm, dry room for several days, up to a week if the layers are thick, before you do anything else. Heat setting too early drives the wax deeper while the oil is still mobile, and you end up with colour that keeps bleeding into your pressing cloth later.
After curing, heat set with a regular iron set to its lowest cotton setting, no steam. Always use a pressing cloth between the iron and the artwork, and keep the iron moving. Test on the reverse of the fabric first. Note what this does and does not do: heat softens the wax and helps it grip the fibre, but oil pastels use a non-drying oil, so they never fully cure and heat does not make them permanent. A sealer is what you use if you want the surface to feel less waxy and collect less dust.
For a fabric sealer, brush acrylic fabric medium over the cured surface in thin coats, or spray textile medium from a distance. It adds slight stiffness rather than a plastic shell, and it survives a gentle scrub. Let each coat dry fully before the next. Skip aerosol fixatives, which are made for paper and tend to make fabric stiff and brittle.
Wash the finished piece by hand, inside out, in cool water, and only after the sealer has had a full day or two to cure. Dry flat. Hot water and the tumble dryer are what wreck textile work, and no sealer on the shelf changes that.
Common Mistakes
The pastel lifts off the weave instead of merging. Usually pressure. You are pushing hard enough to pull the wax out of the cloth. Lighten up, use a stump instead of a fingertip, or add a drop of alcohol with a cotton swab to loosen the binder first. Fresh starts on a washed scrap help here more than anything else.
Colours turn muddy or grey. Over-blending. Every extra pass mixes the colour with itself. Scrape the area back with a palette knife, lay a fresh thin layer over it, and blend once.
Patchy, uneven coverage. Sizing that was never washed out. Pre-wash the fabric, and if the piece is already started, a thin coat of matte medium sprayed on and dried will give you a new surface to work on.
A waxy, tacky surface that attracts dust and lint. This is normal for oil pastel and it does not go away on its own. Curing, then a thin fabric medium coat, is the fix. For a permanently non-tacky surface, switch to oil sticks or cold wax, which cure properly.
Blotches and hard edges where you did not want them. Solvent pooling. A loaded cotton swab sits in one spot and dissolves too much at once. Dab rather than drag, and swap swabs often.
Cracking or flaking later on. Build-up. Thick coats of pastel form a wax plate that separates from the cloth as it flexes. Scrape back to a thin film and seal it, or use a scraping knife to cut the build-up away deliberately.
Colour bleeding through to the back. Thick application over a tightly woven cloth. Work thin, test the reverse as you go, and place a scrap of paper beneath while the first layers are still wet.
Two habits cover most of this. Test on a scrap of the actual fabric before the real piece, and let each layer sit a few minutes before blending rather than rushing into it.
Frequently Asked Questions
Can you blend oil pastels directly on any fabric?
No. Fabric with some tooth takes the wax and holds it; very smooth cloth does not. Medium-weight cotton, cotton-linen blends, denim and canvas all work well. Tightly woven sateen and slick synthetics make the pastel slide and lift, so prime those with a thin coat of matte or textile medium first and test on a scrap.
Do I need to prime fabric before using oil pastels?
Usually not. Washing the fabric to remove starch or cellulose sizing matters far more than priming, and extra-soft pastels grip cotton and canvas on their own. Prime when you are using hard or mid-range pastels, when the surface is slick, or when you want a smoother painting surface for a large gradient area.
What is the best tool for blending oil pastels on fabric?
A paper blending stump is the safest all-rounder, because it blends with almost no downward pressure. Use your fingertip for the softest blends on cotton, and a cotton swab dipped in rubbing alcohol when two stubborn colours need to merge rather than sit side by side. Keep a palette knife on hand for scraping mistakes back off.
Will oil pastel wash out or flake after it dries?
Oil pastels use a non-drying oil, so they never fully dry or cure and heat alone will not make them permanent. Unsealed, they stay tacky, shed a little and attract dust. Curing for several days and then sealing with acrylic fabric medium, or using oil sticks or cold wax instead, is what makes a wearable piece hold up to hand washing.
How do I make oil pastel colors blend smoothly without becoming muddy?
Blend once and stop. Most muddy colour comes from scrubbing an area repeatedly, which mixes pigment with itself until it greys. Lay thin light-to-dark layers, blend with a stump or a light fingertip in small circles, and if you have already over-worked a spot, scrape it back with a palette knife and lay a fresh thin layer over the top.
How long should I wait before fixing and handling blended oil pastel fabric?
Let it cure several days, up to a week with thick layers, before you heat set or seal anything. Heat setting early drives wax deeper while the oil is still moving. After sealing, give the medium a full day or two to dry, then hand wash inside out in cool water and dry flat, keeping the iron off the piece entirely.
Conclusion
Start by washing a scrap of the exact fabric you plan to use, letting it dry, and rubbing a single colour into it. That five-minute test tells you whether you need a primer and whether your pastels are soft enough, and it costs you nothing compared with a shirt that flakes.
The technique itself is simpler than most tutorials make it sound. Thin layers, light to dark, blended once with a stump or a barely damp cotton swab, then left alone for several days before anything is sealed. The single biggest improvement for most people is using less pressure, not more.
One thing worth repeating: oil pastels never cure. If you are making something that has to survive washing, either plan on sealing it with fabric medium after a full week of curing, or work with oil sticks and cold wax, which do dry permanently. Test the whole sequence on scrap cloth first, and you will not be surprised at the end.