A quilt hanging sleeve is a fabric channel sewn across the top back of a finished quilt so a dowel, curtain rod, or similar bar slides through it and the quilt hangs flat. To make one, cut a strip about 8-1/2 inches wide and about 2 inches longer than the quilt’s finished width, fold it into a tube, and stitch it to the quilt back just below the top edge.
Allow about 45 minutes. It is a straightforward job even if you have never finished a quilt, because the strip is plain rectangular fabric and the only tricky part is keeping the ends square.
Before you cut anything, measure twice. The number that trips people up is depth, not length: a sleeve that is too shallow will not clear the rod you already own, and the quilt will not sit flat against the wall.
Table of Contents
- What You Need
- Step-by-Step
- Step 1: Measure the quilt and choose sleeve dimensions
- Step 2: Cut and join the sleeve fabric
- Step 3: Fold and press the sleeve edges
- Step 4: Sew the sleeve together
- Step 5: Attach the sleeve to the quilt back
- Step 6: Check the fit and finish the sleeve
- Common Mistakes
- Frequently Asked Questions
- How wide should a quilt hanging sleeve be?
- How do I add a hanging sleeve to a quilt that is already bound?
- Should I add a hanging sleeve before or after the binding?
- Why is my quilt hanging crooked with a sleeve?
- What are some clever ways to hang a quilt without sewing on a sleeve?
- How do I remove or replace a sleeve on a finished quilt?
- Conclusion
What You Need
A hanging sleeve is quilt-weight cotton, muslin, or a light lining fabric cut from the width of fabric. Cotton from the same fabric family as the quilt back blends in best if the quilt is ever photographed from behind.
- Fabric at least 8-1/2 inches wide by the quilt’s finished width plus 2 inches long
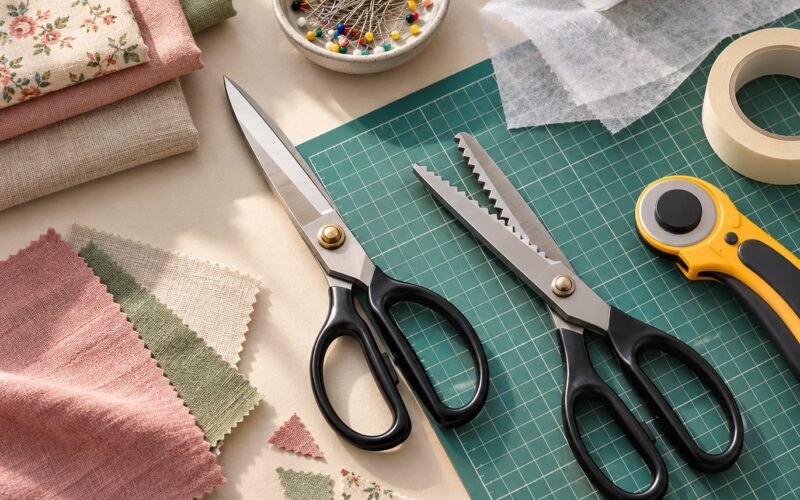
- Rotary cutter, cutting mat, and a long ruler or yardstick
- Chalk marking pencil
- Sewing machine with a quarter-inch foot, plus a plain foot
- Straight pins and a small hand-sewing needle with matching thread
- Iron and pressing cloth
- A dowel, curtain rod, or commercial clip hanger for the fit test
Some quilters build the sleeve into the quilt facing instead of binding, which suits art quilts that will never be bound. Others skip stitching entirely and hang from a curtain rod with clips. A sleeve earns its place when you want the hardware hidden, the weight spread evenly, and the quilt removable without marks.
| Quilt finished width | Sleeve width (depth) | Sleeve length | Hanging points |
|---|---|---|---|
| Up to 24 inches | 4 to 6 inches | Quilt width plus 2 inches | One sleeve |
| 24 to 48 inches | 4 to 6 inches | Quilt width plus 2 inches | One sleeve, nail near each top corner |
| 48 to 72 inches | 4 to 6 inches | Quilt width plus 2 inches, split in two | Two channels |
| Over 72 inches | 4 to 6 inches | Quilt width plus 2 inches, split in two or three | Two or three channels |
Depth has one variable: the rod. A one-inch dowel needs roughly 4 inches of depth so the sleeve clears it and the quilt body hangs below the sleeve. A 2-inch curtain rod needs closer to 6 inches. Measure the rod, then choose the deeper end of the range if you are unsure.
Step-by-Step
Step 1: Measure the quilt and choose sleeve dimensions
Lay the quilt flat on the floor or a bed and measure across the top edge from the outer edge of the binding on one side to the outer edge on the other. That finished width, not the width of the quilt top, sets your sleeve length.
Add 2 inches to that finished width for the sleeve length, which gives you a half inch of slack at each side after you turn the short ends under. Choose a depth between 4 and 6 inches based on the rod you plan to use, and check that your fabric is wide enough to cut the full depth without piecing.
For quilts wider than about 48 inches, plan on a split sleeve: two channels sharing the quilt width, with the seam between them landing over a hanging point. Write the numbers down before you cut. Quilters who measure twice rarely end up seam-ripping a sleeve.
Step 2: Cut and join the sleeve fabric
Fold the fabric lengthwise to the selvage and press the fold line. Using your ruler and chalk pencil, mark a strip 8-1/2 inches wide, or your chosen depth, and 2 inches longer than the quilt’s finished width.
Cut the main sleeve piece along the full length of the fabric. For a split sleeve, cut two pieces, each about half the quilt width plus 1 inch, then join them with a straight seam placed exactly where you want the middle hanging point. Press that seam open and flat before you go any further, because a lumpy join shows up later as a lump in the hanging.
Next, double-fold the short ends: fold each end 1/4 inch and press, then fold it another 1/4 inch and press again. This finishes the raw edges so they will not fray inside the channel.
Step 3: Fold and press the sleeve edges
Fold the sleeve in half lengthwise with right sides together and press a crisp crease the length of the strip. Open it out, then bring the long raw edges to meet the center crease and press them down, or fold them under a narrow 1/4 inch hem if you prefer a thinner sleeve.
Press every crease before you sew. Fabric that has been pressed flat and stays flat is the difference between a sleeve that slides onto the rod and one that fights you the whole way.
Go back and press the bottom edge of the sleeve flat too, matching the seam line you stitched at the ends. This bottom edge is the line you will align with the top edge of the quilt.
Step 4: Sew the sleeve together
With the sleeve folded right sides together and the short ends aligned, stitch along the long raw edge with a scant quarter-inch seam allowance. Start and stop one inch short of each folded end so the ends can still turn; some quilters run the seam the full length and hem the ends afterward instead.
Turn the sleeve right side out through the open end, push the corners out with a blunt pencil or a chopstick, and press it flat. The sleeve should now be a clean tube about 4 to 6 inches deep with finished ends.
Check the seam allowance along the full length before moving on. A sleeve sewn at a wandering quarter inch ends up with a rod that sits high on one side and low on the other.
Step 5: Attach the sleeve to the quilt back
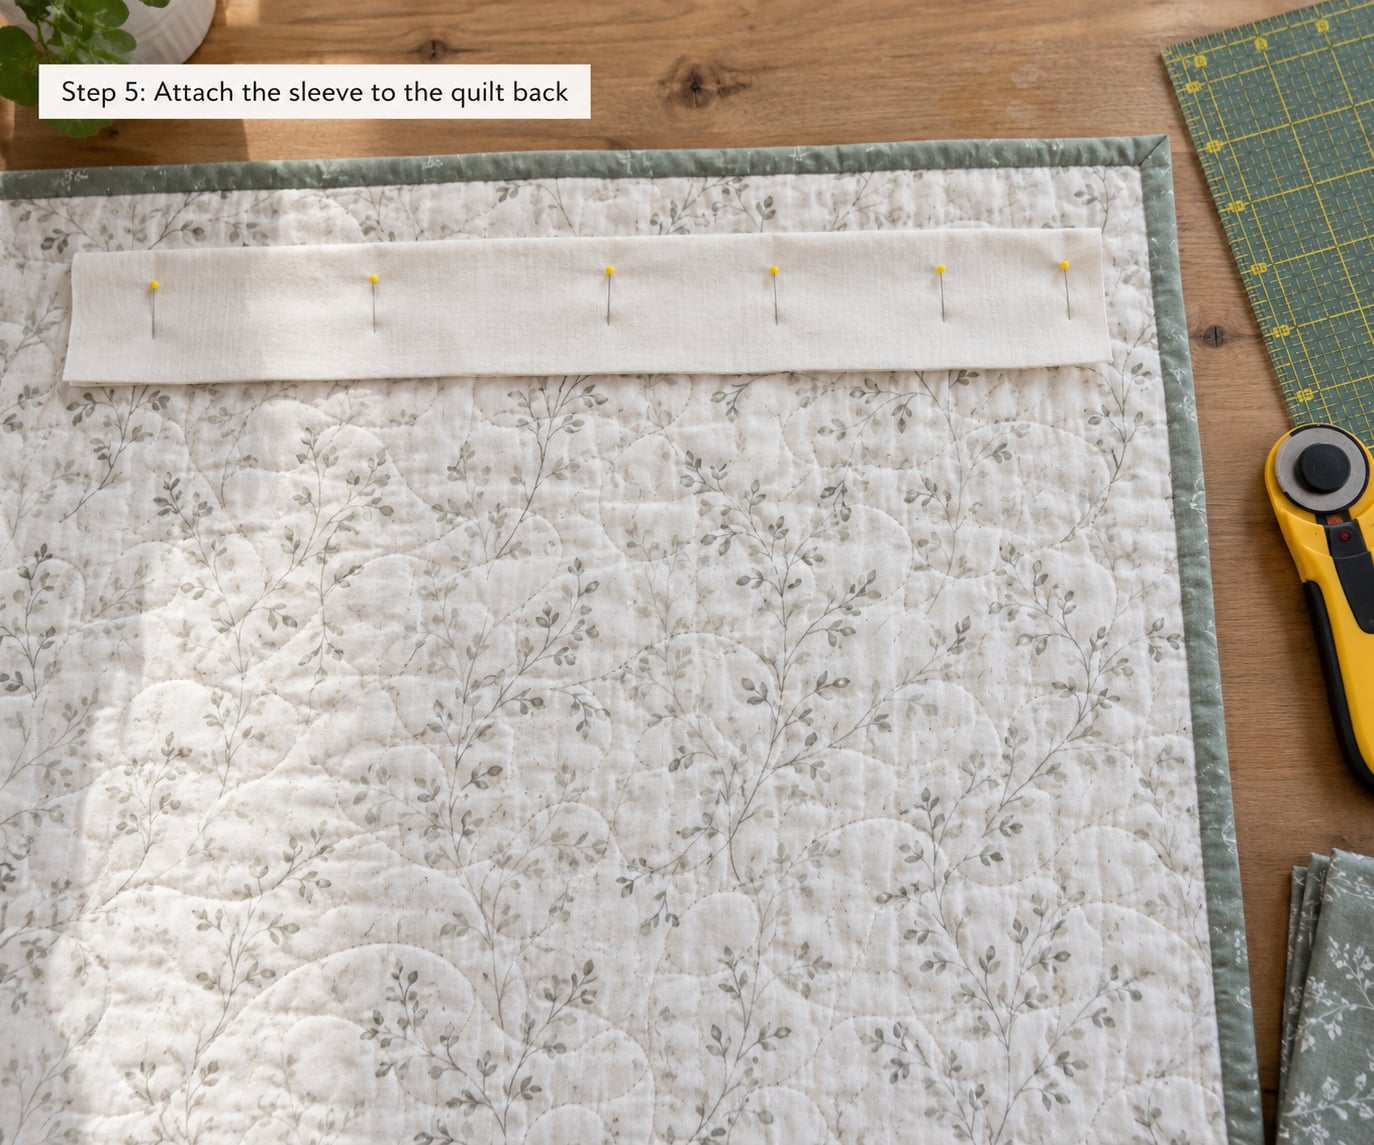
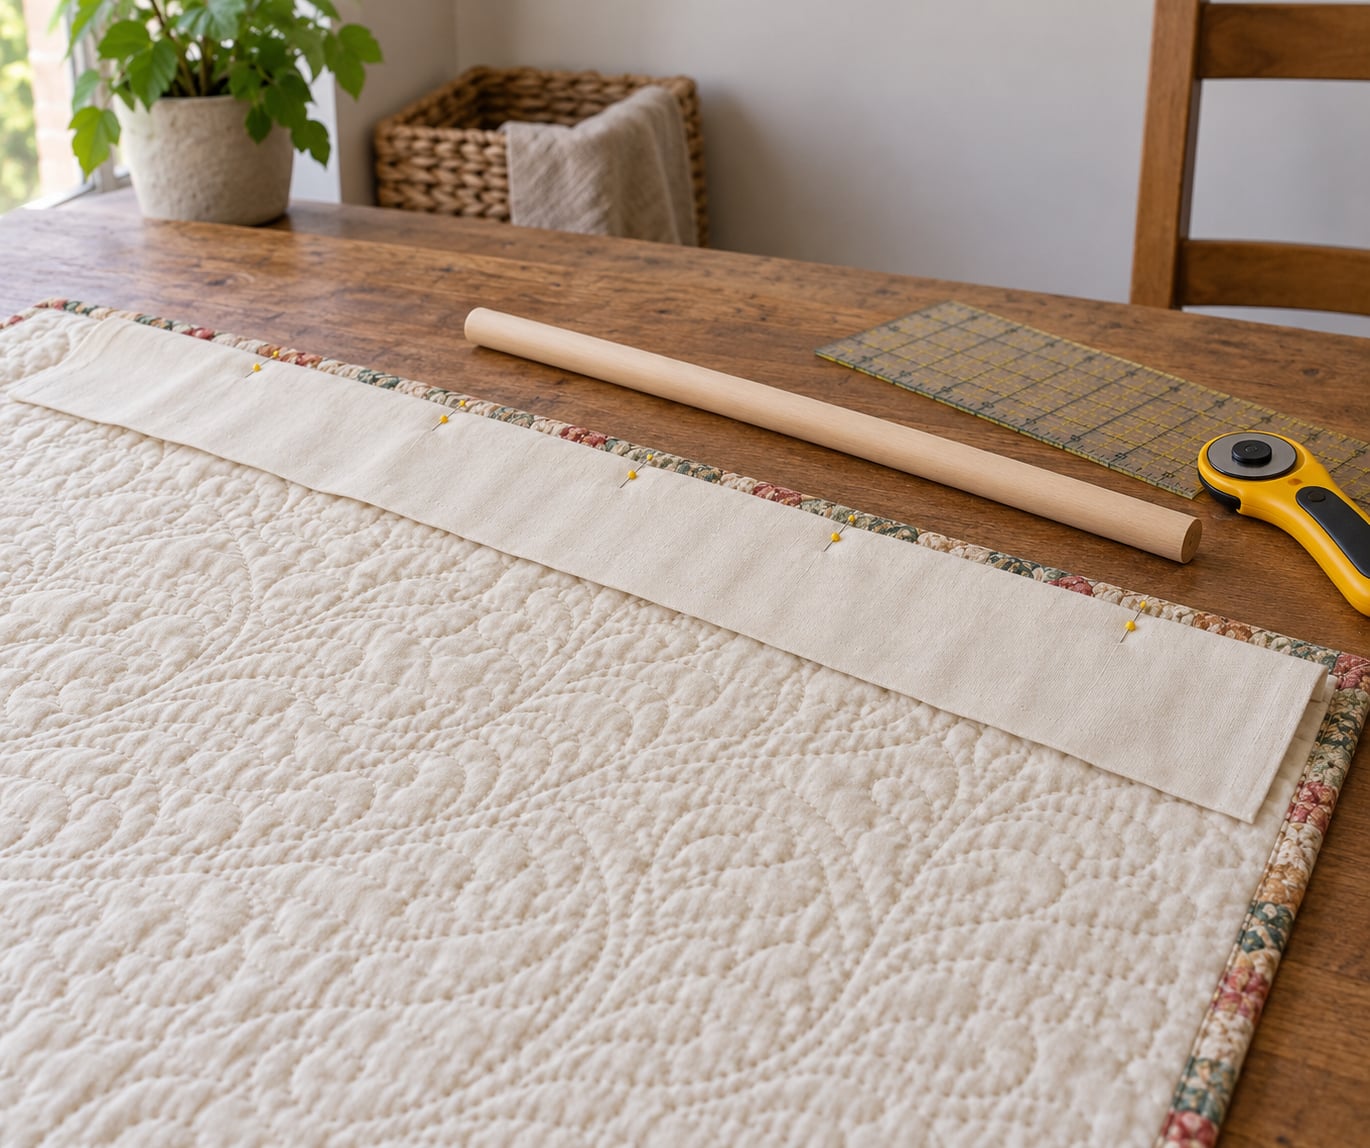
Place the sleeve on the back of the quilt with its finished bottom edge just below the binding at the top, so no sleeve fabric shows on the front. Leave 1/2 inch of clearance at each side of the quilt, and for a split sleeve, 1/2 inch on each side of the center seam.
Pin the sleeve in place across the full width, working from the center outward so the fabric does not shift. Baste along the bottom edge and down each end with a long stitch, then remove the pins.
Machine stitch along the bottom edge and both ends with a scant quarter-inch seam, staying inside the quilt’s edge so no stitching lands on the binding. Stitch lightly across the sleeve every 8 to 10 inches if you want to prevent shifting later.
If you quilt by hand, catch the sleeve to the quilt with a ladder stitch or applique stitch instead, working through the sleeve and the quilt back only. Skip knots at the top edge, where they can print through to the front.
Step 6: Check the fit and finish the sleeve
This is the step most people skip, and it is the one that saves you. Slide your dowel or rod through the sleeve before the sleeve is fully closed at the ends, or cut a 2-inch slit in the top edge of the sleeve with sharp scissors so the rod can pass through later.
Hold the quilt against the wall and look at it from a few feet back. If the bottom edge drifts out of parallel with the floor, adjust the sleeve position and re-stitch. A slightly loose sleeve that self-corrects under the quilt’s weight is fine; a tight one that puckers is not.
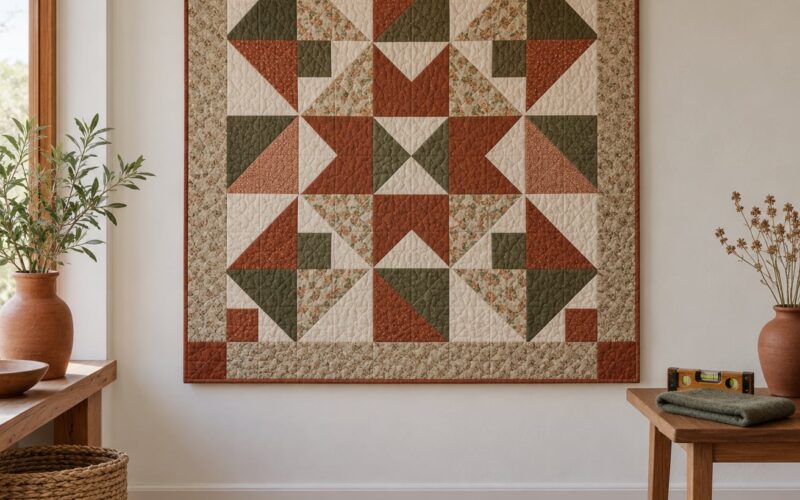
For the hang itself, place a nail or hook roughly every 12 to 18 inches across the top edge and slip the sleeve over them, or run a dowel through the channel and hang it from two hooks. A curtain rod with clip hangers works well too, and it lets you take the quilt down and move it without touching the sleeve at all.
Finish with a small fabric label on the sleeve seam giving the quilt title, maker, and year. Once the fit is right and the hang is even, trim any dangling threads.
Common Mistakes
The sleeve bunches up when the rod goes in. Fabric is fuller than the rod it wraps, so it gathers. Cut a 2-inch slit in the top edge of the sleeve, centered over the rod, and the extra material has somewhere to go. This is the standard fix among quilters who hang with curtain rods.
The quilt hangs crooked. Usually the sleeve sits too high on one side or the rod is tilted. Check the wall hooks are level, then compare the sleeve’s bottom edge against the quilt’s top edge on both sides. Any difference there shows up as tilt at the bottom.
The sleeve is too shallow for the rod. Measure the rod diameter and add at least 2 inches of depth. A sleeve that just barely fits will drag on the quilt face and dent it.
The sleeve is quilted down like a pocket. Stitching across the sleeve in many close lines makes it stiff and can leave quilt marks on the front. A basted or lightly stitched sleeve moves with the quilt and prevents this.
The split sleeve seam is in the wrong place. If the join falls between two hanging points, the middle of the quilt sags. Put the seam over a nail or hook.
Wrinkles gather along the top edge. This is a fit problem, not a sewing problem. Ease the sleeve slightly longer rather than shorter, or shorten it and re-hang on flatter hooks.
Frequently Asked Questions
How wide should a quilt hanging sleeve be?
Cut the strip about 8-1/2 inches wide and 2 inches longer than the quilt’s finished width. That width gives a sleeve roughly 4 to 6 inches deep after the ends are folded under, which clears most dowels and curtain rods. Deeper sleeves suit thicker rods; shallower ones suit thin dowels and small art quilts.
How do I add a hanging sleeve to a quilt that is already bound?
Baste the finished sleeve to the back of the quilt with its bottom edge just below the binding, leaving half an inch at each side. Machine stitch the bottom edge and both ends with a scant quarter-inch seam, then hand-tack it if you quilt by hand. Nothing is added to the quilt face, so the quilt stays undamaged and fully reversible.
Should I add a hanging sleeve before or after the binding?
Either order works, and many quilters do whichever matches their quilt. Add the sleeve before binding if you want the raw edge enclosed, or after binding if the quilt is already finished or you want the sleeve to sit visibly below the binding. Facing-finished art quilts usually get the sleeve built into the facing instead of a separate binding.
Why is my quilt hanging crooked with a sleeve?
The usual cause is a sleeve that is not level across the quilt back, or wall hooks set at different heights. Compare the sleeve’s bottom edge with the quilt’s top edge on both sides and check the hooks with a level. A sleeve stitched down too tightly can also pull the top edge out of straight.
What are some clever ways to hang a quilt without sewing on a sleeve?
Run a curtain rod or dowel through clip hangers and hang the quilt from that, which takes minutes and leaves no stitching on the quilt at all. Hanging tabs sewn to the binding work well for quilts that also go on beds. Corner ties suit heavier quilts with a lining, and they move with the quilt when it is handled.
How do I remove or replace a sleeve on a finished quilt?
Use a seam ripper to open the bottom edge and both ends, then pull the sleeve off gently while supporting the quilt back. Remove any remaining thread with tweezers, press the quilt back flat, and baste a new sleeve in the same position. Test the fit on the wall before you re-stitch so you only sew it once.
Conclusion
Start with the measurement, not the fabric: finished quilt width plus 2 inches long, 8-1/2 inches wide, and enough depth to clear the rod you own. Cut, fold, press, sew, then hold the quilt on the wall before you commit to the final stitching.
A sleeve takes under an hour and it is the difference between a quilt that hangs flat and one that sags in the middle. Once you have made one, the second quilt takes half as long.