Learning how to use screen printing ink on canvas is mostly about three things: the ink you pick, how much of it you force through the mesh, and whether you cure it properly afterwards. Get those right and the print stays crisp, feels soft rather than plasticky, and survives handling and washing. The technique suits cotton duck, canvas totes, pennants, and stretched gallery panels, and it scales from one print to a short edition run.
Yes, you can screen print onto canvas, and it works on both loose canvas fabric and canvas already stretched over a frame. Print with water-based textile ink on natural or light canvas for the easiest path, cure the finished print with heat so the pigment bonds to the fibre, and use a white underbase when the canvas is dark.
Table of Contents
- What You Need
- Essential materials
- What mesh count to use on canvas
- Canvas format changes the setup
- Home studio safety
- Step-by-Step
- 1. Prepare and Test the Canvas
- 2. Choose and Prepare Screen Printing Ink for Canvas
- 3. Prepare the Screen and Design
- 4. Load the Screen and Set Registration
- 5. Print the First Layer
- 6. Add Layers and Build the Design
- 7. Dry, Inspect, and Finish
- Common Mistakes
- Frequently Asked Questions
- Can you use screen printing ink on regular canvas?
- What type of screen printing ink works best on canvas?
- How long should screen printing ink dry on canvas before handling it?
- Do you need to seal screen printed ink on canvas?
- Can you screen print over a painted canvas?
- How do you prevent screen printing ink from drying on the screen?
- Conclusion
What You Need
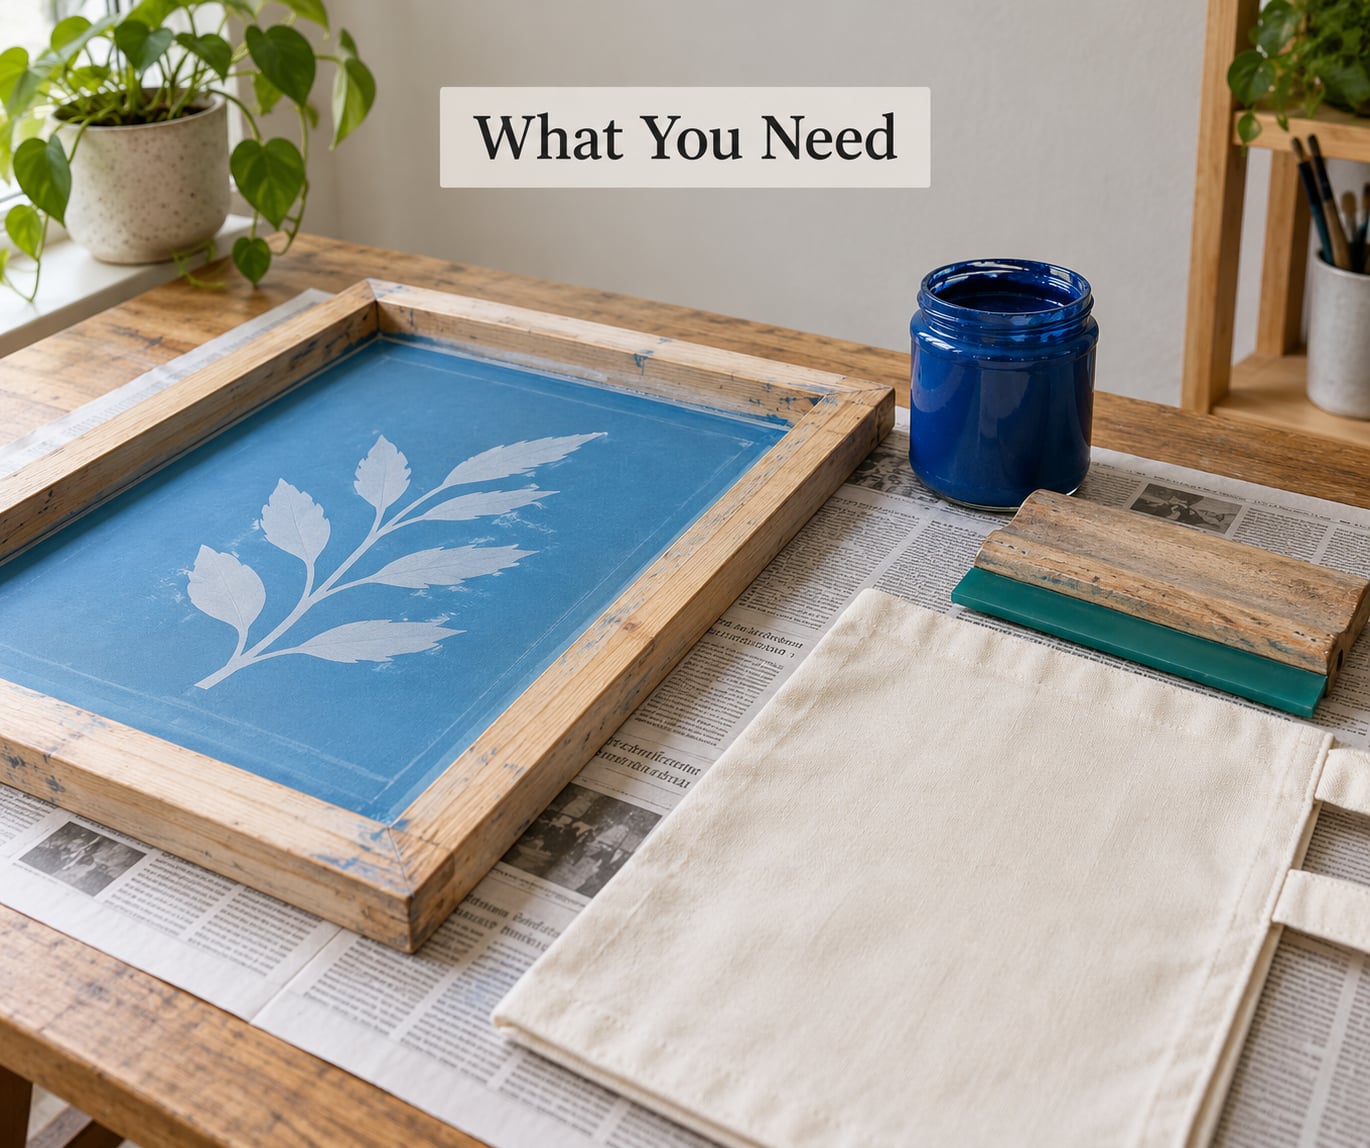
For a first print, assemble a short list and resist the urge to buy everything at once. Most beginners only need a single-colour setup on a small piece of canvas, and getting how to use screen printing ink on canvas right comes down to that short list and the cure at the end.
Essential materials
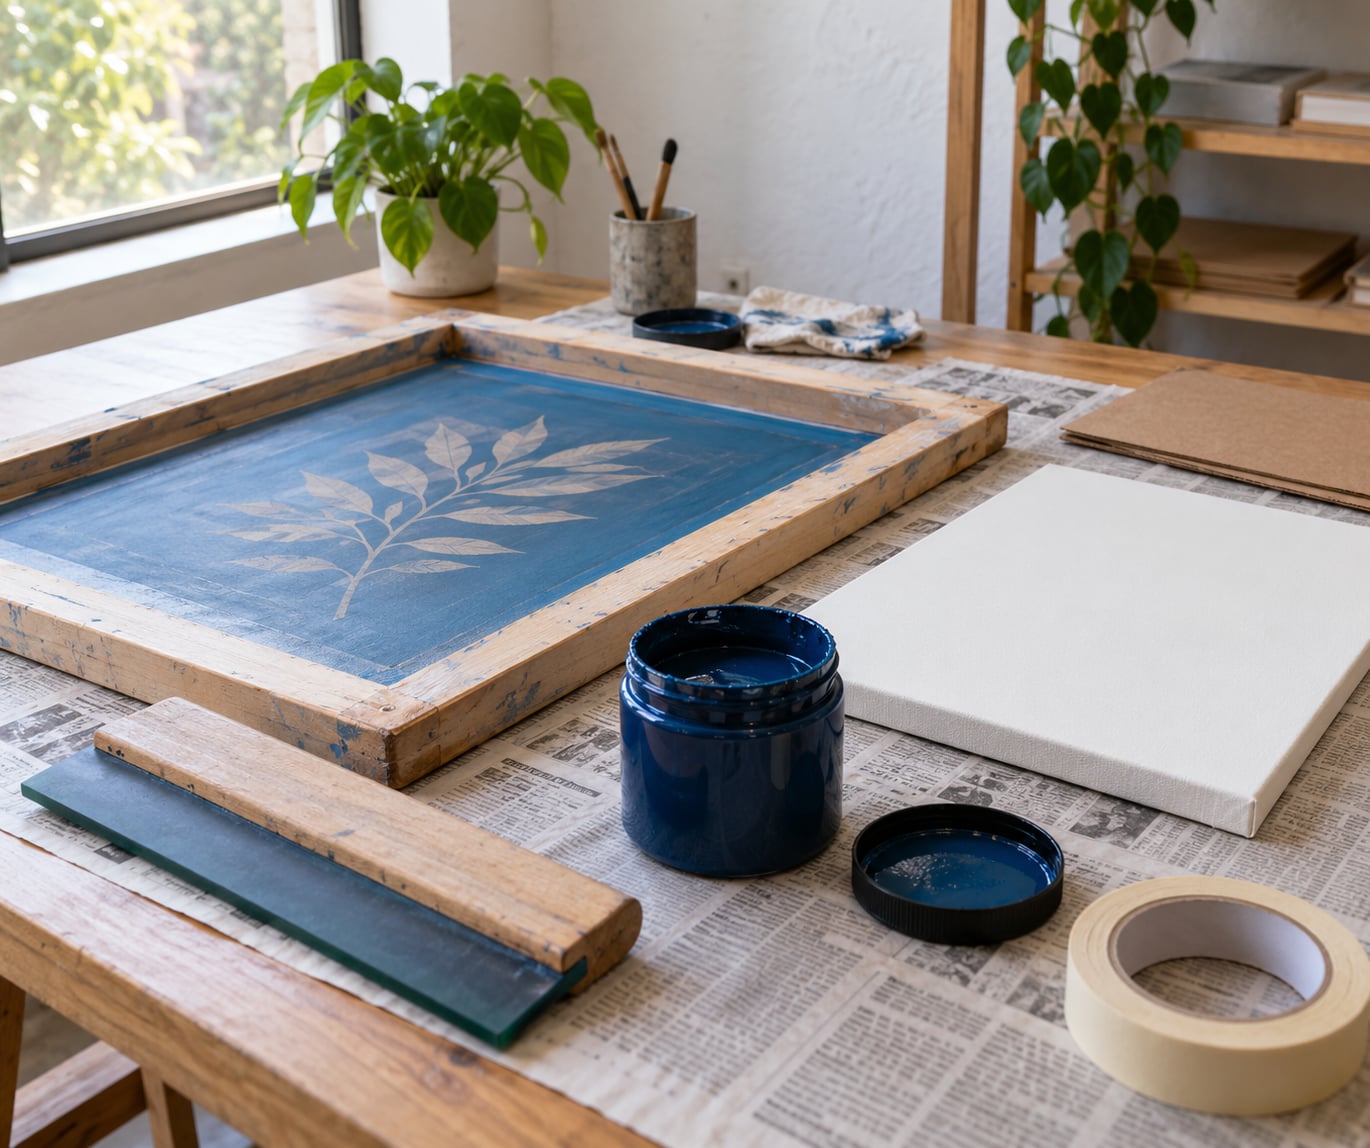
- Screen printing ink formulated for fabric, in one or two colours. Water-based textile ink is the easiest place to start.
- Mesh screen with an attached frame, pre-coated with photo emulsion or purchased pre-burned.
- Squeegee sized a little wider than your image area.
- Canvas — cotton duck, a canvas tote panel, or a primed stretched panel.
- Photo emulsion and exposure unit, or a ready-made stencil if you want to skip emulsion entirely.
- Heat source for curing: a heat press, a household iron with a press cloth, or a heat gun for smaller work.
- Masking tape, cardboard or paper, and newspaper for protecting the table and supporting the fabric.
What mesh count to use on canvas
Mesh count is the number of threads per inch across the screen, and it decides how much ink lands on the fabric. Coarse canvas weave needs an open mesh so ink can pass through the gaps rather than bridge over the top of them. A technical guide for coarse canvas material recommends roughly 110 to 155 threads per inch, and 110 to 160 is the sweet spot for most home canvas work.
Step up to 200 threads per inch only when you are chasing fine detail and can accept a lighter deposit. Anything above that clogs quickly on canvas and moves ink poorly, especially with water-based ink.
Canvas format changes the setup
| Canvas format | Support needed | Prep | Difficulty |
|---|---|---|---|
| Loose canvas duck | None beyond tape-down | Wash, iron, tape flat to table | Easiest |
| Canvas tote panel | Paper or cardboard inside the bag | Iron, insert support, tape edges | Easy |
| Stretched or gallery canvas | Backing board pushed behind the fabric | Tape edges, fill the frame gap | Moderate |
| Primed artist panel | Rigid support already present | Clean surface, tape down | Moderate |
Experienced printers on r/SCREENPRINTING point out that if canvas is already stapled to a stretcher frame, it sags into the opening and the mesh never makes full contact. Push a flat piece of cardboard or paper behind it so the fabric sits level with the frame edge. Without that backing the print comes out patchy no matter how hard you pull.
Home studio safety
Work in a ventilated room with the window open or a fan drawing air across the table, and wear a respirator when mixing ink or cleaning screens with solvent. Plastisol and solvent-based inks give off fumes water-based ink does not. Wash water-based ink off skin and hands with soap and water straight away, and keep ink containers closed when you are not printing.
Step-by-Step
1. Prepare and Test the Canvas
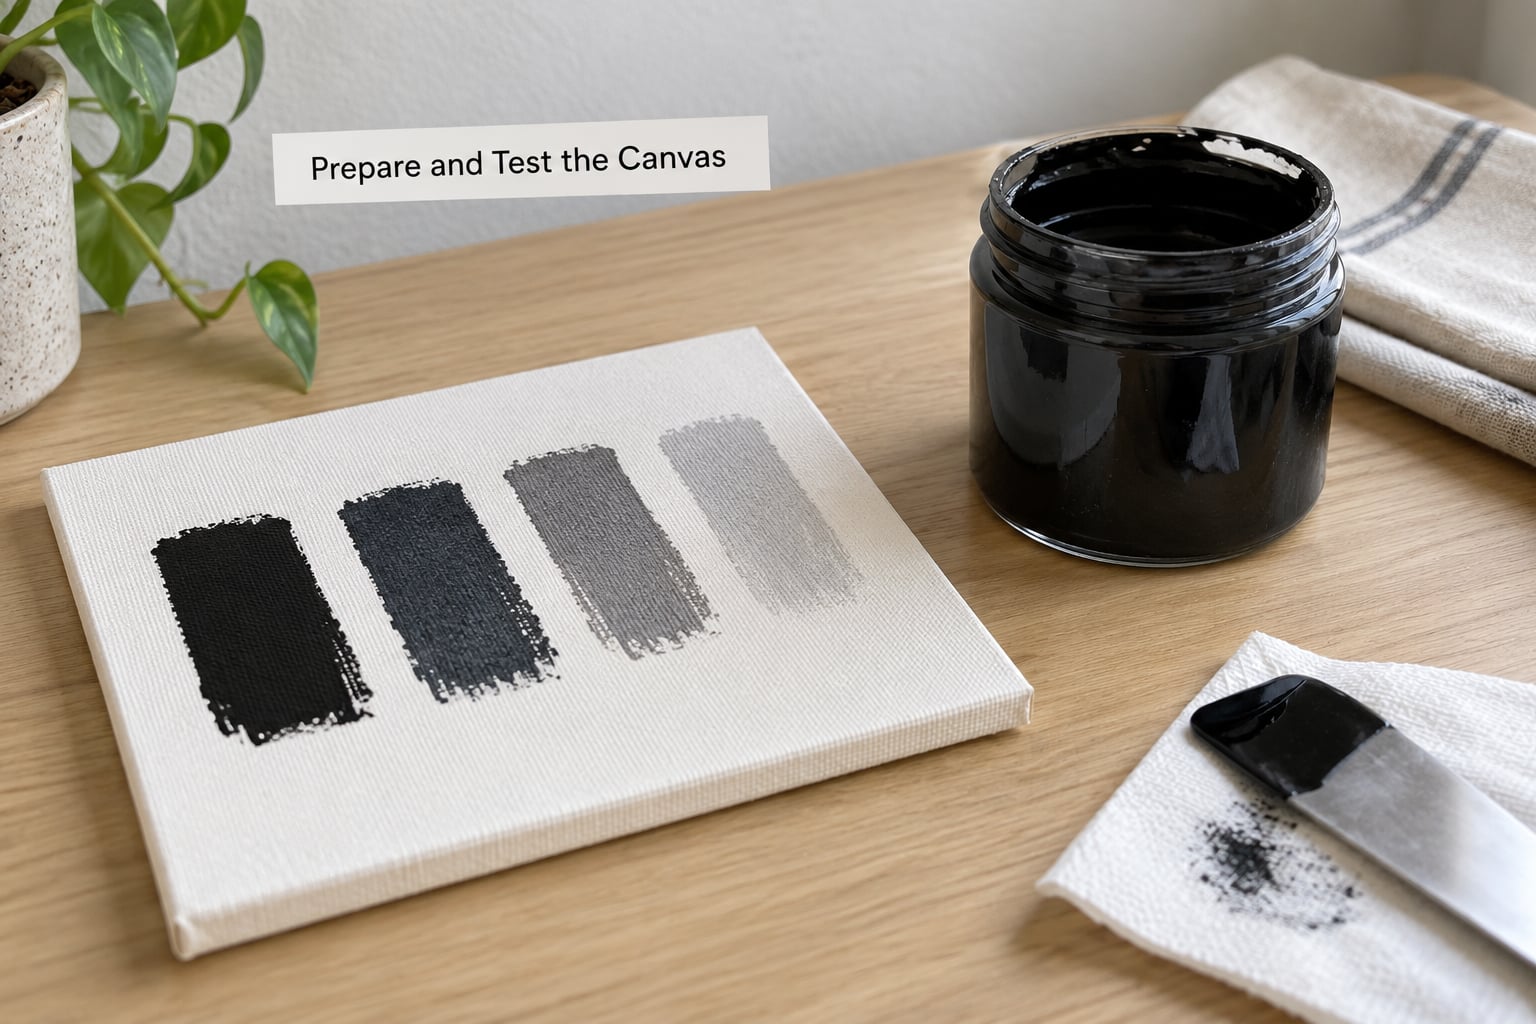
Wash the canvas in cool water first. Cotton duck and most canvas fabrics come with a sizing or starches that stop ink soaking in evenly, and a quick wash and dry removes most of it. Iron the fabric while it is still slightly damp and let it dry flat, which relaxes the weave and takes out creases that would distort a print.
Lay protective newspaper down, then tape the canvas face down. Masking tape along the edges is enough for small panels; for a tote, tape the handles out of the way and slide cardboard inside to support the fabric.
Test before you commit. Squeeze a small bead of your ink onto a scrap of the same canvas, spread it with a card, and leave it overnight. That single swatch tells you three things: whether the colour is opaque enough to hide the weave, whether it bleeds into the fibres, and whether it dries matte or shiny on this surface.
2. Choose and Prepare Screen Printing Ink for Canvas
Screen printing ink is a thick, viscous, highly pigmented ink made to push through fine mesh and bond to fabric once cured. Fabric paint and acrylic ink behave differently, and picking the wrong family causes most of the disappointing prints on canvas.
| Ink type | Finish and opacity | Curing | Best use on canvas |
|---|---|---|---|
| Water-based textile ink | Soft hand, medium to high opacity, breathable | Heat, or fixative additive | Beginners, wall art, totes, soft hand feel |
| Plastisol ink | Very opaque, glossy, plasticky film | Heat, roughly 320F for 30 to 60 seconds | Bold opaque coverage, dark canvas colour |
| Discharge ink | Soft hand, removes the dye underneath | Heat at about 320F, longer dwell | Dark garments where dye removal matters |
| Acrylic ink | Matte, opaque, harder film | Air dry, fixative optional | Simple home printing without a heat source |
Experienced printers on r/SCREENPRINTING often recommend acrylic base ink on canvas as the straightforward option, and that advice conflicts with what supplier guides push. The resolution is simple: acrylic ink dries on its own and needs no heat, which makes it the easiest option in a home studio, but it forms a harder film that can crack when the canvas flexes. Water-based textile ink stays soft and moves with the fabric, and it needs heat.
Stir ink thoroughly with a spatula or paddle until no darker sediment sits at the bottom. Never mix with a whisk, which pulls in air and gives you bubbles that print as pinholes. If the ink has thickened, add a small amount of reducer a drop at a time; if it runs too thin, add extender. Strain it through a mesh sieve or window screen if you are printing fine detail.
3. Prepare the Screen and Design
Prepare your artwork as a one-colour separation at a size that fits the frame with about an inch of margin on all sides. Keep the image simple for a first print, because canvas weave swallows fine lines and small type.
If you are coating your own screen, apply photo emulsion in two thin coats, letting each dry, then expose it under a UV unit. Wash out the unexposed areas with a hose until the image area is fully open. A properly washed screen shows clear mesh where the ink should pass and a solid film everywhere else.
If you are not ready to burn a screen, cut a stencil from a printed transparency with a craft knife or a Cricut-style cutter, peel it, and tape it to the bottom of the mesh. Simple shapes and big type work well this way. Detail work does not, because the stencil edge is limited by the mesh underneath it.
Position the design before you flood the ink. On loose canvas, set the screen where the print should land and mark the corners lightly in pencil. Use a hinge or flip frame if you can, since it keeps the registration consistent as you lift and lower the screen.
4. Load the Screen and Set Registration
Scoop ink onto the top of the screen and pull it across the image area with the squeegee, letting it flood the mesh. Push a little further past the edge so no dry ink sits at the bottom margin. The ink you leave sitting on the mesh is your ink reservoir during the pull, so keep it flooded rather than scraping it back off.
Control the volume. A screen loaded for a shirt carries far more ink than canvas needs, and excess ink is the main cause of ink sinking into the weave and producing a patchy, uneven deposit. For canvas, err light. Wipe the underside of the screen with a card if ink has already seeped through.
For multiple colours, print the lightest layer first. Set registration marks on the canvas in pencil at each corner of the image area before the first pull, then line the screen up to those marks every time. If you are printing three or more colours, dry each layer fully before laying the next screen on top.
5. Print the First Layer
Lower the screen onto the canvas with the ink side up. Press gently at three or four points so it lands flat, then check for light showing through around the edges before you pull. A gap at the edge is where the first print goes wrong.
Pull the squeegee in one confident stroke at roughly a 45 degree angle, leaning forward slightly so your weight does the work. Use more pressure and a slower stroke for large areas on coarse canvas; printing a wide panel in one hard fast pull is how you get an uneven laydown.
Hold the angle steady and change only one variable at a time when you adjust. Lift the screen immediately after the pull rather than dragging it sideways, which smears a wet print. Look for even coverage with no streaks, no bare weave inside the image, and no ink bleeding past the stencil edge.
6. Add Layers and Build the Design
Water-based ink skins over within minutes but is not dry. Let each colour set before you register the next screen, otherwise a squeegee pull can lift the layer underneath and create a patchy, torn-looking print. A heat gun held at a distance speeds this up, or you can simply leave the piece overnight.
On dark canvas, print a white underbase first and cure it, then print your colour over it. Without an underbase, a semi-transparent ink on dark fabric looks muddy and dull no matter how many passes you make.
Layer translucent inks while they are still damp for blended, painterly colour effects. Touch a second colour against the edge of the first while both are wet and drag them lightly together. Once a layer is cured, later colours sit on top of it rather than merging, which suits flat graphic shapes instead.
Keep the screen flooded between pulls, or mist the back of the mesh with water if you take a break. Water-based ink begins drying on the screen within minutes, and a dried patch blocks flow and gives you a different deposit on the next pull than you got on the last.
7. Dry, Inspect, and Finish
Let the print dry completely in a dust-free space before you touch it. Touchable is not the same as cured, and a fingerprint at this stage can sit permanently in the print. Most printers allow the ink to air dry overnight, and print handling and packaging come after that dry period.
Heat setting is what locks the pigment into the fibre. Without it the print fades, cracks, or peels away after washing, which is the single most common regret people have with canvas work.
| Curing method | Typical temperature | Typical time | Notes |
|---|---|---|---|
| Heat press | 300 to 340F | 30 to 60 seconds | Most reliable home option |
| Household iron with press cloth | Medium to hot, around 300F | 2 to 5 minutes per area | Press through cloth, keep moving |
| Heat gun | Warm to hot setting | Pass over several times | Good for small pieces, easy to scorch |
| Home tumble dryer | Not applicable | Not applicable | Does not set fabric ink properly |
| Fixative additive in the ink | Air dry | Overnight | No heat needed, softer long-term film |
| Commercial conveyor dryer | Manufacturer spec | Rapid pass | Studio and production setups |
Always follow the temperature and dwell time printed on your ink tin. Different water-based formulations cure at different points, and going too hot can scorch the canvas or dull the colour.
Inspect the dry print under good light for bald spots, halos where ink crept into the weave, and any lifting at the edges. A light coat of fixative or a matte medium gives extra protection on a piece that will be handled, though it slightly softens the print. For wall art, store the finished canvas flat or upright in a dust cover rather than folded.
Common Mistakes
Almost every bad canvas print comes down to one of six causes, and they are easy to separate once you know what to look for.
| What you see | Likely cause | Fix |
|---|---|---|
| Ink sinks into the weave, print looks patchy | Too much ink on the screen, or loose canvas sagging into a gap | Load less ink, pull with more pressure, back the canvas with cardboard |
| Bridging between threads, bare patches in the image | Mesh too fine for the weave | Move to 110 to 160 thread mesh |
| Fine lines blur or bleed into the fabric | Ink spreading before it sets, or too many pulls | Pull once, let it set, test on a scrap first |
| Uneven deposit between pulls | Water-based ink drying on the screen | Keep the screen flooded, mist the mesh during breaks |
| Colour misaligned between layers | Loose registration, moving canvas | Tape the canvas down, use registration marks and a hinge frame |
| Print cracks or peels after washing | Skipped or insufficient heat setting | Cure fully at the ink maker’s stated temperature and time |
| Colours look muddy on dark canvas | No underbase under the colour | Print and cure a white underbase first |
One workaround is worth knowing for large-area prints: printers on t-shirtforums report that dabbing the canvas with a rag dampened with rubbing alcohol, damp but not soaking, improves laydown because the surface takes ink more evenly. Test it on a scrap first, since it affects how the ink flows.
Two habits prevent most defects. Print one test piece on the same canvas before you print the real panel, and change only one thing at a time when you adjust technique. Printers usually find their settings in the first three or four pulls, and the temptation is to fix everything at once and learn nothing.
Frequently Asked Questions
Can you use screen printing ink on regular canvas?
Yes. Screen printing ink works on cotton duck, canvas totes, primed artist panels, and stretched gallery canvas. Print on loose fabric and tape it flat, or back a stretched panel with cardboard so the mesh makes full contact. Wash out the sizing first, and heat set the finished print so the ink bonds to the fibre.
What type of screen printing ink works best on canvas?
Water-based textile ink is the best all-round choice for canvas because it has a soft hand and moves with the fabric as it flexes. Acrylic ink is easier still, since it air dries with no heat source, but it forms a harder film that can crack. Plastisol gives bold opaque coverage with a glossier, heavier feel.
How long should screen printing ink dry on canvas before handling it?
Water-based ink is touchable within a few minutes but needs a full dry period, usually overnight, before you handle it or cure it. Heat set once the print is dry to the touch and the colour has darkened. A heat gun speeds up the initial dry. Handling it too early leaves fingerprints that stay in the print.
Do you need to seal screen printed ink on canvas?
Curing is the essential step, and sealing is optional. Heat setting locks the pigment into the fibre so the print resists fading and cracking. If you cannot use heat, add a fixative to the ink before printing or spray a fixative over the dry print. A matte medium also adds protection on work that gets handled.
Can you screen print over a painted canvas?
Yes, as long as the painted layer is fully dry and the surface is stable. Acrylic and oil paint can peel if the screen or squeegee lifts, so print on a flexible panel rather than a stretched one, and avoid heavy pressure. Printing over thick or glossy paint gives patchy adhesion, so scuff or sand the surface lightly first.
How do you prevent screen printing ink from drying on the screen?
Keep the mesh flooded with ink between pulls, and work without long pauses. If you must stop, mist the back of the mesh with water and leave a thin film of ink sitting on the screen. Dried ink blocks flow and gives a different deposit on the next pull, so clean it out with a solvent or pressure wash before you print again.
Conclusion
Start with one colour of water-based textile ink, a 110 to 160 thread mesh screen, and a small test panel of the same canvas you plan to use. Wash and iron the fabric, tape it flat, pull once at a 45 degree angle, and let it dry overnight before you cure it.
Print one test piece before committing to a large canvas, since the weave behaves differently on every fabric weight. Follow the drying time and curing temperature printed on your ink, because that is what separates a print that lasts from one that peels. If you are still stuck, work through how to use screen printing ink on canvas one variable at a time and the problem usually names itself.