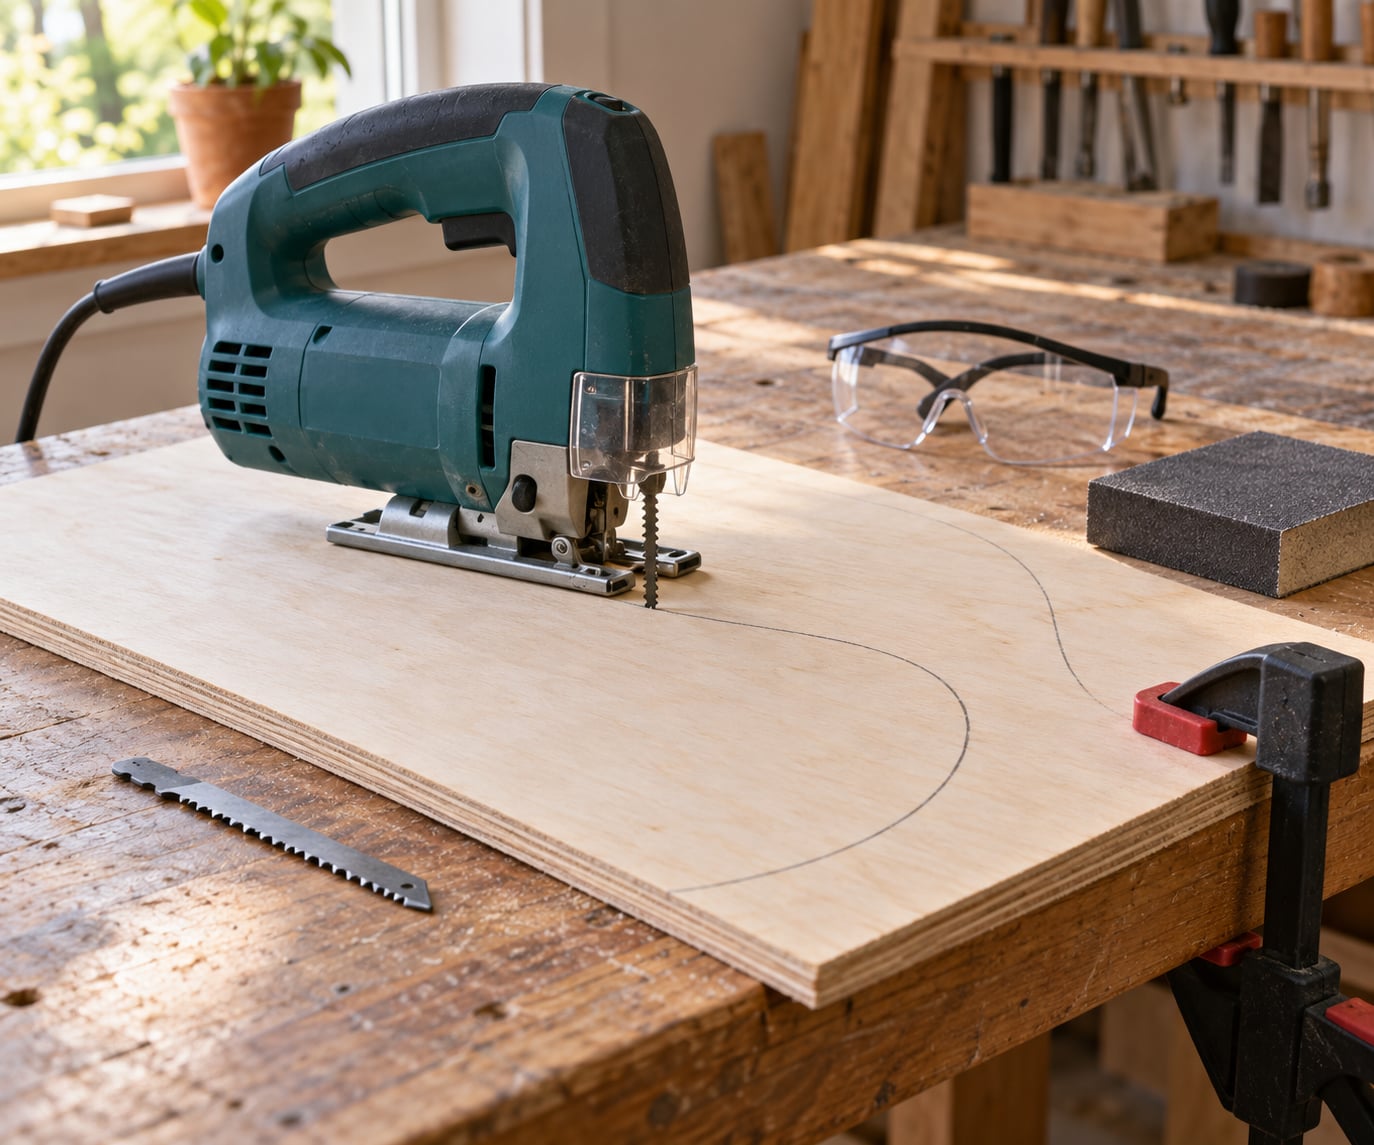
A wood cutout is a flat shape sawn out of a board — a leaf, a letter, an animal, a word — so the piece of wood is really just the border around the finished object. Learning how to cut wood cutouts with a jigsaw takes about an hour for a simple silhouette once you have the technique down, and the hard part is not the saw, it is holding the base plate flat and letting the blade do the turning.
A jigsaw is genuinely good at this job. The blade reciprocates up and down and you steer the tool around a pencil line, which means you can cut interior holes, tight concave curves, and detailed outlines from a single sheet of plywood without a table saw, a blade guard, or a dust collector in the room.
The catch is that a jigsaw will happily wander off your line if you rush it. Below is the full sequence I use: draw the shape, transfer it to the wood, set the blade depth so it clears the board, clamp the workpiece, make one small test cut, and only then follow the outline. Finish by sanding away the blade marks and sealing the piece.
Table of Contents
- What You Need
- How to Cut Wood Cutouts with a Jigsaw: Step-by-Step
- Plan the Shape and Choose the Wood
- Set Up the Jigsaw Safely
- Make the Outside Cut
- Cut Interior Holes and Tight Details
- How to Cut Wood Cutouts with a Jigsaw Without Kickback
- Sand, Refinish, and Preserve the Cutout
- Common Mistakes
- Frequently Asked Questions
- Can I cut through a 2×4 with a jigsaw?
- What jigsaw blade is best for wood cutouts?
- Do I need to drill a hole to cut with a jigsaw?
- How do I keep a jigsaw from cutting off the line?
- Is a scroll saw better than a jigsaw for small wooden shapes?
- How do I fix tear-out on a jigsaw cut?
- Conclusion
What You Need
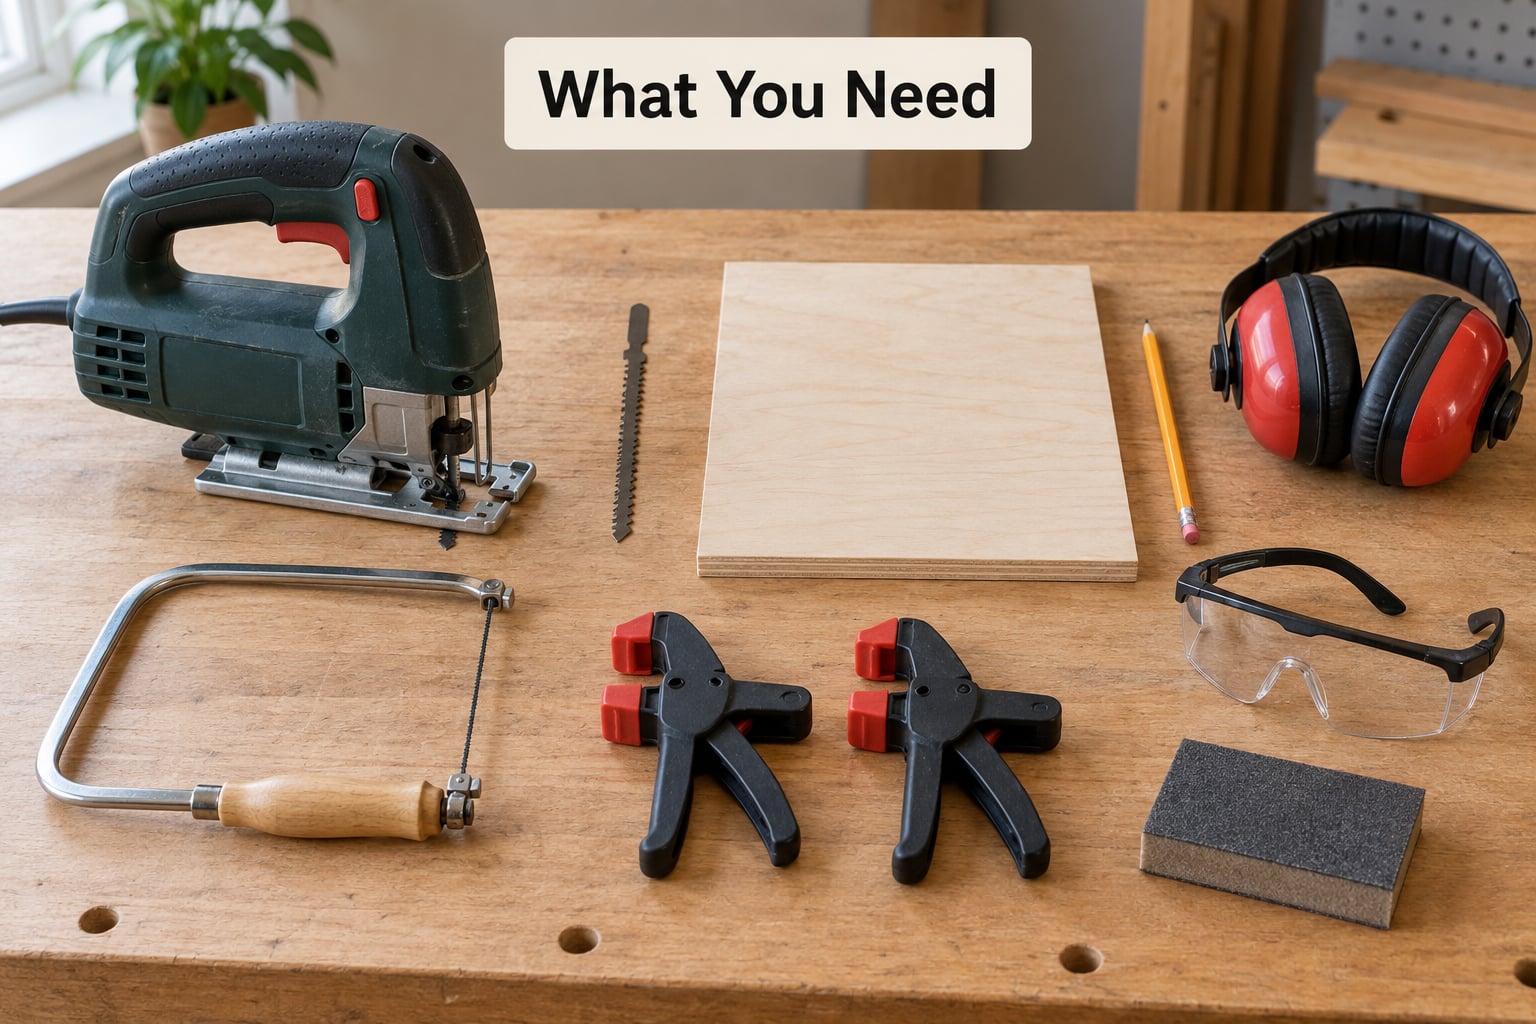
Most beginners already own half of this. The list below is what each item actually does for the cut, so you can skip anything you genuinely do not need.
- A jigsaw with a variable speed trigger. Speed control matters more on a cutout than on a straight rip, because a slow, controlled feed is what keeps the blade tracking the line. Orbital action should be off or on its lowest setting for clean plywood edges.
- A fine-tooth wood blade. For plywood, MDF, pine and soft hardwood, a 10 to 14 teeth-per-inch blade cuts smoothly. A Bosch T101B is the common choice for general wood; a Bosch T101AO is the narrow scroll blade for tight curves and small radii.
- A thin, stable workpiece. Plywood or MDF between 6mm and 12mm is the beginner sweet spot. It is flat, cheap, and the blade has plenty of material to bite into. Thicker hardwood is a different job — see the honest limits below.
- A pencil and a straightedge. A soft pencil (2B or HB) leaves a line you can still see once the dust settles. A thin strip of wood or a steel ruler keeps straight runs honest.
- A pattern transfer tool. Carbon paper under a printed pattern, or a ballpoint pen with light pressure, gives you a crisp line. Hand-drawing the shape works fine too.
- A drill with a bit or hole saw. You need this for any enclosed interior cutout. Match the bit to the blade width so the hole is big enough to pass the blade but no bigger.
- Clamps or a bench hook. Two or three clamps to a stable surface, or a homemade bench hook for small pieces. Never hold the work by hand.
- A sacrificial cutting surface. A sheet of MDF, hardboard or scrap plywood screwed to the bench underneath. It stops the blade from striking the bench top and it gives the cut a clean exit.
- Safety glasses and ear protection. Both, not one or the other. Fine plywood dust and a snapped blade fragment are the two things most likely to hurt you here.
- A dust mask or extraction. A respirator helps, but running a shop vacuum or extractor hose near the cut line does more.
- Sandpaper in three grits. 80, 150 and 220 grit, plus a sanding block. This is the step that decides whether the cutout looks handmade or looks sloppy.
- Optional finishing products. Wood glue for mounting, sandpaper to scuff the surface, paint, stain, and a clear water-based sealer such as polyurethane or acrylic.
- A coping saw or flush-cut trimmer. Not essential, but it is how you square off a corner or trim a stray backer board flush instead of grinding it down.
The blade does most of the deciding here. Here is how the main choices line up for cutout work.
| Material | Blade style | Teeth per inch | Notes |
|---|---|---|---|
| Plywood | Fine-tooth wood blade | 10-14 | Teeth facing down to stop the top face splintering |
| MDF | Fine-tooth with slightly more set | 10-12 | Cuts fast but wears blades quickly; keep a spare close by |
| Basswood and craft ply | Fine-tooth or a small scroll blade | 14+ | Takes fine detail without much pressure |
| Pine and other softwood | Fine-tooth wood blade | 10-12 | Feed slowly or the exit side tears out |
| Oak and other hardwood | Coarse-tooth wood blade | 6-8 | Rougher edge; expect to sand it back anyway |
| Tight radii under 20mm | Narrow scroll blade such as T101AO | Variable | Turns far tighter, but breaks sooner on hard material |
Be honest about the tool’s limits while you are here. A jigsaw cannot plunge-cut into the middle of a board without drilling first, it drifts badly on long straight runs, and it will not turn a radius tighter than its blade width allows. If your design has a lot of very fine scroll work on thin stock, a scroll saw is the better machine and no technique will make up the difference.
How to Cut Wood Cutouts with a Jigsaw: Step-by-Step
Plan the Shape and Choose the Wood
Start with a shape you can actually finish. Curved outlines with no radius smaller than about 15mm cut cleanly; anything tighter than that will bind with a standard wood blade, and you will end up cutting slightly outside the line and sanding back later.
Look at the grain before you trace anything. On plywood face veneer the grain direction barely matters, but on solid softwood a cut that runs against the grain tears out badly on the exit side. Note which way the long fibres run and try to keep the sharpest points travelling with them.
Decide which side of the pencil line you want. The blade cuts a kerf roughly the width of the blade itself, so if the line marks the finished edge, cut on the waste side and sand down to the line afterward. If you cut on the line you will lose a couple of millimetres off the shape.
Simplify before you transfer. Replace sharp inside corners with small arcs. Break any point that juts out at less than about 45 degrees. These two changes remove most of the tear-out you would otherwise fight later.
Set Up the Jigsaw Safely
Fit the blade with the saw unplugged. Most jigsaws take a T-shank blade — check what your tool accepts, because a U-shank blade will not lock properly in a T-shank clamp and can shift under load.
Set the cutting depth so the blade protrudes roughly 10 to 15mm below the underside of the workpiece. Any deeper and the blade can hit the sacrificial surface, blunt its teeth, or snap. Check this with the saw resting on a scrap offcut before you bring the real board to the bench.
For plywood and painted or finished wood, face the teeth downward. Ground-down teeth on the bottom side rip upward through the top layer and leave the back of the board smooth; conventional teeth cut downward and splinter the top face. This single choice fixes most of the tear-out beginners complain about.
Clamp the workpiece down. Position the cut line so the waste side overhangs the edge of the bench or the gap in the middle of your work surface, which keeps the offcut from pinching the blade as it finishes its travel. Plug the saw in only once everything is clamped and your hands are clear.
Make the Outside Cut
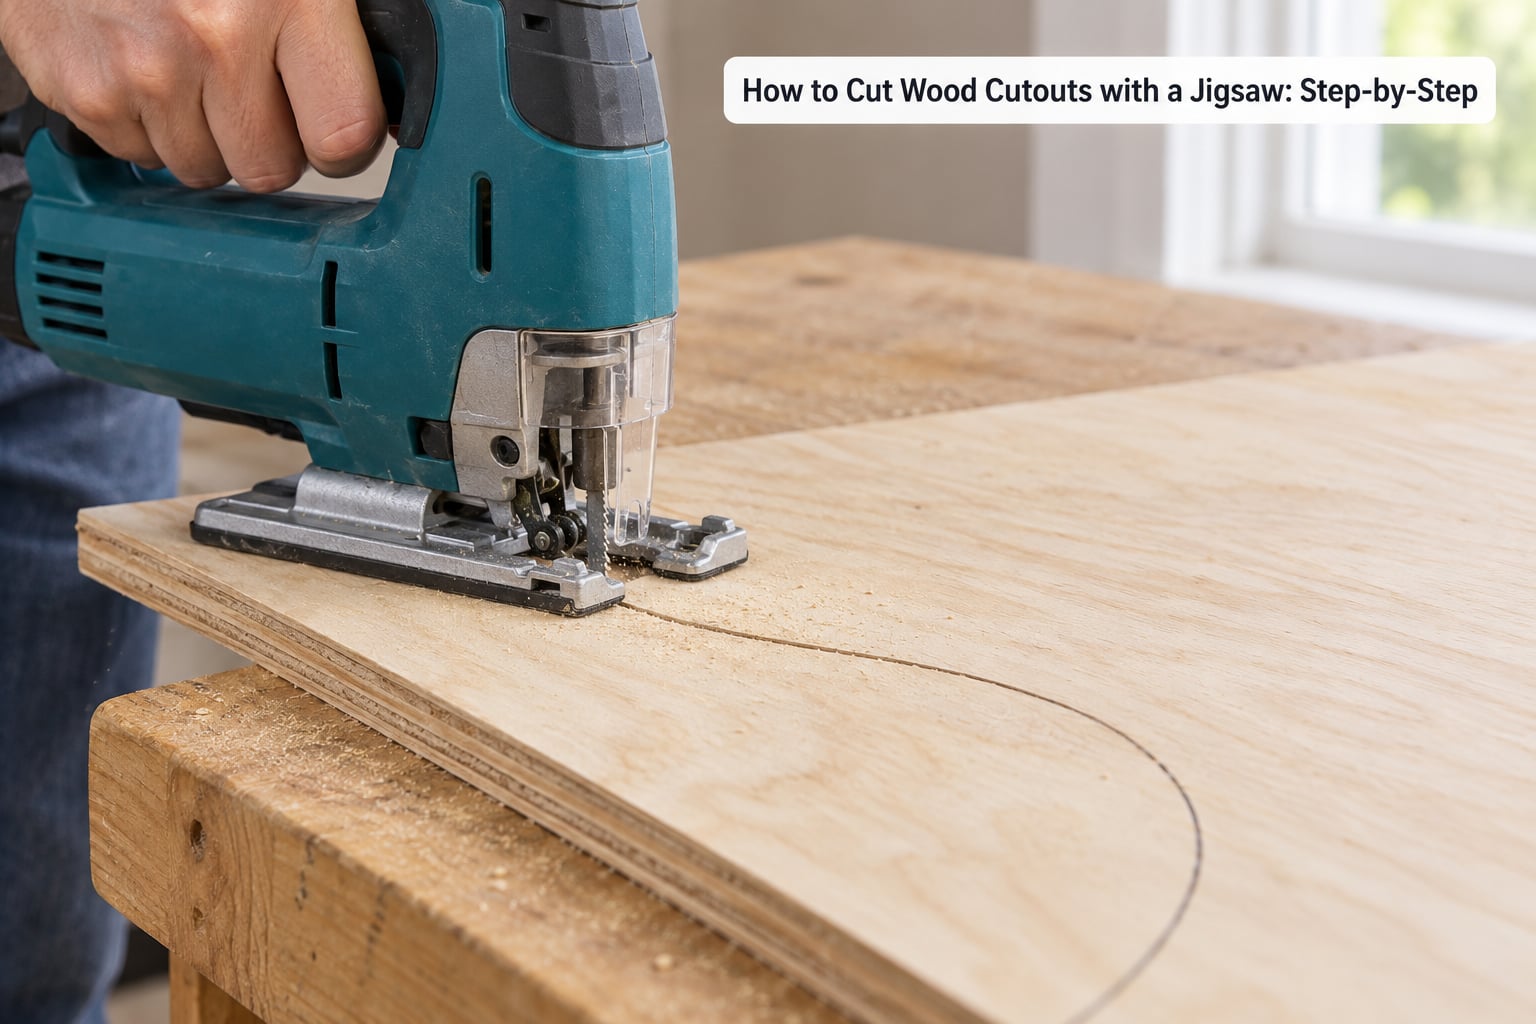
Hold the tool with both hands: one on the top grip, one wrapped around the front knob or the body near the base plate. Most of the control comes from the hand at the front, not the trigger hand.
Rest the front of the shoe on the wood before you press the trigger, and wait for the blade to reach full speed. Starting with the saw in mid-air or dropping it onto the surface is how the first inch of the cut goes off line.
Pick a start point on a straight run if the shape touches the board edge, and use the edge as a reference for the first inch. If the shape sits in the middle of the sheet, cut down from the top face — a jigsaw cannot plunge-cut cleanly into the middle of a board.
Now move. Follow the pencil line at a slow, even rate with the base plate flat on the wood at all times. You are steering, not pushing; if you find yourself leaning into the tool, you are going too fast.
Keep the blade vertical through every curve. The moment the saw tilts even slightly off the 90-degree plane, the cut edge bevels and you get two different faces where you wanted one. Watch the shoe, not just the line.
Here is the technique experienced woodworkers use in forums, and it works on any reciprocating blade: do not steer into the curve. Cut a short straight segment toward the curve and stop, then let the blade’s own arc sweep through the turn. Rotate the board rather than the saw when you can, and the shape comes out noticeably rounder.
Release the trigger and let the blade stop before you lift the tool away. Then tap the offcut free — do not break it off while the blade is still in it.
Cut Interior Holes and Tight Details
An enclosed shape — a letter, an eye, the middle of an “O” — needs a starting hole before the blade can get in. Drill straight down through the middle of the shape with a bit slightly wider than your blade. For a Bosch T101B at 3mm, a 6mm bit is comfortable; for the narrower T101AO at 2mm, a 4mm bit works.
Keep the drill vertical and finish the hole so it goes all the way through in one pass. A tapered hole left halfway will stop the blade dead.
Lower the saw into the hole with the blade at full speed, keep it square to the board, and start following the line outward from the hole. With the access hole made, a square or rectangular cutout is straightforward: make the four straight sides one at a time, holding the straightedge against the shoe for each pass, and finish at the corners where the blade naturally has to turn.
For tight corners, do not fight the geometry. A blade has a minimum turning radius built into its width and its tooth pattern. On a corner tighter than that radius, stop the saw, back the line out slightly, and cut straight past the corner. Fill the corner with sandpaper or a file afterwards and the result is cleaner than forcing the blade and snapping it.
Work in short passes on detail sections. Short bursts let you reposition the shoe without drifting, and they stop heat building at one point in the kerf.
How to Cut Wood Cutouts with a Jigsaw Without Kickback
Kickback is the saw jumping back at you when the blade binds. It happens when the cut closes in on the blade, when the workpiece flexes, or when the base plate lifts off the surface.
Keep the shoe planted. Lift the saw slightly off the wood and everything above the shoe is unrestrained, which is exactly the condition that produces a kickback.
Support the tool near its base with your front hand so the weight of the saw is carried by the workpiece, not by your wrists.
Ease into curves. Let the speed drop as the blade enters a turn and come back up on the straights. A variable speed trigger makes this much easier than a single-speed saw.
Keep the cord out of the cut line. Route it over your shoulder or behind you, and never let the cord pull the saw off your path.
If kickback happens, release the trigger, let the blade stop, pull the saw back off the line, and restart at full speed in a clear spot. Do not try to muscle the saw back onto the line while the motor is running.
Make sure the blade clears the work surface underneath. If it does not, that is the single most common cause of both kickback and snapped blades.
Sand, Refinish, and Preserve the Cutout
Let the cutout cool and settle before you touch it, then knock off any loose dust. Start at 80 grit with a sanding block to take down the blade ridge, working along the edge rather than across it so you keep the shape.
Move up to 150, then 220. The finish does not need to be glass-smooth, but any area you can see a saw mark in will catch paint and stain unevenly, so those are the places to spend time.
Check inside corners and around the access hole, where blades often leave a rough burr. A small sanding drum or a folded strip of paper wrapped around a pencil works where a block will not fit.
Break every sharp edge with 180 grit and your finger. Run your thumb lightly along the whole perimeter — anything that catches is still a cut waiting to happen.
For paint or stain, scuff the surface lightly with 180 grit first so the finish has something to grip, then wipe off the dust with a damp cloth and let the piece dry completely before the first coat. Seal with two thin coats of a water-based sealer rather than one heavy one, and sand lightly between coats with 220 grit.
To hang it, glue a small batten or a picture frame backing to the back and drill into that, rather than driving screws into a thin plywood face. The batten spreads the load and stops the piece from splitting.
Common Mistakes
These are the errors that come up again and again when beginners cut their first shapes, and each has a straightforward correction.
| Mistake | What happens | Correction |
|---|---|---|
| Wrong blade for the material | Slow cutting, a wandering line, blades snapping in MDF and hardwood | Use a 10-14 TPI fine-tooth blade for softwood and plywood; switch to a T101AO scroll blade for radii under about 20mm |
| Workpiece not clamped | The board moves, the line doubles back, the cutout comes out lopsided | Clamp it, or use a bench hook for small pieces, before the saw is switched on |
| Forcing tight curves | The blade binds and either kicks back or snaps | Cut straight past the corner and sand it round, or fit a narrower scroll blade |
| Cutting straight down onto the bench top | Blade teeth are ruined and the work surface is gouged | Always cut over MDF, hardboard or an offcut, and let the cut line overhang the edge |
| Lifting or pivoting the shoe while the blade runs | The saw twists, the edge bevels, and kickback risk spikes | Release the trigger, let the blade stop, then reposition with two hands |
| Running at full speed the whole cut | The blade heats, burns the edge, and glazes quickly | Drop to a walking pace on curves and hold full speed only on straights |
| Teeth pointing upward in plywood | The top face splinters out in long shards | Fit the blade with the ground-down teeth facing down |
| Ignoring the grain on solid wood | Long fibres lift on the exit and tear the corner | Turn the board so the grain runs with the direction of travel, or choose plywood for the first pieces |
Two habits fix more beginner problems than any other advice. The first is a scrap test: cut the same shape twice in an offcut before you touch your good board, and learn what your saw does on that particular material.
The second is making the first cutout slightly larger than the drawing. It costs five extra minutes of sanding and it gives you the room to correct a wander without ending up with a piece that is too small.
Frequently Asked Questions
Can I cut through a 2×4 with a jigsaw?
Yes, most corded jigsaws cut a nominal 2×4, which is actually 1.5 inches thick, though it takes a heavy-duty coarse-tooth blade and a slow feed. Cordless models with a smaller depth rating often stall before they reach through. Make sure your blade extends past the workpiece without hitting what is underneath, clamp the piece on both sides of the cut, and expect the cut to take several minutes rather than seconds.
What jigsaw blade is best for wood cutouts?
A fine-tooth blade with 10 to 14 teeth per inch gives the cleanest cut on plywood, MDF, pine and other softwoods. A Bosch T101B suits general cutting and gentle curves; a Bosch T101AO is the narrow scroll blade for tight radii and detailed work. For hardwood, step up to a coarser 6 to 8 TPI blade and feed it slowly. Match the shank to your tool, since a U-shank blade will not lock safely in a T-shank clamp.
Do I need to drill a hole to cut with a jigsaw?
You only need a starter hole for a fully enclosed interior cutout, such as the middle of a letter or a circle floating inside the shape. Drill straight down through the centre of the shape with a bit slightly wider than the blade, all the way through in one pass. Outside cuts that start at an edge of the board need no hole, because you can lower the blade onto the surface from above.
How do I keep a jigsaw from cutting off the line?
Slow down and stop pushing. The usual causes of drifting are too much feed pressure, a blade with too few teeth for the material, a shoe that is not sitting flat, and a line drawn with a hard pencil that has already been partly sanded away. Watch the front of the shoe rather than the pencil line, keep both hands on the tool, and cut straight segments into each curve instead of steering around it.
Is a scroll saw better than a jigsaw for small wooden shapes?
For thin stock under about 6mm and for intricate scroll patterns, a scroll saw gives a much finer, steadier cut and a blade that can turn far tighter. A jigsaw takes thicker material more comfortably, is portable, costs less, and handles larger, rougher shapes better. Scroll saw forum users consistently describe the saw as the better tool for detail and the jigsaw as the better tool for thicker cutouts and general studio work.
How do I fix tear-out on a jigsaw cut?
Tear-out usually happens on the exit side and on the outside of tight curves. Turn the workpiece over and cut the same line from the other face, leaving the worst tear-out on the waste side, or fit the blade with the ground-down teeth facing down so it rips upward through the top layer. Cut slightly outside the line and sand down, and always cut over a sacrificial surface so the blade is not dulled by a backer board.
Conclusion
Cut a stable, thin board of plywood rather than thick hardwood, fit a clean fine-tooth blade with the teeth facing down, set the depth so the blade clears the wood without touching the bench, and clamp the piece before you switch it on. Make one small test cut in the waste area to confirm the direction of travel, then follow the outline slowly with the shoe flat and both hands on the tool.
Only when the outside cut is closed and the shape is free do you move on to interior holes, sanding, and finishing. Those last steps are what separate a rough outline from a piece you would actually hang on a wall or sell.