To learn how to write an artist residency application that gets read closely, do one thing first: read the call all the way through, then answer its actual prompts with specific evidence instead of a general statement about your practice. Most weak applications are not rejected because the work is weak. They are rejected because nobody could tell which project the artist would make there, or why this particular host was the right place.
Most residencies are reviewed by a small panel working through a stack of applications on a deadline, often with no follow-up questions. You have a few hundred words to make a stranger understand your work, your plan, and your fit. That constraint is the whole job, and it is easier than it sounds once you stop writing for an imagined jury and start writing for a tired reader with a checklist.
Allow three to six weeks for a serious application, more if you are producing new work samples. The work is roughly 60 percent preparation, 25 percent writing, 15 percent technical care, and the technical care is where the avoidable losses happen.
Table of Contents
- What You Need
- Step-by-Step
- 1. Read the Residency Call Before You Write
- 2. Choose a Focused Project or Residency Goal
- 3. Study the Host Organization and Community
- 4. Select Work Samples That Support Your Proposal
- 5. Draft a Specific Artist Statement
- 6. Build a Realistic Plan for the Residency
- 7. Write an Artist Residency Application for Each Prompt
- 8. Prepare Supporting Documents Correctly
- 9. Review for Clarity, Fit, and Proofreading
- 10. Submit Before the Deadline and Save Confirmation
- Common Mistakes
- Frequently Asked Questions
- Do I need professional residency experience to apply?
- How many artwork images should I include in a residency application?
- What should an artist residency project proposal include?
- Should I mention personal circumstances such as caregiving, disability, or limited income?
- Final Application Checklist
What You Need
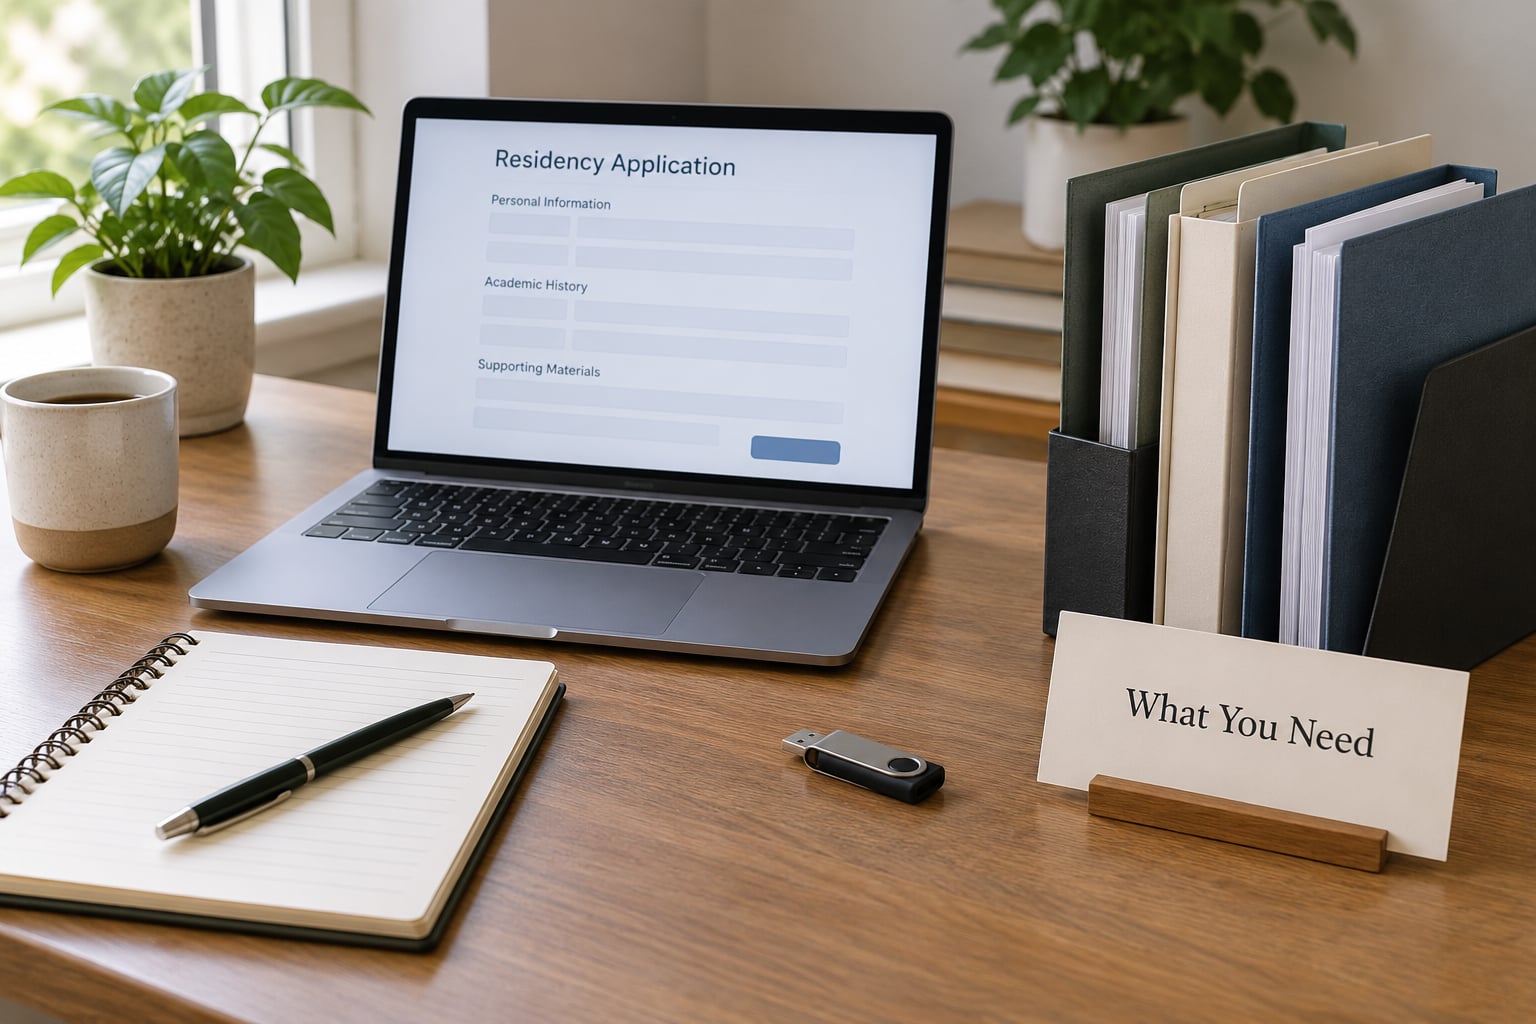
The residency call is the controlling document for every requirement. The list below is what artists are commonly asked for, not what your particular call demands.
- The residency guidelines. Download the full call, including any FAQ or guidelines page linked from it. This is the source you will check your application against.
- Work samples. A set number of digital images, sometimes with a video, sometimes a writing sample or a sound piece depending on the discipline.
- Project details. A proposal describing what you intend to make or research, often with a required word count.
- Biography or artist bio. Usually 50 to 150 words, written in the third person.
- Statement of purpose or artist statement. The written core of the application, with a word limit that is not optional.
- Schedule and timeline. How your residency period breaks into weeks or phases.
- Budget information. Sometimes required in detail, sometimes only a participation fee acknowledgement.
- Required file formats. Naming conventions, resolution minimums, file size caps, PDF or image specifications.
Some of these you can build once and reuse. A bio, a CV, and a master artist statement are standing documents you will update rather than rewrite for each call, so build them before the next deadline cycle rather than inside it.
The things you cannot prepare in advance are the project, the schedule, and the tailoring. Those depend entirely on what the host is asking for, and they are also what panels weight most heavily.
Step-by-Step
1. Read the Residency Call Before You Write
Reading the call first tells you the mission, the eligibility rules, the selection criteria, the word limits, the required materials, the deadline, and often how the assessment works. A surprising number of applicants skip straight to the portfolio upload and discover the eligibility problem three hours later.
Build a requirements checklist from what you just read: every field in the portal, every file, every word limit, every date. Then check yourself against the eligibility rules. Degree requirements, minimum years since graduation, medium restrictions, residency status, citizenship limits, and prior-recipient exclusions all disqualify people before anyone reads their work.
Check this worked: you can state, in one sentence each, who this residency is for and whether that is you. If either sentence is vague, keep researching before you invest drafting time.
2. Choose a Focused Project or Residency Goal
Choose one clear purpose for the residency, such as developing a new body of work, completing an installation, conducting research, or strengthening a collaborative practice. Panels can count. Three half-projects in a 200-word proposal reads as none of them finished.
Ask what will physically exist at the end of the period: a series of works, a finished installation, a research archive, a set of prototypes, a public program. Concrete outputs give the panel a way to picture you in the space.
Check this worked: a stranger could describe your goal after one reading, and you could tell whether you reached it. If your goal is to be inspired or to network, it is not yet a project.
3. Study the Host Organization and Community
Fit is the cheapest advantage available to you, and it costs a couple of hours of reading. Review the organization’s mission, current programs, recent exhibitions, facilities, and past projects, and look at the work of previous residents.
Previous resident lists are the most useful single resource on any residency site. They show you what the program actually values, whether the current cohort matches the description, and what level of work the place attracts. Artists applying repeatedly have noted that studying who was selected before them revealed more than the program’s marketing language did.
Programs that publish selection criteria, list past residents with links to their work, and answer pre-application questions are generally worth the application fee. Programs that go quiet when you ask what the studio contains are worth a second thought.
Then connect your method to their setting without flattering them. One honest sentence about why a coastal site matters to a project about erosion beats a paragraph praising the building’s beautiful light.
Check this worked: every reference you make to the host is verifiable and relevant. Delete any sentence that would fit equally well pasted into the next application.
4. Select Work Samples That Support Your Proposal
Choose a small, coherent group of images that demonstrates the skills, process, and direction relevant to the project you are proposing. Read the limit and fill it with the images that argue your case, not with everything you have made since graduation.
Think of the selection as a mini-exhibition with a wall text. It needs a through-line, a variety of views where that helps, and captions that give the reader something to hold. Label every image and match the ordering instructions exactly, because a mismatch here is a technical rejection, not a judgment call.
Show process where it is persuasive: a detail, an installation view, a sequence, a failed experiment that led somewhere. Do not include a piece you have never discussed in conversation unless the portfolio question specifically asks for breadth.
Check this worked: every image strengthens the case. If you cannot say in a half sentence why an image is there, remove it and use the slot for one you can.
5. Draft a Specific Artist Statement
A statement connects your background, current concerns, material practice, and residency objective in a concise narrative. Four short paragraphs usually do it: where you came from, what you are working on now, what the residency project is, and what the residency will let you do.
Keep a master version at roughly 500 words that is true to your practice, then adapt it per call. A master statement is a spine, not something to paste unchanged. Panels read dozens of applications and recognise a generic paragraph immediately.
Concrete beats abstract every time. Naming the material, the site condition you are responding to, or the specific problem you are stuck on does more work than a paragraph about meaning and human connection.
Check this worked: every paragraph advances one idea, and the last sentence states what the residency will change about your work. If a paragraph could be lifted into any application, cut it.
6. Build a Realistic Plan for the Residency
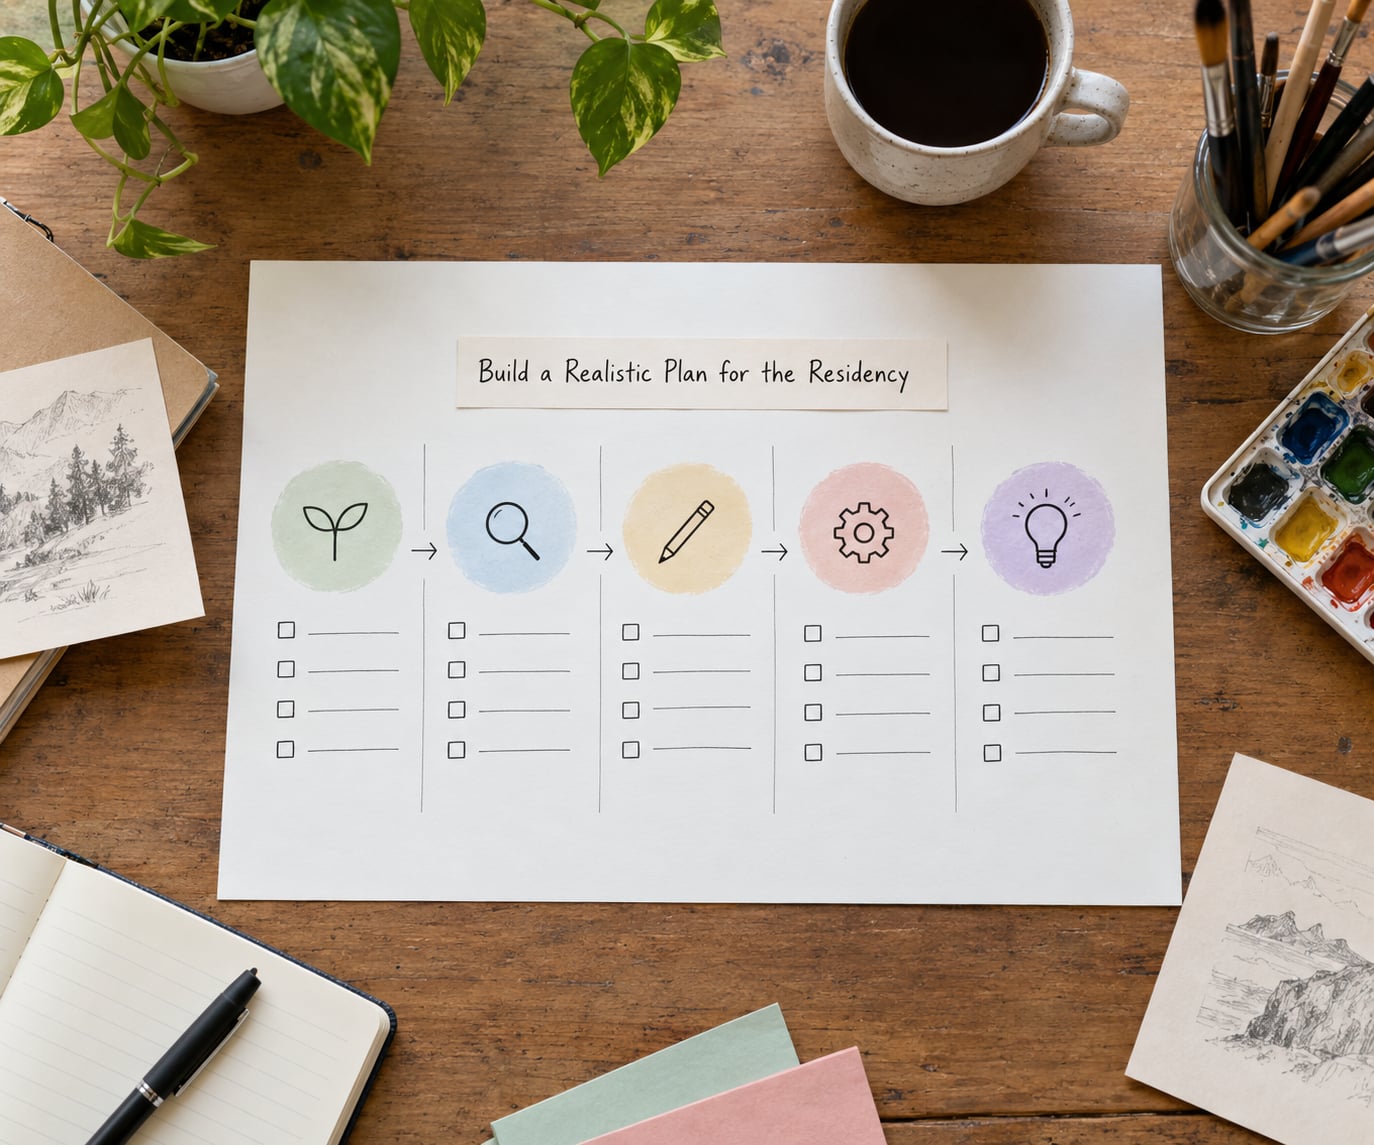
Outline key activities, milestones, research needs, production stages, community engagement, and possible outcomes. The plan should show thoughtful use of the host’s time and facilities without overpromising.
Residency periods run anywhere from two weeks to three months, so the plan should match the actual dates. Sketch weeks rather than days, and include slack. Work always expands, and a schedule with no room for a failed test reads as naive rather than optimistic.
Show how you will use what is there: the kiln, the darkroom, the workshop, the archive, the local community. Panels are checking whether your project can physically happen in that place with those tools.
Check this worked: the schedule fits the residency dates and leaves room for experimentation. If your plan cannot absorb one cancelled week, it is too tight.
7. Write an Artist Residency Application for Each Prompt
Answer the wording actually used in the call. When you learn how to write an artist residency application, the repeatable method is: state the relevant experience, explain the proposed contribution, connect the idea to the organization, and support claims with specific evidence.
That order works whether the prompt is 50 words or 500. It also makes revision easy, because you know which of the four is missing when a section feels thin.
Read each prompt as a question and answer it as one. If the field asks what you hope to contribute, do not spend the space describing what you hope to take away, however honest that is.
Check this worked: no information is missing, no claim is unsupported, and the same point is not made in three different fields. Panels notice repetition, and they notice the same paragraph recycled from a different application too.
8. Prepare Supporting Documents Correctly
Assemble the supporting set: a concise CV, a short bio, references, any required budget, release forms, accessibility information, and the technical uploads. Keep the CV to what the call asks for. Unpaid work, teaching, and non-art employment can be included when they explain a gap, an ongoing practice, or relevant skills, but the CV is not a full life history.
On references, choose people who have actually seen your work and can speak to it specifically. A referee who has not looked at your practice in two years will have nothing to say.
Follow naming, file-size, format, and ordering instructions exactly, character for character. A file named with the wrong surname suffix is the single most avoidable reason for an incomplete application.
Check this worked: every item is compared against the original call rather than assumed to follow the rules of the last one you filled in. Residencies rarely use identical forms.
9. Review for Clarity, Fit, and Proofreading
Review in three separate passes, and knowing how to write an artist residency application means knowing when to stop rewriting. First pass: required elements, every field, every file, every deadline. Second pass: argument and fit, whether the project is clear and the host connection is real.
Third pass: line editing and technical testing. Read the statement aloud. If you run out of breath, the sentence is too long. Then log into the portal and click through the entire application as a reviewer would, checking that nothing depends on a separate uploaded file for essential context.
Remove clichés, vague claims, unnecessary biography, inconsistent dates, and any leftover file name from your own computer. Have a trusted peer read it too; outside readers consistently catch things you have stopped seeing.
Check this worked: the final version sounds like you talking about your own work, and it still makes sense to someone who has never seen your website.
10. Submit Before the Deadline and Save Confirmation
Submit early enough to deal with technical problems. A portal that rejects a file size or times out at 11pm on the deadline is a real and avoidable way to lose an application you spent a month on.
Save copies of every submitted file as PDFs, keep the confirmation email or screenshot, and note the date and time of submission. If the residency accepts changes afterwards, you will want the record.
Verify receipt using the method the residency states, and avoid duplicate submissions unless the program permits them. Two identical applications can read as an attempt to influence selection.
Check this worked: you have a confirmation, a set of final files, and no unresolved errors in your account. Only then start the next application.
Common Mistakes
These are the errors that quietly weaken strong applications, each with the fix that solves it.
Ignoring word limits. Panels read fast and penalise both overruns and thin answers. A 180-word statement for a 150-word limit gets skimmed. Trim structure and adjectives before you cut substance.
Writing a generic statement. The master version is fine as a base and fatal as a submission. Rewrite the opening and the project paragraphs for each call.
Failing to match the host’s mission. If your project could run anywhere unchanged, the panel cannot see a reason to place you here. Name the specific site, program, or collection your work responds to.
Selecting too many work samples. Filling every slot available makes the reviewer do the curating. Choose fewer, better, and make sure the through-line is visible.
Copying résumé lines into project questions. A project prompt is not a career summary. Answer it with the work itself, and let the CV handle chronology.
Presenting an unrealistic schedule. A plan that assumes uninterrupted access and no revision reads as untested. Build in testing stages and one fallback if a material or space fails.
Overlooking cultural or community context. A residency on Indigenous land, in a specific community, or with an audience attached usually expects awareness of that context. Research it, and if the call invites a community component, treat it as part of the work rather than a footnote.
Failing to proofread file names and dates. Two minutes here saves a month. Check every attachment name, every date range, and every year across all files.
Keep a running calendar of deadlines rather than relying on reminders, keep a small number of applications in progress at once so nothing goes stale, and archive the feedback you get. Artists who ask for a rejection note report it as the most useful material in the whole process.
Frequently Asked Questions
Do I need professional residency experience to apply?
Many calls welcome emerging artists, students, recent graduates, and independent practitioners, but eligibility rules vary widely. Read the requirements section carefully and emphasise relevant preparation, a credible project plan, and evidence of a sustained practice. Some residencies are explicitly for first-time applicants, and those often care more about clarity of intent than a long exhibition history.
How many artwork images should I include in a residency application?
Follow the stated image limit rather than adding files until the portal refuses another upload. Choose a small, relevant selection that demonstrates your current practice, process, and ability to pursue the project you are proposing. If the limit allows more, resist it. A tight, coherent set reads as curated; a long one reads as unfocused.
What should an artist residency project proposal include?
A strong proposal names a specific project, explains how it grows out of your practice, connects it to the host site and its resources, outlines realistic activities for the residency dates, and states what you hope to develop or contribute. Include research needs, production stages, and any community engagement you anticipate. Vague ambition without a schedule is the most common reason a proposal is set aside.
Should I mention personal circumstances such as caregiving, disability, or limited income?
Mention relevant circumstances only when they affect eligibility, access, scheduling, required support, or the feasibility of the work you are proposing. You do not need to disclose private details that the application never asks about, and you should not guess at accommodations. Where the call includes a dedicated access or support section, answer it plainly and briefly.
Final Application Checklist
Start by downloading the residency call, listing every requirement in a single checklist, and setting your own drafting deadline a week before the real one. That first hour prevents most of the failures described above, and it costs nothing.
Then work in this order: one project, real evidence, a schedule that fits the dates, and answers written in the call’s own wording. If you are still unsure how to write an artist residency application, work through one prompt at a time rather than drafting everything at once. Prioritise clear evidence over clever phrasing, keep the application aligned to the specific call rather than your general practice, and submit early enough to fix a technical problem rather than lose the application to one.
Keep the confirmation, archive the files, and note what you would change. The next application is always easier for it.