How to apply for an art exhibition? You prepare a curated application package, submit it to a gallery, juried show, artist co-op, art fair or open call before the published deadline, and follow their guidelines exactly. Most first-time exhibitors spend a weekend on the package and then apply to a dozen suitable calls.
That last part is where people get stuck. Artists describe open calls as a numbers game, and the honest truth is that most applications are declined. None of this is hidden, though, and a system for tracking deadlines and vetting venues turns a scattered process into something you can finish.
Below is the process in the order it actually works: define the show, find calls, read the guidelines, prepare the work and the paperwork, submit carefully, follow up, and handle delivery if you are accepted. It works for textile, mixed-media and visual artists alike, because the paperwork side of applying is the same regardless of medium.
Table of Contents
- What You Need
- How to Apply for an Art Exhibition: Step by Step
- 1. Define the kind of exhibition you want
- 2. Build a reliable research and deadline system
- 3. Check the eligibility and entry requirements
- 4. Prepare the work and presentation materials
- 5. Prepare your artist statement, biography and résumé
- 6. Work through the application form
- 7. Submit, save and follow up professionally
- 8. Prepare for acceptance and delivery
- Common Mistakes
- Frequently Asked Questions
- How much does it usually cost to apply for an art exhibition?
- How do I know if an art exhibition call for entries is legitimate?
- What should I include in an art exhibition application?
- How do I get an art exhibition with no exhibition history?
- Do museums pay artists to exhibit?
- What should I do after submitting an art exhibition application?
- Conclusion
What You Need
You need a small set of documents that most people assemble more than once, plus a record of where each application stands. Gathering these before you start applying saves the version scramble that happens at midnight the night before a deadline.
| Material | What it is | Practical limit to aim for |
|---|---|---|
| Artwork images | Full view plus two details of each piece | Exactly the number the call asks for, no more |
| Artist statement | Your practice, process and intent in your own words | 150 to 300 words unless told otherwise |
| Short biography | Third person, place-based, factual | 75 to 150 words |
| CV or résumé | Education, exhibitions, collections, awards, teaching | One to two pages, reverse chronological |
| Exhibition proposal | The concept for the specific show, when asked | One to three pages |
| Work list | Title, year, medium, dimensions, price or value | Every work shown in the application |
| Price list | Retail prices for anything for sale | One page, dated |
| Contact details | Email, phone, mailing address, website and social links | Kept current in one place |
Two more things belong on that list even though they are not documents. The first is your contact record, saved once so you paste it rather than retype it. The second is an application tracker with columns for the venue name, the deadline with its time zone, the fee, what you submitted and the date you heard back.
Most artists already own an art materials guide for framing and media, but the photography setup matters just as much here, since the images usually decide whether anyone reads the rest. Built-in daylight from a window beats a lamp with a color cast every time.
How to Apply for an Art Exhibition: Step by Step
1. Define the kind of exhibition you want
Start by naming the format, because each one asks for a different package and carries a different risk. A juried group show and a co-op membership are close to opposites: one judges you against hundreds of applicants, the other takes a fee and gives you a wall.
Decide your medium and theme first, then your geography and audience. Are you after a solo show, a group show, an art fair booth, a library or municipal wall, an online gallery, a residency, or gallery representation?
| Opportunity | What it costs you | How you get selected | What you send |
|---|---|---|---|
| Juried show or open call | An entry fee, often ten to forty dollars | Jury reviews blind or named submissions | Images to a template, statement, CV |
| Artist co-op | Monthly dues plus sitting shifts | Membership vote or open roll | Portfolio, statement, interview |
| Gallery submission | Nothing, if they are running a show | Gallery director reads it alone | Short email, portfolio, statement, CV |
| Art fair | Booth fee, insurance and travel | Application plus acceptance by organizer | Booth images, price list, CV |
| Library or municipal show | Usually nothing | Local panel or staff selection | Images, statement, brief bio |
| Online gallery | Monthly fee plus commission on sales | Screening, then acceptance | Images, statement, CV |
| Residency | Often a modest fee or none | Panel reading proposals | Proposal, CV, references |
| Museum collection or show | Nothing, though unpaid is common | Curatorial committee | Proposal, images, CV, references |
Veteran exhibitors say specializing wins. Artists known for one medium or style get selected far more often than generalists, so pick the row that matches your actual practice rather than the one that sounds most impressive. If you have no exhibition history at all, the co-op and library rows are the realistic starting points, and they are what most established exhibitors recommend first.
2. Build a reliable research and deadline system
Use a small set of sources and check them weekly, because hand-built directories are exactly how experienced artists find calls. Curators and gallery directors are not hiding opportunities; they post them in the same places you would.
- Aggregated call directories that publish juried shows and open calls by region and deadline
- Regional arts council newsletters, which often carry calls for local artists first
- Municipal and library gallery listings, which book months ahead
- Co-op and guild newsletters where you already have a connection
- Direct outreach to venues, where one email asking how they accept submissions is a normal move
One artist described the routine as a spreadsheet and a search engine, and that is genuinely enough to start. Put every deadline in one calendar, note the time zone, and set a personal deadline seven days earlier so a portal problem never eats your weekend.
3. Check the eligibility and entry requirements
Read the call twice before writing a word, because guidelines are the fastest filter and the easiest thing to get wrong. Check medium, maximum dimensions, whether the work must be recent, residency or membership rules, insurance minimums, how many images, file format, file size and how selections are notified.
Then check the money, which is where first-time exhibitors get surprised. Entry fees are normal in juried shows. A guaranteed-acceptance show, a fee that buys a catalogue page, or a venue that keeps most of the sale is not. Artists on forums describe the last category as vanity galleries, and the same trio of red flags comes up again and again: no written contract, commission above fifty percent, and paying to exhibit.
If a gallery has no working website, no named staff, and no record of what happened to the artists it showed last year, that is your answer.
4. Prepare the work and presentation materials
Select the works that fit the show’s stated theme, not the ones you like best. Then check each piece’s condition, measure it including the frame, and photograph it in even light with no glass glare and no background clutter.
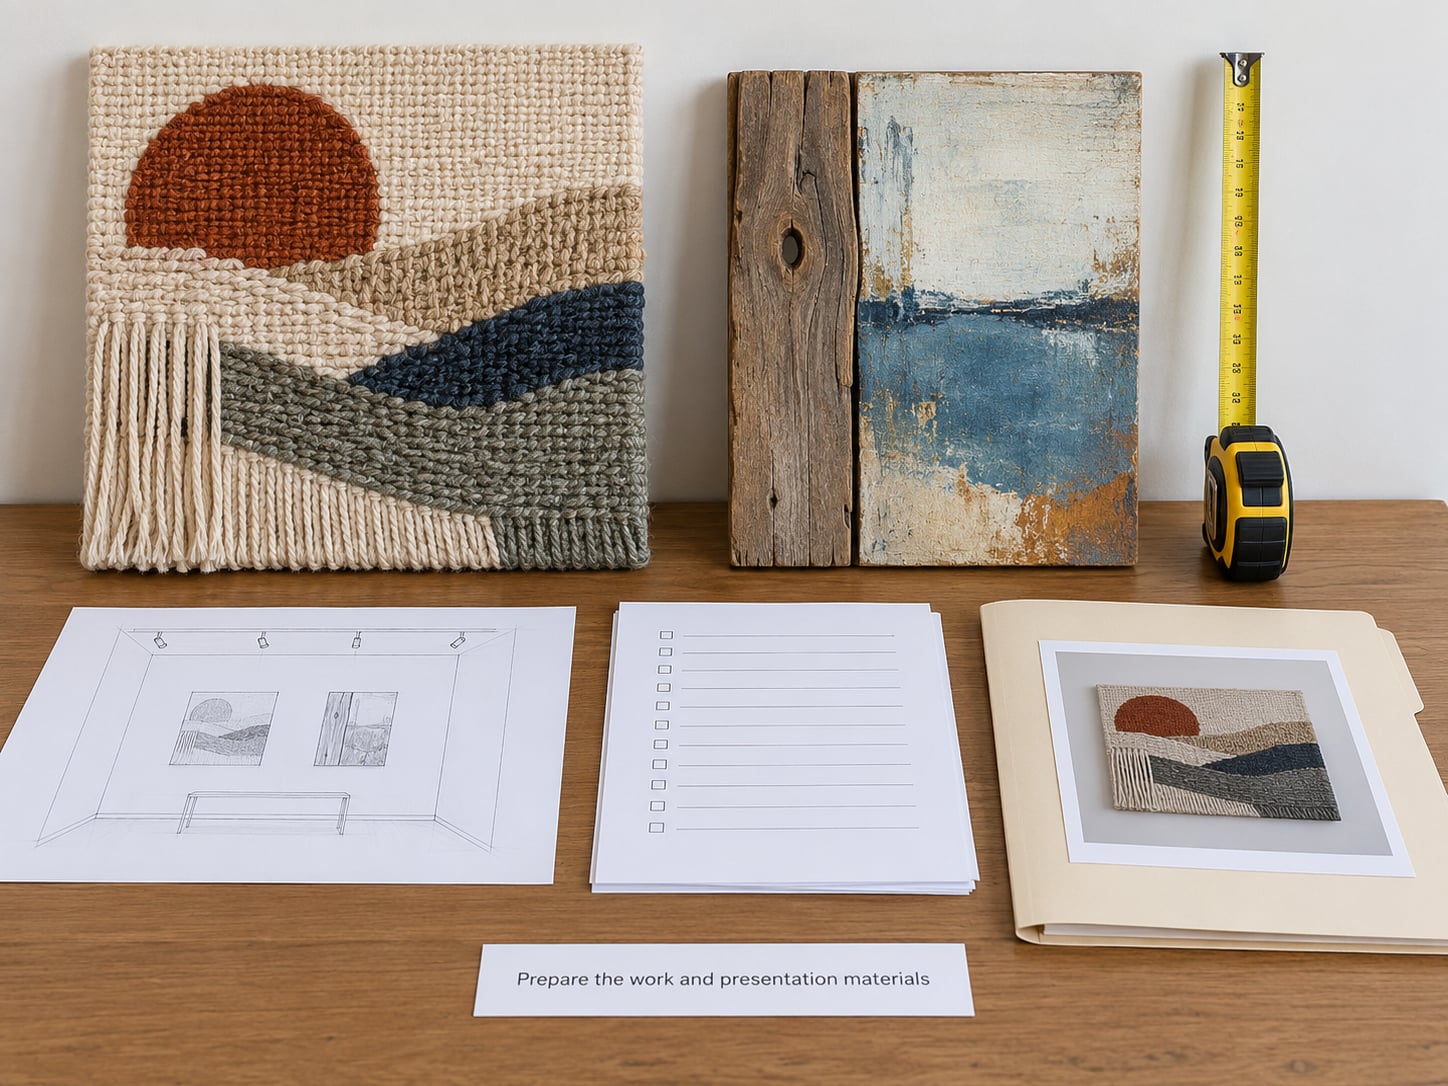
Shoot a straight-on full view plus two details, then correct the white balance so the color in the image matches the object. Name files in a consistent pattern so you can find them later, something like last name, piece title, dimensions and year.
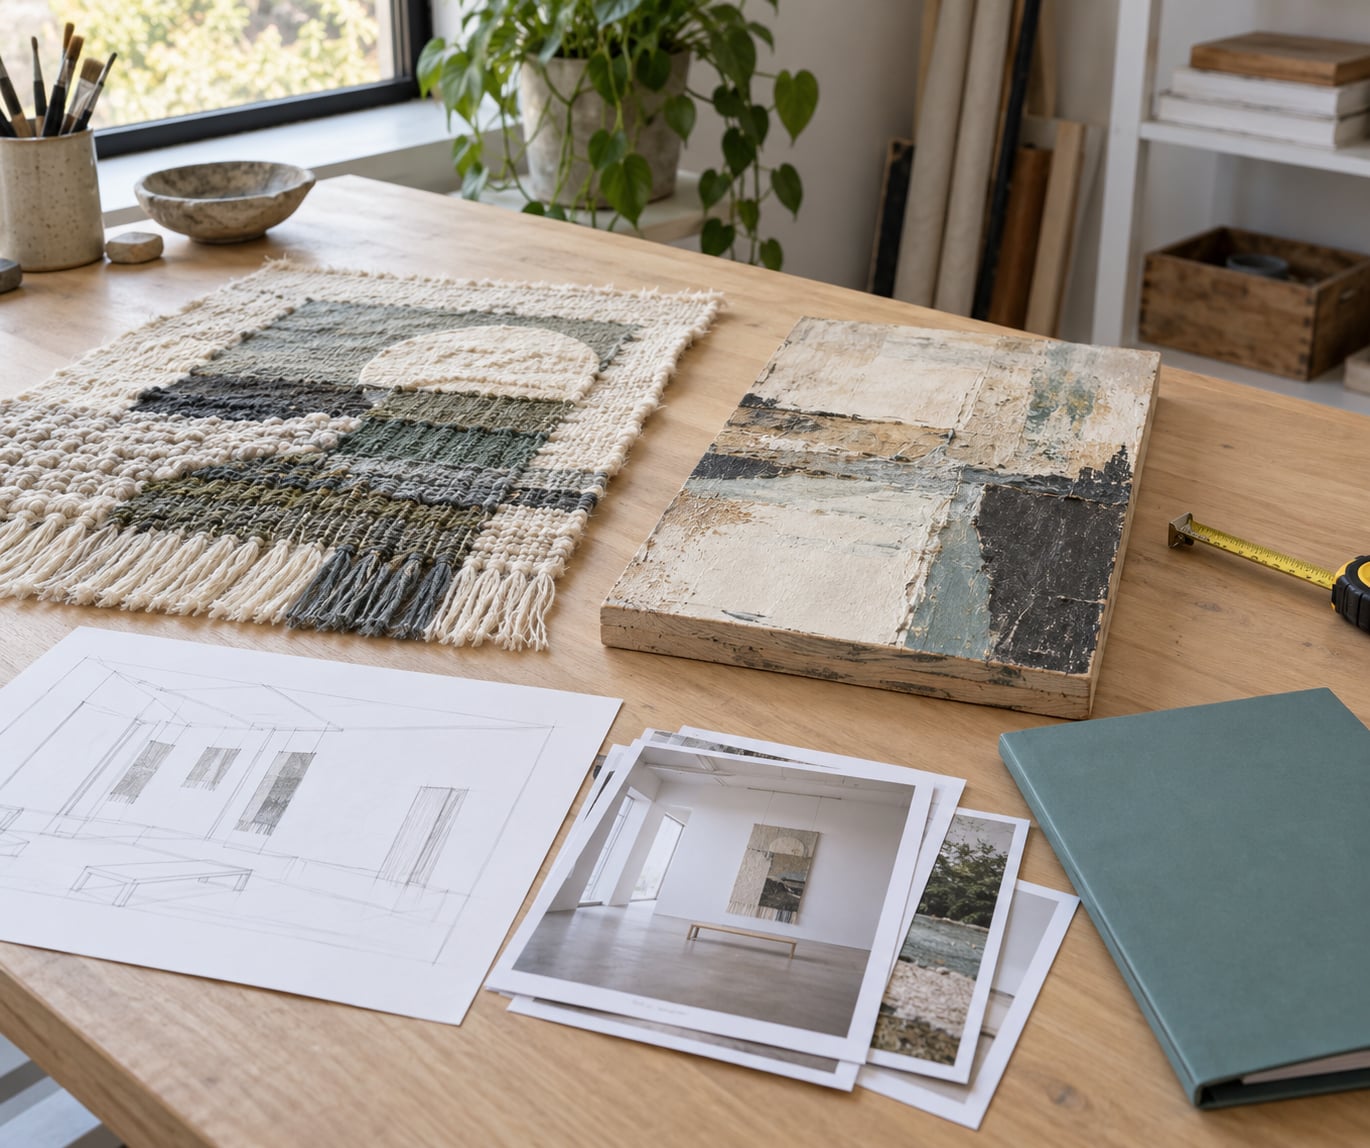
Record the installation too: how much wall space each piece needs, how far above the floor it hangs, and whether it needs hardware. Curators are working from photographs, so a scale reference or an installation sketch tells them more than a perfect image does.
Assemble the portfolio as one PDF, usually under ten megabytes, with your name and contact details on the first page. If the call asks for individual image files instead of a PDF, follow the call exactly, because switching formats is a common reason an otherwise strong application gets dropped before anyone reads it.
5. Prepare your artist statement, biography and résumé
The artist statement explains what you make and why, in the first person, without adjectives stacked on adjectives. Three to five short paragraphs works: what you work with, how you work, what you are exploring, and what this particular group of pieces is about.
The biography is a separate thing. It is third person, under 150 words, and it includes where you live and train, any degrees, collections, awards and a list of recent exhibitions.
The CV carries the record: education, solo and group exhibitions with years, collections, awards, publications, teaching and workshops, all in reverse chronological order. Keep it to two pages and cut anything older than the call’s stated requirement, usually five years for solo and group shows.
Keep one master CV and one master statement, then adjust the opening paragraph per venue. That is the single change that makes an application look made for that space instead of mass-sent, and it takes ten minutes rather than an evening.
6. Work through the application form
Most artists overthink how to apply for an art exhibition, and the form mechanics are the easy part. Work through it in order and copy the wording of each prompt into your notes, so you answer what was actually asked. Many applications have hard limits, such as three images, a 200-word statement or a maximum of six works, and exceeding a limit is a fast way out.
Check the mechanical details next: dimensions in the units requested, the year of each work, medium listed fully, and file names matching the naming convention the form specifies. Then read every answer out loud, because typos in an artist statement are more damaging than people expect.
Remove anything that conflicts. If the CV lists a show that the work list contradicts, or two applications in your tracker are the same venue, clean that up before you submit rather than after a question arrives.
7. Submit, save and follow up professionally
Submit early in the final week, not on the deadline day, and confirm the upload finished by downloading your own files back. Save the confirmation page, the receipt, the submitted files and a screenshot of the guidelines page you worked from.
Put the notification date from the call into your calendar the day you submit, then check your junk folder regularly. Jurors read hundreds of submissions and they rarely explain a decision, which is why rejection is so opaque; the usual reasons are timing, fit with the theme and incomplete packages.
| Common rejection reason | Fix |
|---|---|
| Guideline ignored | Read the call twice, then match every requirement to a checklist item |
| Images too low resolution or badly lit | Reshoot in daylight, one full view plus two details |
| Statement does not fit the show | Rewrite the opening paragraph for that theme specifically |
| Over the image limit | Rank your works and submit only the strongest within the count |
| Submitted late | Set your own deadline seven days early |
| Portfolio too long | Cut to ten to fifteen pages and lead with your best work |
| No exhibition history | Show juried group shows, memberships, awards and a strong statement instead |
If the answer is no, note the date, archive the package and keep applying. If it is a waitlist, ask whether they would like updated images of work that has since changed.
A polite follow-up after the stated notification date is normal practice. Three lines is enough: your name, the show title, your application date, and a sentence asking for any update. One message, no argument if they decline.
8. Prepare for acceptance and delivery
Once you are in, read the agreement before you sign anything. Look at the commission, the consignment terms, the insurance minimum, the deposit and refund terms, the installation dates and who pays for transport if a piece sells.
Make a condition report before anything moves, photograph each piece as it arrives, and get a signature from the venue for anything handed over. Label the work on the back with your name, the title, the year and the price so staff can answer questions on the wall for you.
For a traveling show or a fair booth, build a crate or case that fits the vehicle, and check whether your existing art insurance covers work in transit. Riders for shipping and for work on loan to a specific venue are cheap compared with a damaged piece.
Then promote it. Invite the people who already saw your applications, post the work as process rather than a single finished image, give the venue a short statement and installation images for its press, and show up at the opening with something to hand out. One good show leads to the next mostly because people who saw it tell other curators.
Common Mistakes
Almost every rejection traces back to a mistake that was avoidable a week earlier. Here are the ones artists repeat most, with the correction for each.
- Working to the deadline. Set your own deadline seven days early and treat the stated one as the absolute limit.
- Wrong dimensions. Measure every piece including the frame, in the units the form requests, and measure twice.
- One generic statement sent everywhere. Keep a master version and rewrite the opening paragraph for each venue.
- Poor images. Daylight, flat color, no glare, one full view plus two details, sized to the form’s limit.
- Paying an unclear fee. Confirm the exact fee, what it buys, whether it is refundable and whether it comes back if you are accepted.
- Sending the wrong file sizes or formats. Follow the format the call specifies, even if your usual portfolio is built differently.
- Over-including work. A jury wants the strongest ten, not everything you have made this year.
- Ignoring what happens after acceptance. Get the agreement, insurance and condition report sorted before the work leaves your studio.
Two habits prevent most of these. Keep one master folder with your statement, bio, CV, images and contact details, versioned and dated. And treat every application as a record in your tracker rather than a one-off email, so no deadline depends on your memory.
Frequently Asked Questions
How much does it usually cost to apply for an art exhibition?
Fees vary widely by venue. Artist-run spaces, co-ops and many library or municipal shows charge nothing, while juried open calls often charge ten to forty dollars per entry. Art fairs are a different cost entirely, since booth fees, insurance and travel usually run into the hundreds. Always check whether the fee is refundable on acceptance, and never pay a fee that buys guaranteed inclusion.
How do I know if an art exhibition call for entries is legitimate?
Check the organizer’s website, named staff, physical address and contact details before you send anything. Legitimate calls state eligibility, guidelines, the deadline, the fee and how selections are notified. Walk away from guaranteed-acceptance shows, venues with no working website, and any offer to pay a fee in exchange for a guaranteed place. Ask a local arts council or established artist whether they know the venue.
What should I include in an art exhibition application?
Nearly every application asks for artwork images, an artist statement, a short biography, a CV, contact details and a work list with title, year, medium and dimensions. Juried shows may also want an exhibition proposal, a price list and, for a solo show, an installation plan. Read the call for exact limits, since image counts, word limits and file formats are usually specified and usually enforced.
How do I get an art exhibition with no exhibition history?
Start where acceptance is not a competition. Artist co-ops take members and typically rotate solo or member shows every two or three years in exchange for dues and sitting shifts. Library, municipal and community gallery shows are juried by local panels and are far less crowded. Juried group shows, art fairs and online galleries will still accept you, and every one of those adds a line to your CV.
Do museums pay artists to exhibit?
Rarely. Museums and non-profit exhibition spaces usually supply the space, insurance, installation and promotion, and they do not pay artists for showing work, apart from a small fee in a handful of curated programs. A museum invitation is worth a lot of credibility, not income. If money matters, look at commercial galleries, art fairs and paid teaching or workshop opportunities instead, and read any agreement for who covers costs.
What should I do after submitting an art exhibition application?
Save the confirmation page, the receipt, every file you uploaded and a copy of the guidelines you worked from. Note the stated notification date in your calendar and check your spam folder, since acceptance notices are frequently filtered. If the timeline passes without a reply, one polite follow-up is appropriate. If you are waitlisted, ask whether updated images of newer work would help.
Conclusion
Applying for an art exhibition is a repeatable process: choose the format, track deadlines, read the guidelines closely, prepare images and paperwork, submit early, follow up once, and handle the paperwork again if you are accepted. The artists who get shows are usually not the most talented applicants, they are the ones who apply consistently and tailor each package.
Start today by choosing three opportunities that genuinely fit your work and building one shared checklist and one calendar for them. That single weekend of setup makes the next ten applications about twenty minutes each instead of a whole evening, and this guide is updated for 2026.