To seal plywood before painting, sand the face and edges, seal the raw end grain first, fill any defects, then lay down two thin coats of a shellac-based sealer, a water-based sanding sealer or an oil-based primer with a light scuff between them. It takes about an hour of hands-on work per coat plus drying time, and it is the difference between paint that sits flat for years and paint that peels off the sheet in a season.
Unsealed plywood is thirsty and uneven. The face drinks paint into the grain in patches, the soft fibers swell and fuzz up, and the raw plywood edges suck up colour until they look like a different material from the face. Sealing closes those pores first so the topcoat spreads evenly and has something to bite into.
The advice below holds up as of 2026, and it works the same whether you are finishing a garage wall, a plywood ceiling, a cabinet box or a piece of studio furniture.
Table of Contents
- What You Need
- Step-by-Step
- Choose the Right Sealer for the Plywood
- Sand and Clean the Plywood
- Apply the First Sealer Coat
- Sand Between Coats and Apply Additional Coats
- Prime and Paint the Sealed Surface
- How to Seal Plywood Before Painting for Outdoor Projects
- Common Mistakes
- Tips for a Durable Plywood Painting Finish
- Frequently Asked Questions
- What is the best way to seal plywood for outdoor use?
- What happens if you paint plywood without primer?
- What is the best primer to use over wood filler?
- What are the downsides of using shellac?
- How do I paint a plywood ceiling?
- Can you seal plywood before painting without sanding?
- Conclusion
What You Need
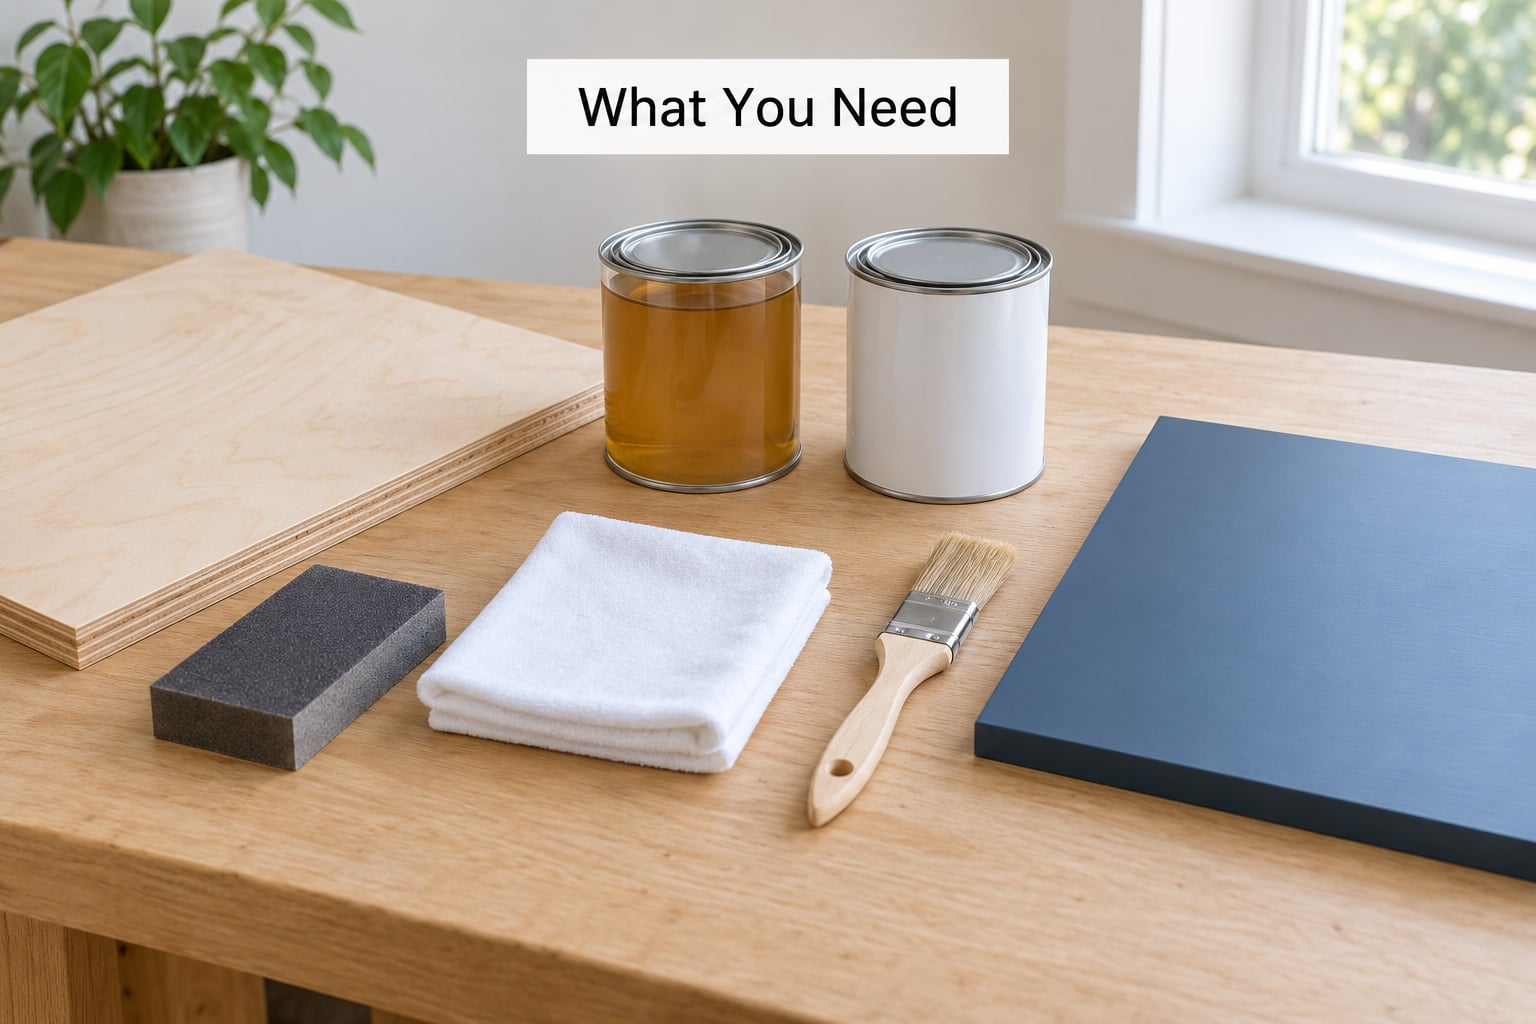
Most of this is a short hardware list, and you probably already own half of it.
- Plywood rated for where it will live. Interior panels are fine for dry rooms; anything taking weather needs an exterior or marine grade sheet.
- Sandpaper in two grits: 150 to 220 grit for the first pass over the face and edges, then 220 grit for scuffing between coats.
- A sanding block or a rigid flat pad. Folding paper sandpaper over your hand gives you an uneven surface and an uneven result.
- A tack cloth, or a clean damp cloth plus a dry rag, to pull sanding dust off before anything wet goes on.
- Wood filler and a knot sealer for screw holes, chips, splits and any knots that sit close to the surface.
- A sealer: shellac-based sealer, water-based sanding sealer, oil-based primer or epoxy sealer.
- Paint: 100 percent acrylic latex for indoor panels, exterior acrylic for anything outdoors.
- A brush, foam roller or sprayer. A roller is faster on a full sheet; a brush is better on edges and in tight corners.
- Safety gear: a dust mask for sanding and open windows or a fan whenever you use an oil-based or solvent-based product.
One optional shortcut is worth knowing: a thin water-based PVA seal, made from wood glue diluted roughly one to one with water, works as a first coat on small indoor pieces. It is not a substitute for a real sealer outdoors, and it will not block stains, but on a small shop project it saves a step.
Step-by-Step
The order matters more than the products do. Sealing solves problems in a fixed sequence: level the surface, close the edges, fill the holes, seal the face, knock the raised fibers back down, then paint.
Choose the Right Sealer for the Plywood
Match the sealer to the surface and to how the finished piece will be used. Anything labeled for wood and for your intended location is the minimum bar; a sealer meant for metal or plastic will not do the job.
| Sealer type | Grain raise risk | Drying time | Odor | Best for |
|---|---|---|---|---|
| Shellac-based sealer | Low | Fast, under an hour | Strong while wet | Fast interior work, knot and tannin blocking |
| Water-based sanding sealer | Moderate | One to two hours | Mild | Indoor panels, ceilings, garage walls, craft work |
| Oil-based primer | Low | Four to eight hours | Strong | Exterior plywood, softwood bleed-through |
| Epoxy sealer | Low | Several hours | Moderate | Boats, sheds, exterior faces needing water resistance |
| Diluted PVA or glue | Moderate | One hour | Very mild | Small indoor craft pieces only |
Smooth-face plywood such as Baltic birch behaves differently from a rough sanded face. The face is already dense with little open pore structure, so it raises very little grain, but it still needs sealing or your chosen colour will look patchier on the pale face than on the darker edges. One good coat of a water-based sealer or primer is usually enough there.
Sand and Clean the Plywood
Work across the grain with 150 to 220 grit, using light even pressure to smooth the raised fibers left by the mill and any roughness on the edges. Follow with the grain on a second pass if you want a feel-smooth surface for a fine finish.
Vacuum or brush off the dust, then wipe the panel with a tack cloth. A damp cloth works too, as long as you let the sheet dry fully before sealing. A wet surface traps dust under the sealer and you will sand that grit into the finish later.
Now inspect the sheet for screw holes, chips, splits and knots that sit proud of the surface or have a resin ring around them. Those get filled before sealing, not after.
Apply the First Sealer Coat
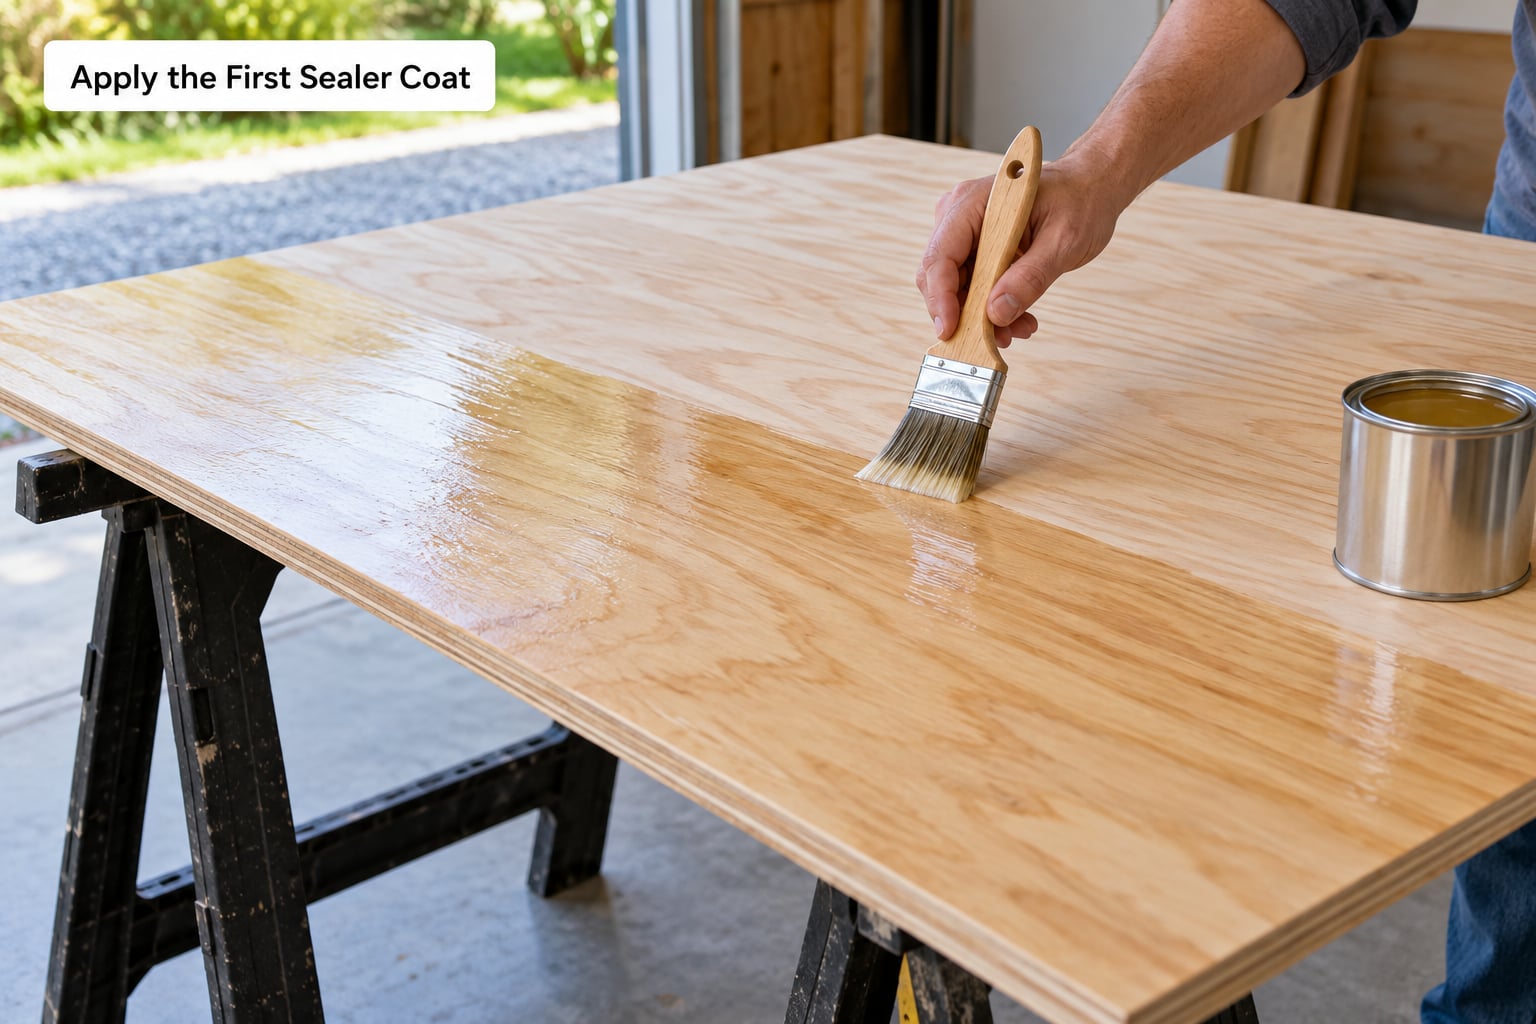
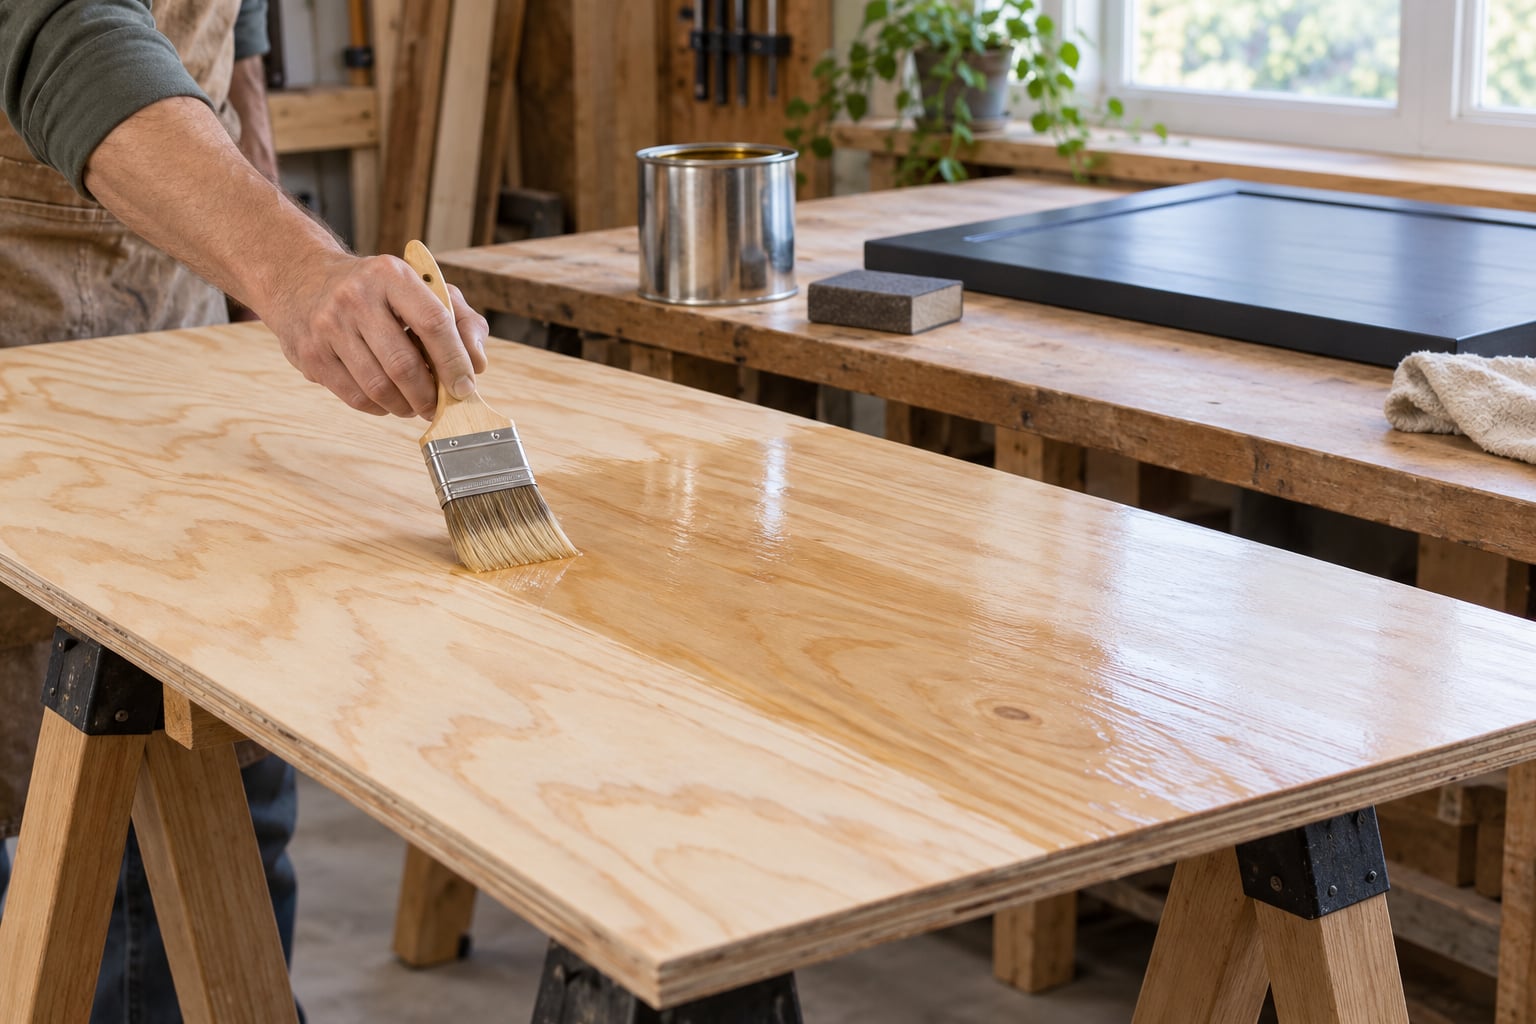
Stir or shake the sealer exactly as the label directs, then apply it thin with the grain. A brush suits edges and corners, a foam roller covers a face fast, and a sprayer gives the smoothest result on a large panel if you have one and a dusty spot to put it in.
Wet edges and end grain absorb sealer fastest, so hit them first and let them drink before you turn to the face. Puddles sit on top and dry as a film that peels later. If a puddle forms, brush it out rather than letting it dry.
The coat should look even and slightly damp, not slick. That is enough.
Sand Between Coats and Apply Additional Coats
Give the first coat the full drying time printed on the can rather than a guess based on how the surface feels. A tacky coat that gets sanded will pull up and gum the paper.
Scuff the dried sealer with 220 grit using light pressure, going with the grain, then wipe away the dust with a tack cloth. That scuff is what gives the second coat something to grip, and it takes the standing fibers off before the topcoat ever sees them.
Apply a second coat the same way. Two coats is the usual answer for an interior panel, and three is worth doing when the first coat soaked in fast, which usually means a porous face. Stop when the surface reads as one consistent tone with no darker patches and no sheen difference between the face and the edge.
Prime and Paint the Sealed Surface
A separate primer step is only needed when the sealer you used is not itself a primer, such as shellac, a clear epoxy sealer or polyurethane. A stain-blocking primer already counts as both the sealer and the primer coat, and adding a second primer over it is wasted time.
Whatever you use on top has to be compatible with what is underneath. A water-based acrylic topcoat over an oil-based sealer is fine once the oil-based coat has cured, but going from an uncured oil or wax layer straight to latex is where adhesion failures start.
Scuff once more, vacuum, and lay on two coats of 100 percent acrylic latex for indoor work, letting each coat cure per the label. The finish is ready when the panel is uniformly colored, the edges look like the face, and a light touch leaves no mark.
How to Seal Plywood Before Painting for Outdoor Projects
Outdoor plywood needs more than a coat of interior sealer. Start with a sheet rated for exterior exposure, and use products labeled for exterior wood: an exterior acrylic primer, an oil-based exterior primer or a clear penetrating epoxy sealer.
Seal every face, every edge and the end grain of every cut. This is the crucial step people skip. End grain soaks up water faster than the face, and moisture that gets into the edges of a sheet is what eventually lifts the paint off in sheets.
Keep air moving across the work area, and follow the cure times rather than the touch-dry times, especially above about 70 percent humidity. A useful rule of thumb for fully exposed sheets is one sealing coat per ply: three-ply wants three.
Check your existing plywood for advice. If any layer has separated or gone soft, sealing is not the fix, and a patch of paint will hold for a season and then come away with the crumbly wood attached.
Common Mistakes
Almost every failed plywood paint job comes down to one of these.
- Sealing over dust or a damp surface. The dust becomes abrasive under the roller and the trapped moisture blocks adhesion. Vacuum, tack cloth, and let damp wood dry overnight.
- Applying too much product. Thick coats dry rubbery and peel. Thin, even coats soak in and level out; wipe off any puddle immediately.
- Skipping the scuff between coats. The second coat beads up on the first instead of bonding to it. A light 220 grit pass takes a minute and fixes adhesion outright.
- Painting straight over wood filler. Standard filler is not built to take paint and can sink into a soft patch that shows as a dull blotch. Prime over the filled area so the filler and the surrounding wood absorb the topcoat at the same rate.
- Leaving the edges bare. A face-only job always ends with the edges lighter and thirstier than the face. Do the edges and end grain first, while the sealer is fresh.
- Using an incompatible primer or paint. Wax, heavy oils and some shellac formulas repel water-based topcoats. Check what the sealer can be painted over, or pick one that is designed to be both.
- Painting in damp conditions. Overnight dew or high humidity traps moisture inside a film that cannot escape, and the topcoat comes away later. Wait for a dry day with moving air.
Tips for a Durable Plywood Painting Finish
A few habits separate a finish that lasts from one that just looks good on day one. Test your sealer on a scrap of the same sheet first, because a different face ply can behave completely differently from the sample.
Clean your brush or roller between coats and store it in the label-recommended cleaner. Old hardened sealer in the ferrule is the usual reason a second coat ends up streaky, and rinsing a brush out at the end of a coat costs nothing.
Label a thinned container with the product name and the date you mixed it. Water-based sealers only stay workable for a short time once opened with water, and a mystery coat from three weeks ago is a bad way to lose an afternoon.
If you want to seal without sanding at all, work the surface with a deglosser first and use a stain-blocking sealer. Expect the grain to raise anyway, and plan on one extra scuff before painting. For anything that has to look flawless, skipping the sanding step is the wrong trade.
Frequently Asked Questions
What is the best way to seal plywood for outdoor use?
Use a sheet rated for exterior exposure and products labeled for exterior wood, such as an exterior acrylic primer, an oil-based exterior primer or a clear penetrating epoxy sealer. Seal the face, all four edges and the end grain of every cut, with one coat per ply as a reasonable target for exposed sheets. Keep air moving while you work and respect full cure times, not just touch-dry times.
What happens if you paint plywood without primer?
Paint sinks into the open grain in patches, the soft fibers swell and raise into a fuzzy surface, and the result looks blotchy rather than flat. Over time moisture gets into the sheet through the same open pores, and the film loses its grip and peels. On interior panels a quality stain-blocking primer is often enough; outdoors, skipping it shortens the life of the finish dramatically.
What is the best primer to use over wood filler?
Prime the filled area before painting. Most standard wood fillers are porous and softer than the surrounding plywood, so bare paint sinks into them and dries dull, leaving a visible patch. A water-based or oil-based primer over the filled spots levels that difference out, and a stain-blocking primer is the safest choice over the softer water-based fillers. Sand the primer lightly before the topcoat.
What are the downsides of using shellac?
Shellac dries fast and blocks knots and tannin bleed better than almost anything else, but it has a strong odor while it is wet, a limited shelf life once opened, and it sits on the surface more than a penetrating sealer. It is also brittle compared with polyurethane, so heavy use or flexing can crack it. For small indoor pieces the speed wins; for exposed exterior work it is not the first choice.
How do I paint a plywood ceiling?
Work from a scaffold, never a chair. Sand the sheets, seal all the edges and end grain, fill the fastener holes, and apply two coats of primer or stain-blocking sealer with a light 220 grit scuff between them. Roll the topcoat with a short-nap roller to limit lap marks, keep the room well ventilated and stop painting when the surface temperature drops toward the dew point.
Can you seal plywood before painting without sanding?
You can, but expect a rougher result. Wipe the surface with a deglosser or a thinner-based cleaner, apply a stain-blocking sealer and let it dry, then scuff with 220 grit before painting. Sanding is what removes the raised fibers, so skipping it usually means adding the scuff back later anyway. On small craft pieces that is a fair trade; on a ceiling or a garage wall it is not.
Conclusion
Start at the edge of the sheet, not the face. Sand the plywood with 150 to 220 grit, seal the raw end grain and all four edges first, fill the defects, then brush or roll on two thin coats of a sealer labeled for your surface and your location, scuffing with 220 grit between them.
The sealer matters, but so does the order: close the edges, close the face, knock the grain back down, then paint. When you seal plywood before painting in that sequence, the topcoat spreads evenly, the edges stop looking pale, and the finish stays put through seasons of humidity and temperature swings.
One last check before the roller comes out: run a hand across the panel. If it feels fuzzy, wet or tacky anywhere, it is not ready yet.