Choosing adhesives for mixed media comes down to the material you are bonding to, not the project you are making. Water-based glues grip porous surfaces like paper, canvas and fabric, while solvent-based and specialty glues handle metal, glass, plastic and coated surfaces. Get that match right and the failure problems mostly disappear.
It sounds simple, but almost nobody explains it this way. Most glue advice is a list of favourites, and a list of favourites is no use when you are standing in the studio at 11pm holding a bottle you have never used before, trying to decide.
So here is a working framework: identify the substrates, decide how much load the bond carries, check the finish you need, then pick a family. Five minutes of that will save you a piece that lifts off the wall in a month.
Table of Contents
- What Is the Best Adhesive for Mixed Media?
- How to Choose Adhesives for Mixed Media by Material
- Paper, canvas and fabric
- Metal, glass and plastic
- Unknown and found surfaces
- Which Adhesive Strength Do You Need?
- How Do Drying Time and Open Time Affect Your Work?
- How to Choose Adhesives for Mixed Media by Finish
- What Are the Main Types of Mixed-Media Adhesives?
- Water-based families
- Solvent-based and specialty families
- How to Test an Adhesive Before Using It
- Common Adhesive Mistakes in Mixed-Media Projects
- Safety and Ventilation When Using Adhesives
- Frequently Asked Questions
- Is Elmer’s glue archival?
- How do I glue paper together without warping?
- What can I use to seal a collage?
- What is the best glue for gluing fabric to fabric?
- What glue works on non-porous surfaces?
- How do I get superglue off art without ruining it?
- Where to Start Tomorrow
What Is the Best Adhesive for Mixed Media?
The best adhesive for mixed media is the one that matches your two materials, the weight involved, and how much the finished piece will flex. There is no single best glue, and anyone who tells you otherwise is describing their own work, not yours.
What separates adhesives is the carrier, the liquid that carries the bonding resin. Water-based adhesives carry their bond in water. The water soaks into the fibres of paper, canvas or fabric, then evaporates and leaves the resin threaded through the material. That is why a water-based PVA gives such a strong grip on a porous surface, and also why it can cockle thin paper as it dries.
Solvent-based adhesives carry their bond in a chemical solvent instead of water. Nothing wet goes into the paper, so the sheet stays flat, and the solvent bites into or dissolves a coating on a non-porous surface so the resin can anchor. The cost is odour, ventilation, and a sticky ooze that has to be cleaned off while it is still wet.
That one difference explains almost every glue complaint in mixed media. Glossy magazine paper defeating a school PVA, a solvent glue holding flat where PVA buckled it, a coated jar needing a swab instead of a brush. Once you know the carrier, the rules stop being arbitrary.
How to Choose Adhesives for Mixed Media by Material
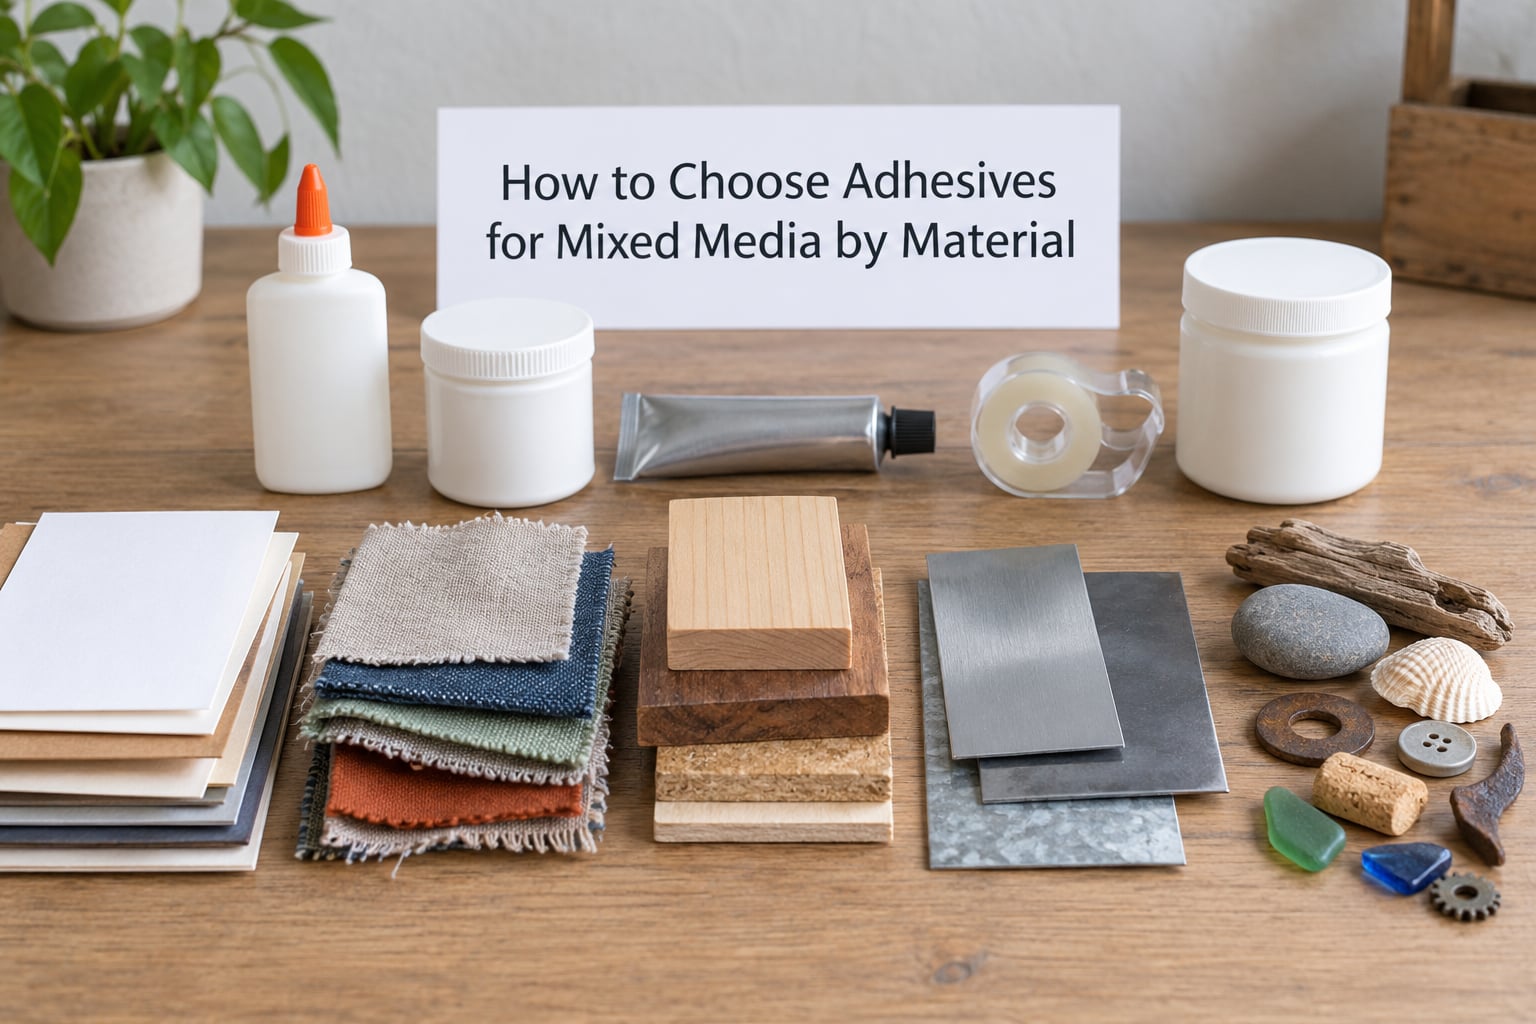
Start with the surface, because porous or non-porous decides the family. Then narrow by weight and finish. This table is the shortcut most people need.
| Material | Starting choice | Why it works | Watch out for |
|---|---|---|---|
| Paper, cardstock, newsprint | PVA, gel medium, glue stick | Absorbs the water carrier and grips fibre to fibre | Warping on thin or light-weight stock |
| Glossy or coated magazine paper | Solvent-based adhesive, gel medium over a primer coat | Coating blocks absorption; the bond sits on top instead | PVA oozing out later in a yellow halo |
| Canvas and raw fabric | Flexible PVA, gel medium | Penetrates weave and textile sizing | Stiff glue on a piece that has to roll or fold |
| Wood, chipboard, cork | PVA, tacky glue, epoxy for heavy joinery | Absorbent surface takes a water carrier well | End-grain absorbs far more than the face |
| Metal | Solvent-based adhesive, epoxy, two-part acrylic | Non-porous, needs a bond on the surface film | Moisture trapped under paper causes later lifting |
| Glass and acrylic | Two-part epoxy, acrylic medium, solvent adhesive | Forms a rigid bond on a sealed surface | Brittle joints shock out; solvent crazes some plastics |
| Plastic | Solvent-based adhesive or epoxy after testing | Some polymers bond with a solvent wipe; others resist everything | Unknown plastics can dissolve or frost |
| Found objects | Tacky glue, epoxy, hot melt for the base layer | Handles mixed density in one piece | Weight pulls a PVA bond apart over time |
Paper, canvas and fabric
For paper, canvas and fabric, a flexible PVA or gel medium is the reliable default. The most repeated complaint in the forums is warping on thin and light-weight paper, and the fix is application rather than a different bottle.
Coat the entire back of the element, not just the edges. Then burnish with a clean dry cloth or a bone folder, and let it dry flat under something even. Adhesive sets as it dries, so anything applied half dry will slide when you press the next layer on.
Metal, glass and plastic
Metal, glass and plastic are non-porous, and water-based glues mostly fail on them. There is an active conversation in r/collage about gluing paper over metal, and the answer is consistent: do not fight it with a wetter glue.
Use a solvent-based adhesive for the bond, or epoxy where the joint needs to be rigid. If you are gluing paper onto metal, seal the paper face first with gel medium or a clear acrylic medium, let it dry, then attach. Paper left unsealed drinks moisture back from the substrate and buckles.
Clean the surface before you bond. Dust, oil from your hands and a thin film of oxidation are the usual reasons a metal or glass joint fails while the glue itself was fine.
Unknown and found surfaces
When you do not know what a found object is made of, test it. Put a drop on an inconspicuous spot, wait the full cure time the label gives, then check whether it beaded up, soaked in, stained or dissolved.
A beaded drop means non-porous. A soaked drop means porous. A surface that softens or smells strongly means the solvent is attacking the material, and that glue is out.
Which Adhesive Strength Do You Need?
Match the strength to the job: light adhesion repositions, medium adhesion layers, and strong adhesion assembles or builds. Using a heavy adhesive for light work causes ooze and lost flexibility, which is its own kind of failure.
Light adhesion is for positioning, art journal pages you may want to reopen, and paper to paper. Glue sticks and light PVA sit here. A glue stick also applies less water than a liquid, so it is the low-warp option on thin paper.
Medium adhesion is the working default for collage. Gel medium and flexible PVA hold paper to paper, paper to canvas, and fabric scraps flat, while staying flexible enough that a journal page still opens.
Strong adhesion is for assemblage, three-dimensional found objects, and anything that will carry weight. Tacky glue, epoxy, two-part epoxy and solvent-based adhesives live here. The trade-off is a rigid bond, which is exactly wrong for anything that needs to flex.
One more variable: porosity. A water-based adhesive on two porous surfaces gains strength as it soaks in. The same adhesive on a non-porous surface in a non-porous pair is relying on surface area alone, so it needs more coverage and more pressure.
And watch the stress. A bond that sits in a line of tension, on a book spine or a page that folds, wants a flexible adhesive. A bond that hangs weight wants a rigid one. Forcing one adhesive to do both is the most common cause of a piece that fails after a month on the wall.
How Do Drying Time and Open Time Affect Your Work?
Drying time changes how you work, not just how long you wait. A fast-setting adhesive gives you seconds to position; a slow-setting one gives you minutes. Open time is the window after application during which the adhesive is still wet and repositionable.
Surface dry and fully cured are different states. Many water-based adhesives feel dry to the touch in fifteen or twenty minutes but take hours to reach full bond strength, and some solvent-based adhesives hold initial grab immediately while the bond continues to build underneath.
That is why the failure often shows up days later. A page that feels bonded on day one can let go in week three, because the piece was handled before the cure completed.
Humidity and temperature both matter. High humidity slows a water-based adhesive because the air already holds moisture, and cold does the same. Thick applications cure slower than thin ones because the water has further to travel out from the middle.
Resist the urge to speed things up with a hair dryer or heat gun. Heat pulls moisture to the surface where it flashes off, and traps the rest underneath, so the bond cures hollow and fails later. Air movement at room temperature does more, and does it properly.
If a medium has gone thin from sitting open, set it aside uncovered for thirty to sixty minutes so the water leaves and the binder thickens. Never add water to thin a medium, because that dilutes the binder ratio and weakens the result.
How to Choose Adhesives for Mixed Media by Finish
The dried appearance decides the adhesive as much as the bond does. Clear finishes stay invisible under gloss, translucent finishes soften edges, matte finishes disappear under paint, and white or cloudy finishes show wherever the adhesive squeezes out.
Clear-drying adhesives are what you want under a topcoat or varnish, especially over photographs, printed ephemera and lettering. A matte medium dries cloudy and will not disappear, so it belongs where texture is intended, not where a clean surface is needed.
Flexible finishes matter more than most beginners expect. A glue that dries rigid on a journal spread makes the page crack at the fold, and a rigid bond on fabric leaves a board-like patch you can see from the front. Flexible PVA and gel medium stay soft enough to take that stress.
Watch yellowing. Some PVA formulations and some solvent adhesives shift yellow under UV light, which matters for anything that will hang in daylight or for a book you want to reopen in ten years. Clear-drying and archival-grade labelling is the only honest signal, and testing a sample is the only real proof.
Finally, sandability. Rigid epoxy joints can be sanded and painted. A flexible PVA gummed up with a file does not. If your plan involves refining edges or painting over the joint, pick the finish with that in mind.
What Are the Main Types of Mixed-Media Adhesives?
Adhesives for mixed media fall into three families. Water-based, solvent-based and specialty. Knowing which family a bottle belongs to tells you most of what you need before you even read the label.
- Water-based: PVA school glue, archival bookbinding PVA, glue sticks, gel and gloss medium, and wheat starch paste. The best grip on porous surfaces, the least grip on anything coated, and the main source of warping.
- Solvent-based: contact adhesive, solvent-based craft glue and spray adhesive. No water enters the material, so paper stays flat and non-porous surfaces bond, at the cost of odour, ventilation and ooze cleanup.
- Specialty: tacky glue, cyanoacrylate, epoxy, two-part epoxy and hot melt. Higher strength and higher rigidity, used where load or durability outweighs flexibility.
Water-based families
School PVA is cheap, available everywhere and a fine general-purpose adhesive for paper and craft work. Archival PVA is formulated for conservation and bookbinding, with a higher solids load and better ageing behaviour, and is worth it when the piece is meant to last or the paper is valuable.
Glue sticks are less wet than liquid glue, which makes them the least warping option for thin paper and quick layouts. Quality varies more than brands admit. One reader reported images lifting off a page within weeks using a budget stick, while a stick from a different range held through the same project.
Gel medium is an acrylic medium that works as adhesive and sealer in one. It is the most frequently recommended all-rounder across collage forums, largely because it is versatile and it dries clear. Decoupage glue is the same idea in a formula built for sealing and finishing.
Wheat starch paste is the oldest option here. It remoistens, so it suits book repair and conservation-style work, and it is a good choice where you may want to release a layer later.
Solvent-based and specialty families
Contact adhesive bonds almost instantly on contact, needs no clamping time and stays flexible, but it grabs so fast that alignment is a one-shot decision. Aerosol spray adhesive covers large areas evenly and is a good fit for fabric backings and wide panels, and it is also the most likely to wander off target.
Cyanoacrylate, sold as superglue, cures fast, bonds metal and plastic well and is genuinely hard to undo once it soaks in. Use it in small amounts on structural details, not as a collage adhesive.
Epoxy gives the strongest rigid bond of anything here and handles glass, metal and heavy found objects, with a long cure and no forgiveness. Two-part epoxy is more controllable than one-part because you set the working time yourself. Hot melt sets almost instantly and anchors three-dimensional elements while you build up layers, but it is not archival and it goes brittle.
How to Test an Adhesive Before Using It
Test on scraps of the exact materials you plan to use, and record the result. Five minutes here prevents a ruined panel.
- Prepare matching pairs. Cut two scraps of each material, including the coated or finished face, not just the raw back.
- Apply consistently. Use the same amount you would use in the real piece, on one side, the same way you would apply it.
- Time it. Note how long the adhesive stays open before it grabs, and how long it takes to feel dry.
- Test the bond. After the full cure time on the label, try to separate the pair. Note whether it peels at the edges or holds across the whole surface.
- Flex it. Bend the bond gently. A good flexible adhesive will not snap at the joint.
- Look at it. Check for yellowing, cloudiness, ooze at the edges, bleed-through on the front face, and any staining or surface damage to either material.
- Write it down. Two lines in a notebook. Next time you reach for that bottle, you will not have to guess.
Test the adhesive you are least sure about first, while you still have time to change your approach.
Common Adhesive Mistakes in Mixed-Media Projects
Most adhesive failures come down to six habits. Each has a symptom you can spot and a correction you can apply.
| Symptom | Likely cause | Correction |
|---|---|---|
| Paper buckles or cockles | Too much water carrier, or gluing onto a dry surface | Thin even coat, full back coverage, burnish, dry flat between layers |
| Edges lift weeks later | Weak adhesive for the weight, or the piece was handled before full cure | Move up one strength step and respect the full cure time |
| Adhesive squeezes out and dries white | Over-application | Use less, wipe the edge while wet, apply as a second thin coat if needed |
| Bubbles and wrinkles under a sealer | Sealing over a layer that was not fully dry | Wait for full cure, then seal in thin coats |
| Glue soaks through to the front | Porous paper, wet glue, no sealing on the face | Seal the face first, use a less wet adhesive such as a glue stick |
| Bond fails along a fold or a hanging point | Rigid adhesive on a surface that has to flex | Switch to a flexible PVA or gel medium |
Two more worth naming. Skipping surface preparation defeats even a good adhesive, so wipe metal and glass and prime unprimed surfaces where you need reliable adhesion. And using cyanoacrylate as a general collage adhesive almost always ends in a permanent mistake, because it soaks into porous material and cures inside it.
Safety and Ventilation When Using Adhesives
Work somewhere you can change the air. Most failures in a home studio are ventilation failures, not adhesive failures.
Open a window and work away from the face. Solvent-based adhesives, spray adhesives and cyanoacrylate give off fumes, and a small closed room concentrates them faster than most people expect. If you can smell the adhesive strongly, the air is carrying too much of it.
Wash hands after use and keep adhesives off skin, especially cyanoacrylate, which bonds skin to skin on contact. Wear eye protection when spraying or when you are working above your lap. Nitrile gloves are useful for solvent work and for handling finished pieces before they cure.
Treat food-safe claims as a product-specific claim, not a category guarantee. Follow the label and the safety data sheet, which lists handling, storage and disposal in more detail than any blog post can.
Keep every adhesive out of reach of children and pets, and never pour residue down a drain unless the safety data sheet says to. Let waste dry out and dispose of it as the local rules require.
One habit is worth more than any product choice: read the safety data sheet before the first use, not after a spill. It tells you the real flash point, whether ventilation is required, and what to do on skin contact.
Frequently Asked Questions
Is Elmer’s glue archival?
Standard school PVA is generally not sold as archival. It is a water-based PVA with a plasticiser added for flexibility, and the plasticiser is what tends to yellow and embrittle over time. For work meant to last, choose a PVA labelled archival, acid-free or conservation grade, or an acrylic gel medium. A useful test is to apply a thin coat to a scrap of paper, let it cure fully, and check it again after a few months in daylight. If you are mounting valuable paper, use wheat starch paste or archival PVA instead.
How do I glue paper together without warping?
Use as little water as possible and cover the entire back of the element rather than just the edges. A glue stick puts down less moisture than a liquid, so it is the lower-warp option on thin paper. Burnish with a clean dry cloth or a bone folder, then dry the piece flat under even weight, and seal the face first if the paper is very porous. Never reach for a hair dryer, because it pulls water to the surface and traps it underneath, so the bond cures hollow and fails later.
What can I use to seal a collage?
A clear-drying acrylic gel medium or a decoupage medium is the usual answer, because it bonds and seals in one step. Let every layer underneath reach full cure first, then apply the medium in thin coats to avoid bubbles. A matte medium dries cloudy and will not disappear, so it only suits areas where texture is wanted. If the collage sits under a final varnish, a clear gloss medium gives the cleanest result. Water-based sealers and glues can be sanded lightly once cured, but flexible PVA cannot.
What is the best glue for gluing fabric to fabric?
A flexible PVA or a gel medium works for most fabric work, because both soak into the weave and stay soft. Tacky glue is the other common answer, and it grips heavier fabrics such as canvas and upholstery better, but it dries firmer and needs care where the piece has to fold or roll. For fabric applied to paper or a book cover, coat the back of the fabric with a thin layer and press it into place rather than brushing glue onto the surface, which soaks through.
What glue works on non-porous surfaces?
Solvent-based adhesives and epoxy are the reliable options for glass, metal and plastic, because a water-based glue has nothing to absorb into and forms a weak surface bond. Clean the surface first, since dust and oils are the usual cause of failure on an otherwise sound joint. For paper onto metal, seal the paper face before bonding so it does not drink moisture back. Test any unknown plastic with a small drop, because some polymers dissolve or frost rather than bond.
How do I get superglue off art without ruining it?
Cyanoacrylate cures into a hard plastic, and solvents such as acetone can lift it from a hard surface but will melt acrylic paint, soften varnish and take colour with them. The safer route is mechanical: score the edge gently with a scalpel and lift in pieces, working from the outside in. On porous surfaces the glue has already soaked in, so plan to treat that area as opaque and cover it with collage material or paint. A test on a hidden corner tells you quickly which risk you are taking.
Where to Start Tomorrow
Pick the two materials you use most, cut scrap pairs, and test one water-based and one solvent-based adhesive on them side by side. Write down which one held and which one stayed clear, and buy a small bottle of each.
That is the whole method behind choosing adhesives for mixed media. Identify the substrate, match the strength to the load, respect the cure time, and test anything you have not used before. Adhesive choice is where mixed media pieces are won and lost, usually in ways you only notice weeks later.