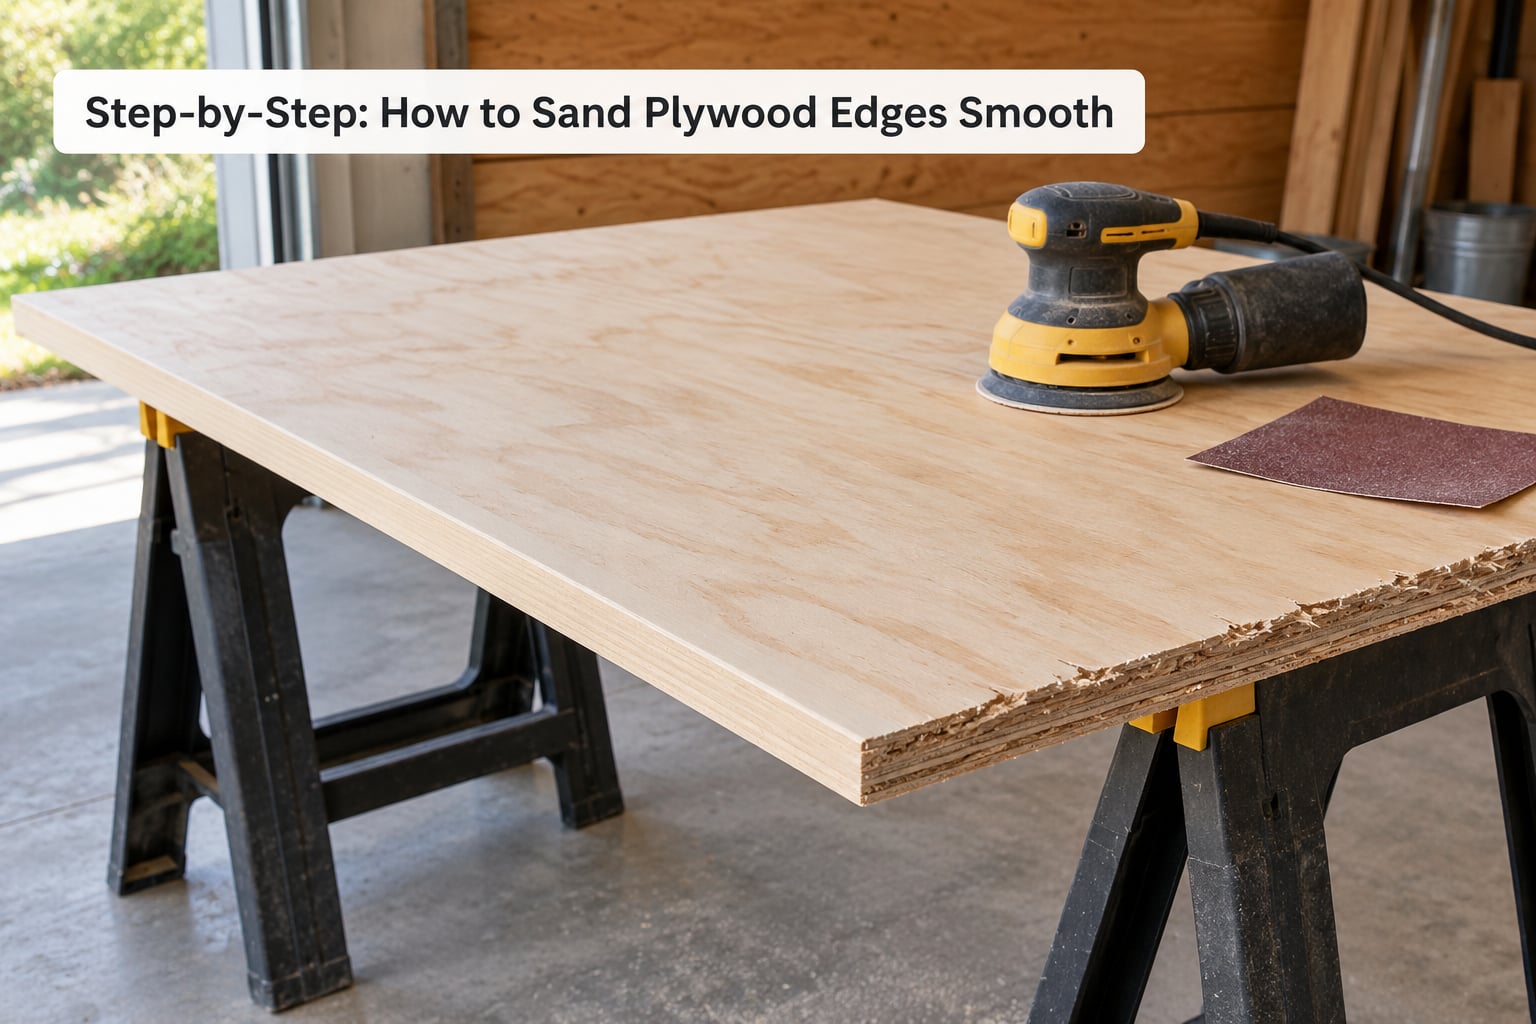
Sanding a plywood edge smooth is mostly about restraint, not grit. Support the panel, set the abrasive on the edge, keep the pad centered, and use light pressure with a slow, steady feed until the torn plies are flush. Most edges need 120 grit followed by 180, and hand work for the corners and end grain.
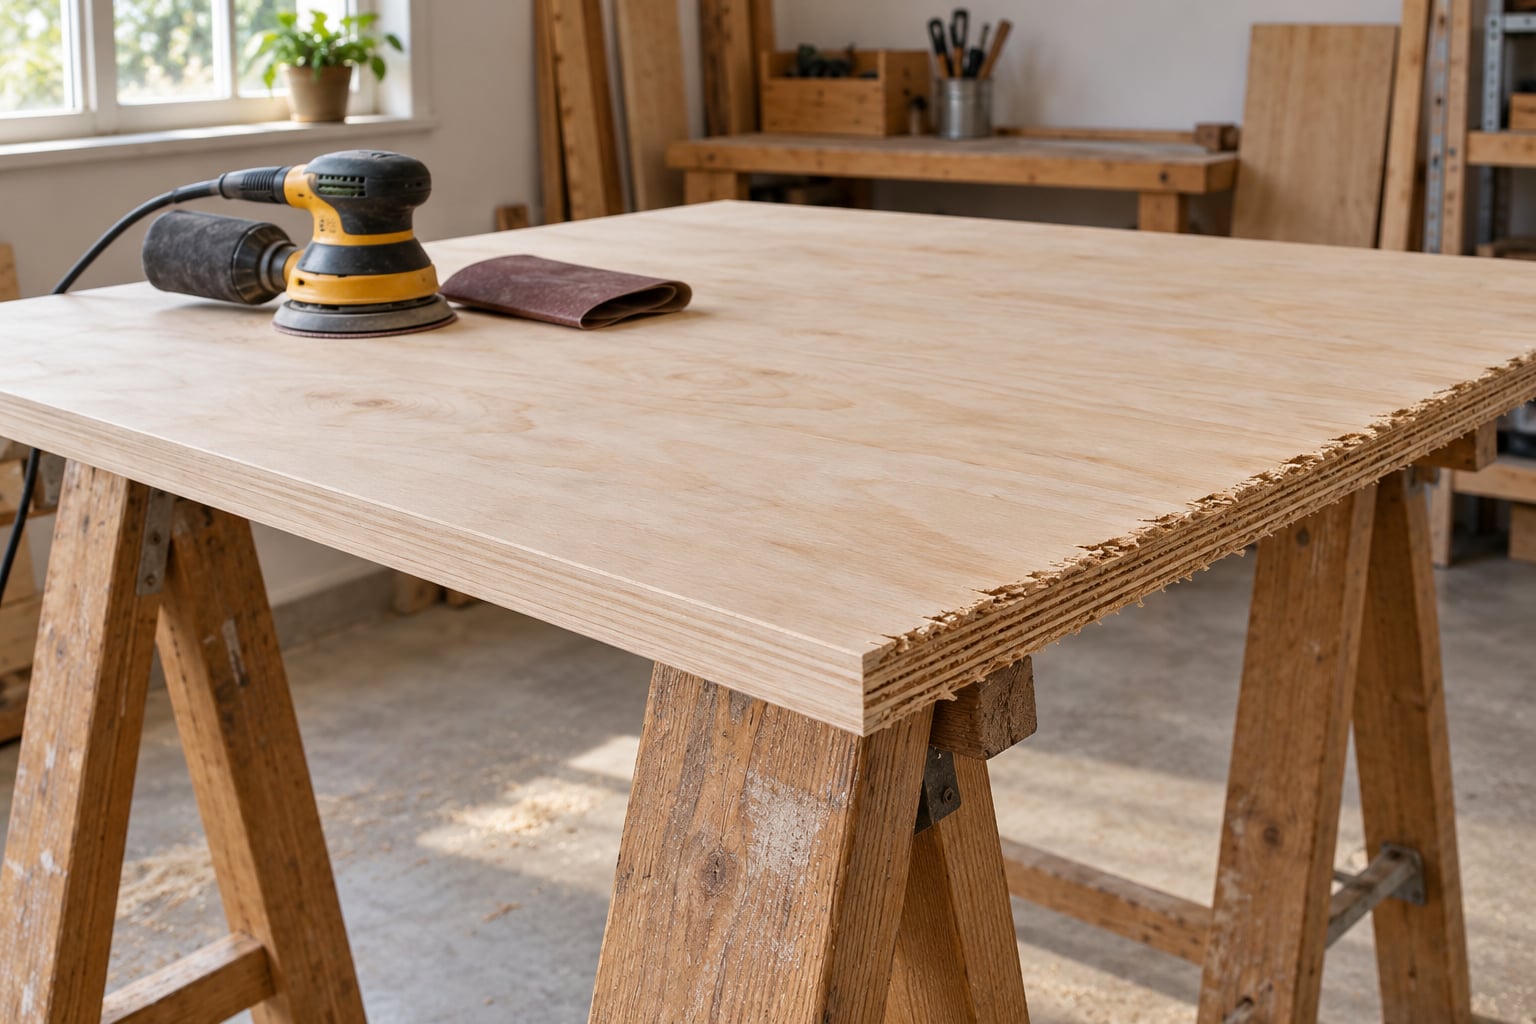
A fresh plywood edge looks terrible and feels worse. The saw cut leaves a stack of ragged plies with a raised lip of outer veneer on one side, and that lip catches on fingers, shirts, and cabinet doors. Flattening it takes ten minutes. The reason to go slowly is the face veneer, which is often thinner than a sheet of paper, and it sits right at the top corner where a power sander wants to eat it.
This guide covers the whole job for a beginner: the tools, the grit sequence, the technique that avoids ridges and tear-out, the corner work by hand, and the sealing step that keeps paint from blotching. It takes about half an hour per edge on a small panel. Reviewed and updated for 2026.
Table of Contents
- What You Need
- Step-by-Step: How to Sand Plywood Edges Smooth
- Step 1: Check the Plywood and Mark the Problem Areas
- Step 2: Choose an Appropriate Grit Progression
- Step 3: How to Sand Plywood Edges Smooth Without Ridges
- Step 4: Refine the Corners and End Grain by Hand
- Step 5: Inspect Progress Between Each Grit
- Step 6: Clean, Seal, and Check the Finish
- Common Mistakes
- When to Choose Another Method
- Dust Control and Workshop Safety
- Frequently Asked Questions
- What grit should I start with to sand plywood edges?
- Do plywood edges need to be sanded to 220 grit?
- How do I keep plywood edges from becoming rounded?
- Is it better to use a sanding block or an orbital sander?
- Can sanding remove a splintered or delaminated plywood edge?
- What should I do after sanding a plywood edge smooth?
- Conclusion
What You Need
Start with the panel itself. Plywood, MDF, and Baltic birch all sand differently, and cabinet-grade or birch plywood with a thin face veneer deserves the gentlest approach of all. For a small model or a cutout, a sheet of sandpaper and a sanding block is enough. For a shelf or cabinet side, you will want a machine.
- Random orbital sander — the safest power option for a narrow edge. Its oscillating and rotating pad action keeps it from gouging the way a disc sander does. Optional if your project is small.
- Sanding blocks — a flat block of hardwood, roughly the thickness of a popsicle stick to a couple of inches, with sandpaper wrapped and stapled or taped around it. A second narrow block for corners and end grain.
- Sandpaper — 80 or 120 grit to level the plies, 180 grit to refine, and 220 grit if you plan to stain or paint. A sanding sponge is a cheap stand-in for a block on curved work.
- Vacuum with a hose, or a shop vacuum — plywood dust is fine and sharp, and a vacuum attached to the sander or held under the edge removes most of what you create.
- Tack cloth and stiff brush — to clear dust between grits, because grit left behind scratches the next sheet.
- Straightedge and pencil — the pencil mark is the best gauge you have. Mark the edge, sand until the line disappears, stop.
- Respirator and eye protection — required, not optional.
- Optional: a rotary tool with a sanding drum for small parts and tight cutouts, a file for knocking down a bad lip, and wood filler or spackle for voids.
Skip the 320 and 400 grit papers. Going past 220 on an edge polishes nothing useful and quietly rounds the corner, which is the one thing you cannot undo once it happens.
Step-by-Step: How to Sand Plywood Edges Smooth
Step 1: Check the Plywood and Mark the Problem Areas
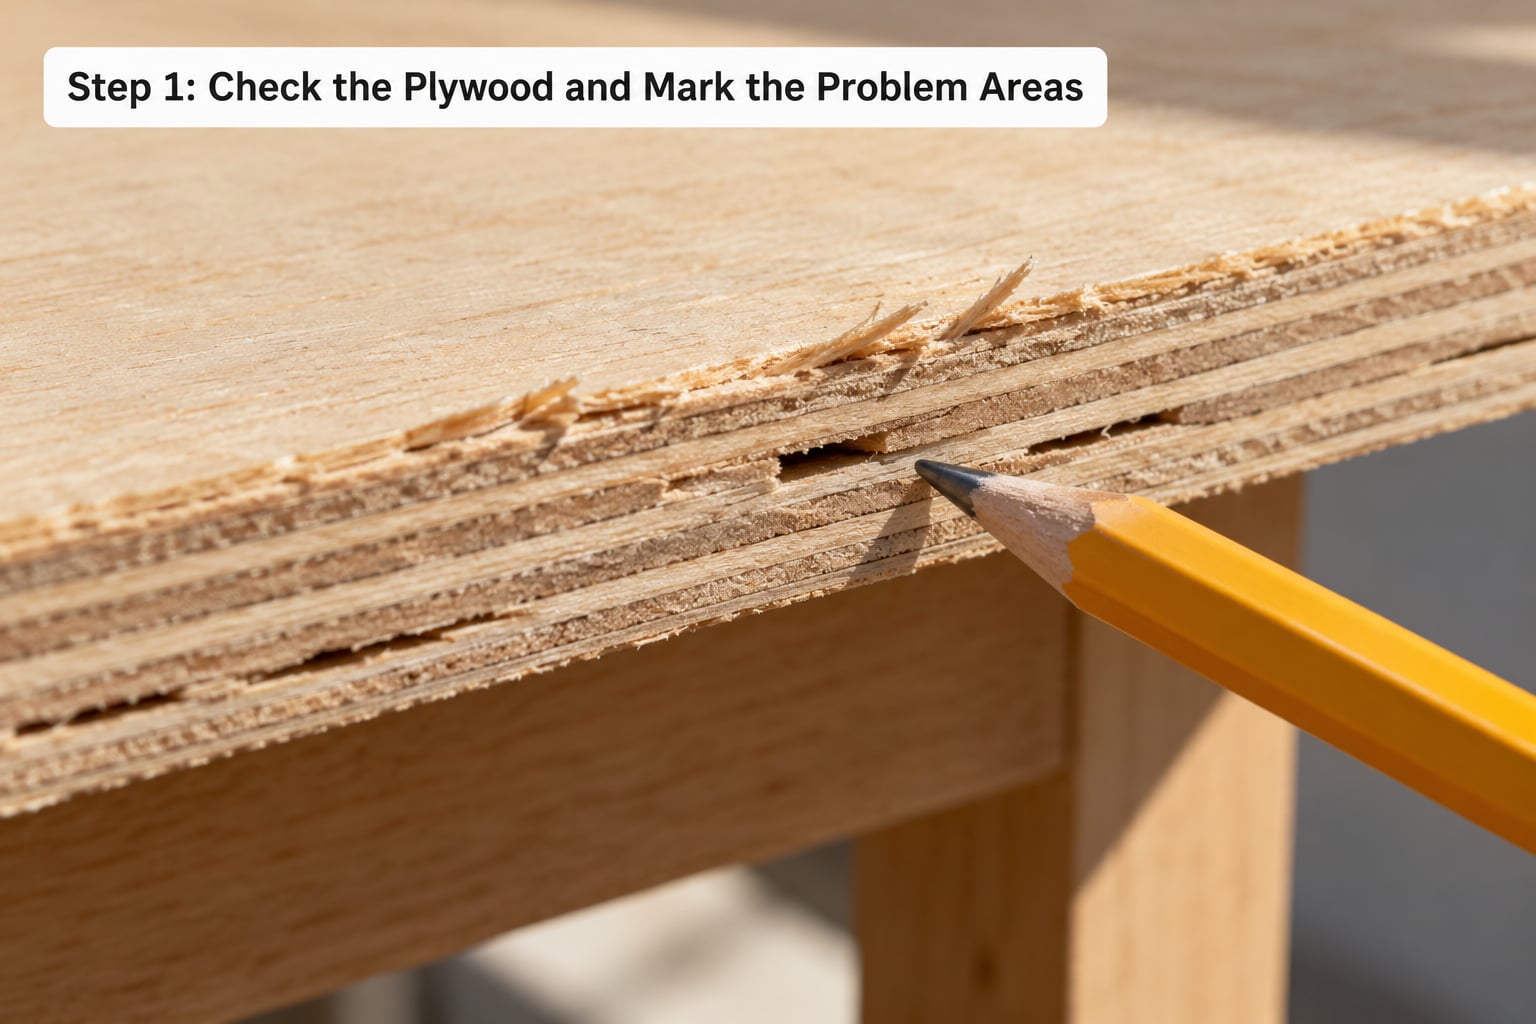
Run a fingertip along the whole edge first. You are looking for four things: splinters standing proud of the surface, a raised veneer lip, visible gaps between plies, and any crack or separation running into the panel.
Mark the problem spots with a pencil or a piece of tape. Sound plywood only needs its torn surface knocked back, usually 120 grit. A chip that goes deep, a void wider than a fingernail, or any delamination needs filler rather than more sanding.
Also check whether the panel is flat. Set it on a surface and look from the end. If the panel rocks or twists, correct that first, because a panel that flexes while you sand will dish the edge no matter how carefully you work.
Step 2: Choose an Appropriate Grit Progression
Pick the coarsest grit that the damage actually requires, then move up in small steps. Sanding an edge is not a surface-sanding job; the goal is to remove a sliver, not a millimeter.
| Grit | Job on a plywood edge | When to use it |
|---|---|---|
| 80 | Coarse shaping and knocking down a heavy lip | Rough cabinet saw cuts with torn plies, on thick panel |
| 120 | Levelling the plies flush | The usual starting grit on a clean sawn edge |
| 150 | Blending and softening the step from 120 | When 180 feels like it is skipping too much |
| 180 | Smoothing | The workhorse final grit for most projects |
| 220 | Pre-finish smoothing | Before paint, stain, or polyurethane |
Jumping from 120 straight to 220 is the most common beginner mistake. It clogs the sheet quickly and leaves a scratch pattern that only shows up once the finish goes on. The fix is 180 in between, and only two passes at each grit.
Step 3: How to Sand Plywood Edges Smooth Without Ridges
Set the panel flat and fully supported on sawhorses or a bench, with the edge overhanging so you can see it. If the panel wobbles, shim it until it does not. A flexing panel is the reason edges come out scalloped and dished.
Start the sander on the panel face, a few inches back from the edge, then bring it onto the edge so the pad lands centered, half on the veneer and half on the plies. Centered is the whole trick. Tip the pad toward the edge and it will round the corner in seconds.
Keep the sander moving. Long, overlapping passes along the length of the edge, working from one end toward the other, with light pressure and a slow feed. Lift the pad at the end of each pass rather than digging it in and dragging it back.
Wood Magazine puts it plainly: center the sanding pad on the edge and work slowly to avoid tipping the sander. No circular motions either, and never sand straight across a narrow edge without the panel supported.
Step 4: Refine the Corners and End Grain by Hand
Machine work cannot reach the corners properly, so switch to a sanding block there. Wrap a sheet around a narrow block and use it along the corner, or fold the paper around the end grain like a sleeve and work it back and forth.
On beveled edges, make the block the same width as the bevel. WoodWorkingTalk’s advice for small bevels is a block the thickness of a popsicle stick, sized to the bevel, which gives you control without your thumb dipping the corner.
For a roundover or a curved edge, notch the block. Cut a shallow concave channel into the wood so the block sits on the crown of the curve, then make the same number of passes at the same grit everywhere along it. That consistency is what keeps a curve from turning wavy.
Check your radius with a straightedge held against the edge, then knock off any remaining burr with the edge of the paper itself, folded. NCWoodworker’s observation is a good target: a second pass takes a sliver or two, and the edge comes out pretty smooth for plywood.
Step 5: Inspect Progress Between Each Grit
Vacuum the edge, then run a fingertip down it in both directions. Any spot that feels rough or catches your fingernail needs another pass at the same grit, not a jump to the next paper.
Look at the edge under angled light. Cross-grain tear-out shows as fuzzy pale patches; those are places where the sander crossed the grain of an outer ply. Correct them with a lighter pass and a finer grit rather than by grinding harder.
On a large panel, mark the edge with pencil and sand until the line vanishes. People working on plywood panels use this constantly and it takes all the guesswork out of the process.
Step 6: Clean, Seal, and Check the Finish
Once the edge feels glassy to your hand, vacuum it and wipe it with a tack cloth. Then seal it. Bare plywood edge absorbs paint unevenly and blotches, and it drinks stain in a way that no finish will hide.
Test the finish on an offcut of the same panel first, especially with stain. People who work with plywood edges consistently warn that stain behaves differently on an edge than on a face and does not take color evenly. Paint or a clear sealer is the safer route on raw edges.
Brush or roll the sealer along the edge, let it cure per the label, then scuff lightly with 220 if the label calls for it. Do not seal a still-scratched surface; the finish will magnify every scratch you left behind.
Common Mistakes
- Starting too fine. Fine grit cannot level torn plies, so you are just burnishing the damage. Start at 80 or 120 for a rough cut.
- Skipping grits. 120 to 220 leaves scratch marks that show through paint. Put 180 in between.
- Leaning on the sander. Pressure digs the pad in and rounds the corner. Let the machine do the work with a slow feed.
- Sanding across the grain. An edge exposes plies running in different directions. Follow the direction of the ply you are working, and back off when you see fuzzy patches.
- Ignoring the end grain. The ends of plies soak up finish and tear fastest. File or sand them flat and seal them early.
- Letting the panel wobble. Unstable panels flex, and flexing causes dishing. Support the whole panel before you switch the sander on.
- Leaving dust behind. Grit left in the edge scratches the next sheet. Vacuum and tack-cloth between every grit.
- Working 120 grit far too long. A lot of people sand an entire project at 120 and then wonder why it looks rough. Two passes, then move on.
- Trying to sand away real damage. Cupping, movement, delamination and deep cracks are not sanding problems. Fix or replace the panel.
When to Choose Another Method
Sanding is cosmetic work on a sound panel. If you are removing more than a few thousandths of an inch, you are shaping, and a different tool is faster and safer.
- Block plane or scraper — a card scraper takes the fuzz off a nearly-smooth plywood edge in seconds and removes nothing else. A scraper also shaves burrs from corners after sanding without touching the radius.
- File — for a badly chipped end or a lip too proud to sand away. File back to a square line, then sand the face of the edge flush.
- Trim tool, chisel or router — if the edge is out of square or the plies are uneven by more than a millimeter, trim it rather than sanding it flat. Use a fine-tooth blade or a zero-clearance insert, and score the cut line first.
- Edge banding or solid wood edging — banding is thicker than the veneer, so you can trim and level it without any risk of cutting through the panel’s face. This is the better answer for a tabletop or cabinet door that will be handled.
- A new panel — if the edge delaminates while you work, or the sheet has warped, sanding will not rescue it.
For load-bearing or structural edges, follow your local building guidance and the panel manufacturer’s specifications rather than relying on a workshop method.
Dust Control and Workshop Safety
Plywood dust is a fine, sharp particulate that irritates the eyes and airways. A dust mask is not a substitute for removing the dust at its source.
- Attach a vacuum hose to the sander, or hold the hose opening right at the edge as you work.
- Work outdoors or with local extraction where possible, and keep the surface uncluttered so you can see the edge.
- Wear a respirator rated for fine particulates and eye protection every time.
- Keep the panel stable and route the power cable so it cannot catch a wrist or yank the sander mid-pass.
- Sanding old painted or coated plywood is a different job. Test the coating first; old coatings and treated plywood may contain substances that need extra precautions, and the dust from them is not the same hazard as raw wood.
Frequently Asked Questions
What grit should I start with to sand plywood edges?
Start at 120 grit on a cleanly cut plywood edge and drop to 80 only when the plies are genuinely torn or a veneer lip is standing proud. Pencil a mark on the edge and sand until the line disappears, then move to 180. Two passes per grit is enough on an edge. Skip to 220 only after 180, because jumping grit clogs the sheet and leaves a scratch pattern that shows through paint.
Do plywood edges need to be sanded to 220 grit?
Only if the edge will be painted, stained, or sealed. For 220 the surface needs to be smooth enough to take a finish evenly, and that is the last step. If you plan to cover the edge with edge banding or solid wood edging, stop at 180 and save the time. Going finer than 220 on an edge polishes nothing and quietly rounds the corner, which you cannot undo.
How do I keep plywood edges from becoming rounded?
Keep the sander pad centered on the edge instead of tipping it toward the panel, and use light pressure with a slow, steady feed. Support the whole panel so it cannot flex, lift the pad at the end of every pass rather than digging it in, and finish the corners by hand with a sanding block. A rounded corner usually means the machine was leaned on or the panel was wobbling.
Is it better to use a sanding block or an orbital sander?
Use a random orbital sander for bulk work on a large panel and a sanding block for the last pass, corners, end grain, and anything small. A block gives you control near the vulnerable face veneer, and hand-finishing after a machine pass is the habit most experienced builders keep. A rotary tool with a sanding drum handles tiny cutouts and model parts where neither option fits.
Can sanding remove a splintered or delaminated plywood edge?
Sanding can knock a splinter back flush and blend the surface, but it cannot re-glue plies that have separated. Delamination needs the damaged ply removed and replaced, and deep cracks or a warped panel need a new sheet. Before sanding, run a fingertip along the edge and check for gaps, lifting layers, and cracks running into the panel. Any of those means repair or replacement first.
What should I do after sanding a plywood edge smooth?
Vacuum the edge, wipe it with a tack cloth, then seal it. Raw plywood edges drink paint unevenly and blotch, and they absorb stain far faster than a face. Brush on a sealer or primer, let it cure according to the label, then scuff lightly with 220 if the label calls for it. Test your finish on an offcut of the same panel first, especially with stain.
Conclusion
If you only remember one thing about how to sand plywood edges smooth: inspect the edge, support the panel so it cannot flex, and begin with the coarsest grit the damage actually calls for.
From there it is discipline. Change grit in small steps, keep the pad centered on the edge, use light pressure and a slow feed, and check your progress with a fingertip and a pencil mark rather than by feel alone. Finish the corners and end grain by hand, clean the dust off properly, then seal the edge so it takes paint evenly.