To gesso canvas properly, clean the surface, stir the gesso, apply one thin coat in a single direction, let it dry fully, then cross the direction for a second coat and sand lightly before painting. Two coats handle acrylic; add a third for oil. The whole job takes an afternoon plus drying time, and the technique is well within a beginner’s reach.
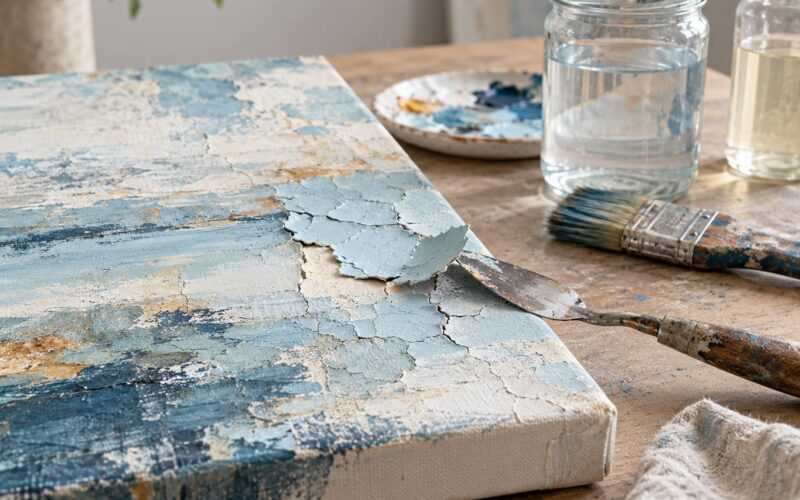
The thing that trips most first-timers is thickness. Thick gesso cracks as it dries, and that crack runs straight through your paint film later. Thin coats, full drying between them, and a light sanding is the whole secret.
Table of Contents
- What You Need
- Foam roller vs wide flat brush vs taping knife
- Step-by-Step
- How to gesso canvas properly: prepare the surface
- How to gesso canvas properly: apply the first coat
- How to gesso canvas properly: build smooth additional coats
- How to gesso canvas properly: dry, sand, and finish
- Common Mistakes
- Frequently Asked Questions
- How many coats of gesso should I put on canvas?
- Can I use acrylic gesso on an oil painting canvas?
- How long should each coat of gesso dry before the next coat?
- Should I sand gesso before painting?
- Do I need to seal gesso before using oil paint or collage materials?
- Can I repair a small tear or damaged area after gessoing?
- Conclusion
What You Need
Gesso is an acrylic-based primer: titanium dioxide pigment and chalk suspended in an acrylic polymer binder. Painted onto a surface, it forms a film that seals the absorbent weave and gives paint a tooth to grip instead of sinking into.
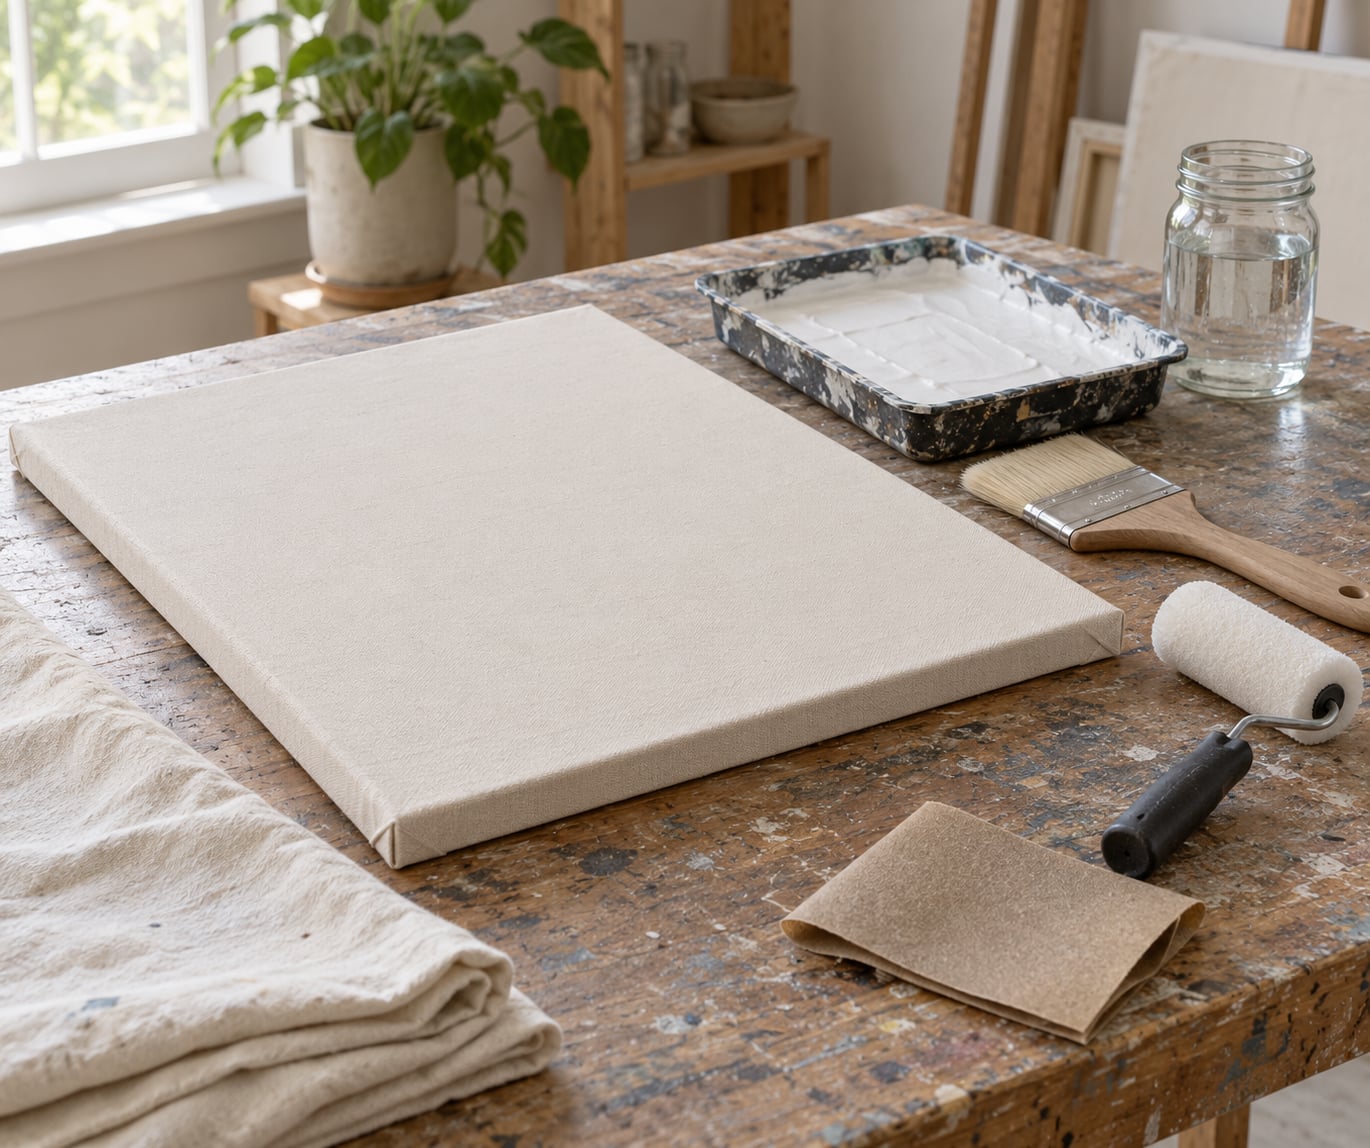
Here is the honest list. You need very little, and most of it you already own:
- Canvas. Raw, unprimed cotton or linen on a stretcher or panel. Pre-primed canvas works too, it just needs fewer coats.
- Gesso. White acrylic gesso for most work. Clear gesso locks in an existing layer, black or coloured gesso gives you a toned ground for underpainting.
- A wide flat brush, a foam roller, or a painter’s taping knife. Any of the three works; the table below compares them.
- Water and a mixing jar or squeeze bottle. For stirring and, if your gesso has thickened in the jar, thinning.
- Sandpaper. 240 grit for knocking down raised ridges, 400 grit for the final smoothing pass.
- A scrap tray or palette knife to hold the work while you load the brush, so you are not dipping into the jar mid-coat.
- A damp cloth or paper towel for wiping dust off after sanding.
- A drop cloth and some ventilation. Gesso dries to a fine dust, and every studio wall has seen it.
Foam roller vs wide flat brush vs taping knife
| Tool | Best for | Watch out for |
|---|---|---|
| Foam roller | Fast, even coverage with almost no streaks; good for large canvases and students | Needs more gesso than a brush, and it can press the weave ridges down without filling them |
| Wide flat brush | Control near edges and corners, and a slightly textured finish | Lifting the brush off the surface leaves stop marks |
| Painter’s taping knife | Thick filler coats on very rough or cheap canvas | Easy to gouge the weave or scrape the canvas bare if you press hard |
Hobby painters report that a foam roller cuts streaks dramatically compared with a cheap chip brush. On very rough student-grade canvas I go the other way and add a filler or modeling paste to the first coat instead of forcing the roller to level it.
Step-by-Step
How to gesso canvas properly: prepare the surface
Start by looking at the canvas in raking light. Check the weave for slubs, loose threads, and any oil or dirt film from handling, and pull out anything that will not come off with a brush.
Wipe the whole surface with a damp cloth and let it dry. Dust under the gesso is the quiet reason a finished painting peels a year later, and it costs nothing to prevent.
Next, tape the edges to a rigid board so the canvas stays flat and the weave cannot stretch while you work. A sagging canvas is how you get a coat that dries with ripples in it.
One piece of terminology confuses almost everyone: sizing, priming, sealing. Glue size is an old absorbent sealer from the days before acrylic binder. Acrylic gesso does that job itself, which is why most painters now skip separate sizing. Seal is a final clear coat for the finished painting, and that one comes at the end, not now.
Choose your gesso before you open the jar. White for most acrylic and oil work. Clear gesso when you want to seal a layer without changing its colour. Black or a coloured gesso when you are after a toned ground, because it removes white bouncing back into your shadows.
How to gesso canvas properly: apply the first coat
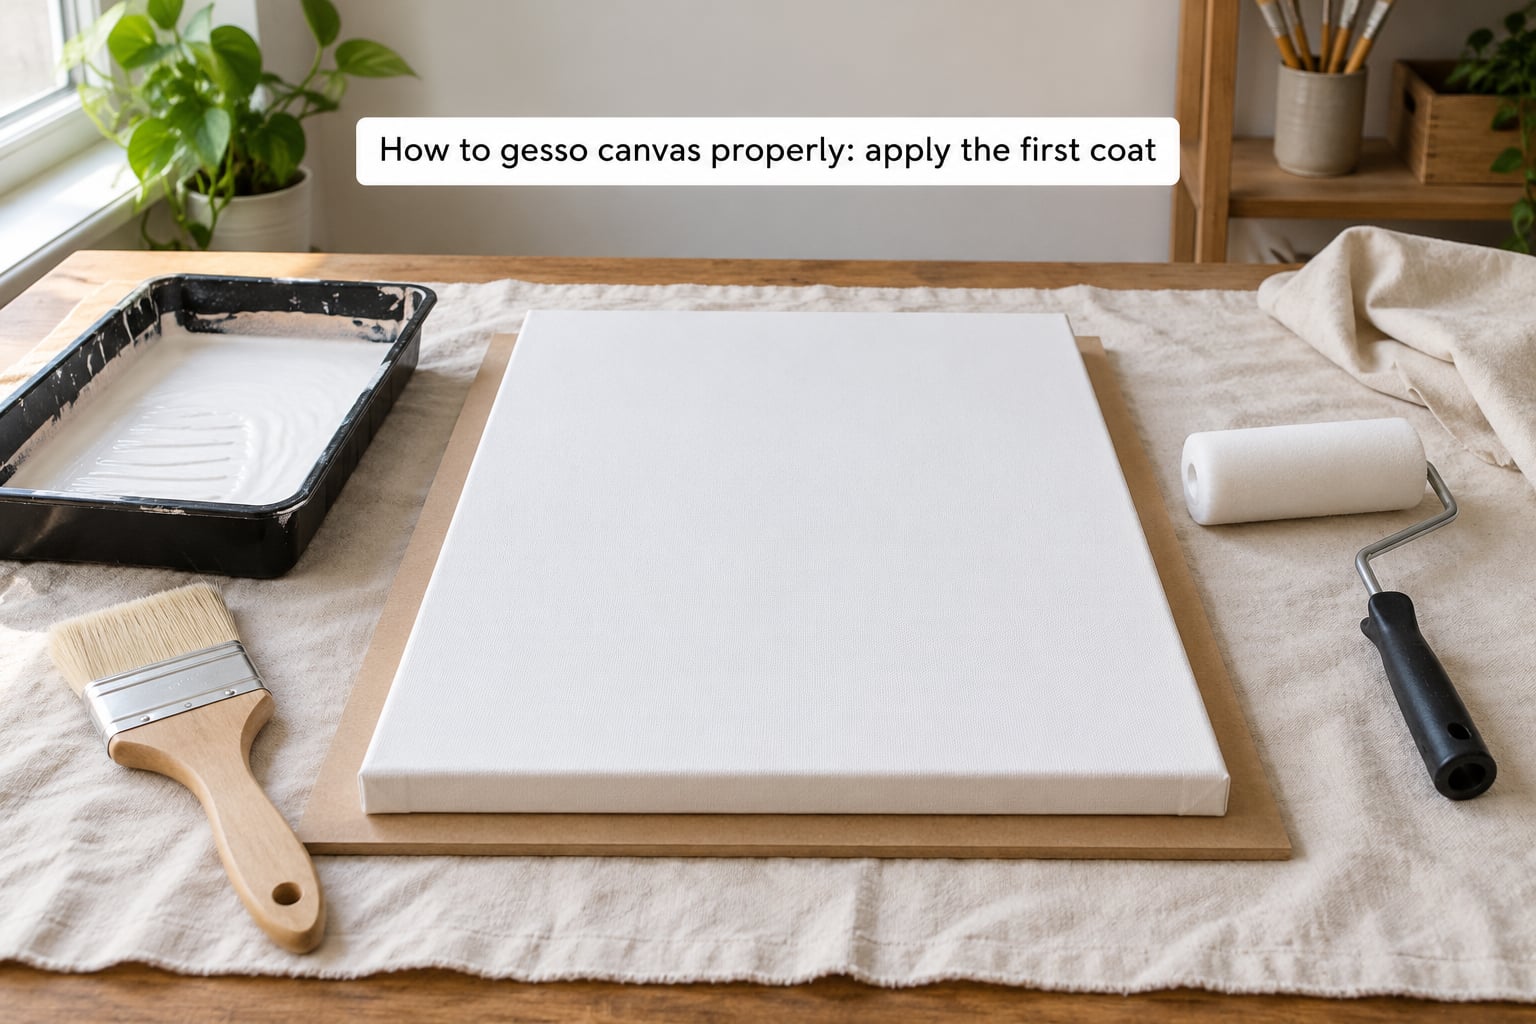
Stir the gesso thoroughly with a palette knife or stick. The pigment settles at the bottom of the jar, and a coat made from the clear water on top will be patchy.
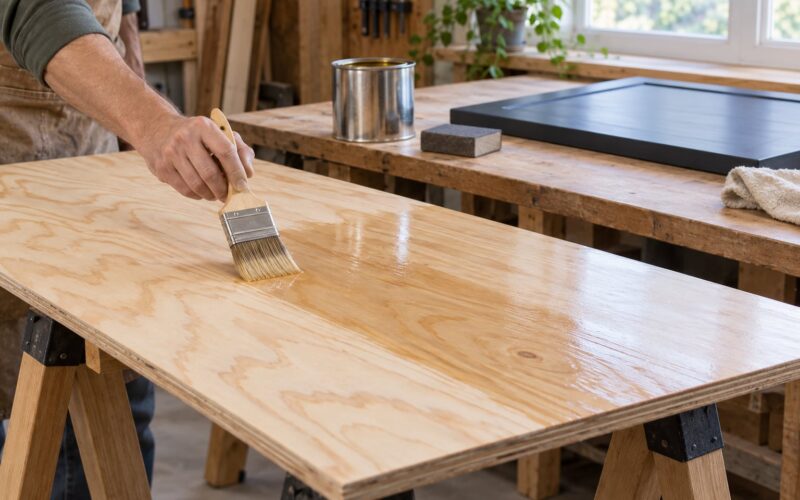
Load your brush about a third of the way up the bristles and wipe off the excess against the edge of the tray. Then work in one direction only, from top to bottom, overlapping each stroke slightly.
Keep the coat thin. You should still see the weave and the light darkening of the fabric underneath. That transparency is your signal that the coat can dry before the next one goes on.
Finish the whole canvas without lifting and reloading. Every time you set the brush down and come back, you get a stop mark: a hard little ridge that will show through your final paint.
How to gesso canvas properly: build smooth additional coats
Let the first coat dry completely before you touch it. It should feel dry, not tacky, and lose its cool damp feel in the middle.
For the second coat, switch direction. If the first went down vertically, take the second across horizontally. Crossing the grain of the brush marks covers the first coat’s texture without grinding it flat, and it tells you immediately if you missed an area.
How many coats you need depends on what you are painting on and what you are painting with:
| Surface and use | Coats | Why |
|---|---|---|
| Raw canvas, acrylic painting | 2 | Enough to seal the weave and give a stable tooth |
| Raw canvas, oil painting | 3 | Oil needs a more solid, less absorbent film to sit on |
| Pre-primed canvas | 1 to 2 | You are filling pinholes and evening a thin factory coat |
| Detail work or illustration | 3 to 4 | Each sanded layer removes tooth, so small brushes can still land |
Between coats, a light mist of water with a spray bottle followed by a gentle sanding is the method that gives the smoothest result. Dampening the surface slightly lets the fresh coat settle into the old one instead of sitting loosely on top, and it is the fastest way to tame a rough bargain canvas.
Add filler or modeling paste to your first coat if the tooth is stubbornly bumpy. Thick filler on rough cloth, sanded flat after drying, will do in an afternoon what three coats of thin gesso never will.
Do not chase smoothness past the point of caution. Every pass removes gesso, and once you reach bare canvas you are back to square one with a fuzzy spot in the middle of the painting.
How to gesso canvas properly: dry, sand, and finish
Drying depends on the product, the coat thickness, and the room. Most acrylic gesso is touch-dry in about 30 minutes and workable within a few hours. Oil painters, and anyone planning to varnish, should treat 24 hours as the real cure time before oil paint goes on.
Test rather than guess. Press a fingernail lightly into an area away from the centre. Any give, any cool or damp feeling, means wait.
A hairdryer on a low, cool setting moves things along, but airflow from a fan beats a hairdryer for evening out the drying. Heat on the surface sets the top of the coat while the middle stays wet, which is exactly how you get trapped bubbles.
When dry, sand with 240 grit to knock down ridges and stop marks, then 400 grit for the final pass. Use circular motions with light pressure, and keep sanding while you dust rather than loading the paper with grit.
Wipe the surface with a damp cloth to lift sanding dust, then dry it before painting. Dust left behind will keep the paint from bonding and is the second most common cause of peeling after years.
Sealing is a decision about the medium, and it comes after painting, not before. Acrylic and mixed media usually need a clear varnish for protection. Oil takes its own varnish once the paint has cured for months. If you are gessoing over a finished painting to reuse the canvas, clear gesso over the old paint locks it down, then you sand and paint over that.
Common Mistakes
Almost every gesso problem traces back to one of six things:
| Problem | Cause | Fix |
|---|---|---|
| Cracks after drying | Coat applied too thick, usually to cover the weave in one go | Sand the cracked area back, feather the edges, and lay two thin coats over it |
| Bubbles and pitting | Air whipped into the gesso while mixing, or heat drying the top too fast | Stir slowly from the bottom, let the foam settle, and dry with airflow instead of heat |
| Stop marks and streaks | Lifting the brush off the surface and returning to it later | Reload in a tray and work long overlapping strokes in one direction |
| Uneven, patchy coat | The jar was not stirred, or the gesso had thickened and was used as it came out | Stir thoroughly and thin with a little water, no more than roughly 15 percent |
| Sanding down to bare weave | Too much pressure or too fine a grit on one spot | Build the area back with two thin coats rather than trying to patch it |
| Paint peels later | Dust left on the surface, or painting on gesso that never fully dried | Wipe with a damp cloth after sanding and give the final coat the full cure time |
A few studio habits cover most of this. Work in a dust-free space, and if you live somewhere dusty, wipe the canvas down one more time right before the final coat.
Some painters swear by black gesso underpainting; it cuts glare and forces you to work with value. Others simply paint straight onto well-primed gesso and never think about it. Both work.
Storage matters too. Gesso left open skins over and then lumps. Press the lid down, wipe the rim with a damp cloth before sealing it, and give the jar a stir before every use. Mixed DIY batches go in a labelled jar in the fridge and last a few weeks.
Frequently Asked Questions
How many coats of gesso should I put on canvas?
Two coats is the standard for acrylic on raw canvas. Add a third when you are painting in oils, since oil needs a denser film, or when the canvas is cheap and rough. Pre-primed canvas usually needs only one or two extra coats to fill pinholes. Sand lightly between every coat and wipe the dust off before the next one goes down.
Can I use acrylic gesso on an oil painting canvas?
Yes, and it is what most painters do. Acrylic gesso makes a stable, flexible ground that holds up under oil paint, though you want three coats rather than two and a full cure time before the first brushstroke of oil. Apply oil paint only when the gesso is dry all the way through, not just on the surface.
How long should each coat of gesso dry before the next coat?
Most acrylic gesso is touch-dry in roughly 30 minutes and dry enough for a second coat in a few hours, depending on thickness and airflow. Test with a fingernail: no give and no cool damp feeling means it is ready. Before oil paint goes on, allow the full 24-hour cure so the film is not still hardening under the brush.
Should I sand gesso before painting?
Yes, a light sanding does more than smooth the surface. Acrylic paint grips a slightly roughened ground mechanically, so sanding actually improves adhesion rather than hurting it. Use 240 grit to knock down ridges, then 400 grit for a smooth finish. Sand gently, and if you hit bare weave, build that spot back up with two thin coats.
Do I need to seal gesso before using oil paint or collage materials?
No. Sealing is applied after the painting is finished, not over bare gesso. Acrylic work can take a clear varnish or polymer medium for protection, and oil takes its own varnish once cured. For collage and mixed media, use a matte medium or a fixative to bond the layers, since that is a bonding job rather than a protective one.
Can I repair a small tear or damaged area after gessoing?
Yes. Trim back loose fibres, then paint the bare patch with two thin coats, drying fully between them, and sand it level with the surrounding surface. If the tear has pulled a ridge in the weave, sand the whole area down to a clean fabric edge first so the patch has something solid to grip. Then wipe dust away and repaint.
Conclusion
How to gesso canvas properly comes down to five habits: clean the surface, lay thin coats, change direction on each one, let every coat dry fully before the next, and sand lightly only when the surface asks for it. Pick the gesso that matches your medium and how much tooth you want to keep.
Begin with the surface and gesso combination that matches your artwork, and give yourself a full dry day before you plan to paint. It is a good year to recycle a tired canvas instead of buying a new one.