If you have ever closed the blog tab and opened it again twenty minutes later with nothing written, you are not short on ideas. You are short on a starting structure. The fix is to stop thinking in themes and start thinking in stories: one finished piece, one material test, one question someone asked you, one rule you stopped believing.
That is what to write about in an art blog, in plain terms. This list gives you fifteen post formats, each with a concrete example pulled from textile and mixed-media work. Pick two that match what is already sitting on your table this week and start there.
Table of Contents
- What to Write About in an Art Blog at a Glance
- 1. Document a Finished Textile or Mixed-Media Project
- 2. Share a Studio Tour and Organized Workflow
- 3. Test One Material in New Ways
- 4. Explain a Technique Step by Step
- 5. Recount a Creative Block and What Changed
- 6. Compare Tools or Materials You Already Use
- 7. Interpret a Personal or Cultural Theme
- 8. Analyze a Work You Admired
- 9. Share Color Research and Mixing Notes
- 10. Introduce Tools You Wish You Had Used Sooner
- 11. Post a Progress Diary With Honest Checkpoints
- 12. Answer a Question From Your Readers
- 13. Teach a Small Art Lesson
- 14. Reflect on Sustainable Art Practice
- 15. Turn a Personal Art Rule Into a Better Process
- What to write about in an art blog when a rule stops working
- Frequently Asked Questions
- How do I choose what to write about in an art blog?
- What are good art blog topics for beginners?
- How often should I publish an art blog post?
- How do I write about my art without sounding promotional?
- What should I include when documenting a finished artwork?
- How can I turn comments and questions into blog posts?
- Conclusion
What to Write About in an Art Blog at a Glance
| Post concept | The story the reader gets | Example for textile or mixed-media work |
|---|---|---|
| Finished project documentation | How one artwork actually got made, including the parts that went wrong | A pieced and appliquéd series on family identity |
| Studio tour | The physical setup that keeps a working practice from stalling | A compact studio with cutting mat, labeled bins, drying rack |
| Material experiment | One material pushed into unfamiliar territory, with results | Paint, beeswax and thread tested on painted canvas |
| Step-by-step technique | A repeatable process a beginner could attempt this weekend | Transferring a design, free-motion stitching it, securing the backing |
| Creative block retelling | Honest recovery strategies, not a tidy success story | Abandoning a color plan and rebuilding it through small tests |
| Tool or material comparison | Firsthand results on a defined task, not a brand ranking | Two needles tested on the same appliqué block |
| Theme interpretation | How an abstract idea became visual research and stitched decisions | Family identity through repeated forms and archival references |
| Close reading of a work | How composition, scale and texture create an emotional effect | A contemporary quilt’s balance and visual rhythm |
| Color research notes | A palette documented honestly, including where it failed | Mixing muted coral, charcoal, ochre and cream for autumn |
| Late tool discovery | The problem a tool solves and who actually benefits | A small rotary cutter with interchangeable blades |
| Progress diary | Real decisions and revisions across dated checkpoints | Three entries covering layout, value changes, edge finishing |
| Reader question answered | One clear problem solved completely | How to keep thread from tangling during appliqué |
| Small art lesson | A beginner activity with a clear goal and finished outcome | A no-sew collage from paper, scraps, glue and hand stitching |
| Sustainable practice | Specific choices about materials, waste and disposal | Saving offcuts as test swatches, sorting scraps by fiber |
| A changed studio rule | What a belief looked like, what replaced it, what changed | Moving from a fixed layout to a loose, gridded composition |
1. Document a Finished Textile or Mixed-Media Project
A finished piece is the most underused blog post in the studio world. You spent weeks on it, and the caption you post elsewhere is eleven words long. That piece is worth a full post.
Cover five things: what sparked it, what materials you chose and why, how it was constructed, what went wrong, and what you would do differently. The fourth one is where readers spend the most time.
Take a pieced and appliquéd identity series as an example. You can explain why the faces are stitched with a single thread color, note that the first block took four attempts before the curves stopped puckering, and show the basting step you usually skip. That is a post someone saves.
2. Share a Studio Tour and Organized Workflow
A studio tour is really a systems post. It answers a question every working artist has: how does someone else keep track of everything while still making things.
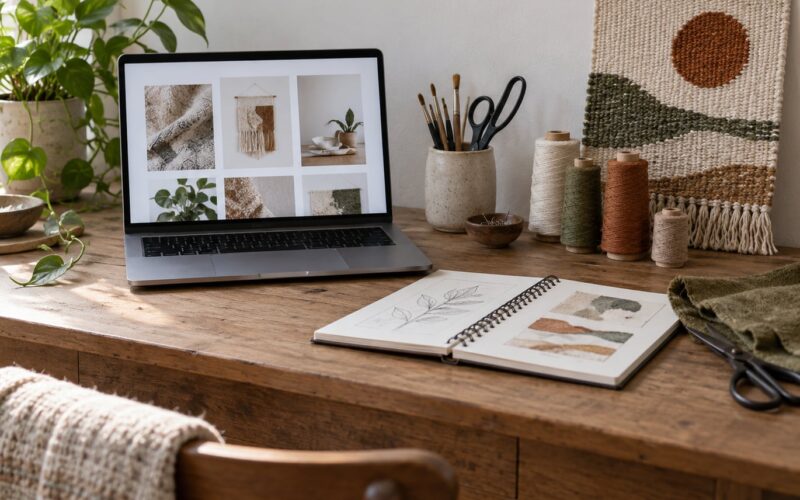
Show the physical things. The cutting mat that lives flat on the table, the wall where finished pieces dry, the labeled bins, the drawer where you keep the thread you will absolutely need again. Then describe the routine, not the aesthetic: when you cut, when you sew, when you photograph, how long each block of studio time tends to last.
For a compact textile setup, the useful detail is often the unglamorous one. A drying rack sized so wet appliqué does not touch the wall. A bin per project rather than one bin for everything. Readers are copying the function, and they will notice if you only show the pretty corners.
3. Test One Material in New Ways
Material experiments make the most reliable filler when nothing finished happened this month. The post is honest by definition because the outcome is still open.
Write it as a small experiment: the starting point, the variables you changed, what happened, what you learned. Keep it narrow. Testing five things at once produces a post with no point.
A good example: paint, beeswax and thread on a painted canvas panel. You apply wax first and stitch into it while it stays soft, then heat the whole panel with a light source to see how the wax moves under tension. Note the temperature, the wax thickness, the fabric weight. Readers will copy your variable list even if your result was a failure.
4. Explain a Technique Step by Step
Technique posts are the ones that keep bringing people back months later, which is exactly what you want from a blog. Write one process from preparation to finishing, with no gaps.
The gaps are where most tutorials fail. A pattern described by someone who already knows the step is useless to a beginner. Name the tool, name the measurement, name the failure you expect at each stage.
For a design transfer and appliqué post, the sequence is: transfer the motif using a light box and chalk, cut the background fabric with a rotary cutter leaving a quarter-inch seam allowance, add fusible backing, stitch the motif with a free-motion foot at a slower feed rate, then secure the backing by hand from the reverse. Each of those steps can stand as its own photo with one sentence of explanation. That is what makes the post worth building.
5. Recount a Creative Block and What Changed
Block posts perform better than almost anything else you can publish, mostly because perfection-leaning artists skip them. You do not have to.
The trap is turning a block into a triumph. Readers spot that instantly. What they want is the mechanics: how long it lasted, what you stopped doing, what small test you ran, what finally moved you forward.
An honest version: you abandoned a color plan halfway through a nine-block series. Instead of repainting, you made six test swatches at quarter scale, tried each one on scrap, and rebuilt the layout around the two that held up. Say plainly that this cost you a week and that you still do not know if it was the right call.
6. Compare Tools or Materials You Already Use
Comparison posts are among the few art blog topics that pull in people who are not artists at all, usually beginners deciding what to buy first. Write them from experience you actually have, not from a spec sheet.
Define the task before you compare. Sharp versus blunt needle on a curved appliqué block tells the reader far more than any spec list, because the comparison has a purpose and an outcome.
Before writing, it helps to know what to write about in an art blog when you have nothing finished. Comparisons, tests and studio process posts all count as real content, and all three can be written on a week when your project is stuck mid-construction.
7. Interpret a Personal or Cultural Theme
A theme post shows how an idea became decisions. That is more interesting than a statement of intent, because readers can see the thinking.
Move from abstract to concrete. If the theme is family identity, show your visual research: archival photographs you copied forms from, the repeated shape you kept returning to, the color range you limited yourself to, the marks you made by hand rather than machine.
For an identity series, I stitched each figure with an identical stitch length and let the facial features stay blank. That constraint turned an abstract idea into something a viewer can read. Explaining why you chose that limit is the entire post.
8. Analyze a Work You Admired
Close reading is a different skill from criticism, and it travels well. Describe what the work does before you say how you feel about it.
Work through composition, negative space, texture, scale, contrast and the technique you can actually identify. Only then offer your reading of the emotional effect. The order matters, because a verdict with no observation behind it tells the reader nothing.
Looking at a contemporary quilt, describe how the eye moves across three large fields, where the empty space sits, and how the density of stitching changes the pacing. Name what you noticed. Say what you are less sure about. The second part is what makes it read as honest rather than promotional.
9. Share Color Research and Mixing Notes
Color posts get saved and reused, and they are easy to write because the research already happened in your notebook or on a strip of canvas.
Document a palette as a process. Where the colors came from, the ratios you mixed at, which combinations worked, and where the palette fell short. That last part is what separates a color post from a swatch photograph.
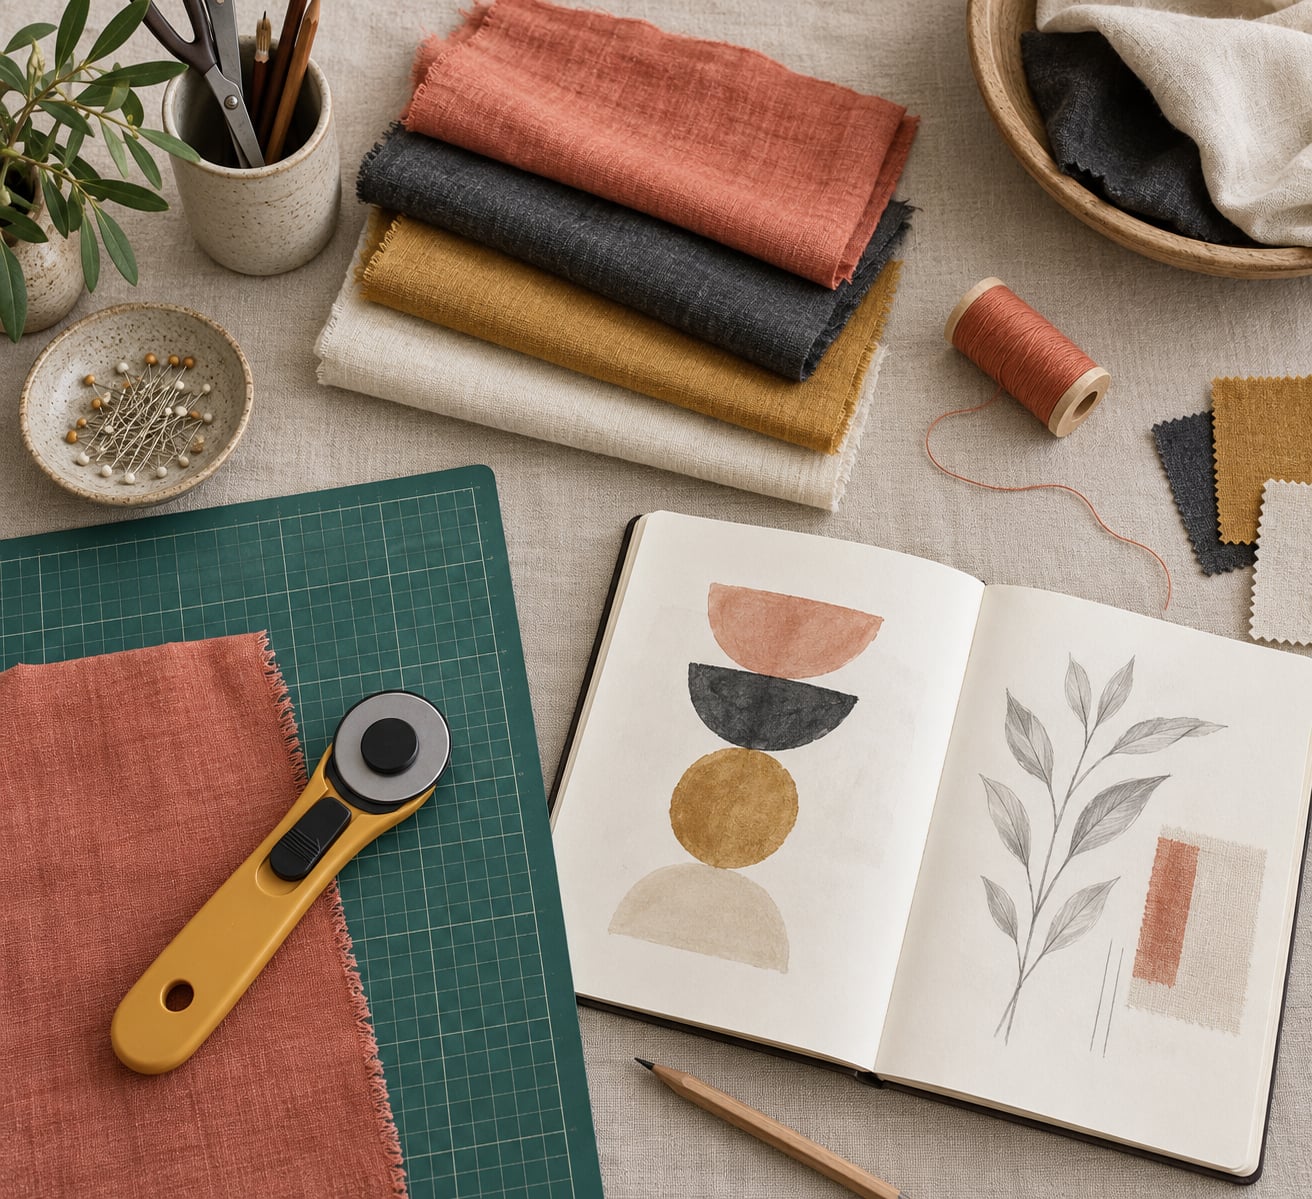
For an autumn collection built on muted coral, charcoal, ochre and cream, note that coral and ochre fought each other at equal strength and only settled once the ochre dropped to a third of the mix. Mention that the charcoal went too cool in shadow areas and needed a warmer layer underneath. Specifics are what make a post useful.
10. Introduce Tools You Wish You Had Used Sooner
Late discoveries make good posts because they come with a built-in before and after. Describe the problem first, then the tool.
Cover what the tool does, which task it changes, who benefits and what it costs you in space, money or fuss. Nobody needs a recommendation without the tradeoffs, and readers trust posts that mention them.
A small rotary cutter with interchangeable blades is a clean example. Name the repeat cutting that used to take an hour, the accuracy gain on repeated shapes, the way the handle sits close to the blade compared to full-size shears, and the fact that the smaller unit is less comfortable on long seams. Then say who should skip it: anyone working mostly by hand.
11. Post a Progress Diary With Honest Checkpoints
Progress posts work when they record decisions instead of announcing that work is happening. A caption saying the piece is going well teaches nobody anything.
Date your entries and write each one about something specific that changed. Three checkpoints is enough for a small piece: layout, values, edges. A fourth entry on framing is a bonus.
First checkpoint: the layout is too symmetrical and one block carries all the visual weight. Second: values inverted, background moved darker than the foreground. Third: the edges finished with a visible facing so the piece reads as intentional. Readers get a record of a piece thinking itself out, which is more instructive than a finished-work post.
12. Answer a Question From Your Readers
Reader questions are the most reliable idea source in this whole list. They arrive already validated, they answer themselves as titles, and they never go out of date.
Keep a running note of every question you get, in the exact words it was asked. Then write one post solving a single problem completely. If the question was how to keep thread tangling during appliqué, answer with setup, thread weight, hand position and the specific tension adjustment, then stop.
Knowing what to write about in an art blog when you feel blocked is easier once you treat questions as work already half done. Someone else identified the problem. You only have to describe the fix, and you already know whether it worked because you tried it.
13. Teach a Small Art Lesson
A lesson is a different shape than a tutorial. It has a goal someone can actually reach, not a skill they may never acquire.
Four parts: the goal, the short sequence, the common pitfall, the finished outcome. Keep the sequence to five steps or fewer. If you cannot fit it, it is a tutorial, and that is a different post.
A no-sew collage lesson works well here. Paper and fabric scraps, a glue stick, a needle and thread for a few hand stitches. The goal is a finished composition in under an hour. The pitfall is over-gluing, which makes the piece stiff and crack at the folds. The outcome is one piece that looks composed rather than assembled.
14. Reflect on Sustainable Art Practice
Sustainability posts get shared more widely than process posts, usually because they make people feel something. Keep them specific or they turn into general statements nobody argues with and nobody remembers.
Name the choice, the alternative and the result. Materials, sourcing, waste, tools, energy, disposal. Real numbers about your own habits are fine here since they are your own, and they carry the post.
An example: cutting fabric offcuts into swatches for every color test before the real fabric goes out, then sorting the resulting pile by fiber and color so the smallest scraps stay usable. Note what still ends up unusable and why. A reflection that admits its own limit is more persuasive than one that claims a solution.
15. Turn a Personal Art Rule Into a Better Process
Every working artist has a private rule. Compose in thirds. Never use gold. Always finish the background first. Those rules produce consistency right up until the project that they cannot hold.
Write the post as three movements: the belief, the evidence that shook it, and the practice that replaced it. That structure is simple and hard to fake, which makes it work.
What to write about in an art blog when a rule stops working
Describe the moment the rule failed rather than the moment you abandoned it. What did the piece look like halfway through? Which specific problem kept appearing? Once you have that image, the new process explains itself.
For a layout rule, the honest version is: two pieces came out flat because the grid decided the composition before the material did. Trying a loose grid with the blocks hung at slight angles fixed it. Write the old rule, the flat result, and the new grid. Readers who have their own rigid rule will recognize the whole thing immediately.
Frequently Asked Questions
How do I choose what to write about in an art blog?
Pick the subject you could explain without notes. A finished piece, a material test, a reader question, or a rule you changed are all strong starting points because the story already exists and you already know how it ends. Write the angle in one sentence before you sit down; if you cannot, the topic is too broad yet.
What are good art blog topics for beginners?
Document a small project from start to finish, including the mistakes. Beginners often underestimate how much other artists want a realistic account of an unpracticed hand. Studio setup, one tool review, and a short beginner lesson also work well because they use material you already have and produce a post in an evening.
How often should I publish an art blog post?
As often as you can keep up for years, not as often as you can keep up for a month. Monthly posts with finished writing beat weekly posts that taper off after three issues. Consistency matters more to readers and to search engines than volume, so choose a schedule you would still honour in a busy season.
How do I write about my art without sounding promotional?
Lead with what you did not get right and let the finished piece appear as evidence rather than as the point. Specific detail does most of the work: the seam allowance you got wrong, the palette that collapsed, the hour you lost. A reader who learns something useful will look at your work on their own.
What should I include when documenting a finished artwork?
Cover the spark, the materials and why you chose them, the construction sequence, the problems that came up, and what you would change. Photos help most when each one shows a step rather than a pose. Add the dimensions and the time spent, since those two facts are the ones readers most often ask for later.
How can I turn comments and questions into blog posts?
Keep a running list in your phone of questions as they arrive, in the reader’s exact words. Group them monthly and pick the one you can answer completely. Write the post the way you would answer in a studio visit, then link back from any older related post so the new answer stays reachable.
Conclusion
Fifteen formats, and every one of them is something that already happened in your studio this quarter. A finished piece, a material that behaved unexpectedly, a question from a reader, a rule you dropped. That range is the point: you are not short on subjects for an art blog, you are short on a container for the ones you keep skipping past.
So pick the idea that matches the project, experiment or question sitting in front of you right now, and write the messy version first. You can always edit tomorrow.