An art blog is a website where you publish written posts alongside images of your work, so process shots, studio notes, tutorials and exhibition news sit in one place people can find over time. To start one, you define who you write for, pick a name and platform, write five posts before you launch, then publish on a schedule you can actually keep.
Budget a weekend for the setup and about a week of evenings for the first batch of writing. You do not need to be a writer, a photographer or a web designer, and you do not need to post every day.
Table of Contents
- What You Need
- Step-by-Step: How to Start an Art Blog 2026
- Choose What Your Art Blog Is For
- Pick a Name and Domain
- Choose a Blogging Platform for an Art Blog
- Design a Simple, Visual Homepage
- Create an Editorial and Publishing Plan
- Photograph and Write Your First Post
- Publish, Share, and Improve
- Common Mistakes
- Common Mistakes and Quick Fixes
- Frequently Asked Questions
- Do I need to be a professional artist to start an art blog?
- How often should I post on my art blog?
- Should I use Instagram instead of starting a blog?
- How much does it cost to start an art blog?
- What should I write about in my first art blog post?
- Can I start an art blog without showing my face?
- Conclusion
What You Need
Most of the kit is stuff you already own. The list below is the minimum, and every line has a cheaper version if money is the constraint right now.
- An email address. Every platform asks for one at signup, and you will want an address that is not tied to your personal life if the blog is going anywhere.
- A camera or a phone. A recent phone camera beats a cheap dedicated camera, because most phones still shoot well in good light.
- A light source and a plain backdrop. A north-facing window or a single diffused lamp, plus white card, grey card or unbleached fabric. No product shots, no studio rental.
- Image editing software. A free editor is genuinely enough for cropping, straightening and colour correction. Paid suites are optional.
- A notebook. The ideas you will want in three months are the ones you jot down while painting.
- A domain name. Optional on day one, strongly recommended within the first year.
- An email newsletter tool. Free tiers exist and cover a small list. Set it up before you need it, not after.
If you only do three things this month, do these: choose your platform, claim your domain, and write your first five post outlines.
Step-by-Step: How to Start an Art Blog 2026
Seven stages, in this order. Each one has a check that tells you it worked, so you know when to move on instead of guessing. This is the order that works for most artists the first time round, and it takes a weekend plus a week of evenings.
Choose What Your Art Blog Is For
Decide who is reading before you decide what you will say. “People who collect textile art” is a reader. “People who like art” is not.
Then pick one primary goal, because a blog cannot chase four at once without going shallow. Documenting your studio practice, building an audience for shows and commissions, and teaching technique each pull the content in a different direction.
Write your answer as one sentence: I write this blog for readers who want X, so they can do Y. That sentence is your filter. Any post idea that does not serve it goes in a notebook for another day.
Success check: you can say the sentence out loud in under fifteen seconds and it names one reader and one outcome.
Pick a Name and Domain
Good art blog names are short, easy to spell out loud and easy to type. Skip punctuation, numerals and long invented words, because people will get them wrong and you will spend a year explaining your own brand.
Two ways to generate options. Write down five names you could give a series, then test each against search to see whether it is already crowded. Or combine your first name with your medium, which is dull but instantly searchable.
Once you have one, check availability on the domain registrar and on the social handles. Match them if you can. If the domain is taken, skip to the .com and check whether the site has been abandoned, then use your platform’s subdomain while you deliberate.
Success check: you can say the name, spell it once, and a friend could type it correctly without asking.
Choose a Blogging Platform for an Art Blog
This is the decision most beginners overthink. It matters far less than the writing you put on it.
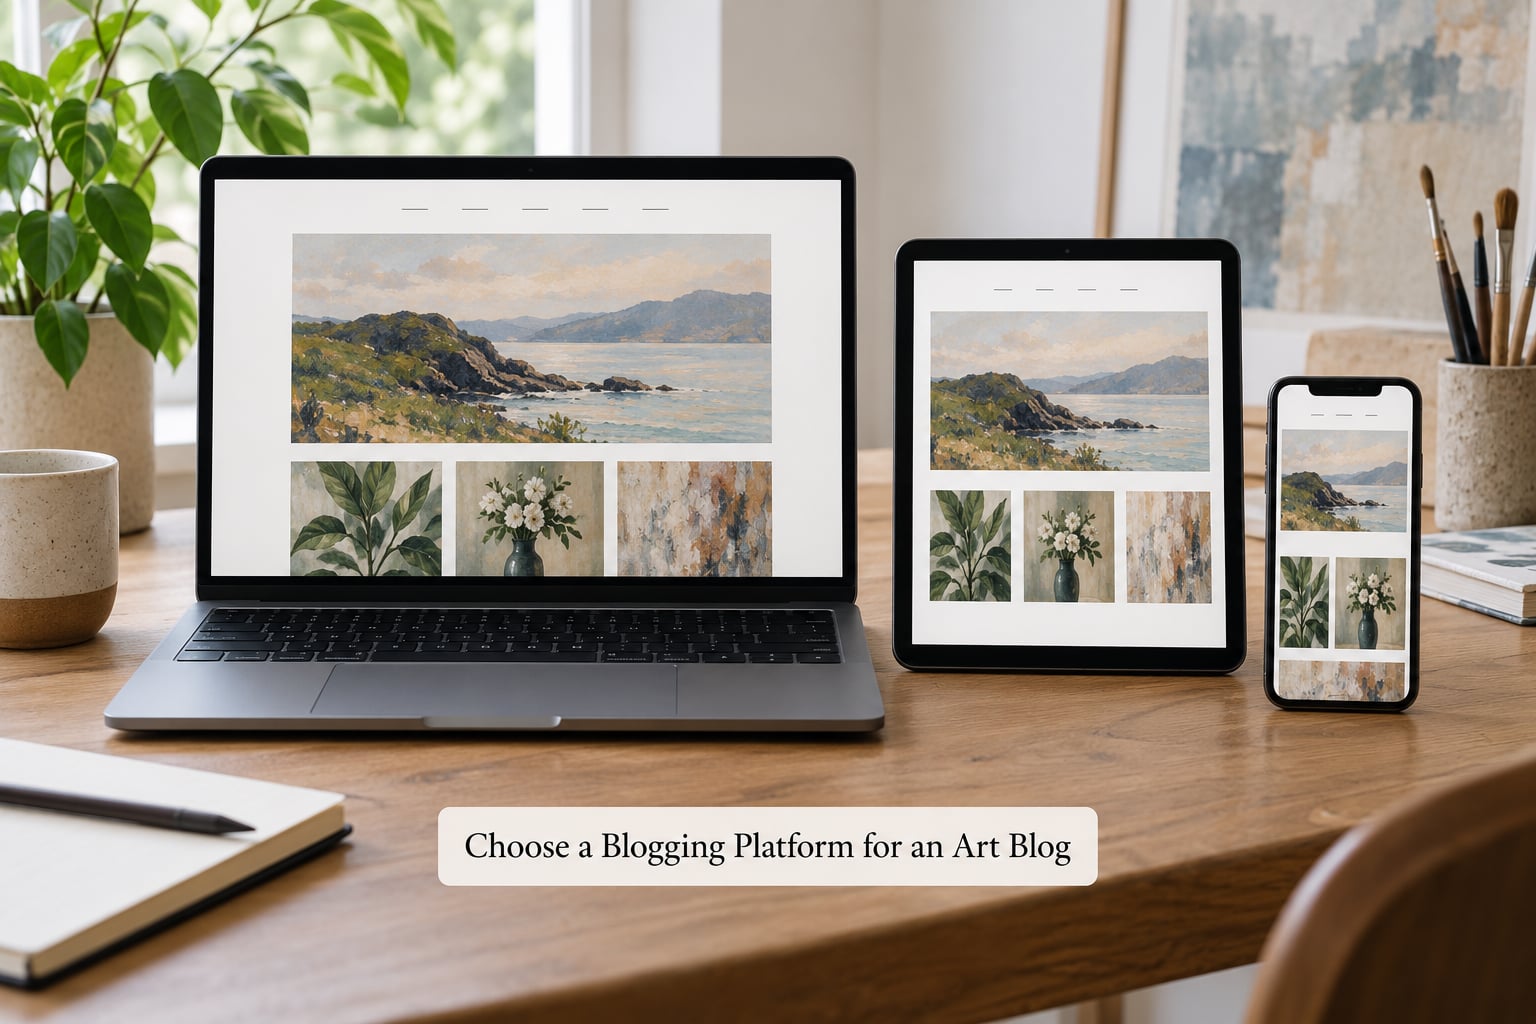
Hosted visual platforms handle images well and need almost no technical work. Blogger is the plainest of these. Tumblr is fast and image-forward. Pixpa is built for visual artists and includes a storefront alongside the blog.
Customizable builders give you control over layout and code. WordPress, self-hosted, is the most flexible and the most work. WordPress.com is the managed version. Squarespace is polished and expensive. Wix is friendly but heavy. Webflow and Carrd sit at the design-forward end, useful if your blog is really a portfolio with posts attached.
Portfolio-first tools such as a hosted gallery with a blog built in are fine for a first launch, and worth revisiting once you know what your readers actually open.
| Platform | Typical year-one cost (US dollars) | Learning curve | You own | Best for |
|---|---|---|---|---|
| WordPress.com | Free, or roughly 50 to 150 with a custom domain and paid plan | Low | Content and domain; not the theme or plugins | Your first blog, published this week |
| Blogger | Free | Low | Content | Writers who already know it and want zero cost |
| Tumblr | Free | Low | Content | Quick image-heavy posts and community |
| Pixpa | About 10 to 20 a month | Low | Content and portfolio | Artists who want a shop on the same site |
| Squarespace | About 15 to 30 a month plus domain | Low | Content and domain | Design-forward sites without a developer |
| Wix | About 15 to 30 a month plus domain | Low to medium | Content and domain | Builders who want templates and drag-and-drop |
| Self-hosted WordPress | About 40 to 115 a year all-in, hosting included | Medium to high | Everything | Artists who want total control and will maintain it |
Treat any figure above as a typical US range that shifts with plan changes. And no, WordPress is not outdated. It is roughly a quarter of the web and every other builder borrows from it.
Success check: you can publish a post with an image, edit a sentence and change the page title without watching a tutorial.
Design a Simple, Visual Homepage
Your homepage has one job: prove this is an artist’s work and give people a next click. Five blocks are enough.
- A short introduction, two or three sentences, with a photo of you working if you want one. Plenty of artists never show a face and the blog still works.
- Three to six pieces of current work, large, with no text overlays.
- Your three most recent posts, with images.
- Navigation that fits on one line.
- A way to reach you: a contact form, or a simple email address. Add a newsletter signup once you have five posts live.
White space is free and it is the single biggest upgrade. Give every image room to breathe and let the artwork be the only thing competing for attention.
Create an Editorial and Publishing Plan
Pick three or four content pillars and rotate them. For a textile artist that might be process walkthroughs, materials and tools, studio notes, and exhibition news. Four pillars is plenty to feel varied without starting from zero every week.
Then write down a frequency you can hit on your worst week, not your best one. Once every two weeks is a real publishing habit. Twice a week is only worth it if you already have a stockpile.
Batch what you can. Choose four finished pieces, photograph them in one sitting, outline all four posts, then write. A planning tool or a simple calendar table works; the tool does not matter, the habit does.
Success check: you have four dated post titles in the calendar before this week ends.
Photograph and Write Your First Post
Choose one finished piece. Photograph it in indirect daylight near a window, on a neutral background, with the camera parallel to the surface so the edges stay straight.
Take three shots: the full piece, a detail, and the work in progress if you still have it. Process shots outperform polished shots for engagement, because people are curious about the making.
For the post itself, work through this order: what you made, what materials you used, what went wrong, what you learned, and where the piece is now. That is a complete post in five beats, and it works for a painting, a quilt or a set of prints.
Write the caption at the top for readers who skim, then the longer story underneath. Most people will only ever see the first two lines.
Publish, Share, and Improve
Before you press publish, do a short checklist. Read the post once out loud. Load the page on your phone, because most of your first visitors will be on one. Every image needs alt text that describes the actual picture in plain words. Confirm the page title and that the post appears in your navigation.
Then distribute it where your readers already are. One piece on an image-driven social channel with a link back to the post, one on your main social account, one mention in the places where you already have a conversation. Do not build a whole new promotion routine on launch day.
After a month, look at which posts people opened, which ones they shared, and which ones brought sign-ups. That tells you what to write next, which is a far better signal than how the post felt on the day you published it.
Success check: you published, you shared it in three places, and you wrote down one thing to change next time.
Common Mistakes
These are the errors that stall most first launches, and each has a one-line fix.
- Waiting for the perfect name, logo or design. Ship the plain version. Every established art blog you admire started as an ugly first draft.
- Choosing too many platforms at once. Pick one blog host and two social accounts. Three is already a lot.
- Changing your colours, fonts and name every month. Choose a look in week one, then leave it alone for three months so people recognise it.
- Posting images straight from a phone with no correction. Spend twenty minutes per set on straightening, cropping and colour. It changes how the work is perceived.
- Promising a schedule you cannot keep. Once every two weeks, published on the same day, beats daily posts for six weeks and then silence.
- Launching with one post. Write five before you tell anyone. A visitor who clicks through and finds three more posts is far more likely to subscribe.
Common Mistakes and Quick Fixes
Most slow starts are not effort problems. They are sequencing problems, and they get better once you separate the work from the worrying about the work.
If you think you have nothing to say: write the story of one piece, not a thesis about art. The specific version is always easier, and specific writing is what readers actually finish.
If marketing makes you cringe: keep an 80/20 split, where four posts out of five are pure process, story or technique and only one sells anything. Artists who sell constantly lose the audience that made them interesting.
If the blog feels like a second job: cut the frequency rather than the quality. A post every three weeks that you enjoy writing will outperform a weekly post you dread.
If you are worried about your images being scraped or used to train AI models: post lower-resolution versions in the blog body and keep your full-resolution files for direct sales. Add a visible watermark to images you cannot replace easily, write a copyright line in each post and on the About page, and check the AI-training opt-out setting on whichever platform you use. No measure is airtight, but layered habits raise the effort required to take your work.
Momentum comes from a small promise you can keep. One post, one email, one reply to a reader who commented, then the next week.
Frequently Asked Questions
Do I need to be a professional artist to start an art blog?
No. Hobbyists, students, part-time painters and career artists all start the same way. What matters is that you publish consistently enough for readers to come back. Many well-read art blogs belong to people who never intended to sell anything. If you make art, document it and write honestly about it, there is a blog in that.
How often should I post on my art blog?
Pick a rhythm you could keep through a bad month, then hold it. For most working artists, once every two weeks is sustainable and frequent enough to grow search traffic, because search rewards consistency over volume. Twice a month also leaves room to photograph, write and edit properly, which is where most thin art blogs fail.
Should I use Instagram instead of starting a blog?
Do both, but they do different jobs. Instagram is rented land: the reach is excellent and you can be de-ranked or shut off without notice. A blog you own holds your images, your writing, your search rankings and your email list permanently. Use the social account to bring people in, and the blog to keep them.
How much does it cost to start an art blog?
You can launch at no cost using a free platform tier with a subdomain. Spending modestly, expect roughly 40 to 115 in US dollars for year one on a self-hosted WordPress setup, or 150 to 400 a year for a managed platform with a custom domain. Photography gear is optional because a phone and a window are enough.
What should I write about in my first art blog post?
Start with one finished piece and five beats: what it is, what materials you used, what went wrong, what you learned, and where it ended up. That single structure gives you a complete post without inventing a personal brand you do not have yet. Your first three posts can follow the same shape with three different pieces.
Can I start an art blog without showing my face?
Yes, and plenty do. Photograph your hands, your table, the work in progress, or the studio itself. Face-led art blogs do tend to build a stronger personal connection, but process shots and well-written posts hold attention just as well, and readers buy art from the work far more often than from a portrait.
Conclusion
How to start an art blog comes down to four things in order: know your reader, pick a platform and claim your name, write five posts before you tell anyone, then publish on a schedule you can survive.
Start today with one sentence: who reads this, what do they get from it, and what is your first post about. Write it down, choose your platform, and open the first draft. Everything after that gets easier with each published piece.