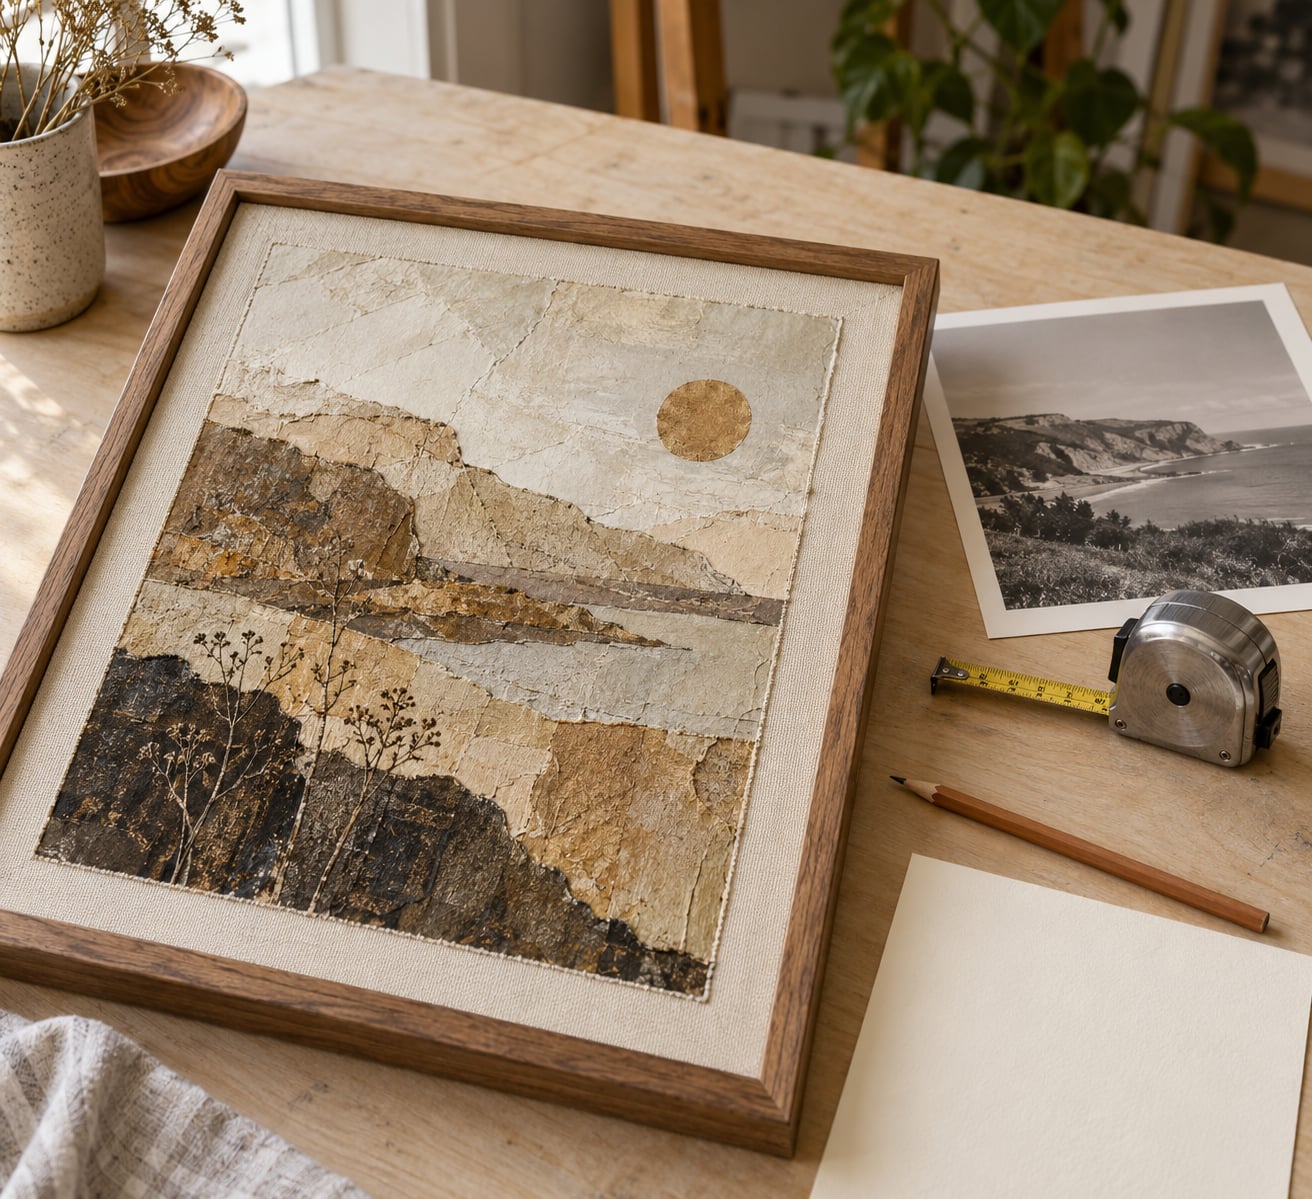
A certificate of authenticity (COA) is a signed document in which an artist confirms in writing that one specific, identified artwork is an original creation, and records the facts that set that piece apart from every other one. Yes, you can make your own — no licence, gallery, or appraiser required — as long as the certificate carries accurate identification fields, a unique number, and a statement you can actually stand behind. For a single piece, expect 30 to 60 minutes once the records are in front of you.
That last part is where most certificates go wrong. Not the design, and not the template. A certificate full of confident claims and no serial number does less work than a plain page that ties one photograph, one number, and one reachable artist together. This guide walks through the fields, the wording, the printing, and the filing, in that order.
Below is what you gather, the five steps that build the certificate, and the mistakes that make a document worthless to a buyer or an insurer.
Table of Contents
- What You Need
- Artwork information
- Records that support the certificate
- Supplies and optional verification tools
- Step-by-Step: How to Make a Certificate of Authenticity
- 1. Identify the artwork accurately
- 2. Gather provenance and ownership records
- 3. Draft the certificate information
- 4. Add authenticity and verification details
- 5. Review, sign, and distribute the certificate
- Common Mistakes and Tips to Avoid
- Frequently Asked Questions
- Do I need a certificate of authenticity to sell art?
- Can I create my own certificate of authenticity without a gallery or appraiser?
- What should a certificate of authenticity say?
- Is a hand signature enough, or do I need a notary or digital signature?
- How do I number limited edition prints and certificates?
- Do I need a COA for mixed media, textile art, or collage work?
- Conclusion
What You Need

You need two categories of material: the facts about the artwork, and the physical supplies to turn those facts into a signed document. Most artists are missing the first category, not the second.
Artwork information
- Your full name as you sign it, plus a business or studio name if you use one
- The title of the work, exactly as you present it
- Year of completion
- Medium, written out rather than abbreviated
- Dimensions in height by width, and depth for anything with a box or frame
- Edition size and edition number, for prints and multiples
- Surface and ground details for mixed media work, so the piece can be identified from the certificate alone
Records that support the certificate
- Original sales invoices and receipts
- Studio photographs, dated and uncropped, including the signature
- Exhibition records and catalogue entries
- Earlier appraisals or condition reports
- Any prior certificate issued for the work
- Print run notes, for editions: total size, which proofs were pulled, which numbers went where
Supplies and optional verification tools
- A word processor or design tool such as Microsoft Word, Canva, or Adobe InDesign
- A ruler or tape measure, and a second pass with the artwork in hand
- Card stock if you are printing; 250 gsm is the working weight most studios settle on
- Optional: a small seal or foil sticker, and a printed QR code linking to a verification page
Step-by-Step: How to Make a Certificate of Authenticity
The process has five parts: identify the work precisely, assemble what the record actually supports, draft the fields, add verification details, then sign and distribute. Work in that order and the certificate finishes faster, because you are not writing claims and then hunting for evidence to justify them.
1. Identify the artwork accurately
Identification is the part that makes a certificate useful later. A future buyer, an appraiser, or the artist’s own estate should be able to match the certificate to the physical object using only what is printed on the page. That means the medium, the dimensions, and the descriptive detail have to be specific enough to distinguish this work from a similar one in the same series.
Write out the full medium. Acrylic and collage on birch panel reads very differently from oil on canvas, and a certificate that says canvas on panel when the actual support is birch tells an appraiser the document was filled in from memory. For layered work, list the layers in application order and name anything unusual: ground, gesso, sanded acrylic, hand-stitched linen, dyed silk, printed transfer, cold wax.
For an untitled work, stop treating that as a gap. Assign a descriptive working title and note that it is a descriptive title, not one the artist originally assigned. That single clause removes the guesswork from the field without inventing a history.
For editions, three fields travel together: the total edition size, the edition number of the copy being certified, and the notation where the edition comes from. Numbering 7 of 40 is a fact. Saying it is a rare number is not, and the second kind of claim is what undermines the first.
2. Gather provenance and ownership records
Collect the invoices, exhibition entries, correspondence, appraisal documents, and earlier certificates that exist. Provenance is the documented ownership history of a work — who made it, who held it, and when.
A certificate records the provenance that actually exists. Where the record is silent, say so plainly: created by the artist and held in the artist’s studio since completion. Where a buyer later fills in a transfer, keep that history in your file rather than rewriting the original certificate, since a certificate is a snapshot of a moment.
3. Draft the certificate information
Walk the essential fields in order. Certificate number first, because it is what everything else gets filed under, then the artist, the work, the edition, provenance, condition notes, and the purpose of the document.
Here is a plain-text skeleton you can copy and fill in:
CERTIFICATE OF AUTHENTICITY
Certificate No: [YR-####]
Artist: [Full name as signed]
Studio: [Business name, if any]
Title: [Title of work]
Date of completion: [Year]
Medium: [Full medium description]
Dimensions: [H x W x D in inches and cm]
Edition: [Not applicable / Edition __ of __ / Artist’s Proof]
Provenance: [Documented history]
Condition at issue: [Note any defects]
I certify that the work described above is an original creation by me. It was made in my studio and is not a reproduction, copy, or study of another artist’s work. The information recorded here is accurate to the best of my knowledge at the time of issue. This certificate applies only to the work bearing the certificate number and photograph shown, and transfers with the work on resale.
Signed: ____________________ Date: ____________
[Full name]
[Email] · [Website or studio address]
A numbering scheme worth copying: initials plus year plus sequential number, so JRR-2026-0147. The serial makes the certificate traceable, the year makes it sortable, and the sequence makes a missing number obvious. If you sell on marketplaces, match the number to the listing so a buyer can see the two agree.
For work sold before you started numbering, issue certificates retrospectively under a distinct prefix — a suffix like R for retrospective, or a separate year block. Label them clearly as issued later and dated now. Never backdate, and never imply the number existed at the time of sale.
4. Add authenticity and verification details
A signature tells a buyer someone put their name to the page. Independent verification tells a buyer that page can be checked against a record the issuer does not control. The two are not the same, and a certificate should never blur them.
Include a high-resolution photograph of the exact piece, with the signature visible. Add a QR code that resolves to a real page listing the certificate number, a photograph, medium, and dimensions — the page you control, not a generic hosting page. A foil or embossed seal is decoration; it can be bought by anyone and proves nothing on its own.
If you did not have the work analysed, do not imply it. Wording such as laboratory verified or scientifically authenticated is a claim about evidence you do not have, and that is the fastest way to lose a buyer’s trust. Signature, date, photograph, serial number, and a reachable contact are the honest version, and they are plenty.
5. Review, sign, and distribute the certificate
Read every name and date back against the source records, not against your memory of them. Check that the dimensions match a fresh measurement, that the edition number appears in both the body and the header, and that the photograph is the right piece rather than a near-identical sibling work.
Sign each certificate individually. An artist who hand-signs reports that it reads as more professional and more considered, and collectors notice the difference. Mass-printing certificates with a signature pre-applied produces the exact opposite impression, and sellers on resale platforms have described pre-signed certificates as a reason for distrust rather than confidence. If you cannot sign every one, leave the signature line blank and sign it at the point of sale.
Give the buyer a printed copy with the artwork plus a PDF for their records. Keep a signed copy and a scan in your master file. Then log it — see below.
Common Mistakes and Tips to Avoid
Most of these are the same mistake wearing different clothes: putting a claim on the page that the record cannot support.
- Invented provenance. A round of plausible guesses reads as a fabrication to anyone who checks. Write what is documented and stop there.
- Confusing a certificate with an appraisal. A COA records authorship and identity. An appraisal sets a monetary value for insurance, estate, or tax purposes and is written by a qualified appraiser. Never put a value in a COA.
- Copying another artist’s wording. Templates are fine; lifted statements full of claims that were never true for your work are not. Write your own statement.
- Vague dimensions. 16 x 20 is a guess from memory. Measure, then give height by width by depth, with units.
- A medium line that stops too early. For layered, textile, or collage work, list the layers in order and name the support. This is the field artists most often get wrong.
- No serial number. Without one, the certificate cannot be traced to an inventory record, and buyers treat it as decoration.
- Distributing unsigned scans. A PDF with a blank signature line is a draft. Sign the document before it leaves your hands.
- Never updating ownership records. Keep the original certificate intact and record transfers separately in your ledger.
Three habits fix most of the rest. Keep your design consistent across the whole catalogue so a buyer recognises the work instantly. Give the issuer contact a real person at a real address rather than a number printed on paper. And date everything.
Frequently Asked Questions
Do I need a certificate of authenticity to sell art?
No, it is not legally required to sell a painting in the US, but buyers, galleries, marketplaces, insurers, and estates increasingly expect one. It costs you about half an hour per piece once you have the records, and it is the document that supports resale, insurance, and estate documentation later. For original work and limited editions, treat it as standard practice rather than something reserved for expensive pieces.
Can I create my own certificate of authenticity without a gallery or appraiser?
Yes. An independent artist issuing her own COA needs no licence, gallery, or appraiser involvement. What matters is that the document is accurate: artist details, title, date, medium, dimensions, edition information where relevant, a unique certificate number, a photograph of the exact work, a signature and date, and contact details the buyer can use independently. Accuracy and traceability are what make it credible.
What should a certificate of authenticity say?
It should identify the work and confirm authorship in plain language. Name the artist, title, year, full medium, dimensions, and edition number if applicable, then state that the work is an original creation by the named artist and is not a reproduction or copy. Add the certificate number, a photograph, a signature and date, and contact information. Avoid laboratory or scientific claims unless testing actually happened.
Is a hand signature enough, or do I need a notary or digital signature?
A hand signature and date are the norm for fine art certificates, and a notary is not required or customary for artwork. Digital signatures and QR verification add traceability rather than replacing the handwritten one. What matters is that the issuer is independently reachable and that the certificate number matches an inventory record, so a buyer can verify without taking the document on trust.
How do I number limited edition prints and certificates?
Use a scheme you can sort at a glance: initials, year, and a sequential number, such as JRR-2026-0147. Record the total edition size alongside each certificate, note which copies were artist proofs or printer proofs, and keep the numbers in the same order as your print run log. For work sold before you started numbering, issue certificates retrospectively under a clearly labelled prefix and date them as issued now.
Do I need a COA for mixed media, textile art, or collage work?
It helps more for layered work than for a simple painting, because the certificate is what records how a piece is built. List the layers in application order, name the support, and include the materials that would otherwise be invisible: the ground, the stitching, the dyed fabric, the printed transfers. That detail is what lets an appraiser or a future buyer match the certificate to the physical object.
Conclusion
Start by confirming the work’s identity and its source records — title, full medium, measured dimensions, and whatever documents exist. Then issue one precise, dated certificate with a unique number, a photograph of that exact piece, and a plain statement you can stand behind. Verified once, filed once, and it works for the rest of the work’s life. Last reviewed for accuracy in 2026.