Selling art at a craft fair comes down to four things: pick a show whose shoppers match your price range, bring a small assortment of work that reads clearly from three feet away, make paying easy, and follow up with anyone who showed interest. Most first-timers lose money at fairs because of preparation gaps, not because the art was bad.
I have watched a lot of artists plan their first market season, and the pattern is consistent. The ones who sell well spend their weekend obsessing over booth layout, price points, and how quickly they can hand someone a card reader. The ones who struggle bring a flat table of framed pieces, no labels, and hope the right person wanders in.
That is good news, because every one of those things is fixable before you ever load the car. Whether you make paintings, prints, textiles, ceramics, or small mixed-media pieces, the process below works the same way. Allow yourself three to four weeks between applying to a show and standing behind a table in it.
Table of Contents
- What You Need
- Step-by-Step: How to Sell Art at a Craft Fair
- Choose the Right Craft Fair for Your Work
- Select Work That Can Sell in a Busy Setting
- Set Prices and Prepare Payment Options
- Create a Clear and Inviting Booth
- Start Conversations Without Being Pushy
- Close the Sale and Encourage Repeat Business
- Common Mistakes
- Frequently Asked Questions
- What sells really well at craft fairs?
- Is it worth selling at craft fairs?
- What should I not sell at a craft fair?
- Do I need a business license to sell art at craft fairs?
- What payment methods should I accept at craft fairs?
- How much art should I bring to my first craft fair?
- Conclusion
What You Need
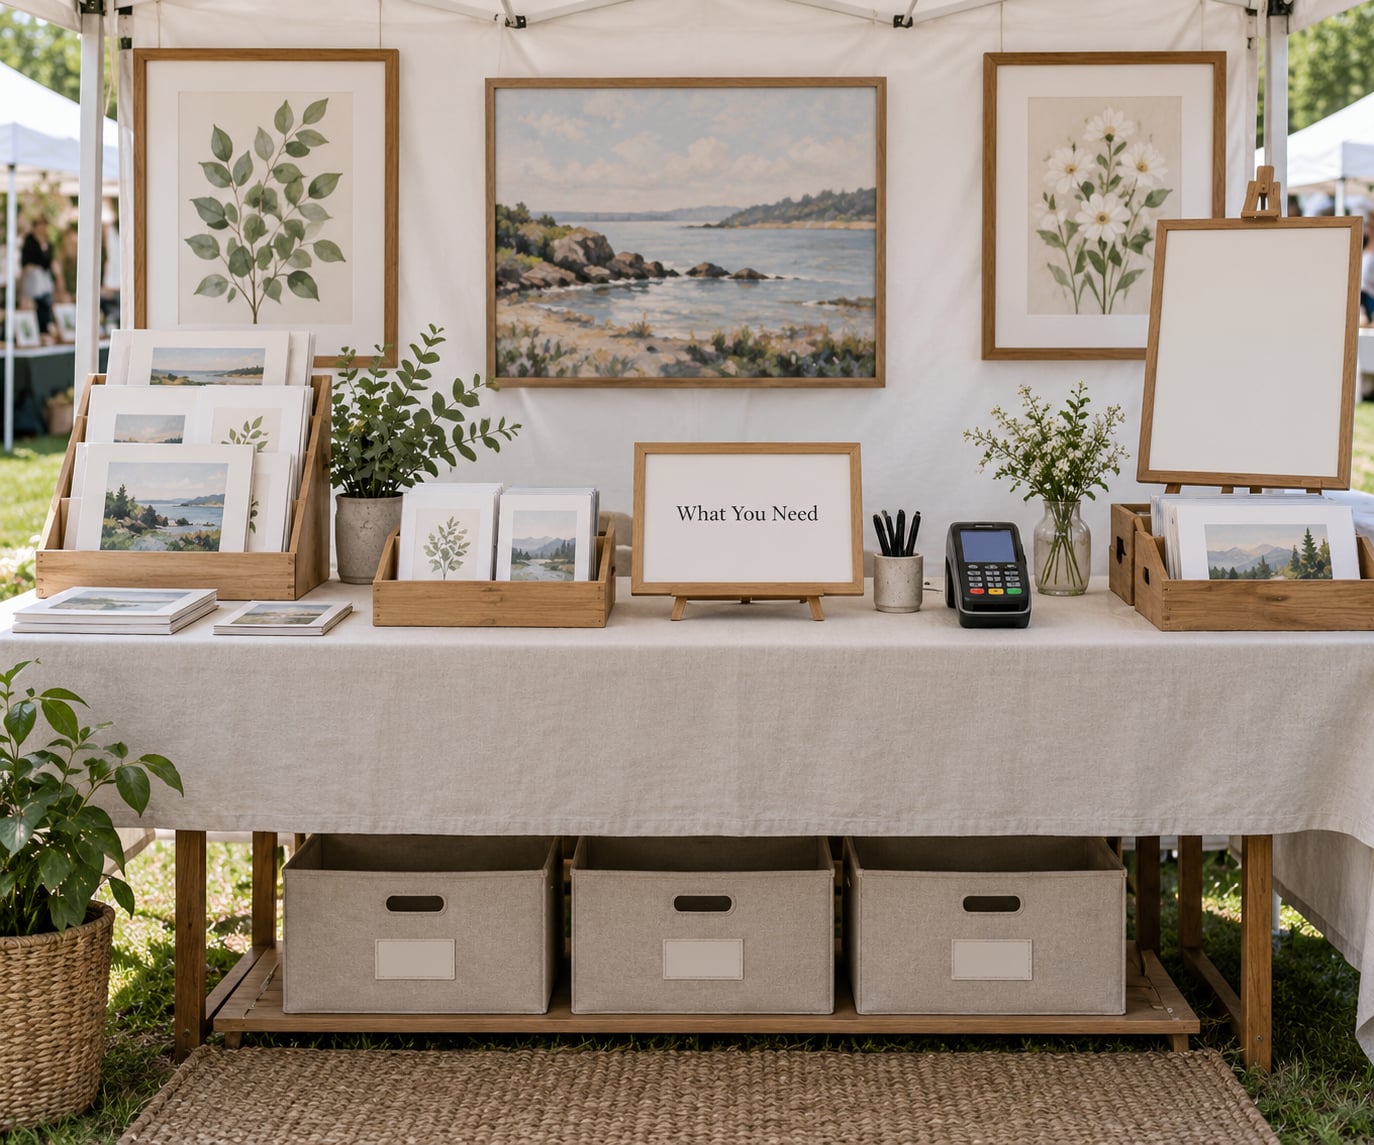
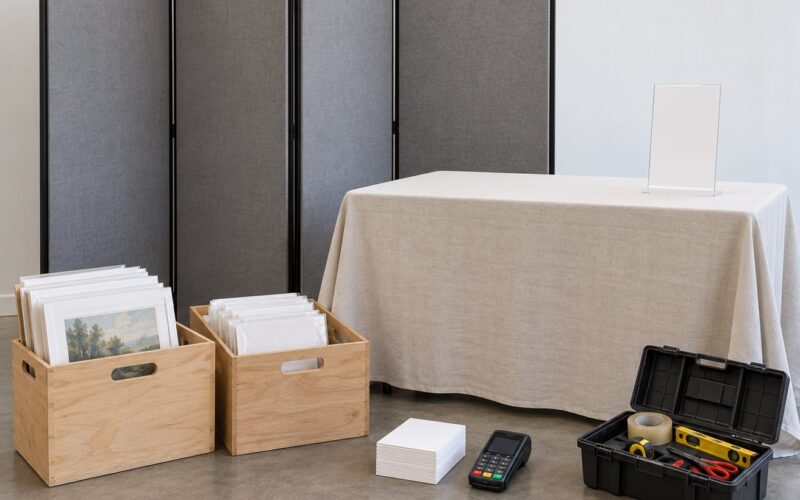
Start with the boring list, because it decides how smoothly the day runs. Most vendors arrive with artwork and a tent and then discover at 8 a.m. that they have no way to take a card payment or no way to mail a receipt.
Paperwork and money. Most fairs ask for proof that you can legally sell: a business license or tax ID, sometimes a vendor permit from the city, and often proof of liability coverage. Rules on sales tax vary by state and by event, so check what your organizer collects and what you are expected to remit for 2026. Carry a small pad of sales-tax forms or a printed sheet for each purchase if your state requires them.
Payment gear. A card reader with a charged battery and a hotspot on your phone is the minimum now. Add a backup battery, a cash box for making change, and a small sign listing what you take. Shoppers under thirty rarely carry bills, and a vendor who cannot tap a card loses the sale without a second glance.
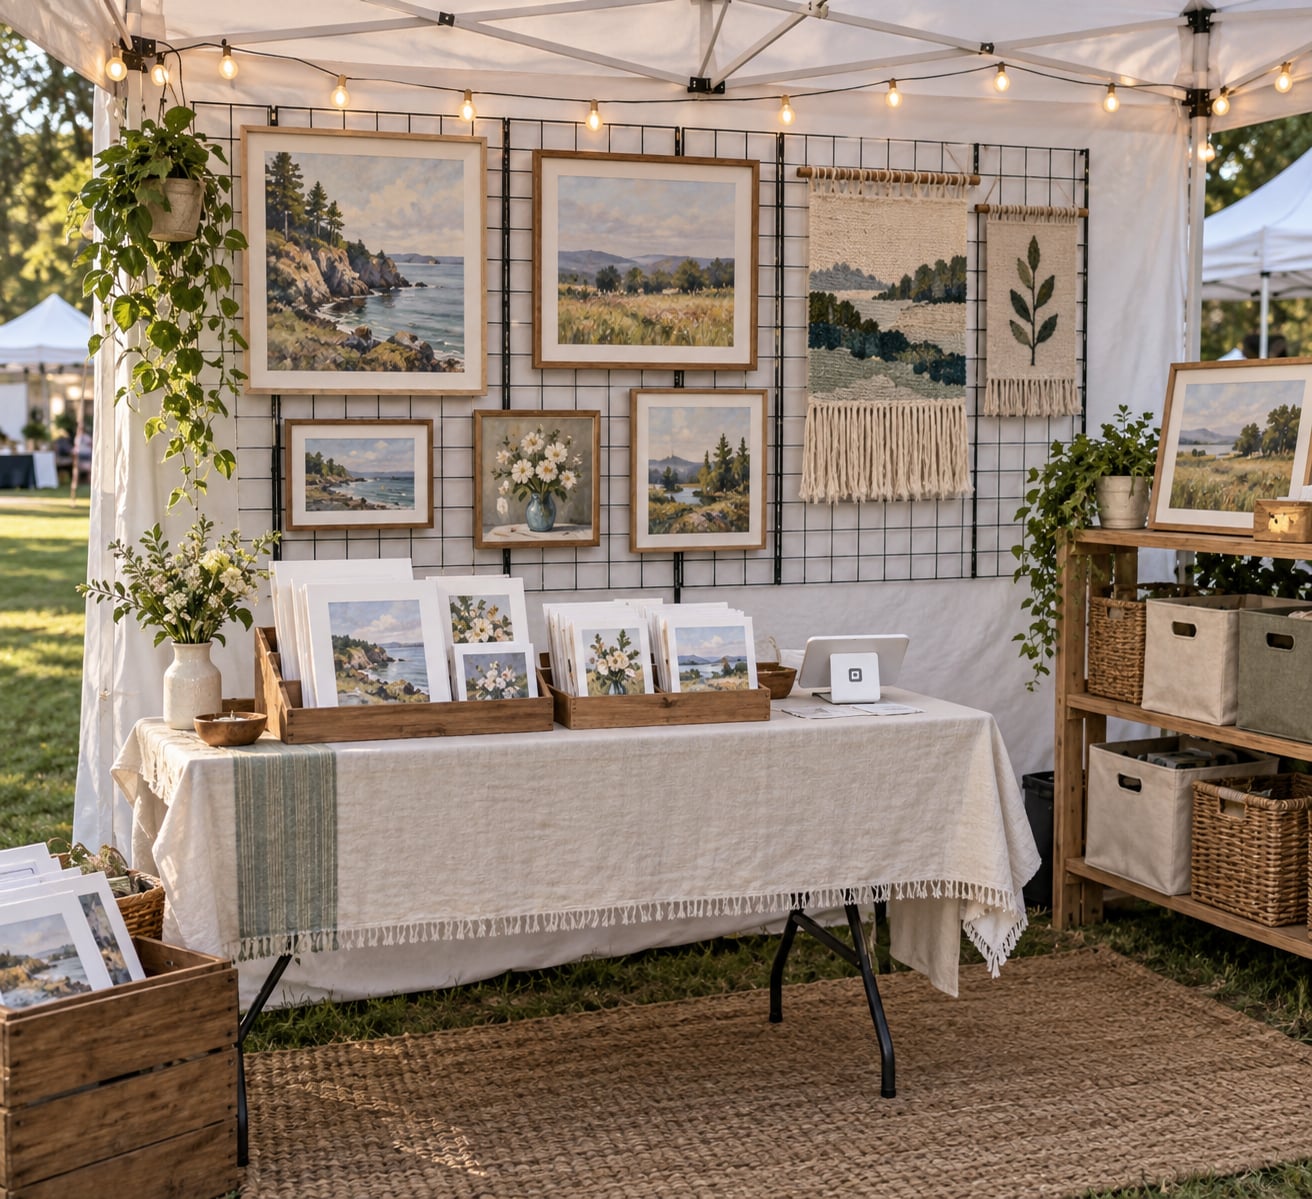
Display hardware. A canopy, a table or two, a folding chair, and something vertical. Framed work reads badly lying flat, so a grid wall, a slatted display, or even a sturdy wooden easel earns back its cost in one afternoon. Cloth or a fitted cover makes a folding table look deliberate rather than borrowed.
Printed information. Price tags for every item, a short artist statement you can say out loud in under fifteen seconds, business cards, and a sign-up sheet or QR code for your mailing list. A sign-up sheet with a small incentive converts better than a passive code taped to a corner.
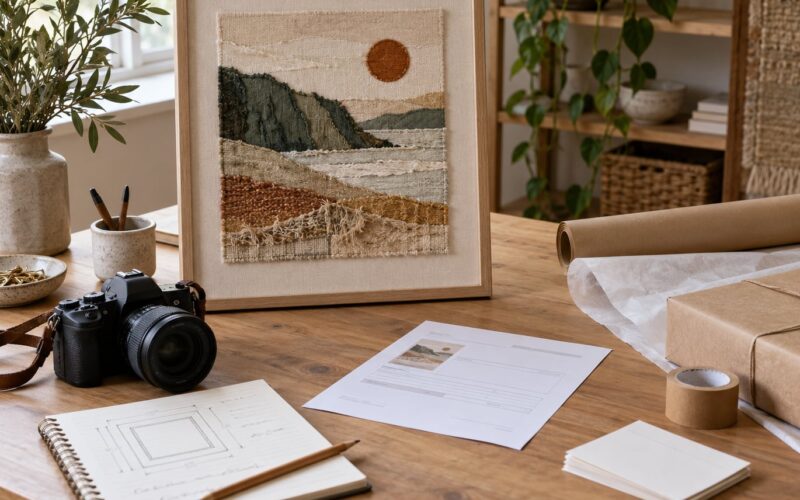
Sales supplies. Tissue or glassine paper for wrapped pieces, packing tape, mailer bags or tubes for prints, a roll of paper or kraft wrap, scissors, and a marker. If a piece sells, you wrap it in front of the buyer rather than waving them off to pick it up later, and that five minutes often turns into a second purchase.
Comfort items. Water, a snack, sunscreen or a warm layer, comfortable shoes, and a plan for breaks. A show day runs six to eight hours of standing, and vendors who never leave the booth end the afternoon too tired to be pleasant with anyone.
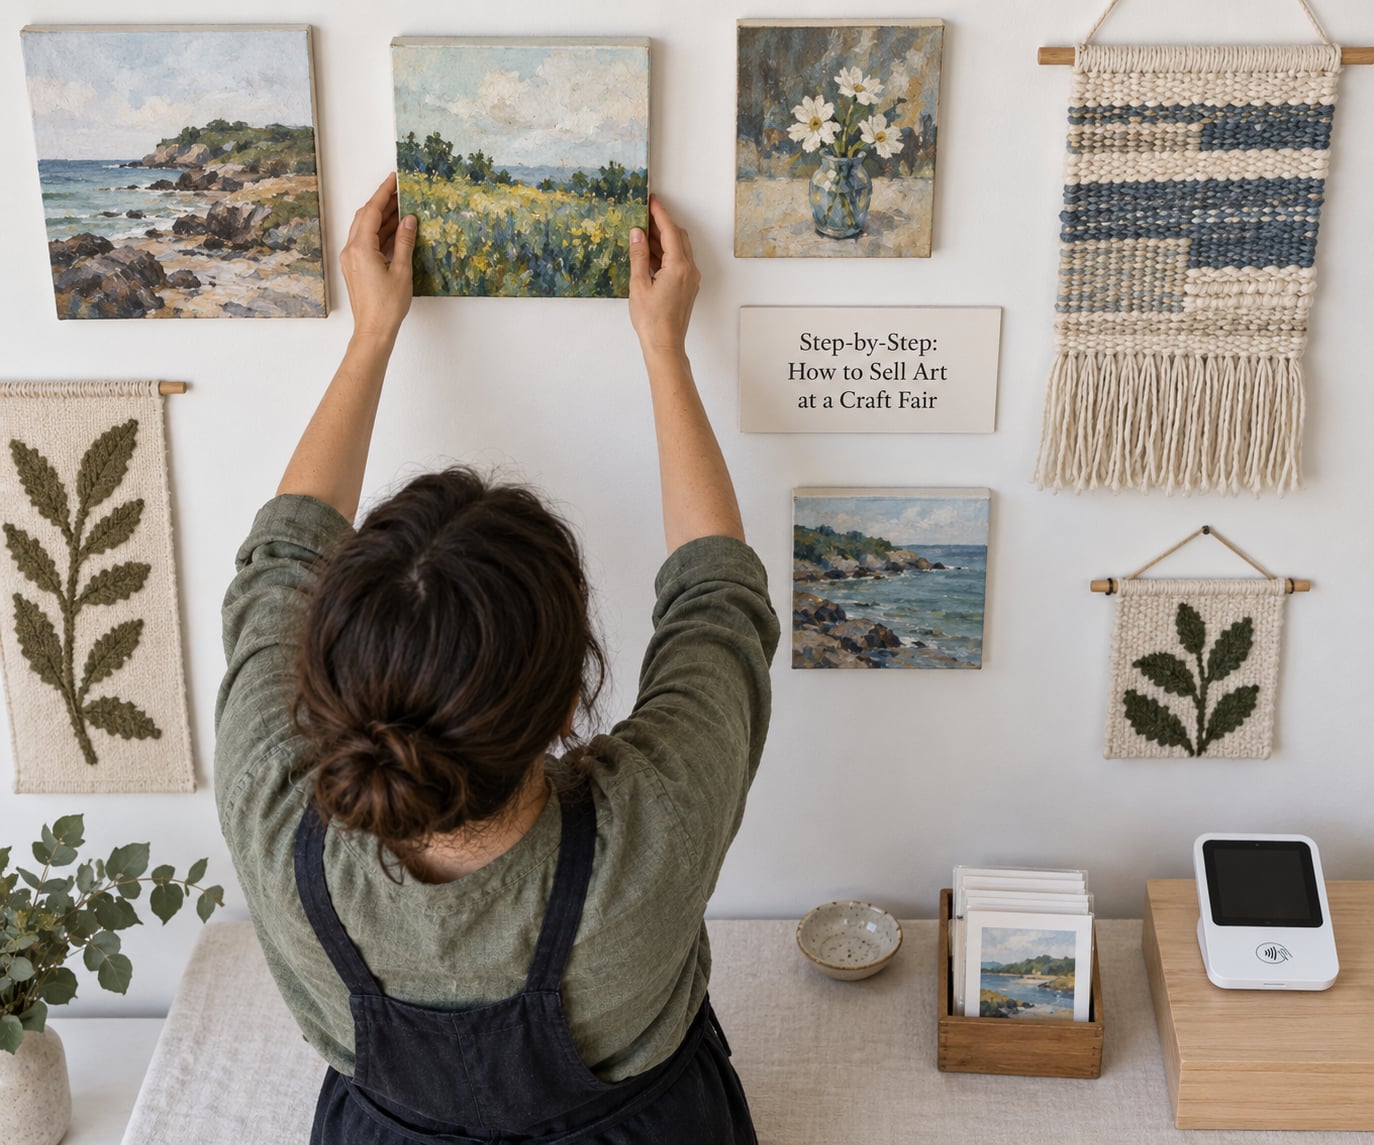
Step-by-Step: How to Sell Art at a Craft Fair
Choose the Right Craft Fair for Your Work
Apply to shows where the shoppers already buy what you make. A juried festival that draws serious collectors is a poor fit for a first-time vendor with forty-dollar prints, and a Saturday church bazaar is a poor fit for a gallery-scale painter. Look at what similar artists sell there, not just at the attendance number in the listing.
Before you apply, read the vendor rules end to end. Some events forbid wall displays, some cap signage, some require a specific canopy color, and some prohibit food or scented products. Artists who get accepted and then show up with a banner that breaks the rules lose their spot for the next season.
Attend one as a visitor first if you can. Two hours of watching real shoppers tells you more than any event description: whether people browse or grab, whether they ask about prices or about process, whether they carry bags or arrive empty-handed.
Then do the arithmetic. Booth fees for local shows often sit in the tens, while larger juried markets charge considerably more and add travel, lodging, parking, food, and insurance. Before committing, decide the number of sales the day needs to cover those costs, and check that your price points make that volume plausible.
One last filter: ask whether the show’s rules and expected price range match your work. Selling twenty-dollar pieces at a two-thousand-dollar fine art fair wastes a booth slot you could use next season.
Select Work That Can Sell in a Busy Setting
A busy aisle gives a shopper about three seconds of attention. Bring work that is legible at arm’s length, easy to hold, and easy to buy on the spot.
Most successful booths carry three tiers. An anchor piece or two at the top of your range sets the value of everything else. A middle band does the actual volume of selling. And a small tier of inexpensive items catches impulse purchases, which for many artists account for a fifth to a third of a day’s sales.
- Impulse tier, 5 to 25 dollars: mini prints, postcards, stickers, small studies. These are the pieces that leave the booth in a backpack.
- Mid-range tier, 30 to 150 dollars: standard prints, small originals, functional pieces. This is where most of your sales will land.
- Anchor tier, 250 dollars and up: large originals, statement pieces, sets. Two of these anchor pieces make the mid tier look like a reasonable buy.
For your first fair, err toward bringing too many of the mid and impulse tiers and only a handful of originals. Sell-through on small pieces is fast, and leftover small pieces still sell at your next show or online. A sold original, by contrast, is gone from your studio for good.
Bring originals and prints of the same work side by side. Shoppers assume a print is a lesser version of the painting, and seeing both in one frame lets them trade up instead of walking away. If your medium does not reproduce well, bring a small reference photo or a printed detail instead.
Keep your inventory list current on your phone or in a notebook. Know your total before you leave home, mark each sale as it happens, and never promise a piece on display without checking your list first.
Set Prices and Prepare Payment Options
Never negotiate against yourself at the booth. Decide every price before the show, write it on a tag, and say the number the same way every time. A tag with no price sends shoppers walking, because they assume the worst number they can imagine.
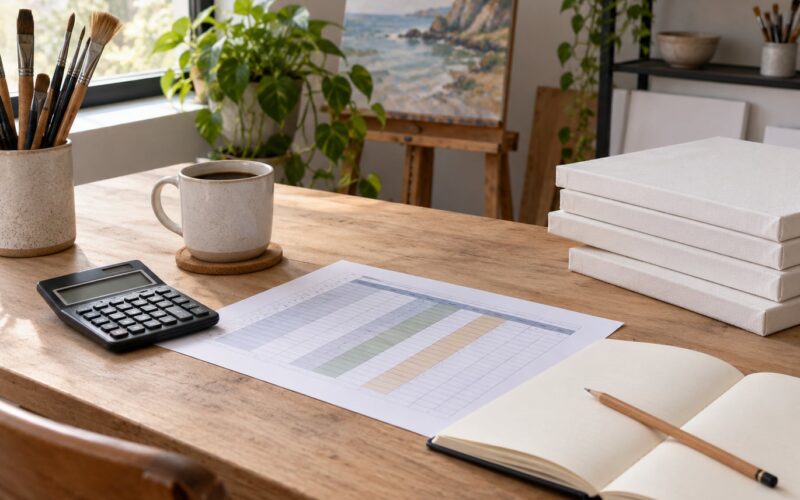
Price from your own numbers rather than from what a competitor charges. Add up materials, your hours, overhead, and a margin for the booth fee and card fees. Many artists use a simple structure: materials doubled or tripled, plus an hourly rate for their time, gives a wholesale figure, and roughly double that becomes a retail figure. Adjust from there for how established you are and how fast the work sells.
A useful rule of thumb is the 70/30 split. Your booth cost, travel, and fees should stay near thirty percent of your revenue at a show that is working. If the fee is eating closer to half your sales, the fair is too small or too expensive for what you bring, and the same booth will likely behave the same way next season.
Take more than one kind of payment. Card readers from Square, Shopify, and similar point-of-sale apps handle tap-to-pay on a phone, and cash still matters for the customer who wants a paper receipt. Adding a peer-to-peer payment app as a backup is fine, but have it set up on a business account, since personal accounts can get restricted when payments flow regularly.
Hand over a receipt or a card with your contact details and website on every sale. For larger works, use an order form with a deposit arrangement rather than a handshake, and put commission terms in writing before you start a custom piece.
Create a Clear and Inviting Booth
Your booth has one job: let someone understand what you make from about ten feet away. That means a clear focal point, vertical use of space, and breathing room between pieces.
Work upward. A table at waist height with a grid wall or display board behind it doubles your showing area and keeps your back to nothing. A single tall piece or a banner with your name draws people across the aisle, which is the only way a busy show ever funnels traffic your way.
Light it well. Outdoors, even an overcast day leaves paintings looking gray, so bring small rechargeable or battery lights and angle them across the surface rather than straight on. Indoors, markets often glow from above, which flattens texture and washes out color, so bring a light anyway.
Group by size and leave gaps. Crowding pieces edge to edge makes a display look cheap and makes prices impossible to read. Odd numbers of similar items look considered; one large piece surrounded by two or three small ones gives the eye somewhere to rest.
Keep the checkout side clear and uncluttered, with the card reader, a receipt book, and the wrapping supplies within reach but not in the customer’s line of sight. If you share a table with another maker, agree in advance on who owns which space, who handles payments, and how sales get split.
Start Conversations Without Being Pushy
Standing silently behind your table is the most common booth mistake. So is talking at anyone who slows down. What works in the middle is a short observation or a genuine question, then letting the work take over.
A few openers that do not sound rehearsed: ask what part of the booth caught their eye, ask whether they make anything themselves, or mention a detail in a piece and see if they notice it too. Shoppers respond to being treated like a person rather than a transaction.
Have a fifteen-second version of your story ready. Most artists give their entire training history to a stranger standing in an aisle, and the stranger leaves. Try this shape: what you make, the material or process, and where the idea came from. Go longer than that and you will watch eyes glaze over.
Let the work answer the questions. If someone asks about price, answer it directly and then pause. Silence after a price is uncomfortable for the buyer and useful for you, because the person who is still standing there is still deciding.
Recognize who you are talking to. The casual browser wants a story and a low price point. The collector wants dimensions, materials, provenance, and a signed certificate. The bargain hunter wants a discount, and most artists are better off declining politely or offering a bundle of smaller pieces at a real saving rather than cutting an original’s price. The person asking about a custom piece wants a timeline and a deposit. The curator or shop owner wants a line sheet, wholesale terms, and consistency. You cannot write a script for all of them, but you can spot the type fast.
Close the Sale and Encourage Repeat Business
Most sales stall at the booth because the artist got nervous at the moment of decision. Confirm the item, say the price clearly, and offer a specific next step rather than an open question.
Wrap the piece while the buyer watches. Hand them a card with your website or mailing list link and mention the follow-up you send out afterward: a note with photos of the piece leaving the booth works far better than a generic newsletter. For anything too large to take home, write down the details on your order form, take a deposit, and confirm when it will ship.
Capture details for the people who do not buy. Many booths see more browsers than buyers, and most of those browsers have no intention of buying anything today. Offer the mailing list to anyone who pauses, and note what they looked at so your follow-up note can mention it.
Within two days of the show, send a short message with clear photos of what sold and what the piece cost the buyer to buy. Add a discount code valid for a limited window. Then count your results honestly: sales by tier, best-performing display, booth traffic versus conversion, and whether the day covered the fee once travel is counted. That number tells you whether to reapply, and it tells you which tier of work to bring more of next time.
Common Mistakes
Overcrowding the booth. Every extra piece takes away attention from the rest. Fix: display fewer than you think you need, cut the total by a third before you pack, and use your full list as your backup inventory off the table.
Vague or missing pricing. Untagged work means the shopper assumes the highest possible number and walks on. Fix: every single item carries a visible price, and you say the number out loud rather than hoping for eye contact.
Flat, borrowed lighting. Overhead market bulbs make color and texture look dead. Fix: bring two small adjustable lights per vertical display and angle them across the work.
Ignoring organizer rules. Booth size limits, signage rules, canopy colors, and required insurance are not suggestions. Fix: read the vendor packet twice, print the parts that matter, and tape them inside your booth paperwork folder.
Taking one payment method. No card reader means no sale from anyone under thirty. Fix: card reader with a charged battery, a hotspot, cash for change, and a business account on your backup app.
Bringing only your most expensive work. A booth with nothing under a few hundred dollars turns away most of the foot traffic. Fix: add an impulse tier you are genuinely happy to sell at volume.
Not collecting sales tax when the rule requires it. This is the mistake that can turn a good weekend into a liability. Fix: check your state and the event’s rules for 2026, know whether you remit or the organizer does, and keep a record of every sale.
Skipping the follow-up. The person who asked a real question and walked away is your most valuable lead, and they forget you in a week. Fix: a personal message within two days, with photos and a short discount code.
Selecting shows by reputation instead of fit. A famous fair is not a better first show. Fix: start local, learn what sells and what does not, and move up once you know your numbers.
Frequently Asked Questions
What sells really well at craft fairs?
Small work at accessible prices sells fastest. Mini prints, postcards, stickers, small studies, and functional pieces move in volume during a fair, and many artists find that impulse items account for a fifth or more of a day’s sales. Large originals rarely sell on the spot, but their presence sets the perceived value of everything else and draws collectors to the booth. Bring more of the mid and impulse tiers than your instinct suggests.
Is it worth selling at craft fairs?
It is worth it when the show’s shoppers match your price range and the booth fee stays near a third of what you take. You also gain something money cannot buy: real feedback. People look at your work, tell you what they would pay, and often become repeat buyers or refer others. Track sales and costs at your first two shows, then reapply only where the numbers work.
What should I not sell at a craft fair?
Avoid anything prohibited by the organizer, usually food, candles without required labeling, cosmetics, supplements, or anything with a safety certification requirement. Skip overstock, seconds, and work you have already discounted at home, since displays full of clearance items make shoppers question every price tag. Also avoid originals you cannot afford to replace if they sell or damage.
Do I need a business license to sell art at craft fairs?
Often yes, at least for a tax ID. Many events ask for a business license, a vendor permit from the host city, and proof of liability insurance before they accept you. Rules differ by state, county, and event, and some small markets have no requirements beyond a seller’s permit. Contact the organizer, ask for the exact list, and confirm what sales tax you must collect and remit.
What payment methods should I accept at craft fairs?
Take cards, cash, and one peer-to-peer option. A smartphone point-of-sale app with tap-to-pay handles most sales, and shoppers expect to tap rather than hand over a bill. Bring a charged battery and a hotspot as backup, keep cash for making change, and set up any peer-to-payment app on a business account rather than a personal one. Display what you accept on a small sign at eye level.
How much art should I bring to my first craft fair?
Bring more small and mid-range work than originals. A reasonable first load is twice the number of sales you would consider a good day, weighted toward your impulse and mid tiers, plus a few originals at the top. Display about half your inventory and keep the rest in labeled bins for restocking, since a booth that empties mid-day looks finished rather than sold out. Write the full count in a notebook before you leave home.
Conclusion
Pick one local show in the next two months and apply. While you wait to hear back, tag every piece with a price, test your layout on your own floor at a friend’s house, and set up a card reader on a business account. That is the whole first assignment.
Then treat the first fair as information rather than income. Write down what sold, what got picked up and put back, what people asked about, and whether the fee covered itself once travel counted. Small shows are where you learn cheaply, and the artists who move up to larger juried markets did it by fixing problems at the small ones first. Once you know your numbers, how to sell art at a craft fair stops being a question and turns into a repeatable weekend.