How to pick images for a juried show comes down to four moves: read the prospectus rules, cut your work down to one cohesive body, score the shortlist objectively, and put your strongest piece last in the sequence. Most artists spend their whole budget on the painting and then rush the images that represent it. Give this step about two to three focused sessions the first time you build a proper set, and the process gets faster with every show you enter.
A juried exhibition is simply an exhibition with a judge: one person or a panel reviews submitted images and picks a limited number of pieces for the wall. You are competing for a fixed number of slots, and the images you submit are the only thing the juror sees, at thumbnail size, out of context. A juror described the process as three passes, a fast scroll to sense the quality bar, a quick sort into maybe and no, and a slow look at what survives.
That third pass is where choosing well pays off. Most rejections are not verdicts on the art, they are failures of presentation or of fit. Here is the process I use, and the reasoning behind each step.
Table of Contents
- What You Need
- How to Pick Images for a Juried Show Step-by-Step
- Step 1: Read the call for entry and extract the real constraints
- Step 2: How to pick images that survive the eligibility filter
- Step 3: Choose the strongest single work with a score, not a feeling
- Step 4: Build a cohesive set with one medium and one subject
- Step 5: Decide whether installation or detail views earn a slot
- Step 6: Check technical quality against the requirements
- Step 7: Ask for a fresh review before you finalize
- Common Mistakes
- Frequently Asked Questions
- What makes an image stand out to a jury for a juried show?
- Should I submit one image or a full image set?
- How many images should I include in a juried show application?
- What resolution should my artwork images be for a juried show?
- Should I show artwork installed or only photograph the individual piece?
- How do I choose images when I have several equally strong artworks?
What You Need
You want the actual prospectus, not a summary of it. A call for entry is often several pages, and the image rules sit in a technical section that most applicants skip.
- The prospectus or call for entry, downloaded and readable offline, with the image requirements section bookmarked.
- Your project notes, a page per body of work listing the pieces, dates, medium, dimensions, and the statement you would send with it.
- A current work inventory, so nothing gets left out of the set because you forgot you made it.
- Image files at full resolution, not the copies you uploaded to a selling site five years ago.
- An image editing tool for cropping, straightening, color matching and resizing. A scanner counts as part of this list.
- A short requirements checklist, one line per rule, checked before you upload anything.
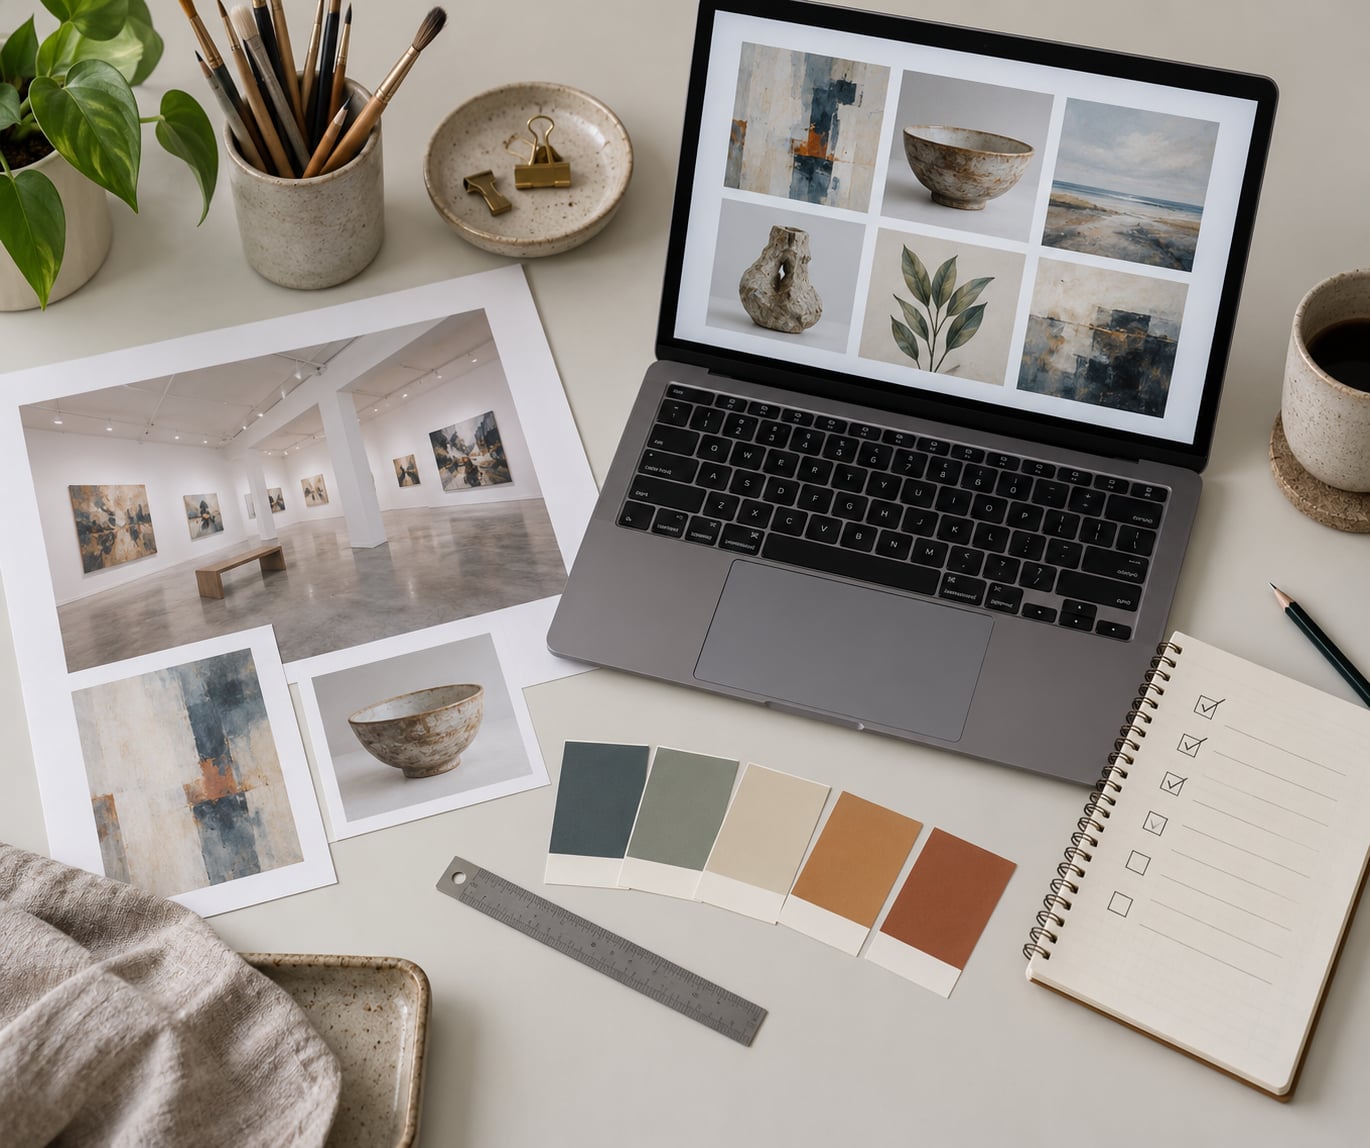
Add a way to print small copies if you can. Artists who print thumbnails, tape them to a wall and rearrange them report that the group effect becomes obvious within ten minutes, which is much faster than dragging files around on a screen.
How to Pick Images for a Juried Show Step-by-Step
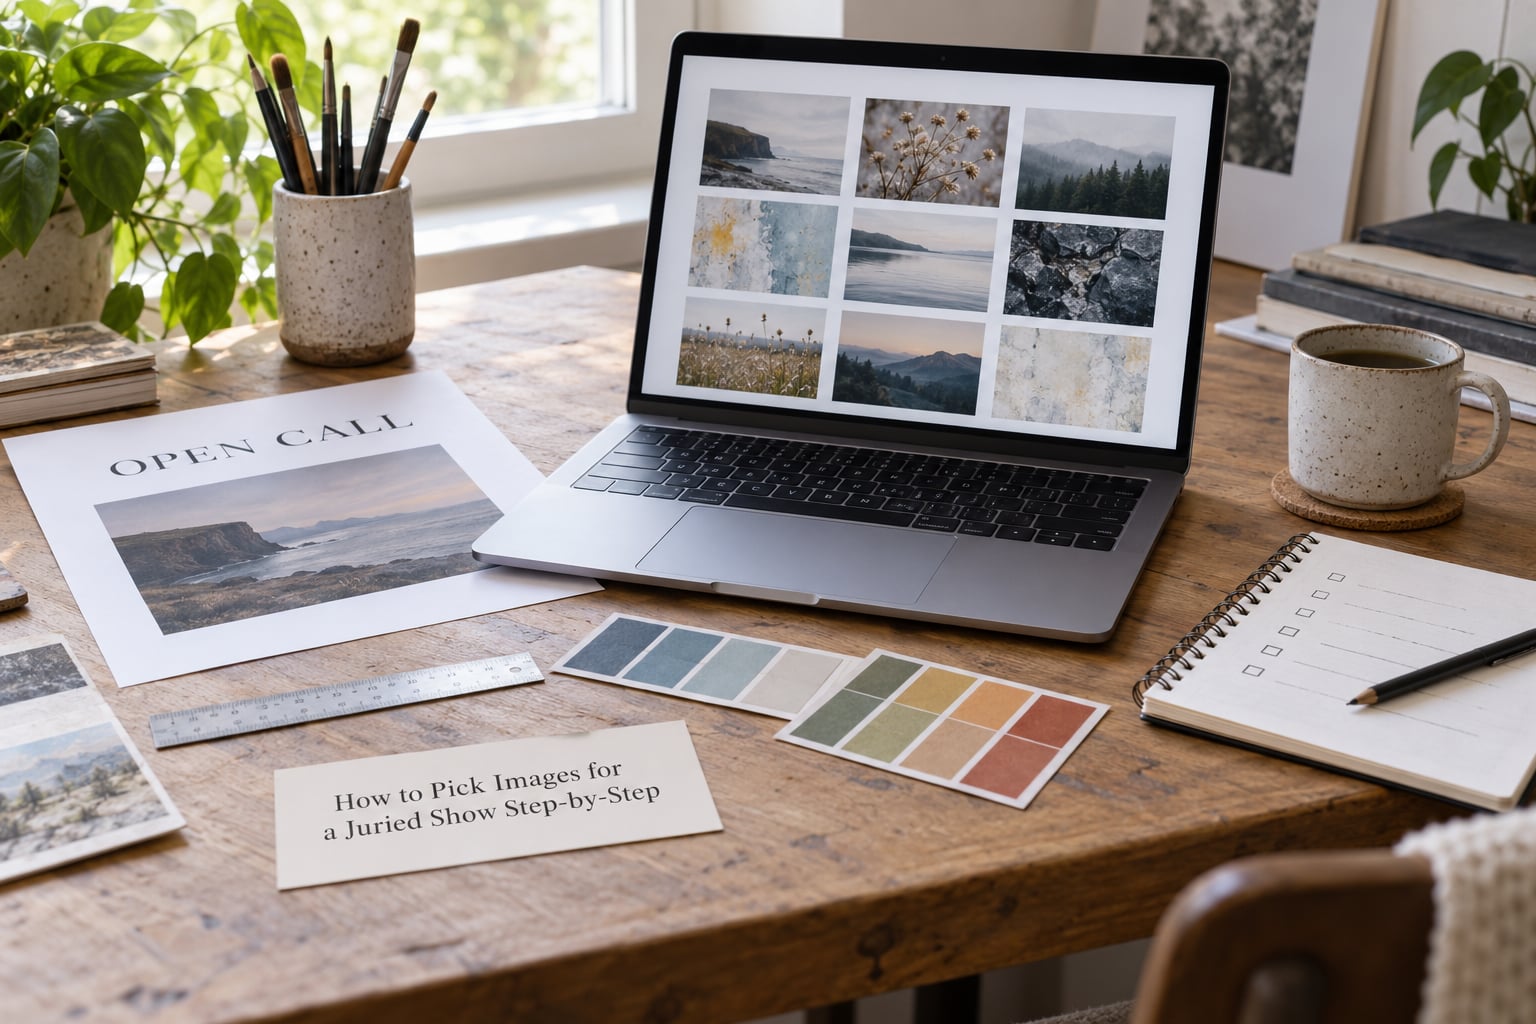
The order below matters. Each step removes candidates for a different reason, so you do not argue with yourself about taste before the rules have narrowed the field.
Step 1: Read the call for entry and extract the real constraints
Read the call twice, the second time only hunting for numbers. Write down the theme and its scope, eligibility rules, the number of works allowed and the number of images required, medium restrictions, image dimensions and file size limits, the deadline with its time zone, and any stated criteria for selection.
Ask four questions before you look at a single artwork. Does the work have to match a stated theme, or only fit the general category? Must every piece be the same medium, and can it be a mixed group? How many images exactly, and are detail or installation views counted against that number? Does the call say anything about anonymous review or required labeling?
Then check the show itself. Read juror bios and look at the work those jurors make. If the single juror works in color field painting and you make cubist collage, your odds of surviving the quick sort are thin, and that is worth knowing before you spend the fee. Artists often tell me the opposite story too, that being the only person in the show doing what they do is what got them noticed.
Step 2: How to pick images that survive the eligibility filter
Put every candidate image in one folder with no favorites and no rejections yet. Then delete, quickly and without drama, anything the call rules out: wrong theme, wrong medium, not available to exhibit, outside the size range.
Expect to lose a third of the pool here. The point of the filter is that it runs on rules, not taste, so it does not require you to admit anything is bad. Apply the red flag check to the show while you are in the paperwork: a call that charges a per-entry fee and adds an image rights clause means accepting the fee may transfer reproduction rights to the organization, so read that clause twice. A deadline quietly extended twice, or a second call for entries, often means the first one did not attract enough people, which tells you something about the exhibition’s reach.
Step 3: Choose the strongest single work with a score, not a feeling
Score each remaining image 1 to 5 on five criteria, and keep the numbers rather than the impression. Concept asks whether the piece has an idea you could state in one sentence. Composition covers focal point, balance and whether the eye moves. Craft covers technique and finish at viewing distance. Relevance is fit with the call and with the rest of your body of work. Presentation covers framing, mounting and the quality of the image itself.
Add the scores, sort descending, and take the top candidates. Sentiment is the thing that ruins this stage, so remove it deliberately: you are not allowed to count an image higher because it took two years or because it is sentimental to you. If two pieces tie, the tiebreaker is the one that reads more clearly at thumbnail size, since that is how the juror first sees it.
For older work, keep your best rather than your newest, unless the call explicitly asks for recent work. New experiments belong in a different round, after a showing, not in a first jury where clarity wins.
Step 4: Build a cohesive set with one medium and one subject
A set reads as coherent when medium, subject and visual language hold steady. Mixing a bird series with landscapes in a single application is the single most common reason a strong portfolio gets passed over, and practicing jurors say the same thing in plain language, keep it simple, one subject this time.
Cohesion is not repetition. You can vary scale from small to large, move between a wide view and a detail, or shift viewpoint, as long as the palette, the mark-making and the subject stay consistent. Look at the set as thumbnails at actual submission size, not full screen. If one image looks like it came from a different show, pull it or shoot it again.
When the call sets a fixed count, the strategy shifts. With one image, submit the piece that represents your body most completely, not simply the most technically polished. With three, build a beginning, a middle and a variation, so no two read as duplicates. With five, add the two that widen scale or context rather than repeating what the first three already said.
Step 5: Decide whether installation or detail views earn a slot
An installation view earns its place when scale, spatial experience or site is part of the work, or when the call asks for a view of the work in the space. Otherwise it usually costs you a slot, because it carries more surroundings and less artwork.
Detail images are worth including when surface or process is the point, or when a textured piece photographs poorly at full frame. Shoot them square to the surface with even light, and keep the crop clean with no edges of other work in it.
Art fair applications are the exception that confuses everyone. Fair applications frequently want a booth or display shot, and they tell you so. That image shows how the work hangs and reads as a body on a wall, so a gallery owner can judge the display, while a jury looking at individual artworks wants the individual pieces. Check which application you are actually filling in before you shoot anything.
Step 6: Check technical quality against the requirements
Most rejections attributed to bad art are really file problems. Run this list in order.
- Resolution. Calls commonly ask for a minimum on the longest edge, often around 3000 pixels, with some demanding 6000 or more. Stay at or above whatever the call states, and never upscale a small file to reach a number.
- Focus and sharpness. Sharpen lightly if needed, but a soft source file cannot be rescued.
- Color. Shoot in even light with the camera perpendicular to the work, and reject any image with a hot spot, a glass reflection or a color cast. Save JPEGs in RGB; a CMYK file often displays with shifted color in a browser-based jury portal.
- Crop and framing. Cut the image to the artwork, square to the edges, with the work filling most of the frame.
- Format, size and naming. Most calls want JPEG at a quality setting that keeps files inside a size ceiling. Name files predictably, for example Lastname_01_Title.jpg, and match the title exactly to your application entry.
- Order. Put your strongest image last. Jurors first scan the set left to right and top to bottom, then come back through it right to left, so the final image gets read by an eye that is already primed to like what it saw.
If the work is on paper, on canvas or in a thin frame, a flat scan taken in good daylight is often cleaner than an on-the-wall photograph, because it removes perspective distortion and glare at once.
Step 7: Ask for a fresh review before you finalize
Show the final sequence to someone who has never seen your work, for thirty seconds, and then ask three questions: which image do you remember, which one is confusing, and does this read as one body of work? Their answers tell you where the set fails. The image they remember is the one that survived; the confusing one usually needs a better crop, a retake or an explanation in the statement.
Leave the set alone for two weeks if you can, then look again. Pieces you have stared at daily drift from strong to familiar, and distance restores the judgment you lost.
Finally, verify the whole package: labels or anonymity settings, captions and titles, artist statement length, file naming, dimensions, and the deadline in the time zone the call states. Upload early, because jury portals fail, and confirm that each accepted image corresponds to the right application entry.
Common Mistakes
Almost every avoidable loss traces back to one of these.
- Submitting every project you have. A full portfolio reads as indecision. Cut to the body that fits the call.
- Mixing subjects. Two unrelated series in one submission split your chances. Pick one.
- Artistic crops that cut off the work. Judge the composition, keep the object intact.
- Ignoring installation context when it matters. Add a view when scale or space is part of the work, and skip it when it is not.
- Trusting your own opinion alone. Use the scoring rubric, then the fresh reader, then decide.
- Inconsistent color treatment between images. One set, one look. Mismatched edits read as carelessness before a juror gets to the art.
- Assuming the thumbnail reads. Open your files at the smallest size the portal shows and check whether the subject is still identifiable.
- Skipping the technical section of the call. Wrong pixel count, wrong file size, wrong count, wrong name, automatic rejection.
Two habits help most. Keep a simple spreadsheet logging the show, the images you submitted and the result, so after a few rounds you can see which images actually get accepted instead of guessing. And treat one rejection as one juror’s opinion on one day. Acceptance rates at popular shows commonly run around one in five, which says more about the volume of entries than about your work.
Frequently Asked Questions
What makes an image stand out to a jury for a juried show?
Juries respond to clarity first. An image that reads instantly at thumbnail size, shows the whole work, has accurate color and no glare, and sits inside a set that looks like one deliberate body of work gets more attention than a technically flashier image with a distracting background. On top of that, a subject or approach that differs from the hundreds of similar entries in the queue tends to stick in memory.
Should I submit one image or a full image set?
Follow the count in the call for entry, since it is usually required rather than suggested. When a show asks for a single image, choose the piece that represents your body of work most completely rather than the most polished detail. When it asks for several, submit the exact number and no more; extra files are ignored or count against you.
How many images should I include in a juried show application?
Only the number the prospectus specifies, which commonly ranges from one to five. With one image, submit the representative piece. With three, build a beginning, a middle and a variation. With five, add images that widen scale or context instead of repeating what the first three already show. Installation and detail views count against the total unless the call says otherwise.
What resolution should my artwork images be for a juried show?
Use the minimum stated in the call, which is often around 3000 pixels on the longest edge and sometimes 6000 or more. Shoot or scan above that requirement and downsize for upload. Never enlarge a small file to hit a number, because the softness is obvious on a good monitor. Save JPEGs in RGB color mode so colors stay accurate in web-based jury portals.
Should I show artwork installed or only photograph the individual piece?
Photograph the individual piece unless the call asks for a view of the work installed. Add an installation view when scale, space or the experience of standing in front of the work matters to the piece, or when the application is for an art fair, where booth and display shots are often requested. Keep installed views on a plain wall, evenly lit, with the work filling the frame.
How do I choose images when I have several equally strong artworks?
Score them rather than agonize. Rate each image 1 to 5 on concept, composition, craft, relevance to the call and presentation, then sort by total and keep the top set. If two still tie, keep the one that reads more clearly at thumbnail size. Print small copies, tape them to a wall and rearrange them, since the pair that looks right side by side usually wins.
Start tonight, not the week the deadline is. Open the call, write down its image rules in plain sentences, and put your candidates in one folder. The eligibility filter takes twenty minutes and usually removes a third of the list before any opinion is spent, which makes the rest of the decision much easier.