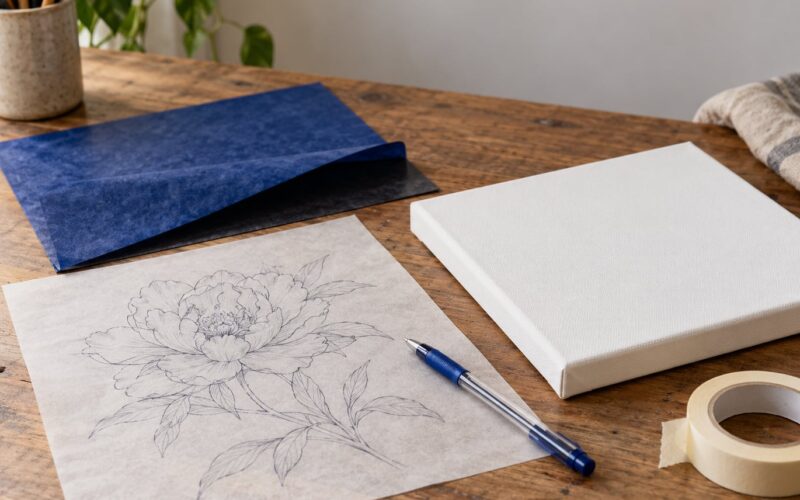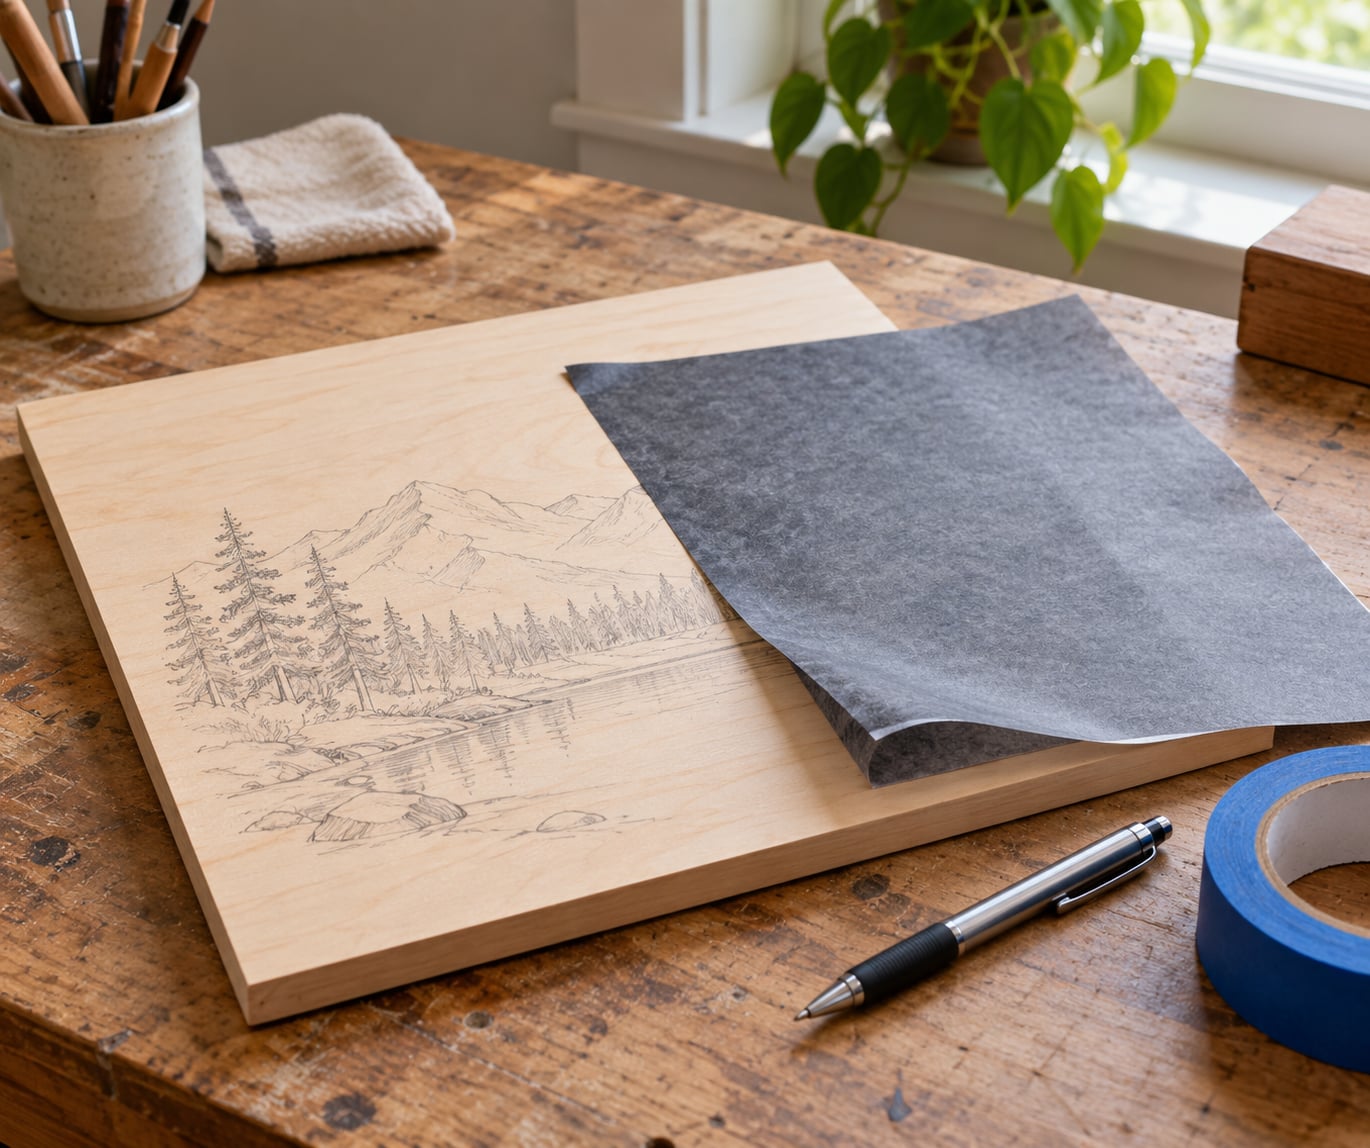
The easiest way to transfer a drawing onto wood is with graphite or carbon transfer paper. Tape the paper over your drawing with the coated side facing the wood, trace every line with a pen, and the pigment transfers onto the surface as a clean, erasable outline. It works well for wood burning, painting, and carving.
The whole job takes about 15 minutes once you’ve sanded the panel. The part that trips people up is choosing the wrong medium for the wood colour, or not telling a transfer paper apart from plain tracing paper.
Here are five methods that actually work, what each one is good for, and how to fix the mistakes that show up halfway through.
Table of Contents
- What You Need
- Transfer methods at a glance
- Step-by-Step: How to Transfer a Drawing onto Wood
- Choose the best transfer medium
- Prepare the wood and drawing
- Transfer the drawing with graphite or carbon paper
- Use tracing or pressure transfer
- Check and clean the transferred drawing
- Common Mistakes
- Frequently Asked Questions
- What is the easiest way to transfer a drawing onto wood?
- Can I transfer a drawing onto painted or stained wood?
- Should I seal wood before transferring a drawing?
- How do I make transferred pencil lines darker?
- How do I fix a smudged or uneven transfer?
- Can I use carbon paper instead of graphite paper?
- Conclusion
What You Need
The core kit is short, and most of it you already own.
- A sanded wood surface. Birch plywood, basswood, or a plain pine board, sanded to at least 220 grit and wiped with a damp cloth.
- Your drawing on regular paper, printed at 100% scale on heavier stock if the lines are fine.
- A transfer medium — graphite paper, carbon paper, or vellum, depending on the method.
- Low-tack tape like blue painter’s tape or a drafting tape that won’t tear the paper when you pull it off.
- A ballpoint pen, soft pencil, or metal stylus for tracing.
- A soft cloth or brush for sweeping off dust and eraser crumbs.
A few extras unlock the harder methods. A craft knife or awl gives you indentation transfer with no consumables at all. A spray mount holds the pattern down so you can carve straight through it. A sponge and a bottle of water handle wet transfer for photos.
Transfer methods at a glance
| Method | Best for | What you need | The line you get |
|---|---|---|---|
| Graphite paper | Line drawings on light woods, any project you may change your mind about | Graphite transfer paper, pen, tape | Soft, dark enough to see, wipes off with an eraser |
| Carbon paper | Detailed patterns on light woods when you want the line to hold up | Carbon paper, pen, tape | Dark and crisp, hard to erase |
| Ballpoint tracing | Bold shapes, lettering, simple patterns | Bleed-through-proof paper, ballpoint pen | Only lines you trace twice, no transfer sheet needed |
| Direct pencil pressure | Light layouts, wood burning practice, no paper on hand | 2H or HB pencil, a scrap sheet | Faint to medium, easily darkened later |
| Wet transfer | Photos and full-colour printed images | Laser print, PVA glue, sponge, water | Permanent, tinted, no line quality to speak of |
One note before you start: transfer paper is not tracing paper. Tracing paper is thin and unmarked, meant to sit over a drawing so you can see through it. Transfer paper has a coloured coating on one side that gives up pigment when you press on it.
Step-by-Step: How to Transfer a Drawing onto Wood
Choose the best transfer medium
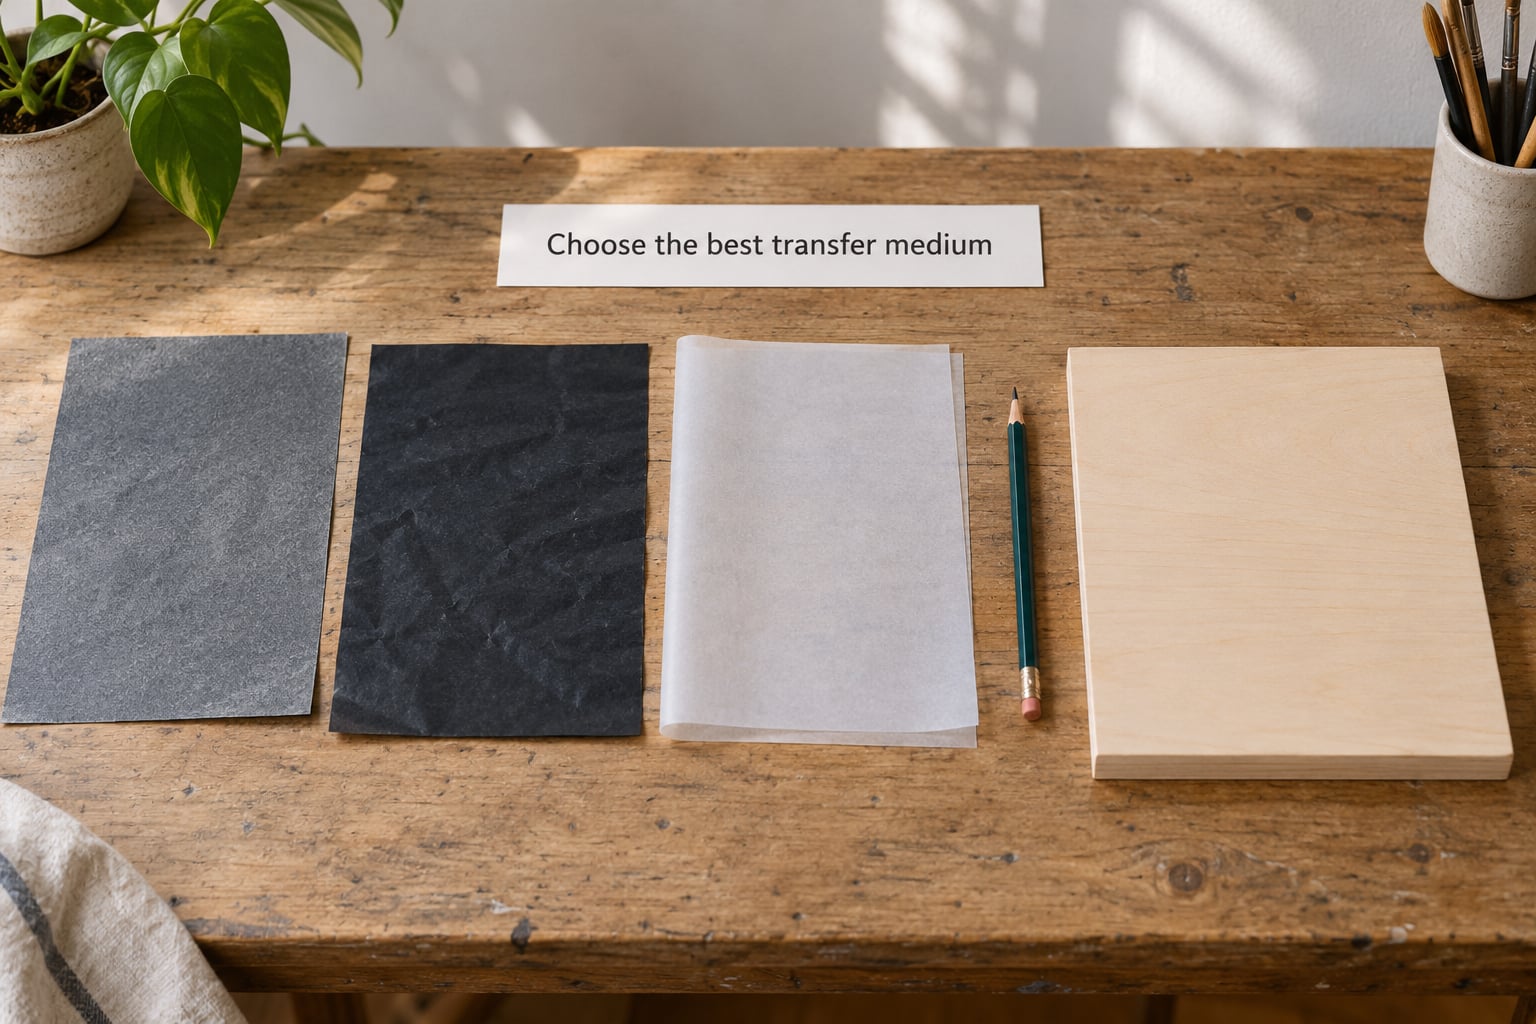
Match the medium to the line weight and to the colour of the wood. Any pencil line disappears into walnut or mahogany, while on basswood or butternut it stays clearly visible.
- Light woods — basswood, butternut, birch plywood, maple. Graphite or carbon paper both read well. This is where tracing paper also works, because you can see your original drawing through it.
- Dark woods — walnut, cherry, oak, mahogany. Use carbon paper for the darkest line, or paint a thin white base coat first so graphite has something to sit against.
- Delicate or small detail. Graphite paper. Its coating is softer, so it doesn’t build up and blob on tight curves the way carbon does.
- A finished painting rather than a guide. Trace the pencil line onto the wood first and erase it before you start laying in colour.
Wood burners mostly live on carbon paper, because a burnished carbon line survives handling and sanding better than graphite. A commenter on the ToolsForWorkingWood pattern transfer thread pointed out that non-wax graphite paper rubs off wood far more easily, which matters if you may need to adjust the layout after tracing.
Prepare the wood and drawing
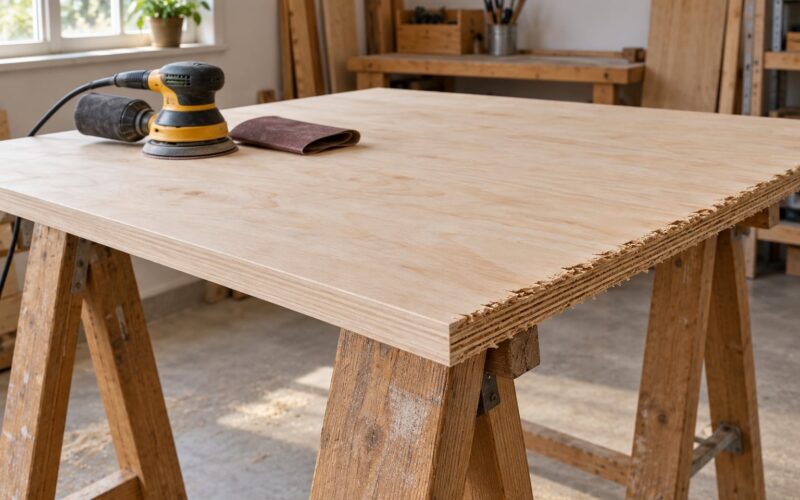
Preparation takes five minutes and decides whether the lines hold. Sand along the grain with 180 grit to knock down roughness, then finish with 220 for a surface your paper won’t catch on. Wipe with a damp cloth and let it dry fully.
Run a clean finger across the panel. Any grit, dust, or oily shine means the paper will slide and the transfer will skip. If the panel is planed smooth or finished with something glossy, scuff it lightly with 220 grit so the tape has something to grip.
Check your drawing too. If you’re transferring lettering or a symmetrical shape, remember that anything drawn on paper arrives on wood reversed unless you flip the sheet or use the reverse-tracing trick. Photocopy or photograph your drawing, print or draw it backwards, and trace normally to land the image right side round.
Transfer the drawing with graphite or carbon paper
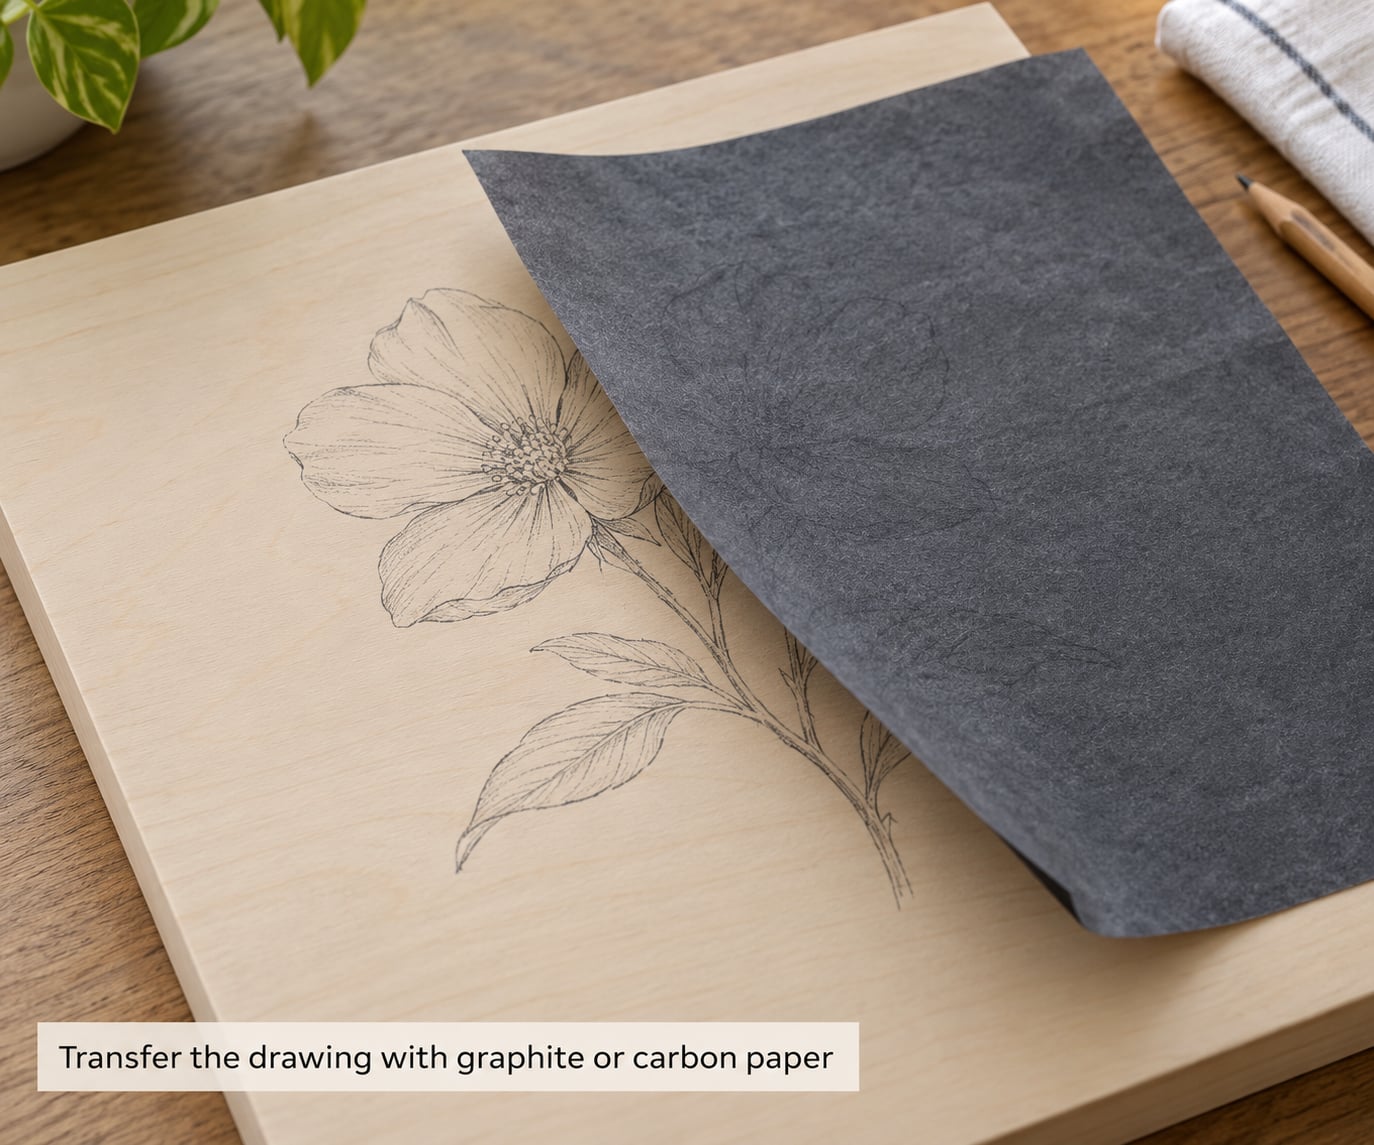
This is the method most people want, and the one that rewards a light hand.
- Cut the transfer paper to size. Leave about an inch of margin past the drawing on every side so you can tape without covering any line.
- Lay the drawing face up on the wood. Centre it and hold it in place with two short tape strips at opposite corners. Don’t tape across the middle.
- Place the transfer paper on top, coated side down. The coated side is the darker, shinier one. Peel back a corner, confirm the sheen is facing the wood, and lay it back down. Getting this backwards is the single most common mistake.
- Tape the edges down. Four sides of blue painter’s tape, pressed firmly along the whole edge.
- Trace with a ballpoint pen. Use a pen that writes on the paper without skipping — a dried-out ballpoint leaves gaps. Go over every line once at light pressure, then once more at medium.
- Check as you go. Lift a corner after a section to confirm the pigment is moving. Faint lines need more pressure, not more scribbling.
- Finish and lift. Trace the outer border of the design too, so you’ll know exactly where the edge sits.
- Remove the paper. Peel from one corner slowly, at a low angle, holding the paper rather than pulling straight up.
Carbon paper vs graphite paper: carbon gives a darker, more permanent line and won’t smear when you burn or paint over it. Graphite is softer, slightly easier to see, and erases off bare wood with a gum eraser. If you’re not sure, test both on a scrap of the same wood before committing.
Use tracing or pressure transfer
No transfer sheet? A few older techniques still do the job well.
Ballpoint tracing. Place your drawing on the wood and trace the lines directly with a ballpoint pen. Push firm and steady — you’re pressing graphite dust out of the paper and into the wood grain. Only lines you trace twice show up, which makes it good for bold shapes and lettering and poor for shading.
Direct pencil pressure. Put a scrap sheet over the drawing, secure both to the wood, and press hard with a 2H pencil straight down on the line. Lift the scrap and redraw the guide line on the wood in the same spot. This is the method wood burners use for practice pieces.
Stylus or awl indentation. Trace with a metal stylus or the point of an awl to incise the outline into the surface, then run a soft pencil along the groove to make it visible. It needs no consumables at all and it’s the cleanest option on curved surfaces, because a groove follows a form where flat paper bridges it.
On round or turned work, crumple a sheet of paper into a tight ball and unroll it slowly to soften the creases before you tape it down. That trick shows up often in carvers’ threads and it stops the pattern floating above the curve.
Check and clean the transferred drawing
Lift the paper and hold the panel at an angle to the light. Missing or patchy lines get one more pass with a soft pencil rather than a full re-trace, which smears the lines you already have.
Brush away eraser crumbs and loose pigment with a soft brush. If you need to erase, use a gum eraser gently and follow with a barely damp cloth — soaking the wood raises the grain and leaves a blotchy surface that paint and sealer will follow.
Hold off on sanding or wetting the panel until the design is finished. Every fix you do later is easier on a sealed surface than on bare wood, so if you’re carving, seal with a clear matte coat once you’re happy with the layout.
Common Mistakes
The lines smudge as soon as you touch them. You’re probably using carbon paper on a bare, unsealed surface, or going over the lines with graphite pencil afterwards. Rub a thin coat of clear matte sealer over the transfer and let it cure before you start.
The paper shifts while you trace. More tape, and put it on the edges rather than over the drawing. If you can’t get four clean edges, spray the back of the drawing with low-tack adhesive instead. Permanent glues like Super 77 bond too hard and leave residue you’ll fight for an hour.
The pattern tears in the middle of a carve. That’s a dull tool, not a bad transfer. Change the blade, and score a light centre line through the pattern before you start so any tear runs along the design instead of across it.
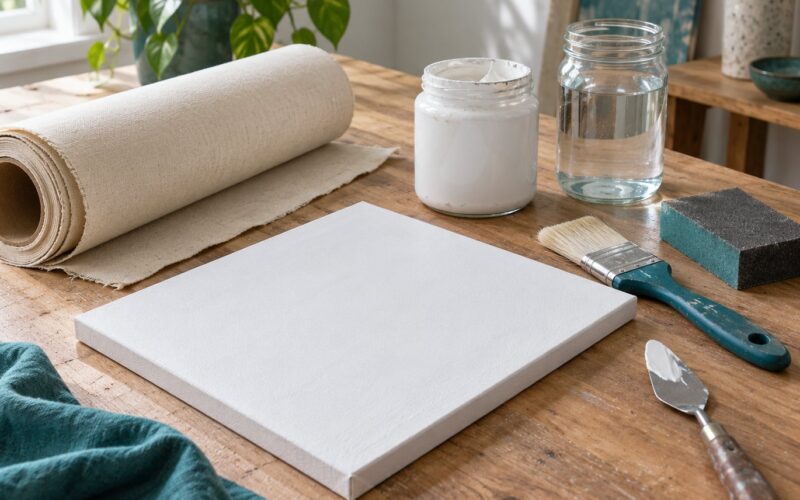
The lines come out too faint. Check the coated side is actually facing down, then press harder and trace twice. On dark wood, paint a white base coat and transfer onto that.
Everything came out backwards. The sheet was drawn in normal view and pressed down face up. Redraw or reprint it mirrored, or use the reverse-tracing method: coat the back of the original drawing with very soft pencil, lay it face down on the wood, and trace over the lines from the back.
Transfer paper marked areas you didn’t draw. The paper shifted once and smeared while it sat. Lift a corner every few lines to check, and tape down the side you’re working from last.
A few habits make transfers boringly reliable. Always test on a scrap of the same wood first. Keep your pressure light and even rather than pressing hard in spots. Read the grain before you pick up the tool — carvers on woodworkingtalk and lumberjocks all say the same thing, that a pattern glued down can hide the grain and lead you into a tear-out you didn’t plan for.
Frequently Asked Questions
What is the easiest way to transfer a drawing onto wood?
Graphite transfer paper is the easiest method for most people. Tape your drawing to the sanded panel, lay the coated side of the paper on top, tape the edges, and trace every line twice with a ballpoint pen. The coating gives up pigment under pressure, so you get a clean outline with no solvent, no printer, and no mess to clean up afterwards.
Can I transfer a drawing onto painted or stained wood?
Yes, but prepare the surface first. Glossy paint and stain are too smooth for paper to grip, so scuff the panel lightly with 220 grit and wipe it clean. On dark stain, the transferred line may be hard to see, so paint a thin white or gesso base coat and transfer onto that instead. Test on a corner you won’t see.
Should I seal wood before transferring a drawing?
For a temporary guide, no. Transfer straight onto bare sanded wood so you can erase and adjust the layout freely. Seal after you are happy with the design and before you start carving, burning, or painting, because a cured matte coat stops the line from smearing and protects the surface from any moisture you use later.
How do I make transferred pencil lines darker?
Trace each line a second time at firmer, steadier pressure, and use carbon paper instead of graphite. Graphite paper leaves a softer, erasable mark, while carbon holds a much darker line that survives sanding and sealing. If you are on dark wood, none of this matters much, so paint a white base coat and transfer onto that.
How do I fix a smudged or uneven transfer?
Sand the smudged area back lightly with 220 grit and retape the section rather than rubbing at it. If the transfer came out patchy, trace the missing lines again with a soft pencil rather than going back over the transfer sheet, which only smears what is already there. Wipe with a barely damp cloth and let the wood dry fully before sealing.
Can I use carbon paper instead of graphite paper?
Yes, and most carvers prefer it. Carbon paper gives a darker, harder line that stands up to carving and burning without rubbing away, which is why it is the standard choice for light woods like basswood and butternut. The trade-off is that it does not erase easily from bare wood, so only choose it once the layout is settled.
Conclusion
For your first project, use graphite transfer paper on a piece of basswood or birch plywood. Sand it, tape it down, trace twice, and you have a clean, erasable outline you can burn, carve, or paint straight from.
Next step: cut a scrap of the same wood and transfer the same drawing twice, once with graphite and once with carbon, so you can see the difference before it matters. Once you know which medium your wood takes, everything else here is just adjusting pressure.