To sew fabric onto a stretched canvas, cut the fabric 3 to 4 inches larger than the canvas on every side, lay it over the face, pull it smooth, and secure it with a whip stitch or running stitch around all four edges, then fold the excess around the stretcher bars and stitch it to the back. Expect 45 to 90 minutes for a small piece.
Most beginners make the same mistake: they cut the fabric to the size of the canvas, then wonder why the corners pull short. The fabric has to be generous enough to wrap the depth of the stretcher bars and still leave something to fasten to on the back.
The other thing people miss is that the stitching goes around the whole perimeter, not across the front. You are not sewing through the middle of your artwork, you are making a hidden frame of stitches around the edge, close enough to the canvas to hold it, far enough from the edge to leave a clean reveal of the fabric’s own border.
Difficulty is low, and you can undo almost anything. That reversibility is the real reason to sew rather than glue, especially for an heirloom quilt or anything you might want to take apart later.
Table of Contents
- What You Need to Sew Fabric Onto Stretched Canvas
- Step-by-Step
- 1. Prepare the Canvas and Fabric
- 2. Position and Temporarily Secure the Fabric
- 3. How to Sew Fabric Onto Stretched Canvas Without Puckering
- 4. Stretch Small Sections at a Time
- 5. Fold and Attach the Excess Fabric
- 6. Finish and Inspect the Attachment
- Common Mistakes
- Frequently Asked Questions
- What is the best thread for sewing fabric onto canvas?
- Can I sew heavy fabric or batting onto stretched canvas?
- Can I use a sewing machine to attach fabric to stretched canvas?
- Can I paint over fabric that has been sewn onto canvas?
- Is glue safer than stitching for attaching fabric to canvas?
- Conclusion: Start with a Small Test
What You Need to Sew Fabric Onto Stretched Canvas
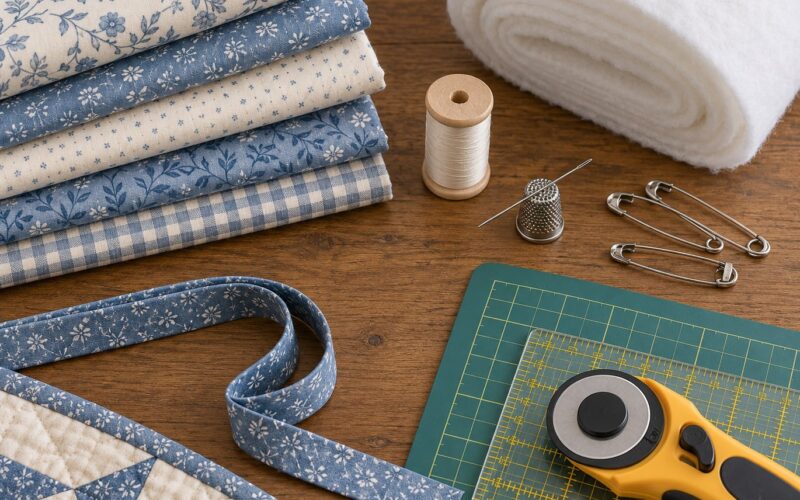
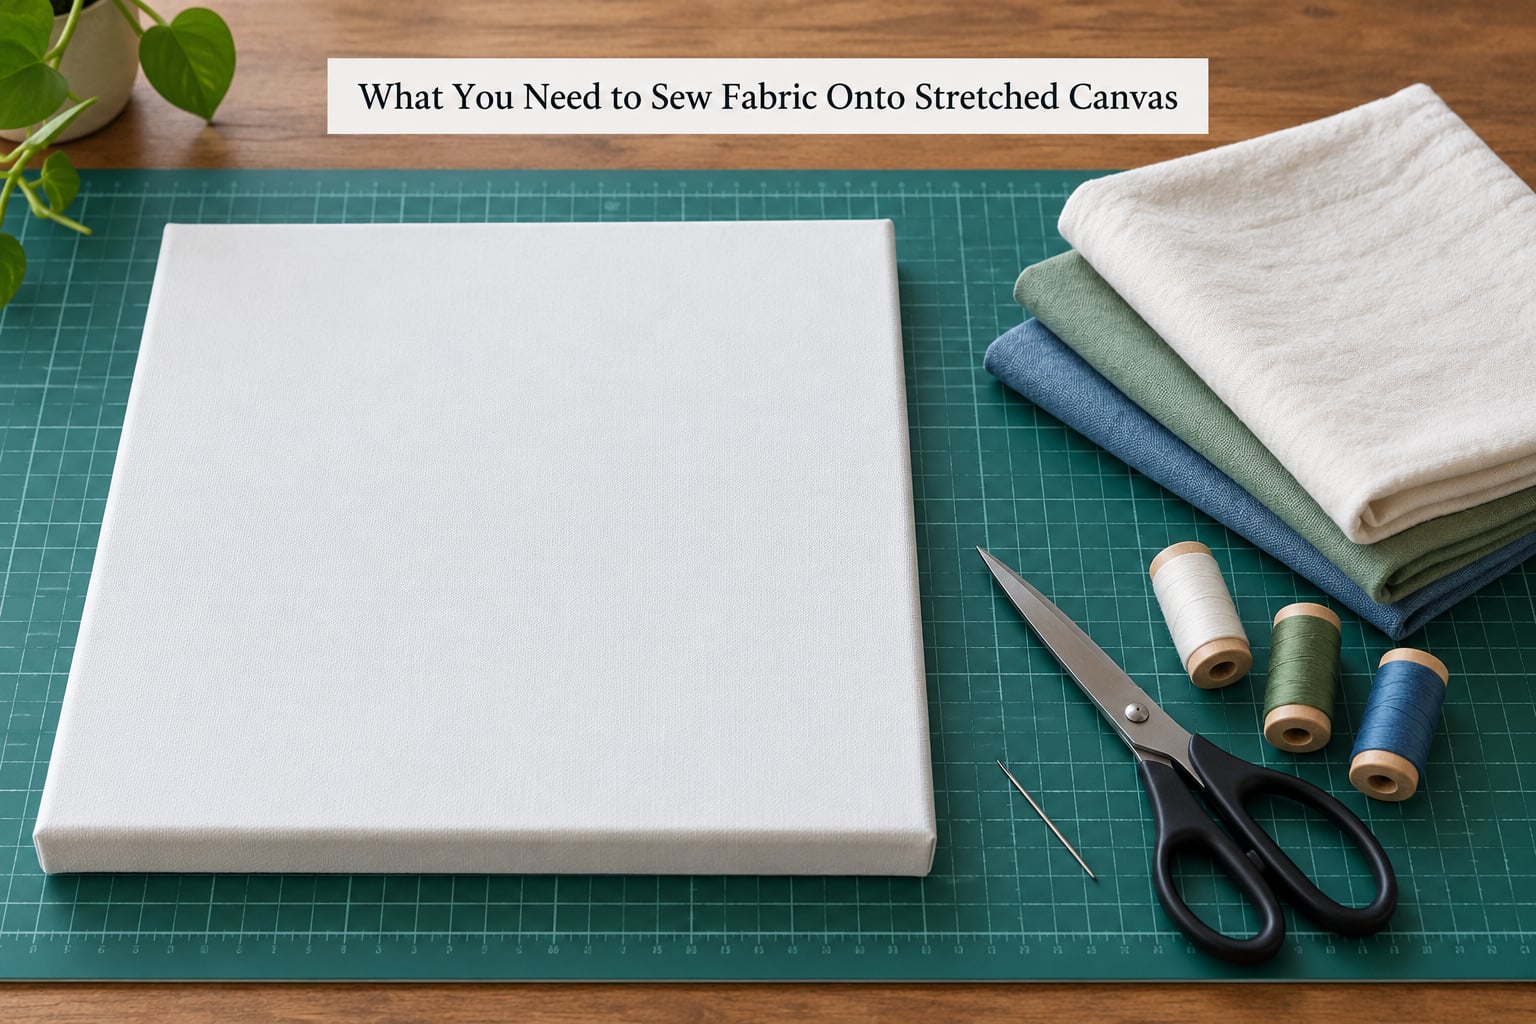
Gather these before you start. Nothing here is specialized, and most of it is already in a studio drawer.
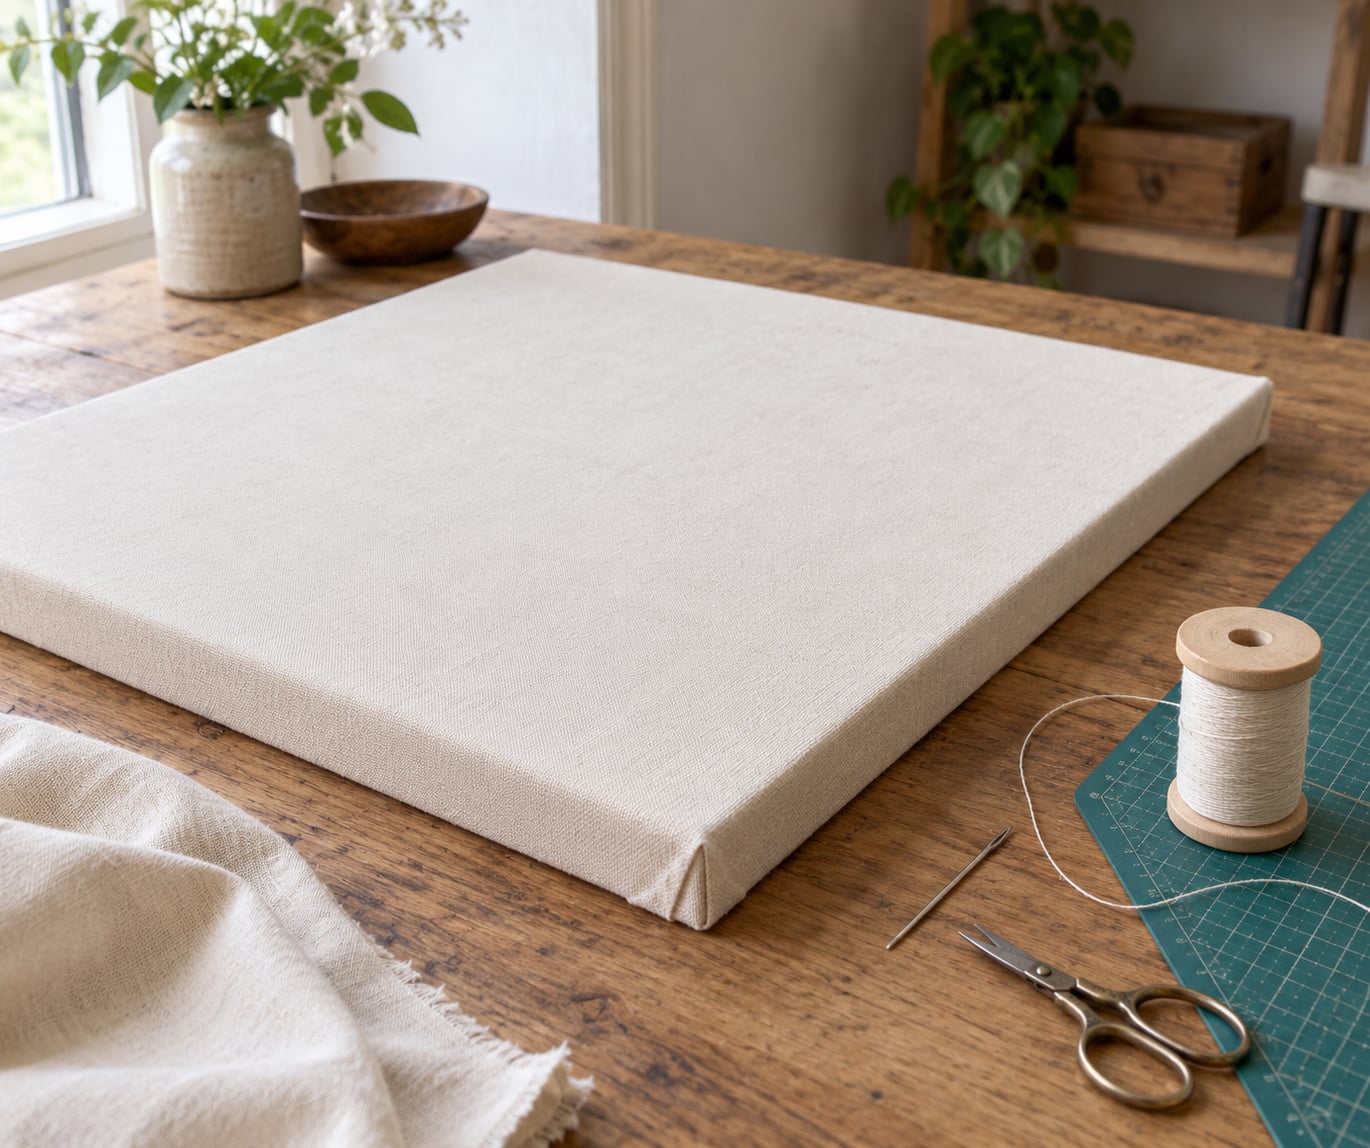
- A stretched canvas, already on its stretcher bars, inspected for loose corners
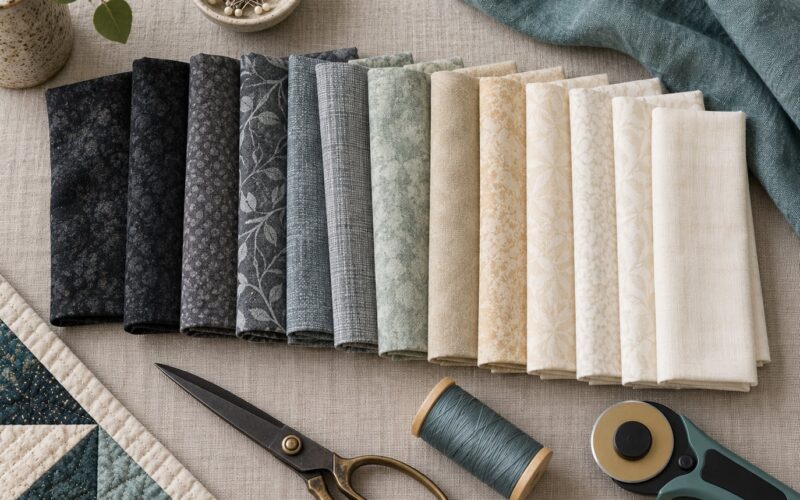
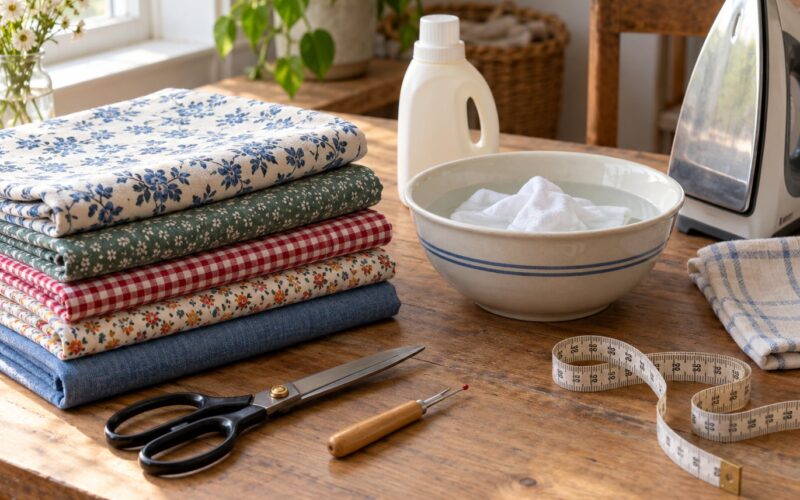
- Your fabric, washed and pressed first
- A blunt hand-sewing needle sized for the canvas weave
- Strong thread, heavier than you think you need
- Scissors or fabric shears
- Canvas clips, large safety pins, or removable basting tape
- A tape measure and a ruler for checking the 3 to 4 inch margin
- Optional: fusible interfacing for thin or slippery fabric
- Optional: an iron and pressing cloth if you plan to hem the fabric edges
Canvas depth and fabric weight change what you reach for. A shallow 3/4 inch gallery wrap canvas with medium-weight cotton behaves very differently from a deep 1.5 inch stretcher frame carrying upholstery-weight canvas. Here is how the three common weight ranges pair up.
- Lightweight cotton, voile, batiste: pairs best with a shallow wrap canvas at 3/4 inch depth. Use a blunt needle in size 1 or 2 and medium-weight all purpose thread.
- Medium cotton, muslin, cotton duck: works at any depth, including 1.5 inch frames. Move up to a blunt needle in size 3 to 5 with heavy duty bonded or upholstery thread.
- Heavy canvas, denim, quilt backing: belongs on deep stretcher frames and larger panels. Use a blunt needle in size 7 to 9 and upholstery thread or waxed linen cord.
Light fabric is the hard case, not heavy fabric. Thin material moves around and puckers, so test a small scrap with fusible interfacing behind it before you commit. For the record, we use a heavier needle than instinct suggests, and it still does not need to punch all the way through the stretcher bars.
One more thing worth doing: poke a line of pilot holes along your stitch line with a sharp awl or the point of a heavy needle. Sewing through taut canvas is hard work, and the pilot holes turn a wrestling match into a controlled stitch. Forum sewists mention this tip more than any other.
Step-by-Step
1. Prepare the Canvas and Fabric
Check the stretcher bars for splinters and dusty edges, and run your fingers along the inside corners. If a corner is giving, press it back in before you add fabric. A loose corner is the number one cause of a pocket that shows up six months later.
Wash and iron your fabric according to its care label. This is the step everyone skips and the reason half a canvas shrinks away from its stitching after a month in a heated room. Cut the fabric 3 to 4 inches larger than the canvas on each side. For a 16 by 20 inch stretched canvas, that means a cut of roughly 22 by 26 inches, which is enough to cross the face, wrap a 1.5 inch deep frame, and still give you a few inches to fasten on the back.
You can tell the fabric is ready when it lies flat with no ripples after a shake.
2. Position and Temporarily Secure the Fabric
Mark the center of the canvas face with a light pencil cross, then mark the center of the wrong side of your fabric. Match the two marks, and decide which direction the weave should run before anything is held down.
Work outward from that center toward the corners. That single habit prevents the drift that makes people end up with 2 inches of fabric on one side and a half inch on the other.
Hold the fabric with canvas clips, safety pins, or basting tape, working around all four sides. Adhesive basting dots work for lightweight material, though keep them off anything you plan to paint over later.
Before you stitch anything, stand back and look at the alignment. Check the grain, check that the marks still meet at the corners, and only then pull the edges until the fabric reads flat. Alignment is still fixable now, and it is a nightmare to fix after the first run of stitches.
3. How to Sew Fabric Onto Stretched Canvas Without Puckering
Puckering comes from pulling, not from the stitch itself. Keep your thread at an even, moderate tension, and let the fabric sit where you placed it rather than drawing it toward the hole.
The workhorse method is a whip stitch: push the needle from the back of the canvas out through the face about 1/2 inch inside the edge, pass through a few threads of the fabric without catching the canvas underneath, and bring the needle back out through the face. Repeat, spacing the stitches 1/2 to 3/4 inch apart around the perimeter.
For a running stitch, place the needle in and out of the fabric only, staying 1/2 inch inside the canvas edge, with a stitch length of about 1/4 inch. Faster to execute, less strong, and fine for a lightweight panel. Backstitch where you can.
On a machine, use a straight stitch of 10 to 12 stitches per inch with a walking foot, and test on a scrap piece first. Machine work on a frame is fiddly because the frame does not lie flat under the presser foot, so you will be turning the canvas in a circle, or working edge by edge. A narrow zigzag at a low setting gives a little give for fabric that might move with humidity.
You will know it is working when the front stays flat under raking light and your fingertip, and the stitches sit evenly with no gaps bunching up.
4. Stretch Small Sections at a Time
Long pulls are what create diagonal ripples. Work in 4 to 6 inch sections instead: hold a section taut, stitch across it, release the tension, move down a few inches, and repeat.
If the fabric wants to run with the grain rather than across it, let it. Canvas that hangs for years will relax slightly, and a stitch line forced against the grain fights that every season. Ease the fabric into place instead of stretching it into submission.
The sign of good section work is that the fabric reads as one continuous plane when you look at the canvas from an angle. A single bright ripple along one edge means that section needs another look.
5. Fold and Attach the Excess Fabric
Fold the top and bottom edges over the stretcher bars first, then the sides. Let the side flaps run over or under the top and bottom folds, depending on which you prefer, and keep the corner layers flat rather than stacked into a lump.
Trim the corner excess diagonally so there is no bulky triangle to build a ridge, then hold the folds down with a hidden running stitch or lacing stitch through the back of the fabric and into the bars. Small staples work here when the fabric is heavy and you will be covering the back anyway.
If you want the sides to read as a clean gallery wrap, tension the fabric before you fold. A hand pull at each side, then a clip, then a fold, gives you a side with no slack in it. Raw edges left exposed are a legitimate textile look, but they will fray and they will not hang perfectly flat.
Stitch every 1 to 2 inches along the folds, and add extra passes at each corner. Corners carry the whole load of the piece, and they are where sag starts.
6. Finish and Inspect the Attachment
Backstitch at the start and end of every run, tie off the thread, and trim the tails to a quarter inch. Snip or cover any knot that sits proud of the back surface.
Then inspect from both sides. Look at the front in raking light for ripples, look at the back for loose ends, and run a finger around all four corners to check the fabric is held with no gap. Gently tug each edge and let go, feeling for a spot that moves more than the others.
Missed areas show up as a soft dip along the perimeter. Uneven tension reads as a diagonal ripple crossing a face. Exposed canvas edges mean the fabric was cut short, and there is no fixing that short of unstitching. Check for all of it before you add paint, embroidery, or any surface treatment.
Common Mistakes
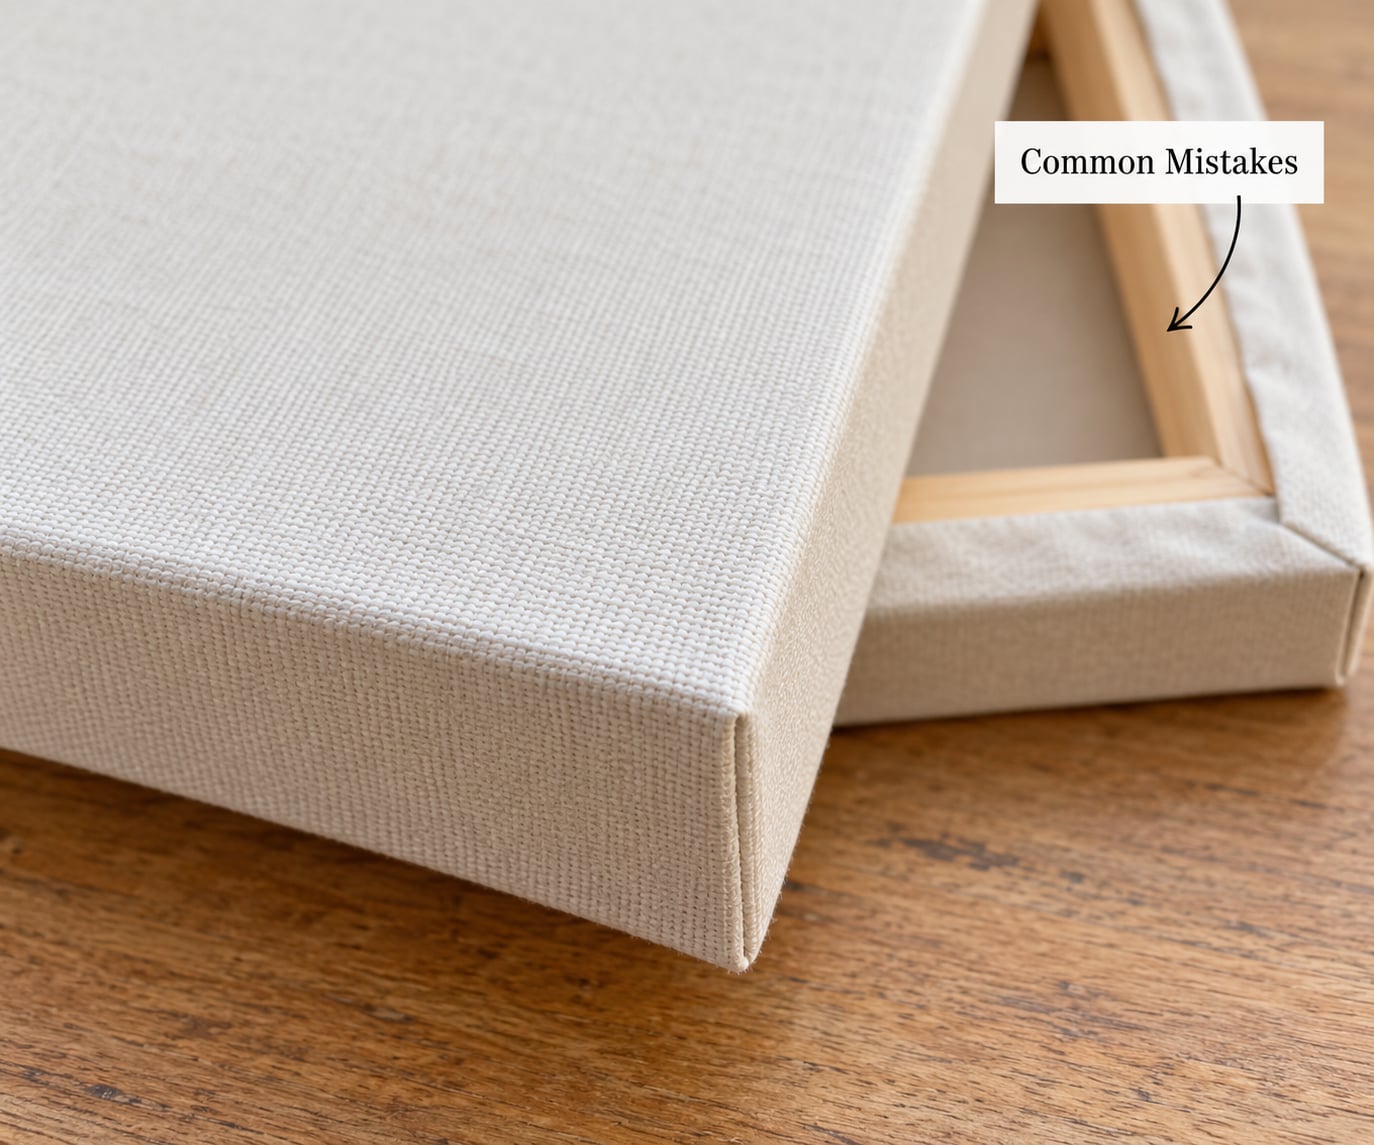
Almost every problem with this project comes down to tension, sizing, or preparation. Here is what goes wrong and what to do instead.
Pulling too tight. Over-pulled thread draws the fabric into gathers that cannot be smoothed out later. Stitch firmly instead of tightly, and check the front after every 6 inches.
Leaving it too loose. Slack fabric drifts, and drift is how corner pockets start. Before the first permanent stitch, tug each edge toward the frame and clip it there.
Skipping preparation. Unwashed fabric shrinks, and unpressed fabric carries creases that turn into permanent wrinkles. Wash and press before you cut.
Thread that is too light. Thin thread abrades and snaps under tension across a wide span. Upholstery thread or waxed cord holds a heavy panel for decades.
Sewing over your temporary fastenings. A clip, pin, or adhesive strip under the stitch line leaves a dent or a bald patch. Remove each fastener as you reach it, or place the basting line well inside the final stitch line.
Bulky corners. Four layers of fabric meeting at a corner is a mound you can see from across the room. Cut the excess diagonally, keep the layers flat, and double up your stitching there.
Testing one weight only. A practice scrap that is too thick tells you nothing about a thin panel. Run a test on the lightest and the heaviest fabric you plan to use.
For large pieces over about 24 inches, work in quarters rather than sides and clip the top edge to the frame to share the load. For heavy canvas, pre-pierce every hole with an awl. For machine stitching, keep the frame flat on a table instead of turning it in the machine, and back the seam with a strip of fusible web where the stitch line lands on the face.
Frequently Asked Questions
What is the best thread for sewing fabric onto canvas?
Heavy-duty or upholstery thread works best for most projects, because a single line carries the entire tension of the fabric across a wide span. Medium-weight all purpose thread is fine on lightweight cotton over a shallow frame. Waxed linen cord or heavy quilting thread suits deep stretcher frames and heavy canvas. Whatever you choose, test it on a scrap and pull hard before you commit.
Can I sew heavy fabric or batting onto stretched canvas?
Yes, but plan for it. Layer thin batting over the face first if you want a softer surface, and use a blunt needle sized for the canvas plus upholstery thread or waxed cord. Pre-pierce every hole with an awl so the needle is not forcing heavy material through a tight weave. Keep your stitch spacing at half an inch or less along the perimeter, and double your passes at the corners.
Can I use a sewing machine to attach fabric to stretched canvas?
You can, with a walking foot and a straight stitch of 10 to 12 stitches per inch, though hand stitching gives you more control on a frame that will not lie flat under the presser foot. Turn the canvas slowly and keep it on a table rather than in the machine bed. A narrow zigzag at a low setting adds give for fabric that moves with humidity. Test on a scrap first.
Can I paint over fabric that has been sewn onto canvas?
Yes, and mixed media work often depends on it. Paint the canvas first and let it dry completely before stitching, which keeps paint off the needle and prevents you from stitching through a tacky surface. Acrylic, spray paint, and thin layers of modeling paste all work on cotton. Heavy impasto can stiffen the fabric and fight the stitch tension, so build it up in lighter passes instead.
Is glue safer than stitching for attaching fabric to canvas?
Glue is faster and leaves nothing to snag, which makes it a good fit for a lightweight panel that will never be handled or washed. Stitching is stronger, fully reversible, and holds heavy material for decades, which is why it suits heirloom textiles and anything quilted. A quilting frame under the fabric plus fusible web handles most of the work, then the stitching only needs to secure the edges.
Conclusion: Start with a Small Test
Before you cut into the good fabric, take a 6 by 8 inch scrap stretcher and a 12 by 14 inch piece of your actual fabric. Sew one full edge with the thread and needle you plan to use, check the stitch spacing and the tension, and tug it hard. If that small test holds, you already know how to sew fabric onto a stretched canvas properly, and the full piece is just the same motion repeated four times.