Yes, you can screen print on fabric without a press. A car-style press does one useful job: it puts even, repeatable pressure on a flat platen. Everything else that makes a print look good — mesh count, stencil quality, ink choice and curing — you can do by hand. How to screen print on fabric without a press comes down to two things: keeping the screen from moving, and giving the ink enough time and heat to bond to the fiber.
Start with water-based ink on a light cotton tee or a canvas panel. Allow about two hours for a first session, and know that most of that is drying time you can walk away from. A hoop or cardboard frame costs almost nothing to build, which means a spoiled print costs you a piece of fabric instead of a piece of equipment.
Table of Contents
- What You Need
- Step-by-Step: How to Screen Print on Fabric Without a Press
- 1. Prepare the Fabric and Choose an Easy-to-Print Design
- 2. Make the Screen and Choose Water-Based Ink
- 3. Set Up a Stable DIY Screen Printing Surface
- 4. Load the Ink and Pull the First Print
- 5. Cure the Ink Without a Printing Press
- 6. Wash, Finish, and Repeat the Print
- Common Mistakes and How to Fix Them
- Frequently Asked Questions
- Can I screen print fabric with a regular iron?
- Is water-based screen-printing ink better for beginners?
- Do I need a printing press for fabric screen printing?
- How do I keep the screen from shifting or the ink from spreading?
- How do I screen print white or dark fabric without a press?
- How long should screen-printed fabric dry before washing?
- Conclusion
What You Need
The full list is short, and almost every item has a free or cheap stand-in. What you cannot skip is the mesh itself, some way to block out the design, ink, a squeegee or a flat edge, something to hold the fabric still, and a way to cure the ink.
- A screen. An embroidery hoop with sheer curtain fabric taped over it, a cardboard shutter frame, or a purchased frame with 110 or 230 mesh stretched in it.
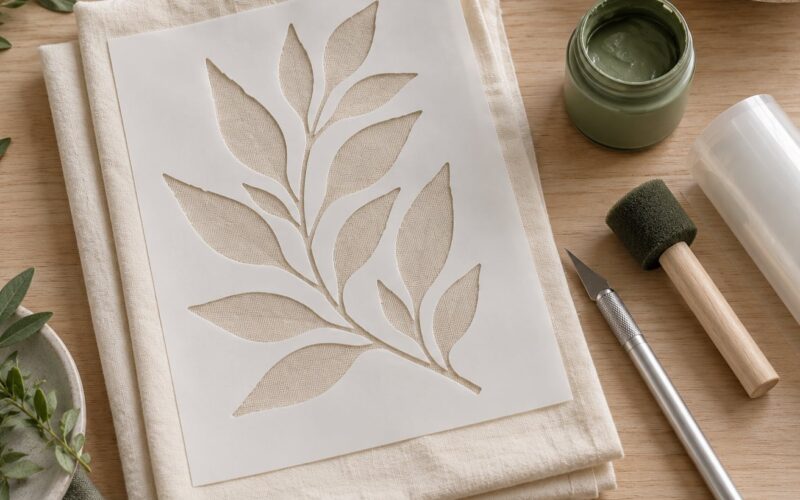
- A stencil or ready-made screen. Photo emulsion for a real exposure, or a Mod Podge and paper cutout, contact paper, or vinyl taped to the mesh.
- Water-based screen-printing ink. Look for ink labeled for fabric, not acrylic craft paint, if you want it to survive washing.
- Fabric. Light or mid-tone cotton jersey, muslin, cotton canvas and linen all print well. Dark fabric adds a white underbase step.
- A squeegee. A real screen-printing squeegee is ideal; a putty knife, the edge of a credit card or a folded piece of cardboard works for small runs.
- A stable work surface. A sturdy table, a flat board, two or more clamps, and low-tack tape.
- A cardboard insert for thin or stretchy fabric so ink does not bleed through to the back.
- A heat source. A domestic iron, a tumble dryer on warm, a heat gun, or a heat lamp, plus plain paper to protect the fabric.
- Protection. Cardboard and scrap paper under the work area, nitrile gloves, and a window cracked open for airflow.
Some substitutions work as well as the real tool and some do not. The table below separates them honestly.
| Item | What it normally is | Cheap or free stand-in |
|---|---|---|
| Screen frame | Aluminum frame with stretched mesh | Embroidery hoop with sheer curtain fabric; cardboard frame with a hinge strip |
| Stencil | Photo emulsion exposed to UV light | Mod Podge with a paper cutout, or vinyl and low-tack tape |
| Exposure unit | UV exposure box | Direct sunlight, a UV lamp, or an LED grow light held at a set distance |
| Squeegee | Rubber-bladed screen-printing squeegee | Putty knife, plastic card scraper, or a straight cardboard edge |
| Printing surface | Press platen or flat board with clamps | Kitchen table, a piece of plywood, a clipboard base, clamps at two corners |
| Heat press | Car-style clamshell press | Iron with paper, tumble dryer on warm, heat gun, heat lamp |
On ink, the choice matters more than any other decision here. Water-based ink cleans up with soap and water and stays soft in the hand, which makes it the most forgiving option for a home setup. Fabric paint works for art prints but is less durable on a garment. Plastisol needs sustained high heat that an iron cannot deliver reliably, so leave it for later.
Step-by-Step: How to Screen Print on Fabric Without a Press
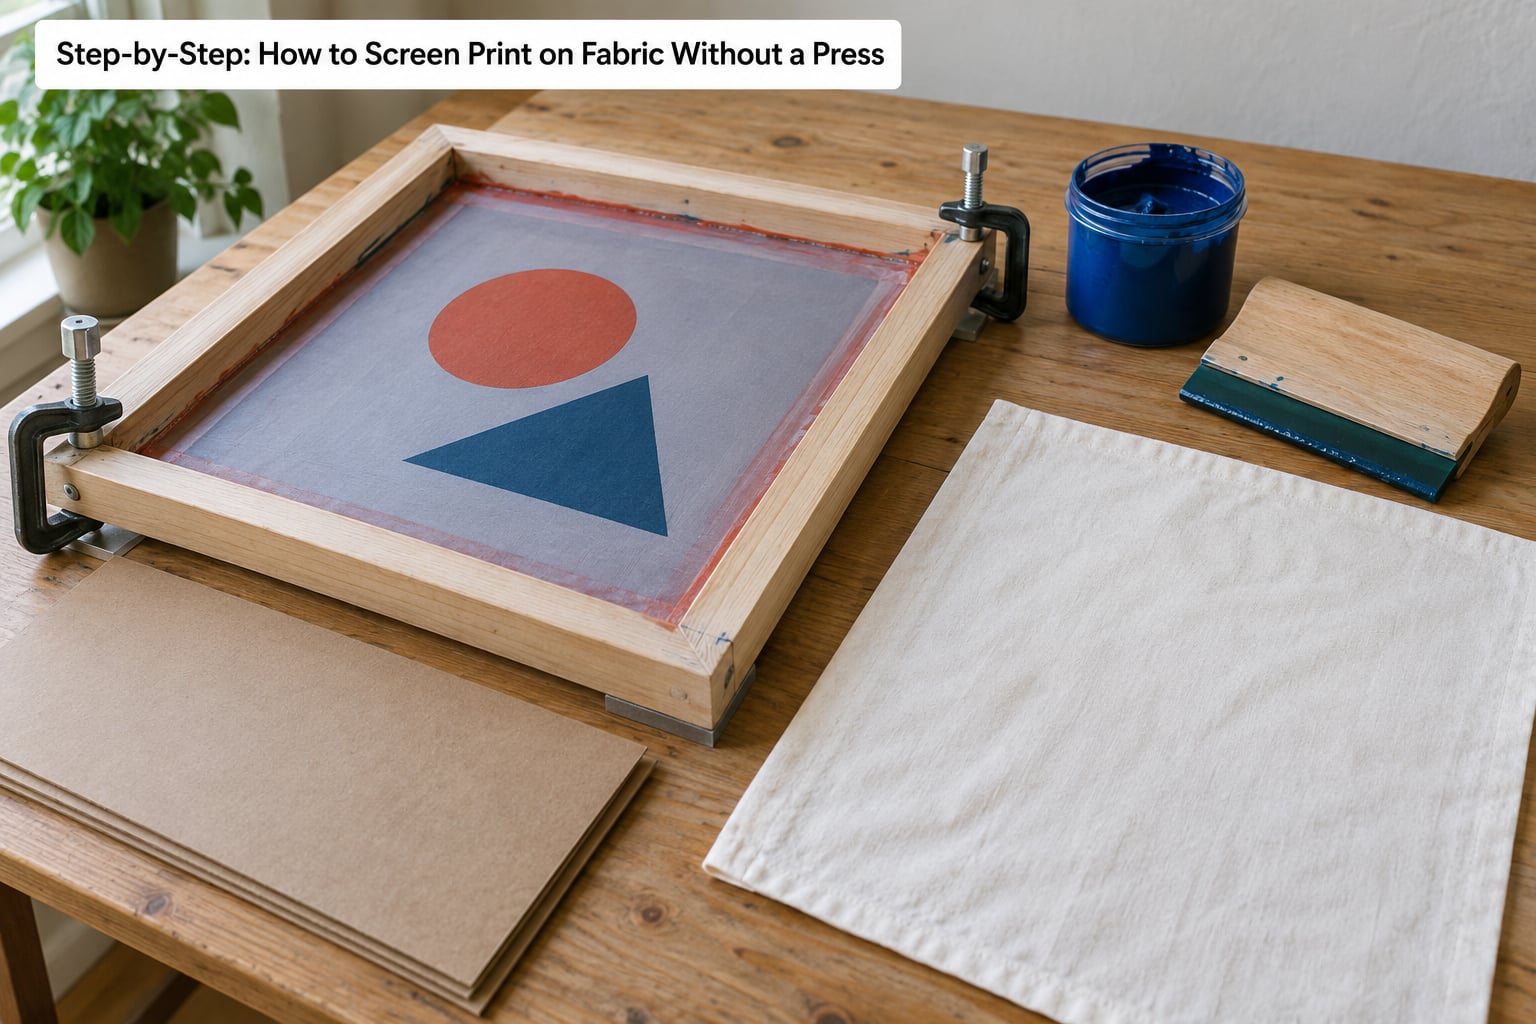
Six stages cover the whole process: prepare the cloth, build the screen, set the surface, pull the ink, cure it and wash it. Each stage has one obvious sign that it worked, and checking that sign is faster than fixing the print after the fact.
1. Prepare the Fabric and Choose an Easy-to-Print Design
Wash the fabric before printing, without fabric softener. Softener and sizing sit on the fibers and block the ink from bonding, which is the number one reason a hand-cured print peels off after a wash or two.
Iron the panel or tee flat and let it cool. Wrinkles turn into puddles under the screen, and a puddle is where ink pools and bleeds past your stencil.
Choose a design with big shapes and hard edges for your first run. Thin lines and small type need 230 mesh and steady pressure, while blocks and lettering look clean on 110 mesh. If you must print dark fabric, add an opaque white base layer and flash-cure it before the color goes on top.
2. Make the Screen and Choose Water-Based Ink
Three routes work without a press, and the cheapest is the hoop. Stretch a piece of sheer curtain fabric across an embroidery hoop, pull it tight and tape the edges, then block your design with Mod Podge and let it dry fully. That rig is genuinely press-free and cheap, and it is fine for single-color designs on small fabric pieces.
For a sturdier screen, build a cardboard frame and tape a hinge strip along one long edge. The hinge holds registration between pulls, which is the main advantage over a loose hoop. A purchased mesh screen is the third option and the most repeatable, especially for canvas and linen wall hangings where repeatability matters more than cost.
If you use photo emulsion instead, expose the coated screen under sunlight, a UV lamp or an LED grow light, then wash out the unexposed areas with a gentle jet of water. Dry the screen flat. Ink goes on thin enough that you can just see the fabric color through it, which is how you know the deposit is right.
3. Set Up a Stable DIY Screen Printing Surface
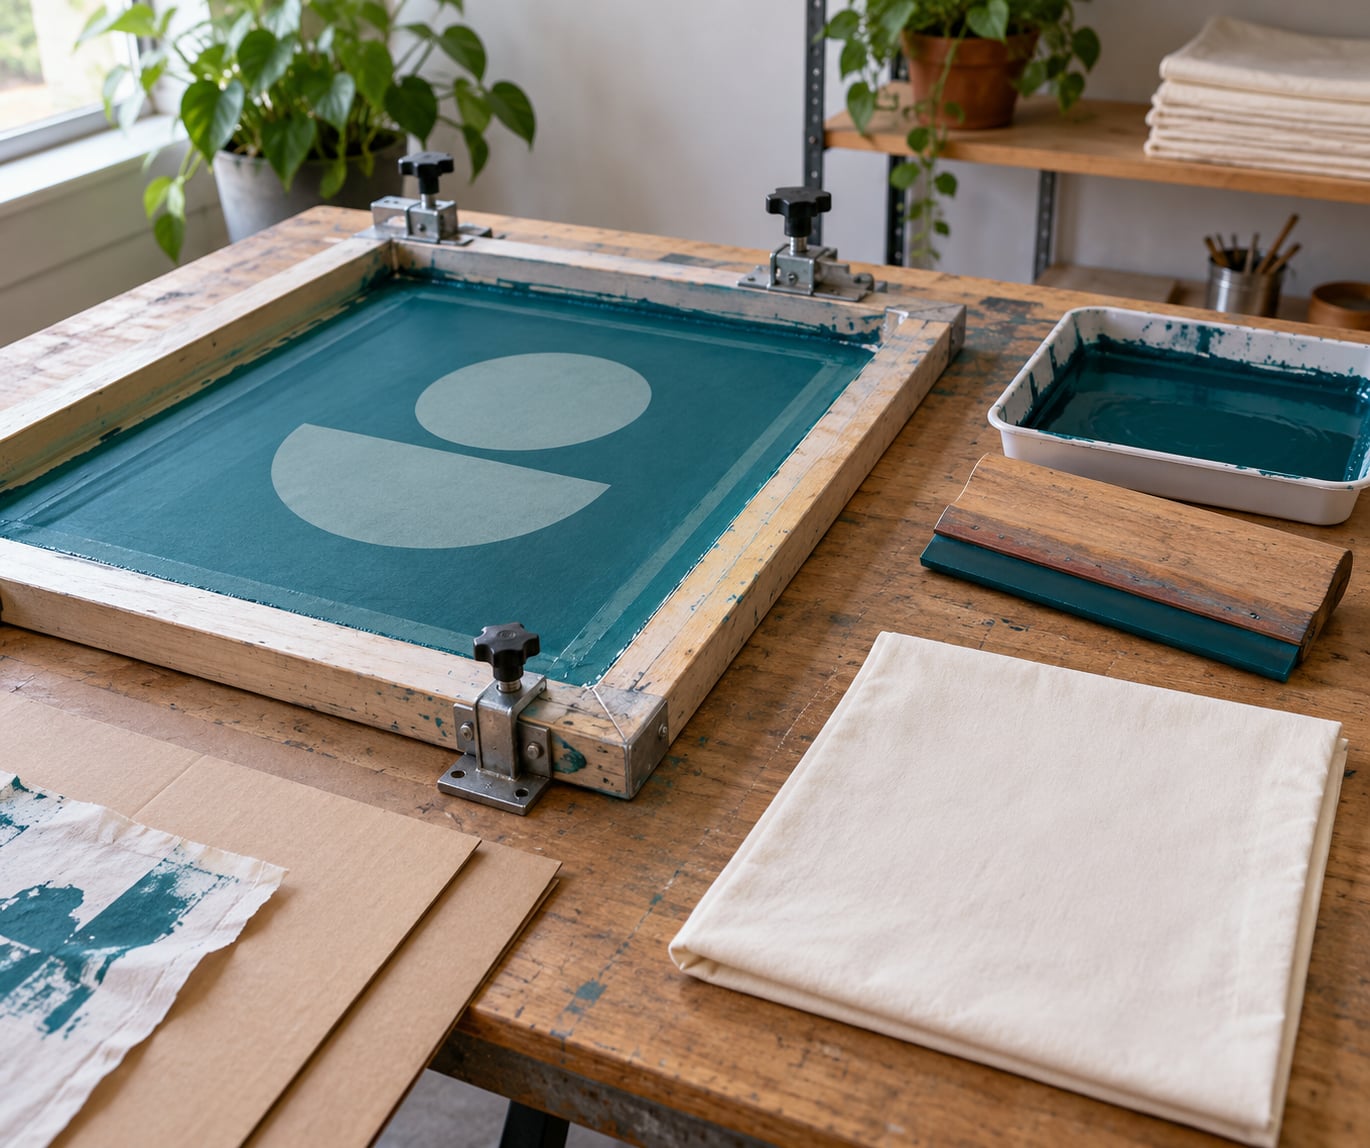
Screen movement is what ruins hand-pulled prints, so secure the screen before anything touches it. Clamp the frame or hoop to the table at two points on one side, leaving the opposite side free so it can hinge up and away.
Lay the fabric flat beneath the mesh, smoothing from the center outward. Cut a cardboard insert slightly smaller than the design and slip it between the front and back of a thin tee or muslin panel. It stops ink soaking through, and you get to reuse it a dozen times.
Decide where off-contact goes before you load ink. Leave a gap of about 1/16 to 1/8 inch between the mesh and the fabric. Too close and the ink spreads; too far and you lose contact and the print goes thin and patchy. Tape the fabric edges down, put scrap paper and cardboard under the work area, and only then pick up the squeegee.
4. Load the Ink and Pull the First Print
Scoop a strip of ink along one end of the mesh, about the width of your design and no wider. Too much ink is the single biggest cause of bleeding, so err thin and pull twice rather than flooding once.
Pull the squeegee toward you at roughly a 45-degree angle with firm, even pressure and one continuous motion. Pause briefly at the end so ink collects at the edge, then lift the screen straight up and away in a single smooth movement immediately after the pull.
You will know the deposit is even when the color matches your swatch and the coverage is solid with no streaks or bald spots. A streaky print means the squeegee pressure dropped halfway; a blotchy one usually means too little ink or too much off-contact. Print a scrap of the same fabric first and adjust before you touch the good panel.
5. Cure the Ink Without a Printing Press
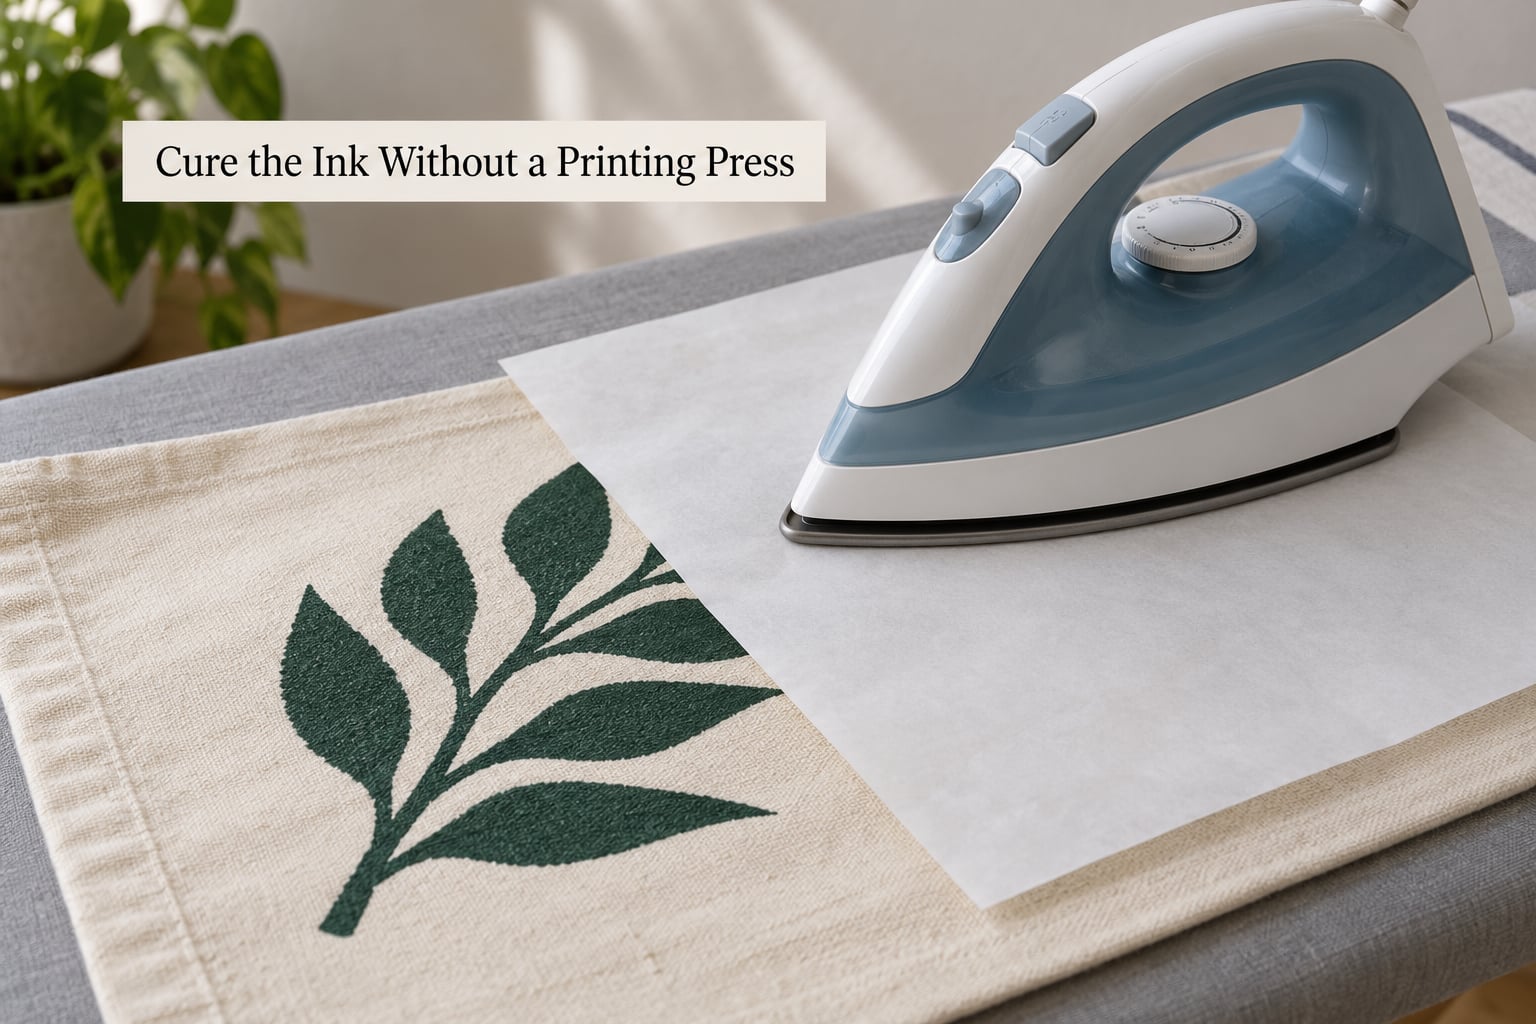
Curing is drying plus bonding, and water-based ink needs one or the other before it will survive a wash. Air drying alone works: give the print 24 hours in a ventilated room and it will set soft, though it wears faster than a heat-set print.
For heat, follow the temperature on the ink label first, since formulas vary. Many water-based inks cure around 320 to 350°F for 30 to 60 seconds. Put a sheet of plain paper over the print, iron with no steam, hold pressure, then lift and rotate the panel and repeat from the back.
Heat is safer and more even in a tumble dryer on warm with the print facing inward, or under a heat lamp for a few passes. A hair dryer alone rarely sets ink reliably because the airflow cools the surface faster than it heats it. Keep the fabric moving under an iron and watch for scorch marks on synthetics, and let the piece cool flat before you touch the print.
Ranked from lowest to highest heat, the methods are: air dry, heat lamp, tumble dryer on warm, hair dryer (unreliable), and iron or oven for the most durable result. An oven works for cotton canvas at low heat with the piece on a metal tray, but check the ink label first, because some inks are not rated for oven curing.
6. Wash, Finish, and Repeat the Print
Wait 24 to 72 hours before the first wash if you used heat, and a full week if you only air dried. Wash cold, inside out, on a gentle cycle, and skip the dryer, since heat cycling is harder on a cured print than most people expect.
Test one small corner under a cold tap before the full load. If any color lifts or feels slick, it was not fully cured and needs another iron pass. Properly cured water-based prints comfortably handle 20 or more wash cycles.
For a second color, flash-cure the first layer so it does not stick to the mesh, then register using tape hinges or paper flip marks before pulling again. Keep wiping the underside of the mesh with a damp rag between prints, because dried ink left in the mesh blocks ink and keeps the screen from laying flat.
Common Mistakes and How to Fix Them
Almost every bad hand-pulled print comes from one of six causes: a moving screen, too much ink, the wrong gap, weak squeegee pressure, an uncured finish or a dirty screen. Find the row that matches your symptom, fix that one thing, and print a scrap before retrying the good fabric.
| Problem | What causes it | Fix |
|---|---|---|
| Ghosting or a double image | Screen shifted while you pulled or peeled | Clamp the screen, hinge one edge, and lift straight up in one motion right after the pull |
| Ink spreading past the stencil | Too much ink or mesh too fine for the line width | Use less ink, print two light passes, and move to 110 mesh for solid areas |
| Thin or patchy coverage | Squeegee lifted mid-stroke, or the gap is too large | Pull at 45 degrees with steady pressure and reload ink mid-screen |
| Ink bleeding onto the back | Thin fabric with no support and too much ink | Add a cardboard insert between fabric layers and cut ink volume by a third |
| Print peels or cracks after washing | Ink dried but never cured | Iron per the ink label for the full dwell time, then test a corner under cold water |
| Print stays tacky | Curing was rushed, or the ink was not rated for the fabric | Give it another full heat pass and check that the ink suits canvas and linen |
| Mesh sagging or tearing | Over-stretched on a homemade frame | Stretch less, staple or tape along the full edge, and switch to a purchased frame for large work |
| Screen will not lay flat | Dried ink in the mesh | Wash out and dry the screen after every session; never leave ink to dry on the frame |
A few habits fix more problems than any single tool. Register your screen once and leave it taped in place for a whole run instead of re-aligning each time. Load ink in the same spot on the mesh every pull so your stroke starts where it ended last time.
Warm the fabric slightly with a hair dryer before printing and water-based ink lays down more evenly, because warm fibers accept it faster. Keep the ink sealed in a bucket between pulls with a thin film of water on top, since a skin forms that you can scoop off instead of a hard layer you have to dig out.
One more worth adding: for large art fabric such as canvas or linen, print oversized in sections and stitch the registration areas together afterward. A hoop rig is too small for wall-sized work, but a cardboard hinge frame on a floor-level sheet handles a canvas panel comfortably.
Frequently Asked Questions
Can I screen print fabric with a regular iron?
Yes, and for most water-based inks it is the best stand-in for a press. Set the iron to the temperature printed on the ink label, often 320 to 350°F, and use no steam. Place plain paper over the print, iron for 30 to 60 seconds, lift the fabric, rotate it and repeat from the back. Let the piece cool flat before washing.
Is water-based screen-printing ink better for beginners?
Usually yes. It washes out of your tools and hands with soap and water, has a soft hand feel, and cures at temperatures a household iron can reach. Fabric paint is fine for art prints but wears faster on a garment. Plastisol needs sustained high heat and a real flash dryer, so it is a second-stage ink rather than a starting one.
Do I need a printing press for fabric screen printing?
No. A press mainly supplies even pressure across a flat platen and lets you register repeat prints quickly. You can replace that with a clamped and hinged screen on a sturdy table, firm hand pressure on the squeegee and a cardboard insert under thin fabric. Expect more setup time per print and slightly less consistency than a press setup.
How do I keep the screen from shifting or the ink from spreading?
Clamp the screen at two points, tape the fabric edges down, and leave one side free to hinge up. Pull the squeegee once with steady pressure and lift the screen straight up immediately afterward, never sliding it sideways. Cut ink volume, keep a 1/16 to 1/8 inch gap between mesh and fabric, and print a scrap before the good panel.
How do I screen print white or dark fabric without a press?
Light colors on dark fabric need an opaque white underbase printed first. Flash-cure the white layer with an iron or heat lamp until it will not lift with a fingernail, then print your color over it, keeping both layers inside the same stencil. Keep white coats thin, since thick white ink stays stiff and cracks along fabric folds.
How long should screen-printed fabric dry before washing?
Wait 24 to 72 hours if you heat-set the print, and about a week if you only air dried it. Wash cold, inside out and on a gentle cycle, then skip the dryer. Test a corner under a cold tap first: if color lifts or the surface feels slick, the print needs another curing pass before it goes near a washer.
Conclusion
You can screen print on fabric without a press by replacing pressure with a clamped, hinged screen and replacing heat curing with an iron, a warm dryer or patient air drying. Start with water-based ink, one high-contrast design and a light cotton panel, print on a scrap first, and let the ink cure fully before the first wash.
Once a single color comes out clean, the next step is a white underbase on dark fabric, then a second color with registration marks. A purchased mesh frame becomes worth it at that stage, and for canvas or linen wall hangings it is worth it immediately.