How to stop acrylic paint cracking on canvas comes down to one thing: stopping the surface of the paint film from drying faster than the layer underneath it. Acrylic cures by evaporating water, so when the top skins over while the base is still moving, the tension between the two tears the film apart. Thin layers, a properly primed surface, controlled studio conditions and a flexible medium all fix that.
The good news is that most cracking is preventable, and a surprising amount of an already-cracked painting is salvageable. The bad news is that once paint has lost adhesion and started lifting, you cannot simply paint over the crack and walk away. It will peel later.
Work through the steps below in order, whether you are trying to rescue a finished piece or trying to stop a fresh one from splitting overnight. Allow a full afternoon for a repair on a small canvas, and a few days before you varnish anything new.
Table of Contents
- What You Need Before You Fix Cracking on Canvas
- Step-by-Step: How to Stop Acrylic Paint Cracking on Canvas
- Step 1: Identify Why the Paint Is Cracking
- Step 2: Prepare and Clean the Canvas
- Step 3: Rebuild Flexible Paint Layers
- Step 4: Prevent Future Cracking
- Step 5: Seal the Finished Painting
- Common Mistakes That Cause the Cracks in the First Place
- Frequently Asked Questions
- Can cracked acrylic paint be fixed without repainting the whole canvas?
- How long should acrylic paint dry before adding varnish?
- Does acrylic paint need a primer to prevent cracking?
- Why is my acrylic paint cracking even when I use thin layers?
- Is it safe to sand over cracked acrylic paint before fixing it?
What You Need Before You Fix Cracking on Canvas
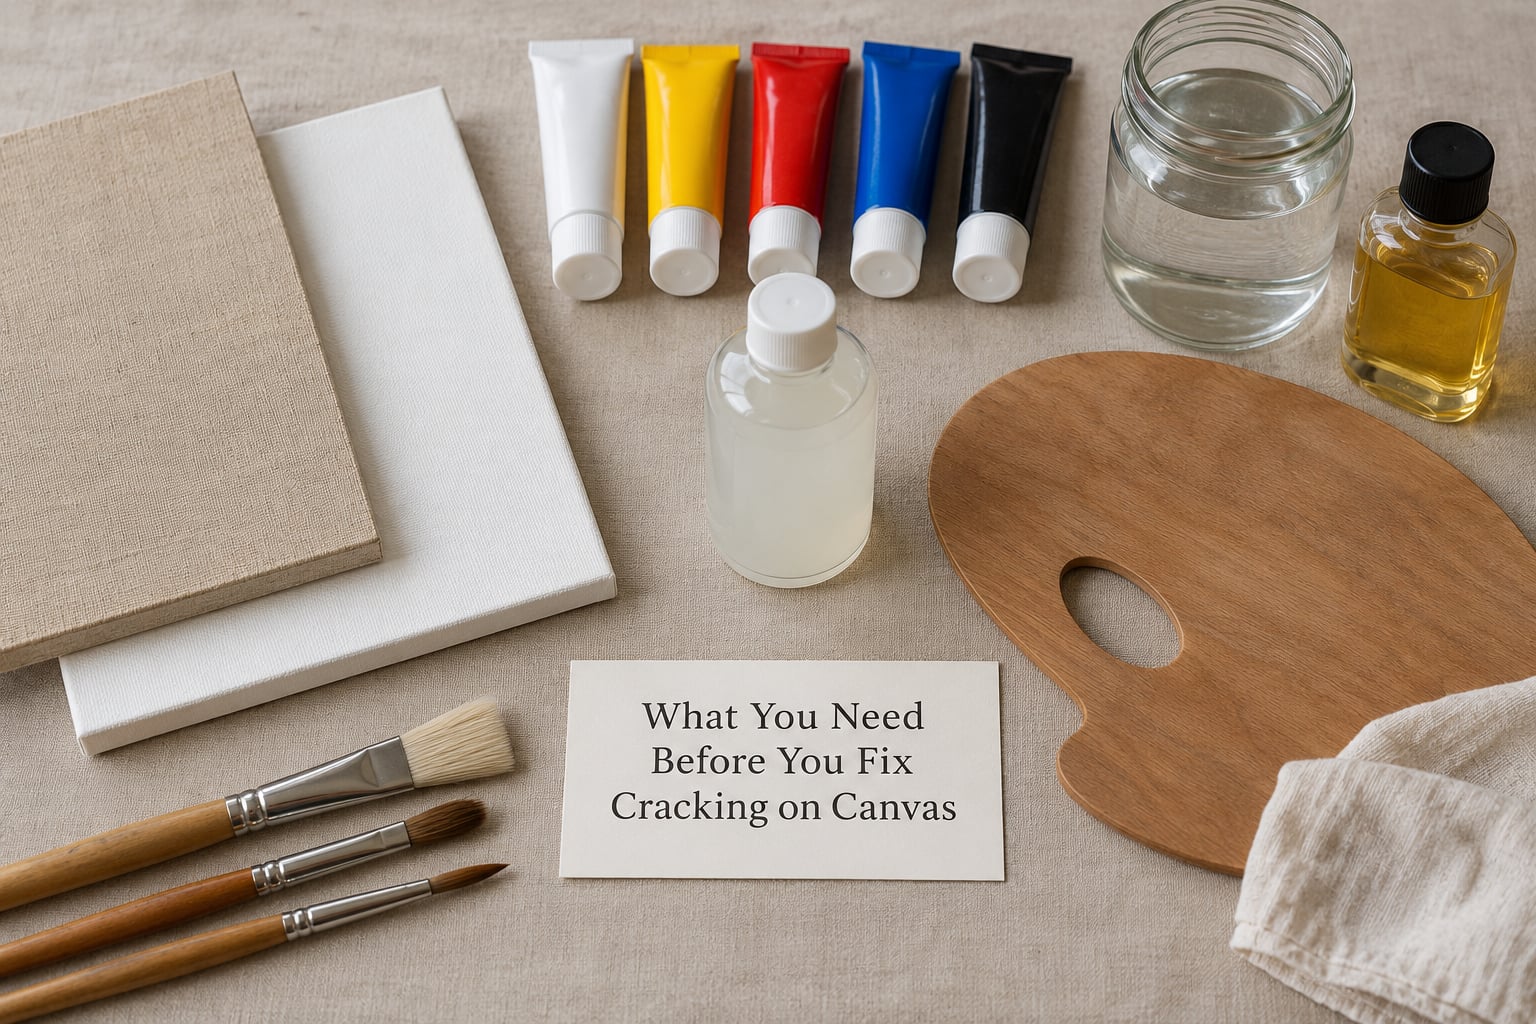
Most of what you need is already in a painting kit. The short list covers both jobs: preventing cracks on new work, and treating a painting that has already cracked.
- Stretched canvas or canvas panel in sound condition, with no soft dents and no flaking edges.
- Acrylic gesso or primer if the surface is raw, poorly sealed, or the existing ground is already cracked.
- Artist-grade acrylic paint for replacement coats. Cheaper student-grade paint carries less binder and a higher pigment load, which makes thick areas the first to split.
- Flexible medium or pouring medium such as a polymer emulsion used in acrylic pouring, or a gel medium. This adds binder back after thinning, which water alone cannot do.
- Soft flat brushes and a wide flat brush for laying thin coats without dragging.
- Water and a palette, used with a clear limit. Never thin acrylic with more than roughly 30% water.
- A water-based acrylic varnish, ideally a removable type, plus a clean synthetic brush for the final seal.
Optional, depending on the painting: a hairdryer on a cool setting for a thin panel, a spray bottle for misting the back of the canvas, fine sandpaper in the 400 to 600 grit range for prepping, and a pallet knife plus a non-abrasive sponge for lifting badly cracked paint.
You do not need a pouring medium for a conventional brush painting, and you do not need gesso if the canvas is factory-primed and intact. You do need medium or less water whenever you are diluting paint, because dilution without added binder is the single most common route to cracking.
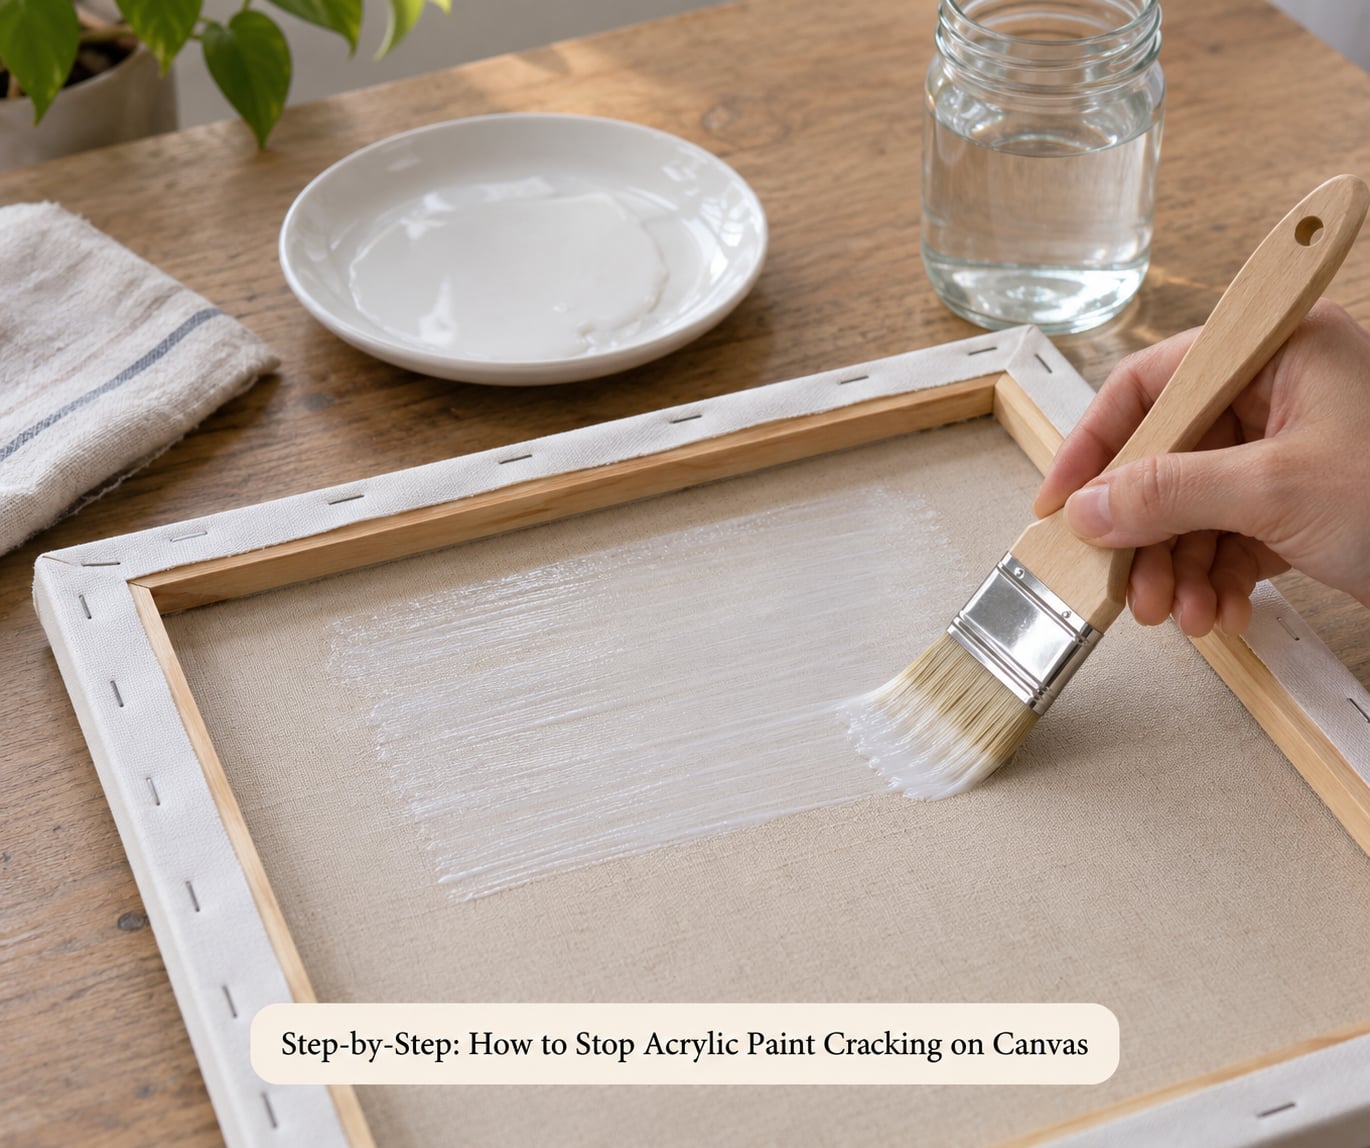
Step-by-Step: How to Stop Acrylic Paint Cracking on Canvas
Step 1: Identify Why the Paint Is Cracking
Cracks that appear while the paint is still wet or within a few hours of drying point to drying rate and film thickness. Cracks that show up weeks or months later point to canvas movement, storage conditions, or a varnish problem.
Work out which of the four patterns you are looking at before you touch anything:
- Surface crazing looks like a fine web of hairlines across the whole painting, with no paint lifting. It formed while drying, usually from a fast top and a soft bottom.
- Deep cracking runs in long straight or branching lines, often following thick passages. The film has torn but still sits flat on the canvas.
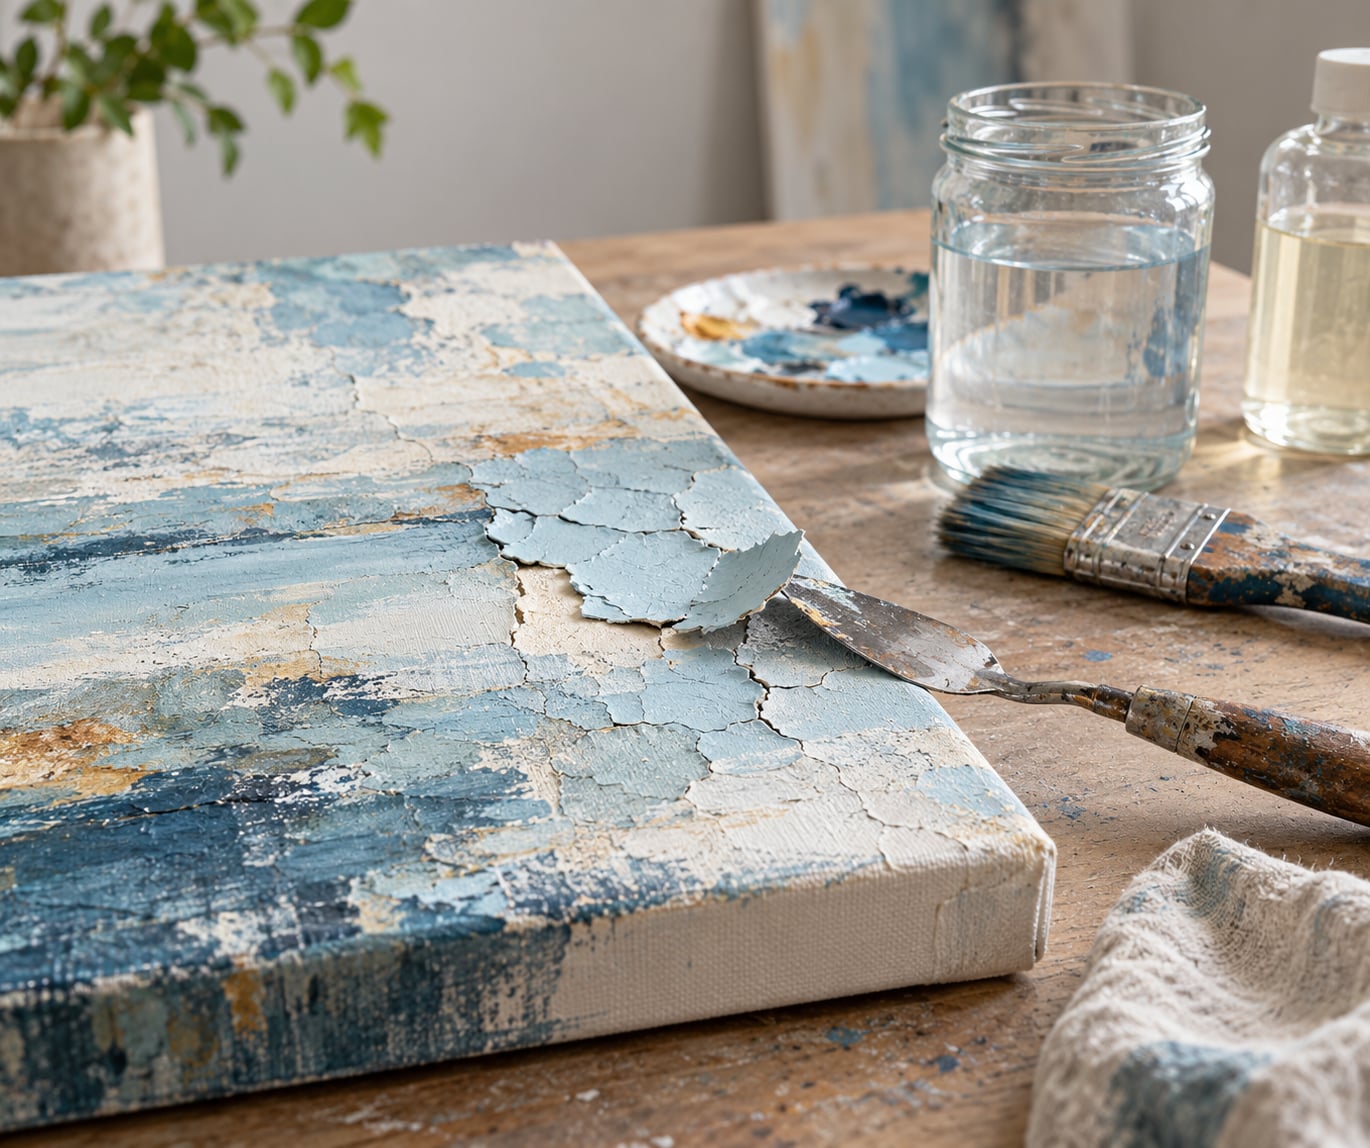
- Peeling or flaking means paint is lifting at the edges of the crack or in sheets. Adhesion is already gone in that area.
- Alligatoring is the cracked pattern inside a single thick, rubbery patch, where the paint split as it hardened into a leathery skin.
Also check the ground itself. Run a fingertip over the canvas in raking light: if the gesso is cracked, or if paint flakes away with the primer attached underneath, the problem starts below the paint film, not in it. That case needs a new surface, not a new coat of colour.
Step 2: Prepare and Clean the Canvas
Remove loose, lifting paint first, because anything you paint onto will trap it and freeze it in place. Let water float over the cracked area for about ten minutes to soften the edge, then lift the softened paint with a pallet knife and a damp non-abrasive sponge. Work from the outside of the crack inward and stop before you reach sound paint.
Do not sand aggressively. Light abrasion with fine sandpaper on stable paint is fine, but heavy sanding removes the tooth that the new layer needs, and it can chew through the primer. If the canvas has dents or raised fibres, press them down gently from the back and mist the reverse with a spray bottle so the weave tightens and relaxes evenly.
If the primer is bare, chalky, or cracked, apply a fresh coat of gesso and let it dry fully before going further. Most artists who pre-gesso their own canvases use one or two thin layers with at least a day between them, and that waiting time is the point. A stable, absorbent ground gives the paint something to hold onto; a weak ground gives it nothing, and the film carries all the stress on its own.
Step 3: Rebuild Flexible Paint Layers
Where the old film sits flat and only crazes, you can often paint into it. Where it lifts, you have to remove it, and there is no way around that.
For thin, sound layers, apply a fresh coat of your original colour mixed with flexible medium, following the direction of the existing brushwork so the repair disappears. Keep the coat thinner than the layer beneath it. If the original passage is heavy impasto, match it with a heavier bodied medium rather than a thin one, or the new paint will crack at the boundary.
Watch your water. Water loosens pigment and weakens the film without replacing the binder that holds it together. Stay under about 30% water in the mix, and use medium for the rest of the thinning. If the paint is too stiff to spread without thinning, warm it slightly in your hands or add a small amount of medium, not water.
Let each coat dry before the next. A touch-dry surface that still feels cool underneath is not dry, and stacking a second coat onto it locks the tension in. You will know the repair worked when the area no longer splits at the edges as it dries and a fingernail drawn across the seam finds one continuous film rather than a ridge.
Step 4: Prevent Future Cracking
Prevention is mostly about film thickness, drying rate and material compatibility. These are the habits that keep a paint film from ever reaching the point where it tears.
- Keep layers thin. Thick paint shrinks more as it dries, and the surface hardens long before the interior has finished moving. This is why cracks cluster in impasto, texture paste and cornstarch-thickened paint.
- Cap your water at roughly 30% and make up the rest of the thinning with a medium that adds binder.
- Use artist-grade paint for thick passages. More pigment with less binder means a stiffer, less stretchable film. White is especially prone, since it needs a high pigment load to look white.
- Control the room. Aim for 65 to 75F and roughly 50 to 75% relative humidity, and keep fans, air conditioning vents and radiators off the painting while it dries.
- Let each layer cure rather than rushing into the next one or the varnish.
- Mix in the right medium for the job. A levelling medium flows, a gel medium thickens and adds body, a retarder slows drying, and a pouring medium keeps a pour open long enough to level. They are not interchangeable.
- Test unfamiliar combinations on a scrap board first. Paint and medium mismatches show up as cracks within a day, which is a cheap lesson on a leftover panel.
- Stretch the canvas properly and keep it stretched. Slack fabric flexes with humidity and movement, and a rigid paint film sitting on flexible fabric will split along those shifts.
Step 5: Seal the Finished Painting
Varnish protects a cured film from dust, handling and light. It does not repair cracks, and it will not hold lifting paint down, so seal only after the surface is fully cured and stable.
Wait three to four days at minimum for thin work, and considerably longer for thick, textured or heavily poured paintings, which can still be curing internally after the surface feels dry. Test first: press a fingernail gently into an inconspicuous area. If it dents or marks, keep waiting.
Choose a water-based acrylic varnish for a straightforward seal, and a removable varnish if you may ever want to clean the surface or restore the painting. Apply it in thin, even coats with a clean synthetic brush, following the grain of the canvas, and let each coat dry before the next.
Be cautious with liquid varnish on a painting that already shows crazing. A brushed varnish is a thick, inflexible film of its own, and it can amplify cracks that are already there. A spray varnish lays down a thinner, more even layer and is the safer first coat on a compromised surface. Hairspray and decoupage medium are not substitutes for a proper varnish; they yellow, they stay tacky, and they trap moisture against the paint.
You will know the seal worked when the sheen is even with no dull patches, no brush marks, and no fresh cracks appearing in the days after varnishing.
Common Mistakes That Cause the Cracks in the First Place
Almost every cracked painting I have seen traced back to one of a handful of habits. Here they are with the fix.
Painting on raw or weakly primed canvas. Untreated fabric drinks the binder out of the first coat and the film has nothing to grip. Fix it with a proper gesso ground, applied thin and given a full day to dry between coats.
Thinning with too much water. Water carries pigment but no binder, so a diluted film dries loose and brittle. Fix it by staying near the 30% limit and replacing the rest of the volume with a medium.
Pouring or loading paint too thickly. A heavy layer skins over while the interior stays wet and mobile. Fix it with thinner passes and more of them, and a medium that keeps the paint flowing rather than setting.
Airflow across a wet painting. A fan or an air conditioning vent strips moisture off the surface and dries it far faster than the layer beneath, which is the classic overnight cause. Fix it by moving the work out of the draft, or by adding a retarder to slow the set.
Painting directly over a crack. New paint will not bond to a surface that has already lost adhesion, so the repair lifts and flakes later. Fix it by removing the loose film first, then rebuilding thin.
Sanding too hard before repairing. Aggressive sanding cuts through the paint and into the primer, and the new layer has nothing stable to sit on. Fix it with light abrasion on sound paint only, and a fresh ground if you went through to bare canvas.
Sealing too early or with the wrong varnish. Varnishing a film that is still curing traps moisture and locks in internal stress. Fix it by waiting the full cure, and by choosing a water-based acrylic varnish rather than a heavy brushed layer over a surface that is already compromised.
Stretchy paint over an absorbent surface. Paint thinned with water will follow the movement of slack fabric. Fix it by re-stretching the canvas, misting the back so the weave relaxes, and letting it dry flat under even tension before painting.
Storing finished work in a hot car, cold attic or damp garage. Heat and cold cycles flex the panel while the film is set, and damp invites mould into the canvas. Fix it by storing upright, wrapped, in a climate-stable room, and never stacked flat against wet or freshly varnished surfaces.
Frequently Asked Questions
Can cracked acrylic paint be fixed without repainting the whole canvas?
Usually yes, if the paint is still flat and adhered. Clean the area, apply a thin coat of your colour mixed with a flexible medium, and let it dry fully before varnishing. If the cracked paint is lifting, flaking or coming away in sheets, the adhesion is gone and the loose film has to come off first. Deep cracks through heavy impasto can sometimes be filled rather than repainted, but the repair is always more visible than the original surface.
How long should acrylic paint dry before adding varnish?
Wait at least three to four days for thin work, and much longer for thick textures, impasto or acrylic pours, which cure from the inside out. A touch test helps: press a fingernail into a hidden corner, and if it dents or marks the surface, the film is not ready. Varnishing early traps moisture and locks drying stress into the layer, which is exactly what causes the cracks you were trying to prevent.
Does acrylic paint need a primer to prevent cracking?
A stable ground helps, though it is not what stops cracks on its own. Factory-primed canvas is usually enough, and unprimed canvas or raw fabric is a common cause of peeling because it absorbs the binder out of the first coat. If you prime your own canvases, use one or two thin gesso layers with a full day between them. The primer supports adhesion; film thickness, water level and drying rate are what actually cause the split.
Why is my acrylic paint cracking even when I use thin layers?
Check three things in order. First, the water level: more than roughly 30% water thins the film without adding binder. Second, airflow: a fan or vent drying the surface faster than the layer beneath causes most overnight crazing. Third, the paint itself, since lower-grade paint has less binder and a higher pigment load, and white is the most prone of all. If cracks still appear, add a flexible medium to every coat rather than water.
Is it safe to sand over cracked acrylic paint before fixing it?
Light sanding on paint that is flat and firmly attached is fine, and it gives the repair something to grip. Stop immediately if the paint starts to powder, lift or come away with the sandpaper, because that layer has already lost adhesion. Never sand aggressively: you can cut through to the primer or the raw canvas, and then you are facing a new gesso job. Lift loose flakes with water and a palette knife first, then abrade only what stays put.
Start by identifying which crack pattern you are dealing with, because that single check decides whether you clean and repaint, or strip back to the ground. After that, the habits that keep the film intact are simple to keep: thin layers, no more than about 30% water, medium for the rest of the thinning, airflow pointed away, and a proper seal three to four days in. If the paint is already lifting in sheets, remove it rather than painting over it, and you will save yourself a second failure later.