To thin acrylic paint for fabric, use water for a quick adjustment and a fabric or textile medium when the finished piece needs to stay soft and survive washing. Add the liquid a small amount at a time, always test on a scrap of the same cloth, and never go past a paint-to-liquid ratio of about 1:1 without a medium in the mix. It takes about five minutes per test batch, and the skill is easy once you learn to read the flow.
The reason this trips people up is that thinning is not one decision, it is two. There is the liquid you add, and there is how much of it you add. Get the amount wrong and you dilute the pigment, the color goes pale and chalky, and the dried film turns brittle no matter how careful you were at the end.
I teach this in a studio where half the class is painting denim and the other half is stenciling drop cloth curtains, and the same three checks decide most outcomes: flow on the scrap, coverage on the first pass, and whether the dried swatch bends without cracking.
Table of Contents
- What You Need
- Essential supplies
- Useful but optional
- How to Thin Acrylic Paint for Fabric Step by Step
- Test the Paint on Scrap Fabric
- Add Water or Acrylic Medium in Small Increments
- Choose the Thinner for the Fabric and Finish
- Check Flow, Coverage, and Drying
- Apply and Seal the Thinned Paint
- Common Mistakes
- How to Thin Acrylic Paint for Fabric Without Making It Run
- Bleeding on absorbent cloth
- Bleeding on tightly woven cloth
- Weak or patchy coverage
- Color shift and chalkiness
- Clumping and thick spots
- Excessive sheen or a sticky film
- Frequently Asked Questions
- What is the best liquid for thinning acrylic paint on fabric?
- How much water should I add to acrylic paint for fabric?
- Can I use fabric softener to thin acrylic paint?
- Will thinning acrylic paint with water make it fade or peel?
- How do I fix acrylic paint that has dried in the bottle?
- Should I seal acrylic paint on fabric after it dries?
- Conclusion
What You Need
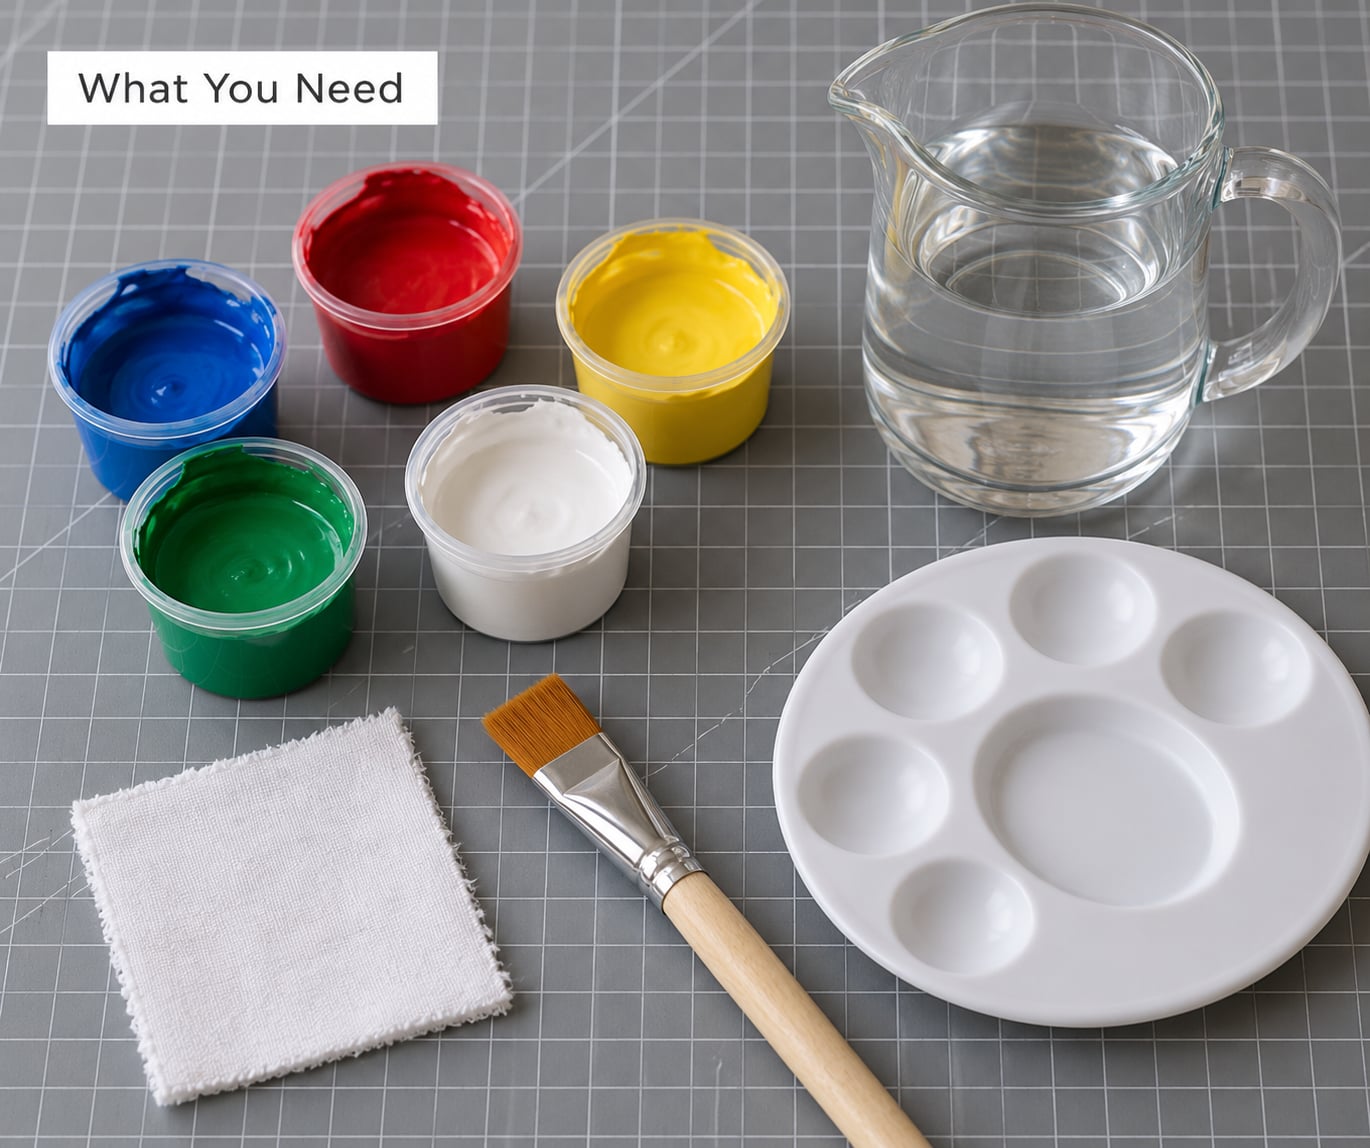
Four things are essential and the rest depends on the project. Skipping any of the essentials is where stiff, patchy results come from.
Essential supplies
- Your acrylic paint. Craft acrylic, heavy body acrylic and student-grade acrylic all thin, but heavy body holds its shape longer and needs more liquid.
- Clean water. Room temperature tap water works. Very cold water slows the polymer down; hot water speeds things up and can foam the paint.
- A mixing tool. A palette knife, a wide craft knife or a silicone mixing stick. A brush alone leaves streaks of unblended paint.
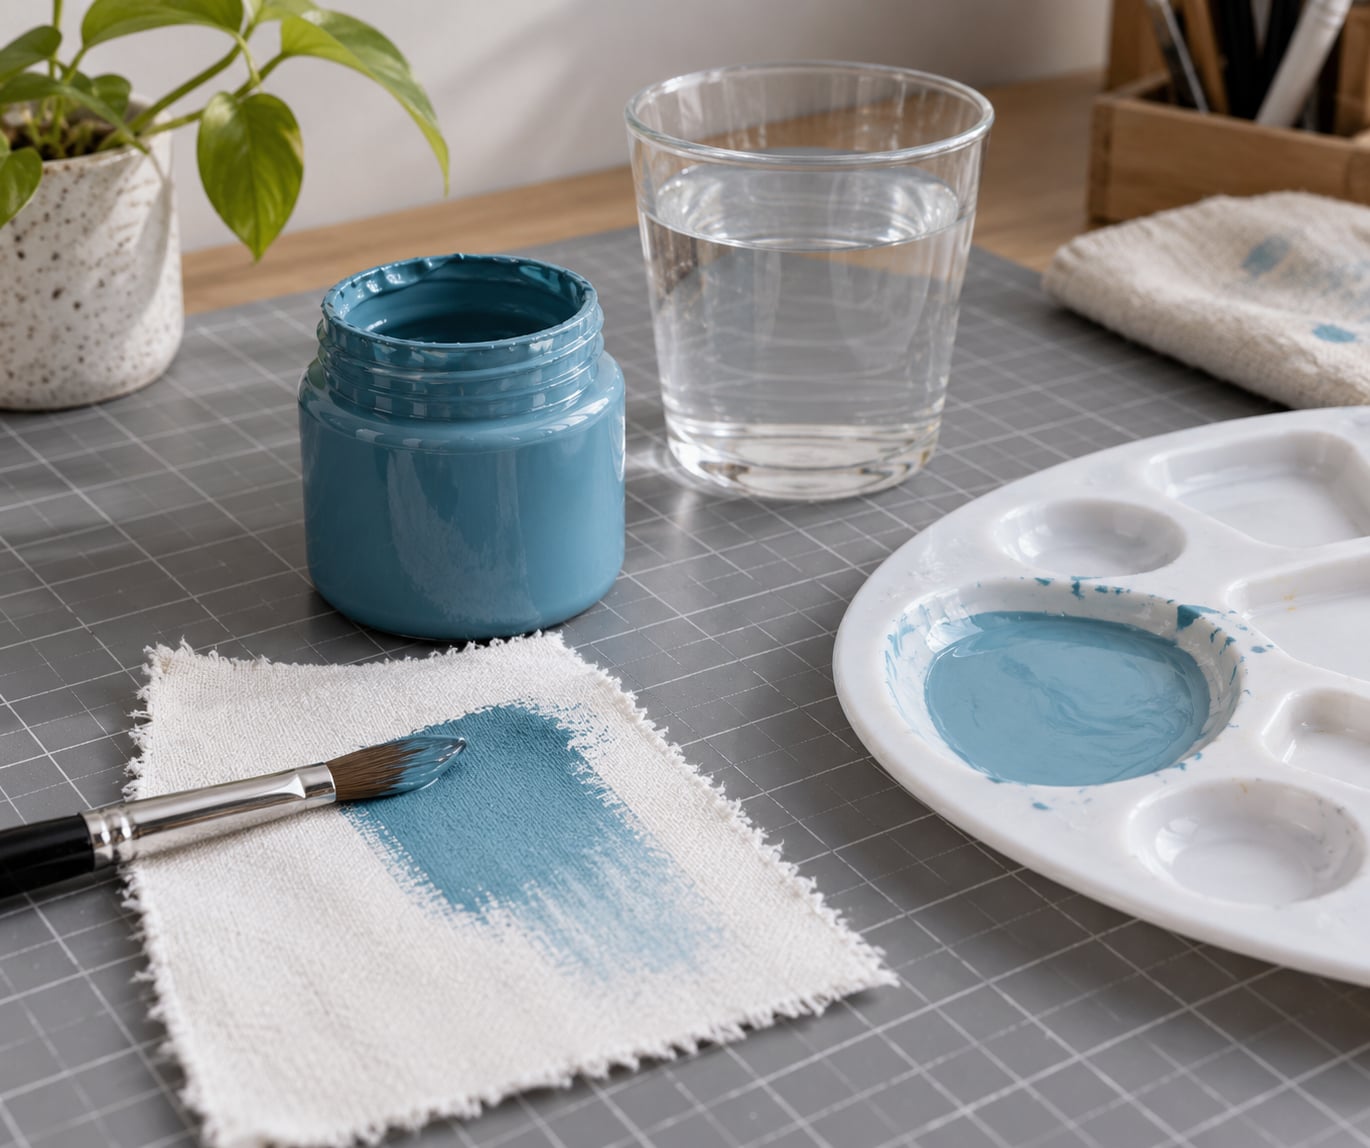
- Scrap of the same fabric. Cut a 10 by 10 cm square from the actual cloth you are painting, including the seam allowance area if there is one.
- A barrier sheet. Cardboard, a sheet of freezer paper or a plastic tablecloth under the fabric to stop bleed-through.
Useful but optional
- Fabric medium or textile medium. Not optional for anything that gets washed, bent a lot or worn on skin.
- Flow improver. A small dose drops viscosity with less color shift than water alone.
- Matte, satin or gloss medium. Choose the sheen you want the finished fabric to have.
- Spray bottle. For dampening absorbent cloth before painting.
- A foam sponge. Better than a brush for dabbing and stippling texture.
- Sealer. A fabric-safe water-based sealer adds wash protection, though it also adds a film you can feel.
How to Thin Acrylic Paint for Fabric Step by Step
Work in parts rather than percentages, and keep the paint you have not thinned in a closed container on the side. The whole process takes one test batch, one adjustment pass, and about ten minutes of drying time before you judge the result.
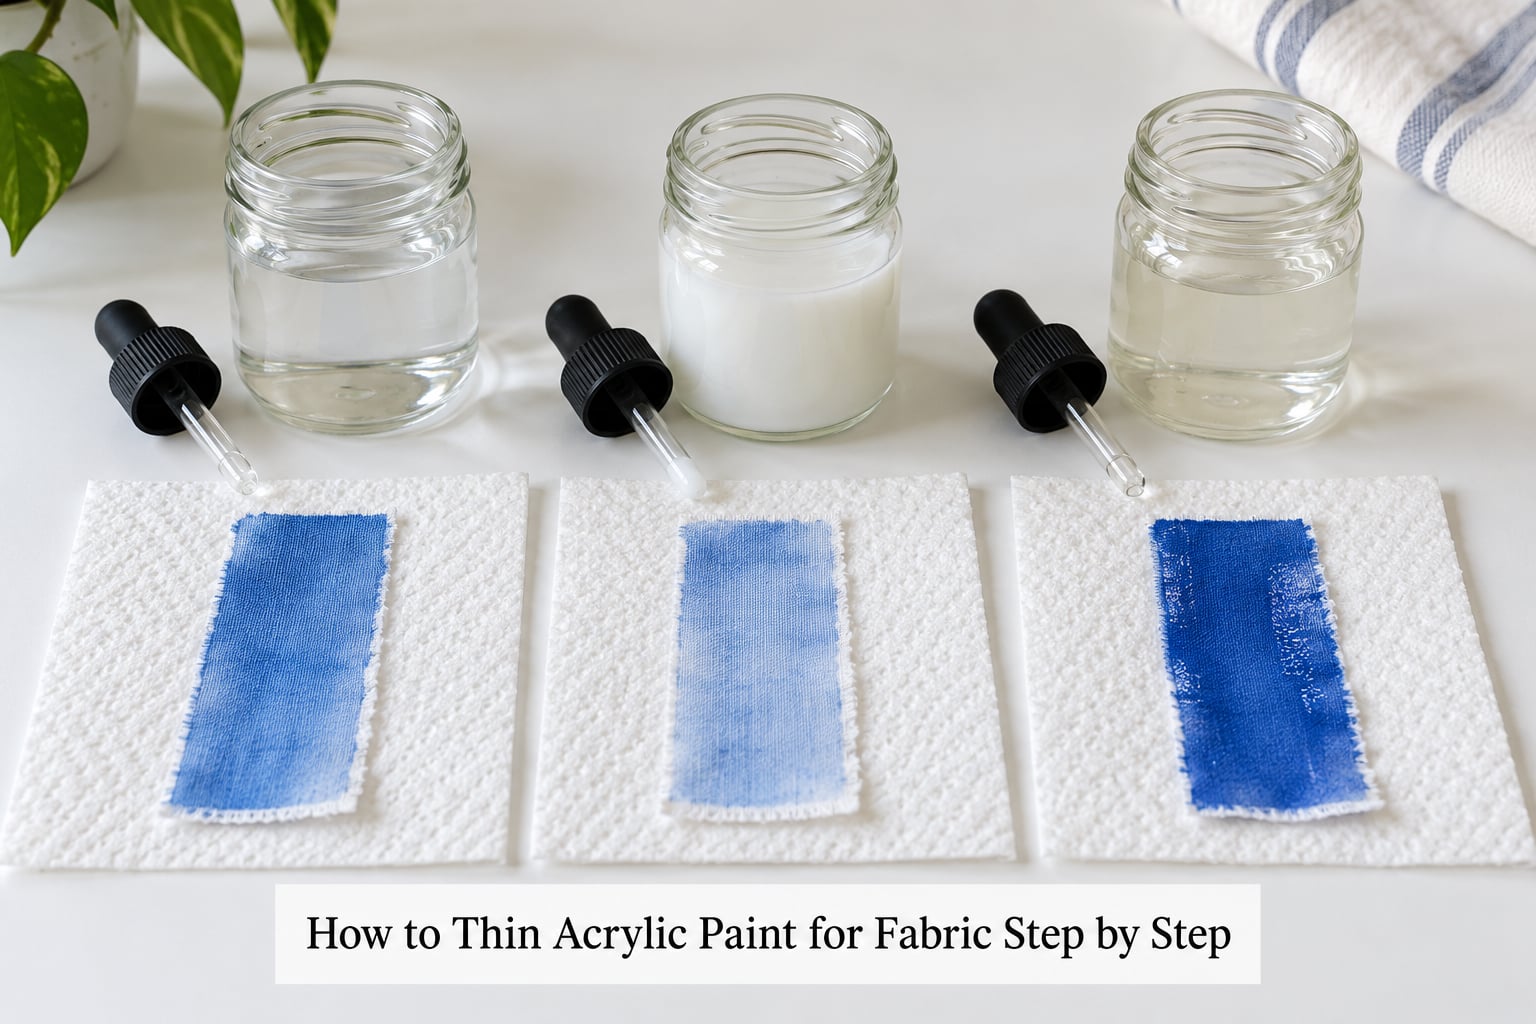
Test the Paint on Scrap Fabric
Always lay down an unthinned sample first so you have a comparison. Paint a small stripe of straight-from-the-tube acrylic on your scrap and let it dry while you mix, then compare the two side by side once both are dry.
That unthinned stripe is your baseline. Most people are surprised by how stiff the dried version is when they hold the two swatches next to each other.
Add Water or Acrylic Medium in Small Increments
Start at one part liquid to two parts paint and stir fully before judging. Add more only if the swatch on the scrap proves it needs it, and count the additions so you can repeat the recipe next time.
The difference that matters is between paint-to-liquid and finished-mixture ratios. A 1:1 paint-to-water mix is thinner than a 1:1 paint-to-medium mix, because the medium is already a thick emulsion. When you mix two parts paint with one part medium, the liquid share of the final mixture is about a third, not a half.
Signs you need another increment:
- The brush leaves a raised ridge instead of a flat mark
- The paint pulls back into a blob on the palette instead of lying flat
- Paint sits on top of the weave and skips over the gaps
Add no more than a 1:1 paint-to-water ratio in a water-only mix. Past that you are thinning the binder along with the pigment, and chalkiness shows up as soon as the swatch dries.
Choose the Thinner for the Fabric and Finish
Match the thinner to the job rather than reaching for water every time. Here is how the main options behave on cloth.
- Water. Cheapest and fastest. Color shifts lighter and chalkier, and the dried film stays stiff. Fine for drop cloth curtains, art journaling scraps, stenciling on a scrap, and any surface that will not be washed or flexed.
- Flow improver. A few drops per cup drops viscosity with far less color shift than water. Good for detail work and touch-ups where you want the original color to stay honest.
- Fabric or textile medium. The correct choice for garments, totes, pillows and anything laundered. It adds a flexible binder so the paint moves with the fiber. Start at 2 parts paint to 1 part medium, then adjust with water if it is still stiff.
- Matte medium. The same flexibility benefit with a flat finish that disappears into the weave. It can lighten the color slightly.
- Satin or gloss medium. Flexible like matte, with more sheen and better resistance to scuffing. It can read as plastic if the coat is thick.
- Fabric conditioner or softener. Reported often in hobby forums as a budget stand-in for medium. It does soften the film, but it is not a polymer binder and durability is unpredictable. Fine for pieces that never get washed, not worth the risk on a favourite jacket.
Fabric medium and textile medium are the same product under two names. Textile binder is the more technical term for the same family of polymer emulsions.
Check Flow, Coverage, and Drying
Brush the mixture onto dampened scrap fabric and watch what happens within five seconds. Three quick tests give you a clear read.
- Ribbon drag. Draw the brush about 5 cm in one slow stroke. The line should spread out to an even band. If it stays as a raised stripe, add liquid. If it breaks up into streaks, you went too far.
- Paper towel dab. Blot the stroke before it dries. Paint that lifts off the fabric in a weak film is too thin for coverage; paint that leaves almost nothing needs thickening.
- Drip and settle. Lift a loaded brush about 5 cm above the palette. Paint should fall in a steady ribbon within a couple of seconds, not a chain of separate drops.
Let the swatch dry fully, ideally overnight, then flex it. Bend it hard along the paint. If the film cracks, whitens at the crease or flakes, the mix was too lean and needs more medium. Rub it with a damp finger afterward. Any color coming off means the pigment load was too low for that finish, so add another part paint to the mix and retest.
Apply and Seal the Thinned Paint
Wash and dry the fabric first, then dampen it with a spray bottle if it is absorbent cotton or canvas. Damp cloth lets paint glide instead of grabbing in patches, and it is the single biggest reason a thin mix lays down evenly.
Work in thin layers with a soft brush, loading lightly and unloading on a paper towel. Let each layer reach the touch-dry stage before the next, which on most cloth takes 20 to 30 minutes. Several thin layers flex with the fabric. One thick coat does not.
Heat-set when the design needs to be washed or worn hard. Set the iron to the fabric care label temperature, place the painted side face down on a thick towel, press for two to three minutes without moving the iron, and repeat. Do this once the paint is fully dry to the touch, not during.
Sealing is optional. A fabric-safe water-based sealer adds a little wash protection and stops stencils from scuffing, but it also leaves a film with its own hand feel. Skip it on anything you want to feel soft.
Common Mistakes
- Adding too much water. The color goes pale and chalky. Mix a fresh batch at the ratio that worked on your scrap instead of rescuing the thin one.
- Thinning paint that has already dried. A skin forms and the pigment clumps. Scrape the skin off, pour the rest through a mesh strainer or a fine sieve, and only then add liquid.
- Using detergent, alcohol or vinegar. Dish soap foams into the emulsion, alcohol breaks it down, and vinegar dulls the finish. None of them solve a thick paint.
- Using oil or thinner. Oil prevents the acrylic from polymerising and the paint will never cure properly. Solvent thinner is for oil paint, not acrylic.
- Skipping the scrap test. The cheapest hour you will spend on the project. Always test on the same fabric, not a different cloth with a similar hand.
- Forgetting the barrier sheet. Thin paint bleeds through to the back. Cardboard under the cloth catches it.
How to Thin Acrylic Paint for Fabric Without Making It Run
Running and bleeding almost always come from one cause: the mix is thinner than the fabric can hold at that moment. The fix depends on how absorbent the cloth is and what you were trying to do with the color.
Bleeding on absorbent cloth
Cotton, muslin and raw canvas drink paint straight into the weave. If the color looks dry in patches with lighter gaps between them, the paint has sunk unevenly rather than sitting on the surface.
Dampen the fabric evenly first, add more paint to the ratio so you are thinning with more medium than water, and add another layer once the first is dry. Paint that soaks through from the front bleeds; paint that lands on a damp surface and dries there does not.
Bleeding on tightly woven cloth
Denim, canvas duck and upholstery behave the opposite way. They absorb slowly and hold paint on top, so an over-thinned mix spreads across the surface like ink and destroys crisp edges.
Back off the liquid and use 2 parts paint to 1 part medium as your floor. For stencils, dab the excess off on a paper towel before you touch the fabric, and hold the stencil flat with one hand so it cannot lift at the edges.
Weak or patchy coverage
Two thin coats beat one thin coat every time. If a single pass looks streaky and you can see the weave through it, the paint-to-liquid ratio was too lean. Go back one step, mix a stronger batch, and lay a second layer over the dry first one.
Color shift and chalkiness
Water dilutes the pigment load, so the same paint looks lighter and less saturated once it dries. There is no way to restore the original color with more thinner. The fix is to mix a stronger ratio and layer it, or accept the softer version and pick colors with more pigment to begin with.
Clumping and thick spots
Clumping comes from thinning paint that has sat and settled, or from adding liquid faster than you stir. Stir the base paint until the pigment is evenly suspended, then add liquid in increments with full mixing after each one. Pour through a sieve if you see hard bits.
Excessive sheen or a sticky film
A glossy medium turns shiny on purpose, and thick coats of any medium can stay tacky for days. Apply thinner layers and let each one cure fully. If the whole swatch feels plasticky and stiff after a week, you mixed too much medium and not enough paint.
Frequently Asked Questions
What is the best liquid for thinning acrylic paint on fabric?
Water is fine for a quick adjustment, but a fabric or textile medium is the better choice for anything that will be washed, worn or bent. Medium adds a flexible binder that keeps the dried film soft and bonded to the fiber. Start at two parts acrylic paint to one part medium, then add a little water to reach the flow you need.
How much water should I add to acrylic paint for fabric?
Begin with one part water to two parts paint and add more only if the swatch needs it. One part paint to one part water is about the practical limit for a water-only mix, because past that the pigment load drops and the dried color turns chalky. For color accuracy or washability, dilute with fabric medium instead of water.
Can I use fabric softener to thin acrylic paint?
It will soften the dried film, and hobby painters report it working well enough on pieces that never get washed. The problem is that softener is not a polymer binder, so how well the paint resists cracking, peeling and detergent over time is unpredictable. For a favourite garment, use a real fabric medium.
Will thinning acrylic paint with water make it fade or peel?
Peeling comes from a thick, stiff film rather than from water, but heavy water thinning dilutes the pigment and the binder together. The color goes paler and chalkier, and a film with too little binder can crack along a fold. Using fabric medium instead of water keeps the color truer and the film flexible.
How do I fix acrylic paint that has dried in the bottle?
Scrape or discard the skin on top, then pour the remaining paint through a mesh strainer or a fine sieve to catch dried bits. If it is still too thick, add water or medium a small amount at a time and stir fully. Always test the revived paint on scrap fabric before it goes near the project.
Should I seal acrylic paint on fabric after it dries?
Sealing is optional. Once the paint is fully dry, a heat press on the reverse with an iron locks most designs in for washing. A fabric-safe water-based sealer adds a little extra scuff and wash protection, but it leaves its own film with a firm hand feel. Skip it if soft fabric matters more than extra durability.
Conclusion
Keep the original paint untouched, mix a small test batch at two parts paint to one part medium, and adjust in single increments until the dried scrap has the flow, coverage and soft hand you want. Once that recipe works, write it on the bottle lid and reuse it on the whole project. Fabric medium and water take about five minutes to test, and the swatch is what keeps a thinned acrylic from turning stiff or chalky on the finished piece.