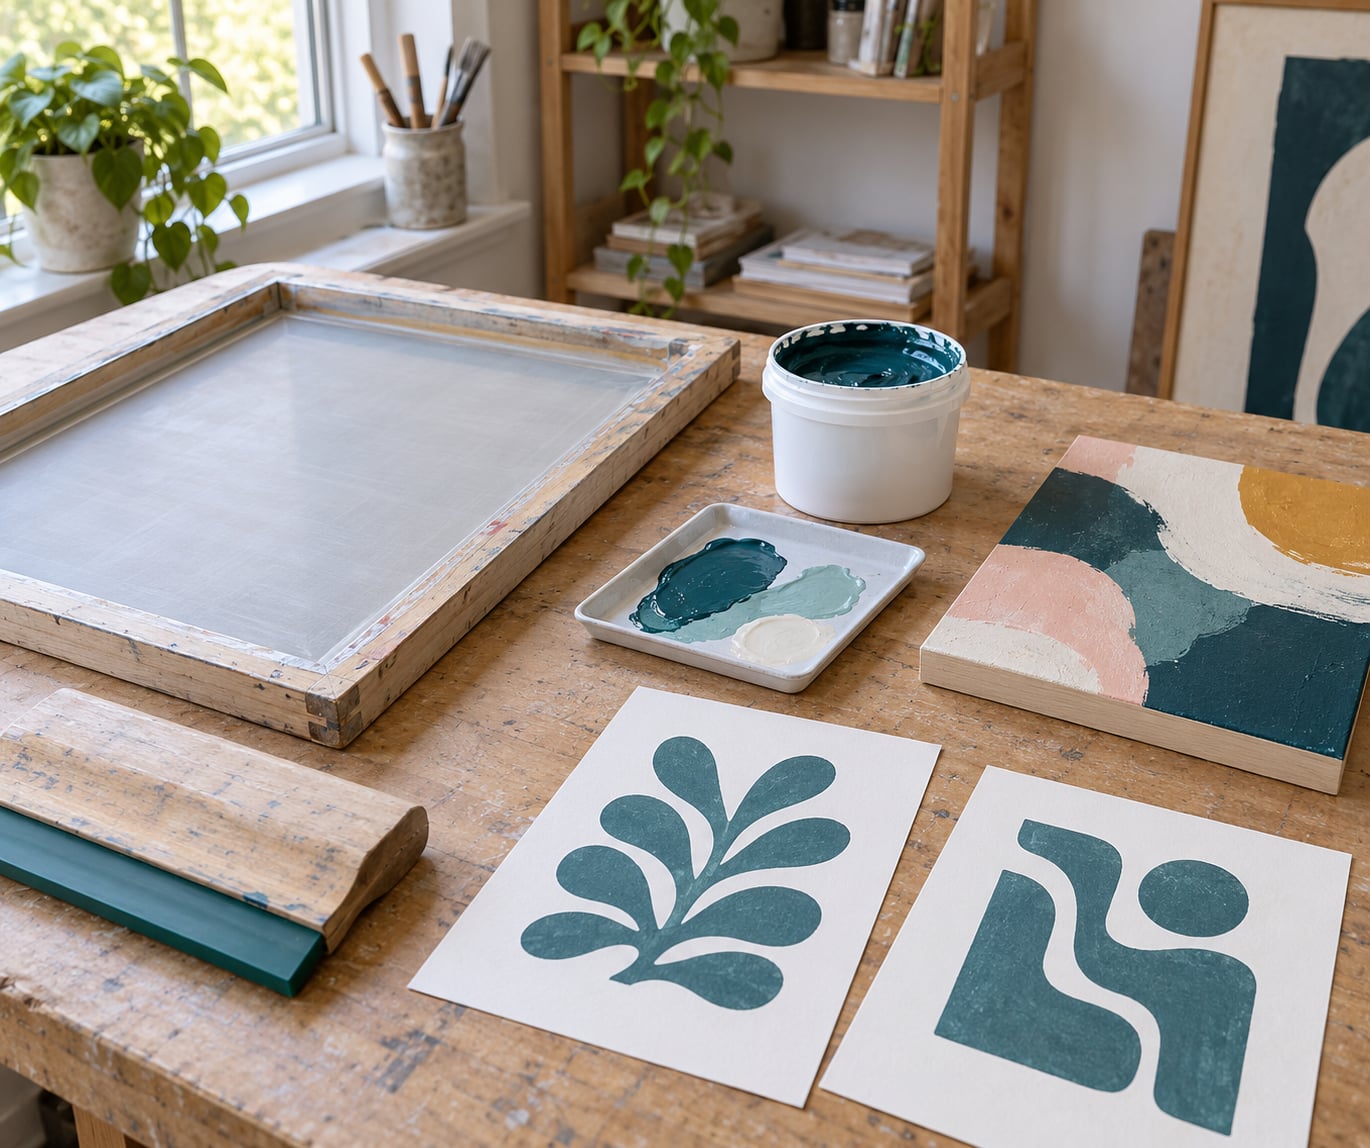
Yes, you can screen print over acrylic paint, but the acrylic layer has to be fully cured and sealed before ink touches it, or the ink will bead up and peel away. Print on top of the painting with a water-based screen printing ink, not ordinary acrylic paint. Most beginners get a good result on canvas board, stretched canvas and sealed paper; fabric takes a different ink and a different cure.
The whole method is shorter than it sounds: seal the painting, choose a mesh that suits the texture, pull one colour, let it dry. Most failures trace back to one of three things — an unsealed surface, the wrong material in the screen, or printing onto acrylic that was still soft.
Below is the process in the order I would actually work in it, with the check that tells you each stage worked.
Table of Contents
- What You Need
- The basics
- What is ink and what is paint?
- Safety and support supplies
- Step-by-Step: How to Screen Print Over Acrylic Paint
- 1. Cure and Seal the Acrylic-Painted Surface
- 2. Choose the Screen and Ink
- 3. Make or Use the Stencil
- 4. Register, Ink, and Test Print
- 5. Print Over the Acrylic Paint
- 6. Dry, Cure, and Protect the Print
- Common Mistakes and Fixes
- What not to print with
- Surface, mesh and ink at a glance
- Frequently Asked Questions
- Can you screen print over acrylic paint?
- Do I need to seal acrylic paint before screen printing?
- Can you use acrylic paint for screen printing instead of ink?
- What mesh count works best over a textured acrylic surface?
- Do I need a dryer to cure the ink?
- Why does my screen print peel off the painted canvas?
- Conclusion: Start With a Small Test Print
What You Need
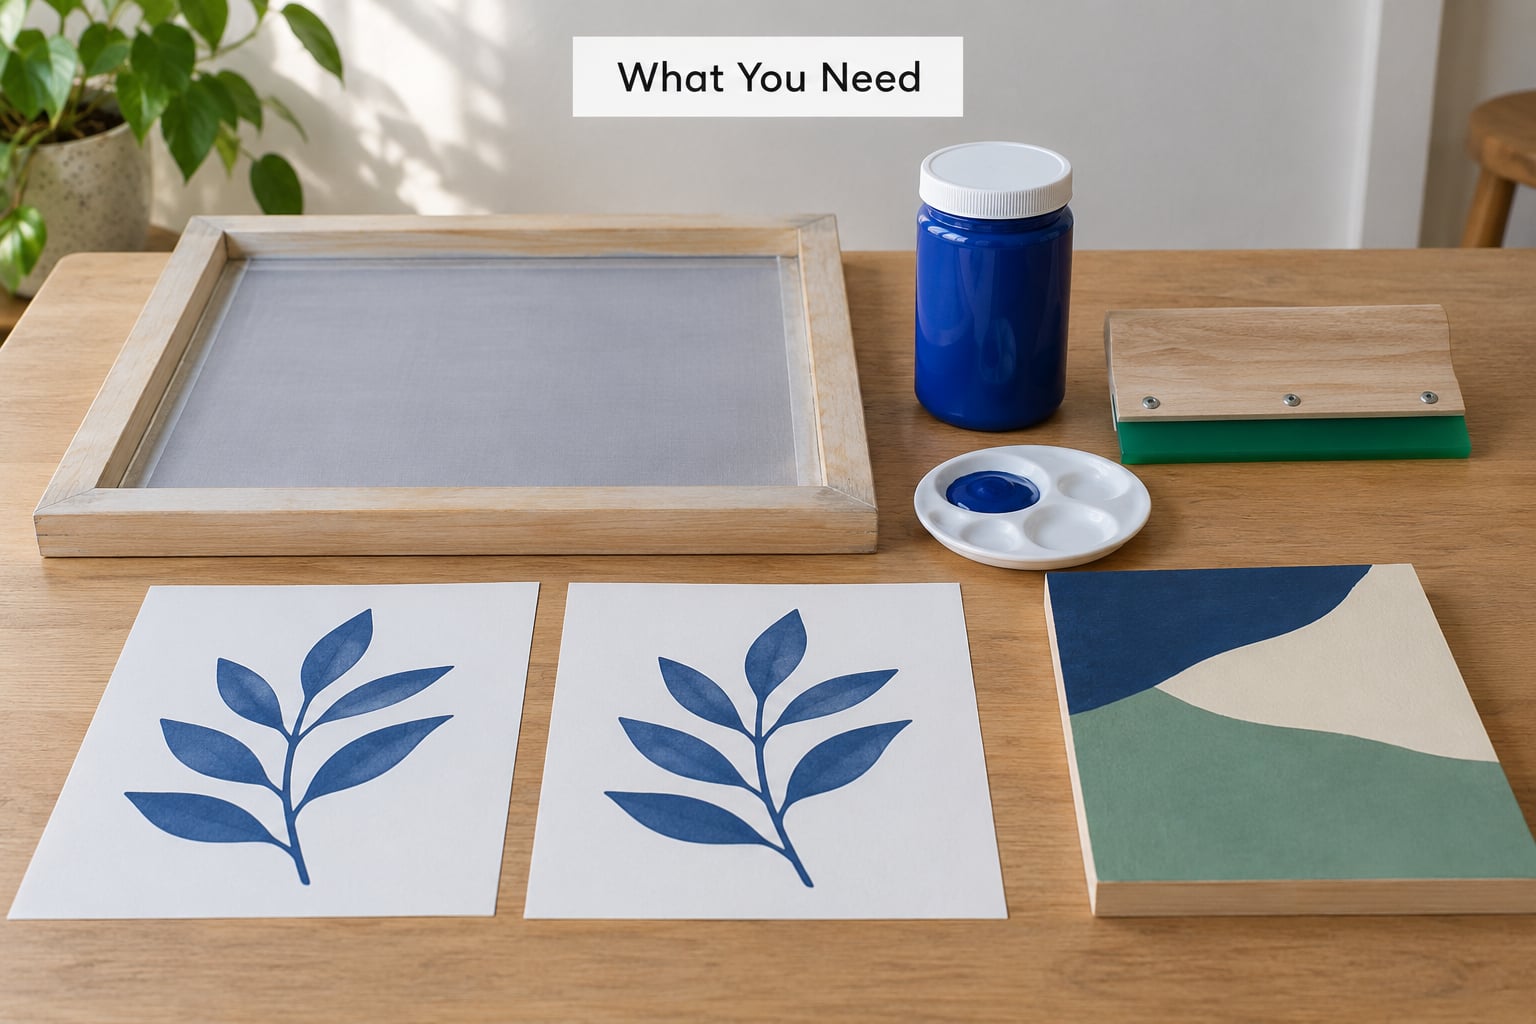
You need fewer things than a shop setup implies. A single screen, a squeegee, one ink and a sealing medium will carry you through a one-colour print.
The basics
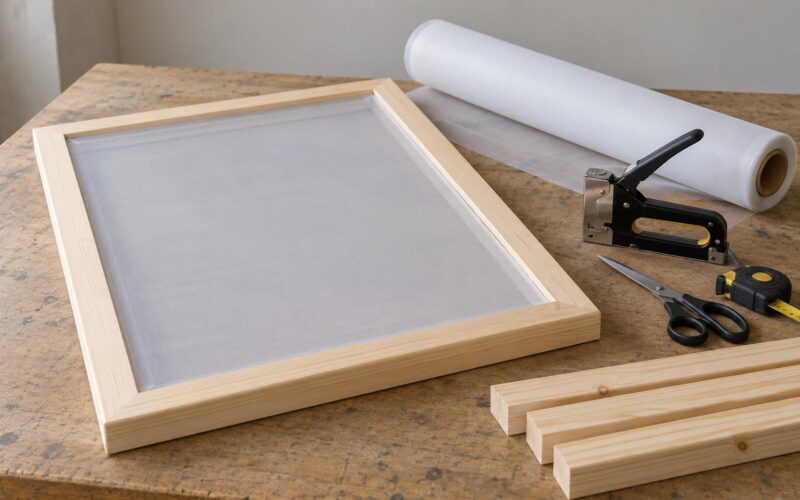
- A screen: a frame with mesh pre-coated in photo emulsion, or a ready-made stencil screen if you want to skip the darkroom step.
- A squeegee with a soft rubber or neoprene blade. A hard blade skips on uneven surfaces.
- Water-based screen printing ink. This is the ink category that dries to a flexible film on paper, canvas, wood and card.
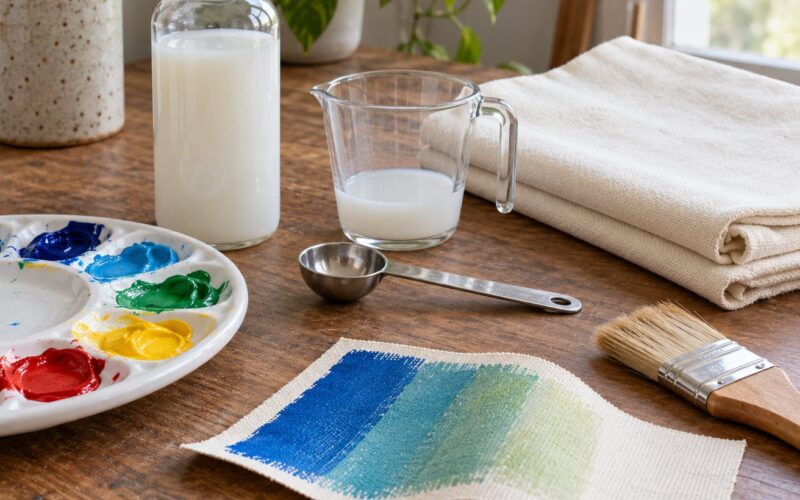
- A silkscreen medium if you want to stretch your own acrylic paint into ink.
- A sealing medium: matte varnish, or a clear acrylic sealer that stays flexible rather than a hard gloss coat.
- Masking tape and a cardboard platen to hold the screen flat and steady.
- A tray or scrap card to roll ink out on, and a separate scrap board for test pulls.
What is ink and what is paint?
This is the single most common mix-up, and it is worth being blunt about it. Screen printing ink and acrylic paint are made from the same kind of pigment binder, but ink is formulated to stay open and pass through a mesh. Acrylic paint is formulated to sit thickly on a surface and dry hard, which is exactly the wrong behaviour inside a screen.
The practical difference: ink flows and stays workable for minutes; undiluted acrylic paint skins over in seconds and can block the mesh permanently. Printers say it plainly — it is ink, not paint. If you want to use paint you already own, thin it first with a silkscreen medium. The University of New South Wales making centre mixes any acrylic paint with Lascaux paste at roughly 60 percent paint to 40 percent paste for opaque coverage, or 40 percent paint to 60 percent paste for a more transparent print, and warns never to put straight acrylic paint on a screen.
Safety and support supplies
- Gloves and a roller wash or hose for washing screens, since dried ink is miserable to clean out of mesh.
- A dust mask for cleaning dried ink off mesh.
- Ventilation if you use any solvent-based ink. Water-based acrylic ink needs airflow but no extraction rig.
- Backing support for anything wider than about 60 cm, because unsupported canvas dips when the squeegee pushes on it.
Surfaces that work well: stretched canvas, canvas board, sealed heavy paper, sealed wood panel. Fabrics and plastic acrylic sheets need their own ink and prep, covered in the steps below.
Step-by-Step: How to Screen Print Over Acrylic Paint
The whole sequence is six stages. At each one, there is a visible or tactile sign that the stage worked, so you can stop and fix a problem instead of pushing through it.
1. Cure and Seal the Acrylic-Painted Surface
Acrylic that feels dry to the touch is not finished. Give the painting 24 to 72 hours before you seal it — longer if the paint was applied thickly or the room is humid. It should feel completely hard and non-tacky, with no cool or soft patches.
Clean the surface with a damp cloth to lift dust and oils, and let it dry fully again. Then apply a thin, even sealer: matte varnish or a flexible clear acrylic coating. Printers on r/SCREENPRINTING consistently describe the seal as the step that makes ink adhere reliably rather than lifting.
The signal it worked: the sheen evens out, the surface reads as one continuous film, and a fingertip dragged across it feels smooth rather than tacky. If the sealer is glossy, scuff it lightly with fine abrasive after it dries so the ink has something to grip.
For a canvas wider than a single stretcher bar, brace the back with plywood, masonite or foam board before printing. Damp canvas that dips under the squeegee will give you wrinkled, uneven coverage no matter how good your ink is.
2. Choose the Screen and Ink
Mesh count decides two things at once: how much ink gets through, and how much of the surface texture the ink can reach. Thin, detailed work and heavy texture pull in opposite directions, so pick deliberately.
- 60 mesh: a solid layer of colour on textured or heavily impastoed acrylic. The community default for painted surfaces.
- 80 mesh: a good all-rounder for brush-marked acrylic that is not deeply ridged.
- 110 mesh: smoother coverage on flatter acrylic, at the cost of some opacity.
- 156 mesh and finer: fine detail and halftone work, best on sealed paper or a smoothly sealed panel.
For the ink, use a water-based acrylic screen printing ink straight from the tub. It air dries, stays flexible, and will not fight your paint layer. Fabric ink is for fabric only. Household and wall paint is unsuitable — the pigment load is unpredictable and it can clog mesh. Plastisol needs a heat cure at well above anything a home dryer offers, and it forms a film rather than bonding into a painted surface.
Mix the ink on the palette with a little water until it is the consistency of thick cream. It should drip slowly off the spatula and hold a soft ridge.
3. Make or Use the Stencil
Your three routes: expose your own screen with photo emulsion, buy a pre-burned stencil screen, or start from an existing screen you have already used.
For photo emulsion, coat the mesh, dry it, then expose it under your artwork with a negative so the areas you want to print stay open. Most beginners use a printed transparency or a hand-drawn positive for a negative stencil. Expose, wash out the open areas, and dry the screen before touching ink.
Check the washed screen against a light source. The image areas should be fully clear with the mesh visible; any haze or blocked patch means the exposure was short or the wash was rushed. Fix it now, because a partly blocked screen prints patchy no matter how good your pull is.
4. Register, Ink, and Test Print
Tape the screen to the surface and decide registration before any ink goes near the painting. On a single-colour print, hold the screen down over the area and mark the corners with tape or pencil so you can realign it.
Load ink on the underside of the screen, flood it back and forth with the squeegee at a shallow angle, then push the excess back off. Pull one test print on scrap board first. You are checking three things: registration, coverage, and whether the ink sits on top of the acrylic or slides off it.
Coverage that looks thin on a dark underlayer usually means a lower mesh or a second pass. Ink that pools in brush valleys and misses the ridges means the mesh is too fine for that texture. Adjust before you commit, because a test pull costs one sheet of scrap and a real pull costs the painting.
5. Print Over the Acrylic Paint
Lower the screen slowly so it lands without dragging. Keep it flat and steady with your off hand — the pressure should come from the squeegee, not from pressing the frame down.
Load a short line of ink at the top of the design. Pull in one continuous stroke, at roughly a 45-degree angle, letting the ink flood ahead of the blade. Do not stop and restart mid-pull, because the pauses leave thin bands.
Lift the screen straight up, away from the surface, before the ink can smear. Water-based acrylic ink air dries, so you can usually go straight into the next pull if you need a second colour — just keep the screen down and hold your position.
6. Dry, Cure, and Protect the Print
Water-based acrylic ink dries to the touch in minutes and cures over hours. Treat the two separately: touch-dry ink can still pick up from a cloth or a canvas leaning against it.
Let the piece dry flat, uncovered, in a dust-free room with airflow. A warm dryer helps push the cure along, though most painters working one colour on canvas and board never need one — acrylic ink air dries, as printers on r/SCREENPRINTING point out, unless you are running multiple colours and time is tight.
Once the ink is fully cured, protect it if the piece will be handled. Use a compatible clear acrylic coating, applied thin. Check compatibility on a corner first, and never seal a print that still feels soft, since the coating will trap it and lock in a fingerprint. On fabric, heat-set the print according to the ink manufacturer’s instructions rather than coating it.
Common Mistakes and Fixes
Most of these trace to one of three causes: the surface, the material in the screen, or the timing.
| Symptom | Likely cause | Fix |
|---|---|---|
| Ink beads into droplets and rolls off | Acrylic not sealed, or sealed with a hard gloss coat | Apply a thin flexible matte or clear acrylic sealer, let it cure fully, print again |
| Print peels or lifts when cured | Printed onto still-tacky acrylic, or no sealer at all | Wait the full 24 to 72 hour cure, seal, and run a tape adhesion test first |
| Patchy or thin coverage | Mesh too fine for the texture of the acrylic | Drop to 60 or 80 mesh, or print a second pass after the first flash dries |
| Ink dries in the screen and blocks mesh | Undiluted acrylic paint used as ink | Wash the screen immediately, then mix ink with silkscreen medium |
| Design shifts between pulls | Screen not held flat, or pull too fast | Tape or hinge the screen, brace the surface, pull at a slow even speed |
| Colours lift or blend into each other | Second colour printed before the first dried | Flash each colour until touch-dry, then print the next |
| Fine cracking in the print | Heavy layers or a rigid sealer over a flexible print | Print thinner, and use a flexible clear coat rather than a hard varnish |
What not to print with
- Straight acrylic paint. It dries inside the mesh and can block the screen permanently. Thin it with silkscreen medium if you insist.
- House or wall paint, chosen for its colour range. Pigment load is unpredictable and it fouls the screen.
- Plastisol on a finished painting. It needs a high heat cure and sits on the surface as a film rather than bonding into it.
- Solvent-based ink unless you have proper ventilation and a clean, separated space.
A few habits keep the results consistent. Test on scrap first, every time the surface or the ink changes. Record the mesh, ink and cure time that worked on a given acrylic, because the next painting will not behave identically. Wash the screen the moment you finish rather than the next morning. And if the painting is large or finished work you care about, tape a border around the printing area so any registration slip happens on tape instead of on paint.
Surface, mesh and ink at a glance
| Surface | Seal first | Mesh to start | Ink | Cure | Main risk |
|---|---|---|---|---|---|
| Canvas board | Yes, matte sealer | 80 | Water-based acrylic ink | Air dry | Low — flat, stable, forgiving |
| Stretched canvas | Yes, matte sealer | 60 to 80 | Water-based acrylic ink | Air dry | Dipping between stretcher bars on wide pieces |
| Wood panel | Yes, thin sealer | 110 to 156 | Water-based acrylic ink | Air dry | Over-thick builds can crack on rigid stock |
| Paper, 200gsm and heavier | Yes, or use sized stock | 156 | Water-based acrylic ink | Air dry | Tooth and light weight cause thin spots |
| Fabric | No, pre-wash instead | 60 to 80 | Water-based textile ink | Heat set | Wrong ink type and poor pre-wash |
| Acrylic sheet | Yes, plus a scuff | 156 | Water-based acrylic ink | Air dry | Hard plastic surface needs abrasion for grip |
On fabric, the acrylic paint underneath needs to be a fabric paint rather than a heavy-bodied studio acrylic, and the ink must be a textile ink. Pre-wash the fabric to remove finishing softeners, then heat-set the finished print. On paper, size and weight decide whether the print sits or soaks in; heavier cold-press stock holds a print, thin coated stock will not. On acrylic sheet, the plastic surface gives ink almost nothing to hold on to, so scuffing the printed area lightly before sealing makes a large difference.
Frequently Asked Questions
Can you screen print over acrylic paint?
Yes, as long as the acrylic layer is fully cured and sealed first. Wait 24 to 72 hours after painting, apply a thin flexible sealer or matte varnish, then print with water-based acrylic screen printing ink. Unsealed acrylic is plastic and slightly slick, so ink beads up and peels away instead of bonding.
Do I need to seal acrylic paint before screen printing?
Treat sealing as mandatory rather than optional. A thin coat of matte varnish or flexible clear acrylic sealer gives the ink something to grip and stops it sliding off the cured paint film. Let the sealer cure fully before printing, scuff it lightly if it is glossy, and run a small test swatch with a 24 hour wait and a tape check before you print the real piece.
Can you use acrylic paint for screen printing instead of ink?
Not straight from the tub. Undiluted acrylic paint dries inside the mesh and can block the screen permanently. Thin it with a silkscreen medium first: roughly 60 percent paint to 40 percent medium for opaque coverage, or 40 percent paint to 60 percent medium for transparency. Water-based screen printing ink needs no mixing and behaves far more predictably in the screen.
What mesh count works best over a textured acrylic surface?
Start at 60 mesh for impasto, palette knife marks or heavy brush texture, since it deposits enough ink to level out ridges. Use 80 mesh for ordinary brushwork and 110 to 156 mesh on smoothly sealed panels or heavy paper. If coverage comes out patchy, drop to a lower mesh or print a second pass rather than pushing harder.
Do I need a dryer to cure the ink?
Usually not. Water-based acrylic screen printing ink air dries and cures within hours, so most one-colour prints on canvas and board need nothing beyond a warm, well-ventilated room. A dryer helps when you are running multiple colours or working in a cold, damp studio. Let the piece dry flat and dust-free, and only apply a clear protective coat once the ink is fully cured.
Why does my screen print peel off the painted canvas?
Almost always one of two reasons: the acrylic was still soft when you printed, or it was never sealed. A cured acrylic film needs a sealer before ink will bond to it. Print onto a surface that feels completely hard and non-tacky, seal it thinly, and test with a swatch you leave 24 hours before pushing a strip of tape across it.
Conclusion: Start With a Small Test Print
If you are ready to try this, the sequence is short: let the acrylic cure for 24 to 72 hours, seal it thinly, run an adhesion test swatch, and pull one low-pressure test print on scrap board before touching the finished painting. Use water-based screen printing ink, pick 60 or 80 mesh for texture, and let it air dry before any protective coat.
Write down what worked — mesh, ink, sealer, cure time. That combination will transfer straight to the next piece, and it saves you re-testing from scratch every time.