An art price list is one document that shows every piece you sell with its title, dimensions, medium, year, edition details and retail price, so collectors, galleries and fair visitors can see what a work costs without a conversation. How to make a price list for artwork properly comes down to two jobs: decide each price from your own numbers, then lay those numbers out in a consistent format you can hand out or email.
Most pricing guides stop at the number. They never get to the document, and most template sites do the opposite: they hand you a layout full of blanks with no idea how to fill them. This guide does both, in the order you actually need them. If you follow the seven steps below, you will end with a master price list you can update in an hour whenever your costs move.
It takes an afternoon the first time and about twenty minutes for every update after that, and no design skills are needed. If you have never sold a piece, the method still works because it starts from your own time and materials rather than from a market average.
Table of Contents
- What You Need
- Step-by-Step: Build Your Artwork Price List
- 1. Review Your Sales and Set a Pricing Goal
- 2. Calculate Your Full Cost per Artwork
- 3. Price Your Time and Artistic Expertise
- 4. Add Profit and Build Price Tiers
- 5. Separate Retail, Commission, and Sale Prices
- 6. Format and Publish the List
- 7. Review and Update Your Price List Regularly
- Common Mistakes When You Make a Price List for Artwork
- Frequently Asked Questions
- What is the 70/30 rule in art?
- How do you set a price for your artwork?
- What app can I use to create a price list?
- How do I make a price list for my own artwork?
- Is there a free art price database?
- How much should an artist charge for a workshop?
- How often should artists raise prices?
- Conclusion
What You Need
Gather these before you calculate anything. Pricing decisions made without them end up as guesses you have to defend later.
- Your sales record — the last six to twelve months of what sold, at what price, and through which channel.
- Materials receipts — canvas, paper, paint, ink, framing, hardware, and the packaging you use to send a piece.
- Labour hours per piece — sketching, drafting, painting, finishing, plus the planning and admin time around it.
- Channel costs — the share a gallery keeps, marketplace selling fees, and payment processing charges.
- Postage and handling figures — what it actually costs you per piece, by size and destination.
- Your tax position — whether sales tax is added at checkout or already included, since the answer changes what you print.
- The formats and sizes you offer — originals, small works, large works, prints, limited editions, commission work.
The last one matters more than it sounds. A price list for a maker who sells sculpture and one who sells digital illustration are not the same document, and the fields that matter in one are noise in the other. If you sell both, build two lists rather than one compromise version.
Step-by-Step: Build Your Artwork Price List
1. Review Your Sales and Set a Pricing Goal
Start by looking at what actually sold, not at what you hoped would sell. Note the median of your last ten sales rather than the average, because one unusually good month will skew an average badly.
Then choose one target: an hourly income you want to reach, or an annual revenue figure for the studio. Pick one and write it down. Pricing feels arbitrary until you have a number to test your list against, and every piece you sell either moves you toward that target or it does not.
2. Calculate Your Full Cost per Artwork
Add up everything that leaves your account when one piece leaves the studio. Materials, framing, packaging, postage you absorb, and the selling fees deducted at checkout all belong in that total.
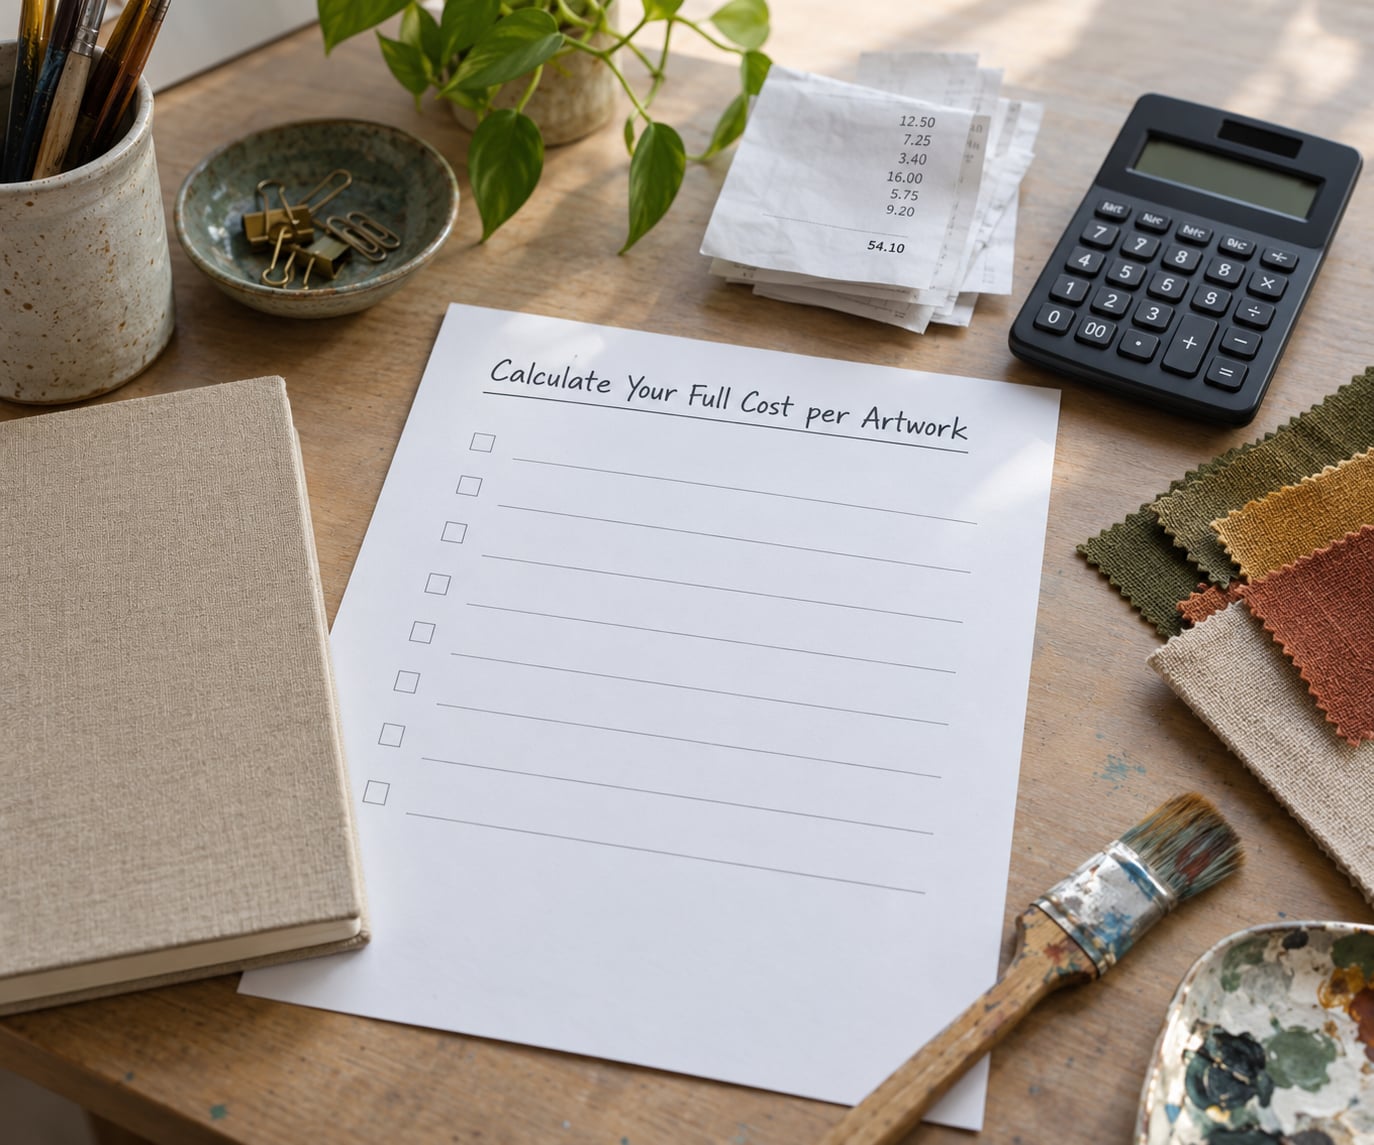
Keep the overhead out of this step. Rent, insurance and website hosting are real costs, but they belong in a weekly or monthly figure you divide across the work you make, not on the line for a single piece. Mixing the two is how a price list ends up with numbers nobody can reproduce.
Write the direct cost figure next to each piece in your records. Artists who track this per work rarely get caught quoting from memory six months later.
3. Price Your Time and Artistic Expertise
Decide what an hour of your work is worth, then count the hours the piece took you, including the hours nobody sees. Research, concept sketches, colour tests, drying time, packaging and emails all count.
Two adjustments keep this honest. First, larger work genuinely takes longer, so scale the hourly figure by size rather than applying one flat rate to a postcard and a wall piece. Second, a repeat design or a commissioned piece with a brief already written costs fewer hours than a fully original one, and your price can reflect that.
Expertise is the part most artists skip. A piece with a decade of technical development behind it is not the same product as a first attempt, and treating them identically is how a price list stays flat while the work gets noticeably better.
4. Add Profit and Build Price Tiers
Your price is cost plus time plus a margin. The margin is what pays you for the business side: marketing, your website, insurance, shipping materials you do not get back, and the months with no income in them.
A common guideline for retail work is to aim for a margin that roughly doubles your full cost, then sanity-check that the total divided by your hours matches the hourly target you set in step one. If it falls short, something is wrong upstream, usually the hours you counted.
Then convert individual calculations into tiers. A small original, a mid-size original, a large original, a limited edition and a print each get one price, rounded to a number that looks deliberate rather than accidental. Round prices are easier to quote, easier to remember and easier to list.
Rounding needs a rule. Pick something like the nearest ten, or the nearest twenty-five for larger work, and apply it without exception. A list with prices like 340, 375 and 720 reads as improvised; a list of 350, 375 and 725 reads as priced.
5. Separate Retail, Commission, and Sale Prices
Set one retail price per piece and hold it everywhere. Your website, your gallery, your fair booth table and your studio should all show the same figure, because the second a collector compares two channels and finds a difference, you have lost the argument about value.
Now work backwards from that retail number. A gallery that keeps a large share of the sale price needs enough headroom that you still land near your hourly target after their cut. Divide your target take by the share you keep, and that becomes the retail price, not the price you receive.
Sales and discounts are separate from retail. A discounted piece should still show its original price alongside the sale price, with the discount period stated. That single convention stops a temporary reduction from becoming the number buyers expect you to honour forever.
Commission work needs its own structure rather than a formula. Price by tier instead — a simple subject, an added element, a detailed background, then commercial usage as an add-on with its own multiplier. Artists working in illustration frequently price each tier separately because the hours differ so much between them.
6. Format and Publish the List
Build the list as a spreadsheet first, because that is where you will maintain it, then export it as a PDF for anyone who should not be able to edit it. One row per artwork, with these columns:
- Image file name or thumbnail reference
- Title and year
- Dimensions, height first
- Medium and materials
- Edition size and current number, or unique
- Framed or unframed
- Status: available, on hold, or sold
- Retail price
Add a header with your name, contact details and currency, and a footer with the terms buyers keep asking about: whether sales tax is added at checkout, what the postage estimate is for oversized work, deposit terms for commissions, and the date the list was last updated.
Print the last-updated date on every version. It answers the most common question a collector or gallery has, and it means you can publish a new version without an awkward email explaining the jump.
| Tool | Skill level | Output | Best for |
|---|---|---|---|
| Google Sheets | Beginner | PDF or print | Free, editable, works from any device |
| Microsoft Excel | Beginner to intermediate | PDF or print | Formulas for edition and size pricing |
| Canva | Beginner | PDF, print, web link | A designed list with images and branding |
| Adobe InDesign | Intermediate | Print-ready PDF | Catalogues and multi-page books |
| Gallery management software | Beginner | Auto-generated lists from your inventory |
Match the layout to the venue. A gallery submission wants a clean list with accurate facts. A fair booth needs large type, thumbnail images and status updated weekly, because a sold piece still physically sitting on your table is the most common pricing mistake in person.
7. Review and Update Your Price List Regularly
Raise prices when materials rise, when demand grows, when your technique improves, or when you are simply far more established than the list says. Most working artists raise prices somewhere between ten and twenty percent, once a year or so, rather than adjusting constantly.
Keep each old version. When a collector asks why a piece cost more than it did last season, you want an answer that is a date, not an apology. Rename files by version and date so the history is obvious.
Set a recurring reminder rather than waiting for a sale to remind you. Twice a year is enough to keep the list honest, and the update is faster once the structure is in place.
Common Mistakes When You Make a Price List for Artwork
Pricing only the materials. This is the most common error and it is not close. If materials are the only line in your calculation, your time is being given away. The fix is simple: total hours times an hourly figure, added before margin.
Copying another artist’s numbers. Their materials, market and career stage are not yours. Use comparables as a sanity check on your range, never as the source of your price.
One price for every format. A single number for a small original, a large original and a print of the same design tells a collector you did not think about it. Give each tier its own figure and show the difference plainly.
Underpricing originals to match prints. Prints are perishable and unlimited; an original is not. The gap between an edition piece and the original it comes from should be wide enough to signal that clearly.
Discounting too deeply, too often. A repeated discount teaches buyers to wait. If you offer a reduction, apply it to a defined group or a defined period rather than lowering everything at once.
Changing prices without telling anyone. A collector who watched a price rise with no explanation assumes it was a mistake. Version your list, date it, and mention the update when you send it out.
Frequently Asked Questions
What is the 70/30 rule in art?
It is a guideline about how a sale price splits, most often between a gallery and the artist: of the final selling price, roughly seventy percent goes to the sales outlet and thirty percent to the artist. Some galleries invert it, so check the wording in any agreement. Use the rule to check whether a proposed price still pays you properly once the split is applied.
How do you set a price for your artwork?
Add your direct costs, multiply your hours by an hourly figure that reflects your experience and the size of the work, add a margin for business costs and profit, then round to a deliberate number. Check the result against comparable work in your market and against the target income you set. Repeat this for each tier so the list stays consistent.
What app can I use to create a price list?
Google Sheets or Excel handle the numbers and stay editable. Canva suits artists who want images, branding and a designed layout without learning layout software. Adobe InDesign suits print-ready catalogues. Gallery management software generates lists automatically from your inventory if you already track works there. Whichever you pick, export a PDF for sharing and keep the editable original for updates.
How do I make a price list for my own artwork?
Work in a spreadsheet with one column per artwork and one row per piece: image reference, title, year, dimensions, medium, edition, status and retail price. Fill in one row completely before adding another, price it using cost plus time plus margin, then export to PDF with a header, a footer of terms and a last-updated date. Save the spreadsheet as your master and re-export whenever something changes.
Is there a free art price database?
There is no reliable free database that tells you what your work should sell for, because private sales prices are almost never published. What you can use for free are auction records, gallery exhibition pages, completed sales from marketplace shops that disclose them, and the listed prices of comparable artists in shops that publish them. Treat all of it as a range, never as a target.
How much should an artist charge for a workshop?
Work it out the same way as a piece: preparation hours plus teaching hours plus materials for each place, at your hourly figure, with a small margin for no-shows and repeat runs. Most artists also set a minimum number of places, because a session of four does not pay the same as a session of ten. Publish the price, what is included, and the cancellation terms before anyone pays.
How often should artists raise prices?
Most working artists raise prices once or twice a year, somewhere between ten and twenty percent, and let older work move with the new scale rather than repricing piece by piece. Raise sooner when material costs jump sharply or demand clearly exceeds supply. Announce changes by reissuing a dated version of the list rather than updating numbers quietly on a website.
Conclusion
Start with one piece, not the whole studio. Work out its full direct cost, price your hours, add a margin, round it on purpose, and write it into a single spreadsheet row. Once that row looks right, the rest of how to make a price list for artwork is repetition, formatting and the discipline to keep the same number everywhere you sell.