Most booths that get walked past are not badly made. They are simply hard to read from six feet away, and that is a setup problem, not a talent problem.
How to set up an art fair booth display comes down to eight decisions: plan the footprint, choose one focal point, hang it at eye level, price everything, drape the table to the floor, light the work, weight the canopy, and check the whole thing from the aisle. Allow about ninety minutes at home with a tape measure and forty-five minutes on site once you have the space.
What follows is the setup I would walk anyone through, whether they are doing their first fair or their fifteenth. It is written for US artists working in any medium, from paintings and prints to ceramics and mixed-media pieces.
Table of Contents
- What You Need
- How to Set Up an Art Fair Booth Display: Step-by-Step
- Step 1: Measure the Booth and Plan the Layout
- Step 2: Choose a Strong Visual Focal Point
- Step 3: Build a Tiered Display at Eye Level
- Step 4: Make Prices, Names, and Stories Easy to Find
- Step 5: Add a Simple Table and Working Area
- Step 6: Set Up Lighting, Seating, and Comfort
- Step 7: Pack a Checkout and Emergency Kit
- Step 8: Do a Final Walk-Through and Test
- Display Hardware: What Each Option Is Good For
- Common Mistakes
- Frequently Asked Questions
- How high should I hang art in an art fair booth?
- How much weight does an art fair canopy need?
- Should I use a grid wall or a backdrop?
- How do I keep shelves stable on grass?
- How do I price and label art at a fair?
- What should I bring to my first art fair?
- Conclusion
What You Need
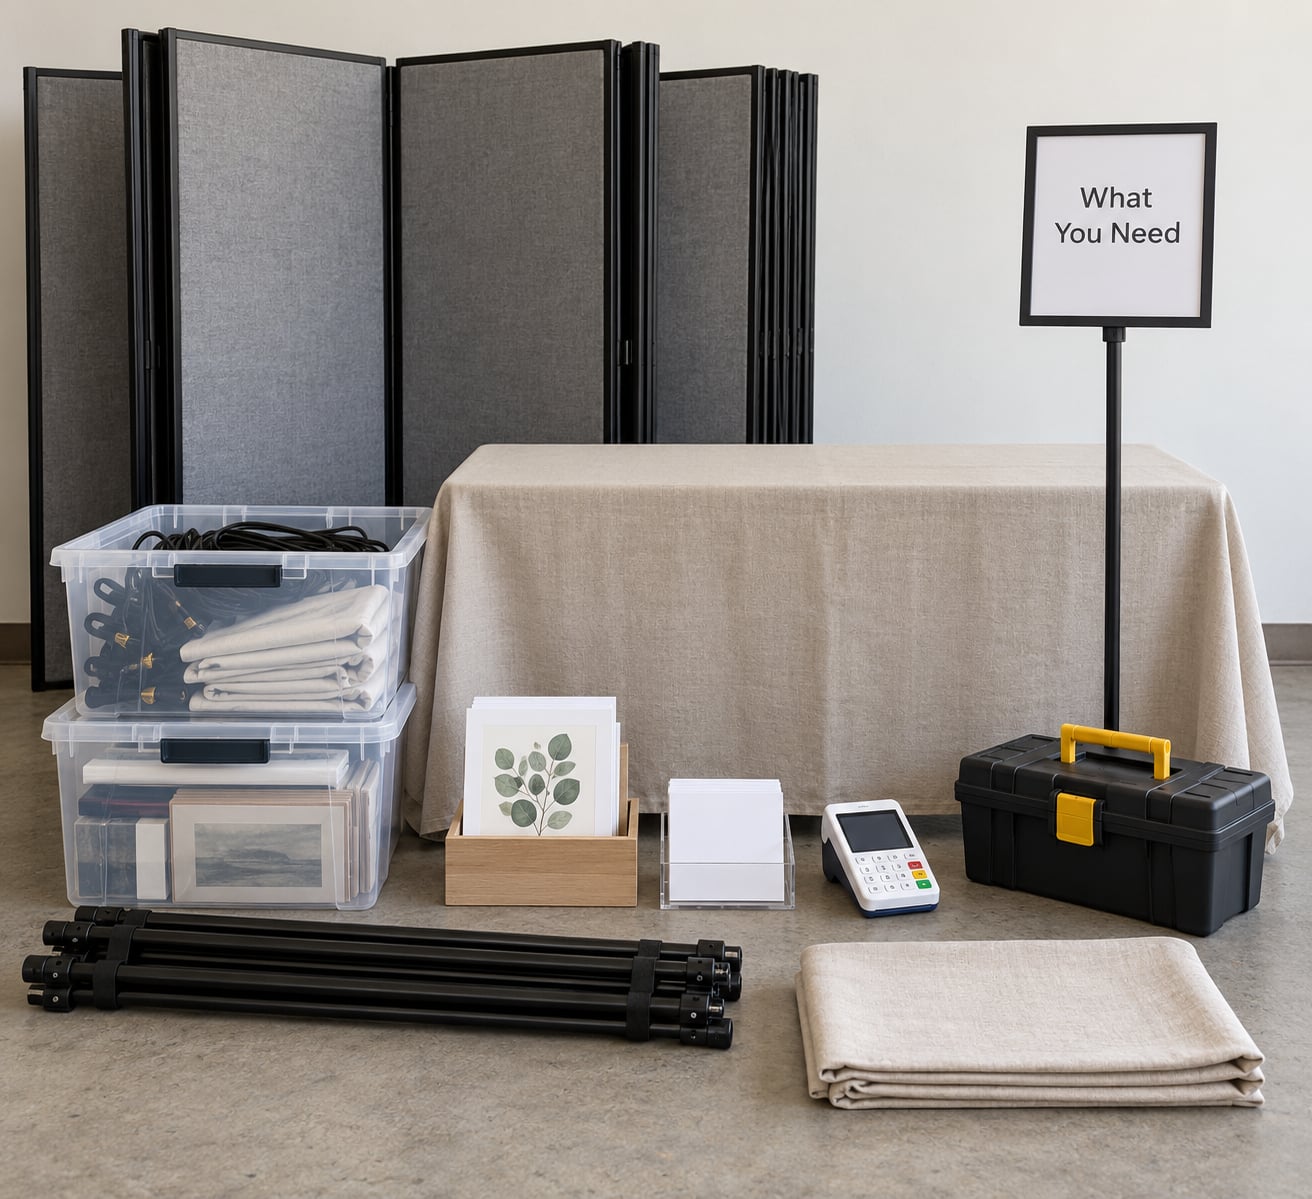
You need four groups of supplies: something to hang or stand work on, a covered table, a way to take payment, and enough hardware to keep the canopy and any shelving upright. Everything below in the required column earns its place at a first fair.
Display hardware
- A 10×10 canopy with its own frame, plus at least four corner weights and a mallet or hammer
- Grid wall panels, mesh panels, pegboard panels, or one tension-fabric backdrop, depending on how much you are hanging
- Two 6-foot folding tables for most 10×10 spaces, one for display and one for working or packing
- Risers, milk crates, or wood boxes to lift small work off the table surface
Selling and payment
- A mobile payment reader such as a Square terminal, plus a second way to take payment when the signal drops
- A charging cable and a charged power bank, because a dead reader ends a sale
- A sign or banner with your name, medium and location
- Price labels, business cards or postcards, and a marker for marking sold work
- A receipt book or a small notebook for names and emails
Safety, weather and repairs
- A floor-length tablecloth per table, so nothing under the table is visible
- Clip-on LED lights or battery-powered light strips if the fair runs late or the sky is gray
- Leveling feet, plywood shims, or wood wedges for uneven ground
- A small tool kit: hex keys, pliers, a cordless driver, a level, tape, bubble wrap and kraft paper
- A folding chair, water, and something to eat
Optional upgrades
Once the basics are covered, three additions pay for themselves quickly: a backdrop panel or two to block the booth next to yours, a corner shelf or pedestal for a hero piece, and cable covers or a rug to soften the floor. Clamp-on risers that turn a table into a step display are worth the money if you sell small work.
How to Set Up an Art Fair Booth Display: Step-by-Step
Step 1: Measure the Booth and Plan the Layout
Sketch the footprint to scale before you buy anything. Most outdoor spots are 10×10, some are 10×20, and indoor gallery-style shows often give you a wall instead of a footprint, so measure both cases.
Draw the space as a square with the aisle on one or two sides. Mark where the canopy frame stands, because its legs eat corners, then place your tables along the back edge where they will not block entry. Leave one clear opening at the front so visitors can step in instead of squeezing past a table.
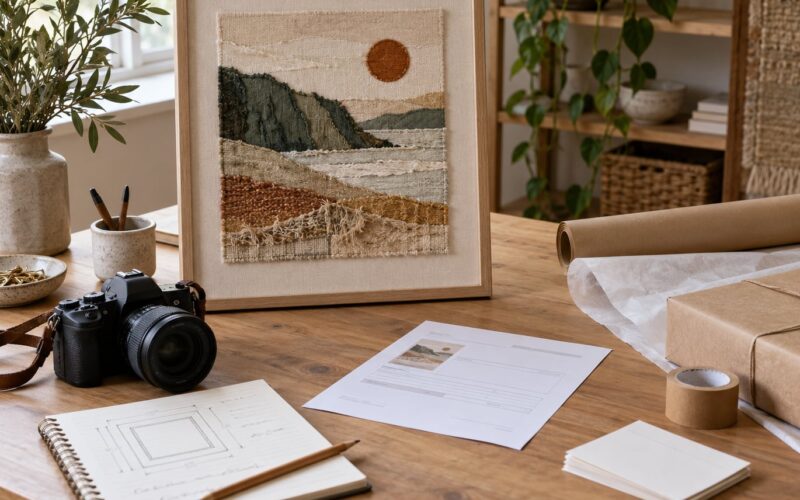
You can do this on graph paper, in Canva, or in a layout tool that scales images to a real booth. Ten minutes of sketching at home saves an hour of rearranging on grass in the dark. Before you leave, photograph the empty space from the aisle. That photo is what you compare your finished setup against.
Step 2: Choose a Strong Visual Focal Point
Pick one area that carries the eye, usually the back wall or a pedestal at eye level, and give it your strongest piece. Every visitor who walks the aisle decides in a few seconds whether to stop, so the booth needs one clear reason to exist.
Community advice on this is consistent: one to three showstoppers beat a wall of twenty pieces. A single large work, a cluster of the most distinctive small ones, or a signature series at one height all work. Put the focal point slightly off-center if you have a corner booth, because straight-on views of neighboring booths compete with it.
A second, quieter job belongs to your banner. Keep your name, medium and location readable from across the aisle at the same time you are reading the art.
Step 3: Build a Tiered Display at Eye Level
Hang the majority of your two-dimensional work between about 40 and 60 inches off the ground, because that is the band most visitors actually look at. Reserve the wall above your head for a sign or a banner, not for art nobody can see comfortably.
Use height variation. A row of identical bottoms gets flat fast, so alternate large pieces with two or three smaller ones, or hang a tall piece next to a low group. Leave empty wall around each grouping. Artists on artist forums and Reddit threads keep repeating the same correction: the wall that looks sparse in your studio looks right at a fair.
Match heights when pieces hang side by side and match widths when they stack vertically. That is the gallery hang, and it reads as calm and deliberate even when the work is busy. Avoid salon-style over-hanging, where every piece overlaps its neighbour.
For 3D work, build upward instead of outward. Riser steps, crates turned upside down, or a purpose-built corner shelf give you levels without using more floor. Mark pedestal footprints on the ground so nobody steps into them.
Step 4: Make Prices, Names, and Stories Easy to Find
Visible prices bring hesitant buyers through the curtain of the booth, and shoppers who cannot see a price assume the worst. Label everything, including the small pieces, using the same size label and the same placement on each piece.
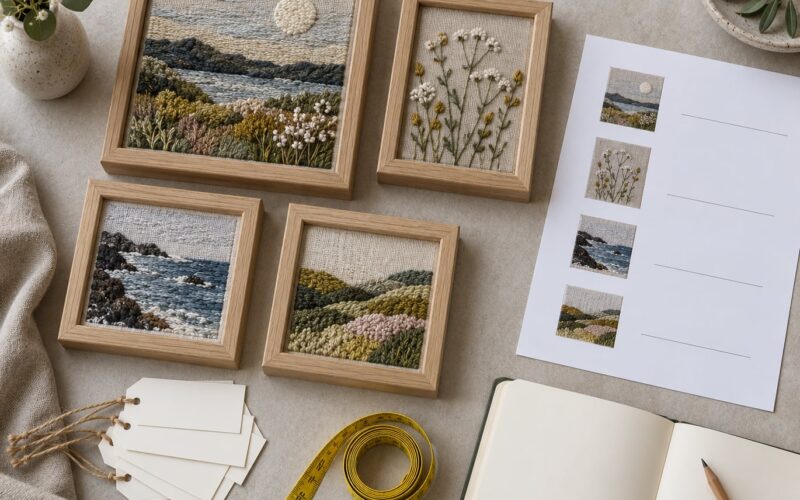
One card per artwork carries the title, medium, size, year and price. A short statement panel of three sentences about your practice lets a visitor orient themselves without you having to talk. If a piece is priced in a range, say so plainly rather than leaving them to ask.
Keep an inventory list in the booth with a matching number on each piece. Mark a sold work the same second it sells with painter’s tape and a marker on the back, and keep a second set of labels for anything you replace during the day. Bring more work than you think you will need, packed flat or in the crate that becomes a riser.
Step 5: Add a Simple Table and Working Area
Use one table to display small work, prints, cards and packaging, and keep a second table behind or beside it as a working surface so you can wrap a purchase out of sight. Keeping those two jobs separate is what stops a booth from looking like a workbench.
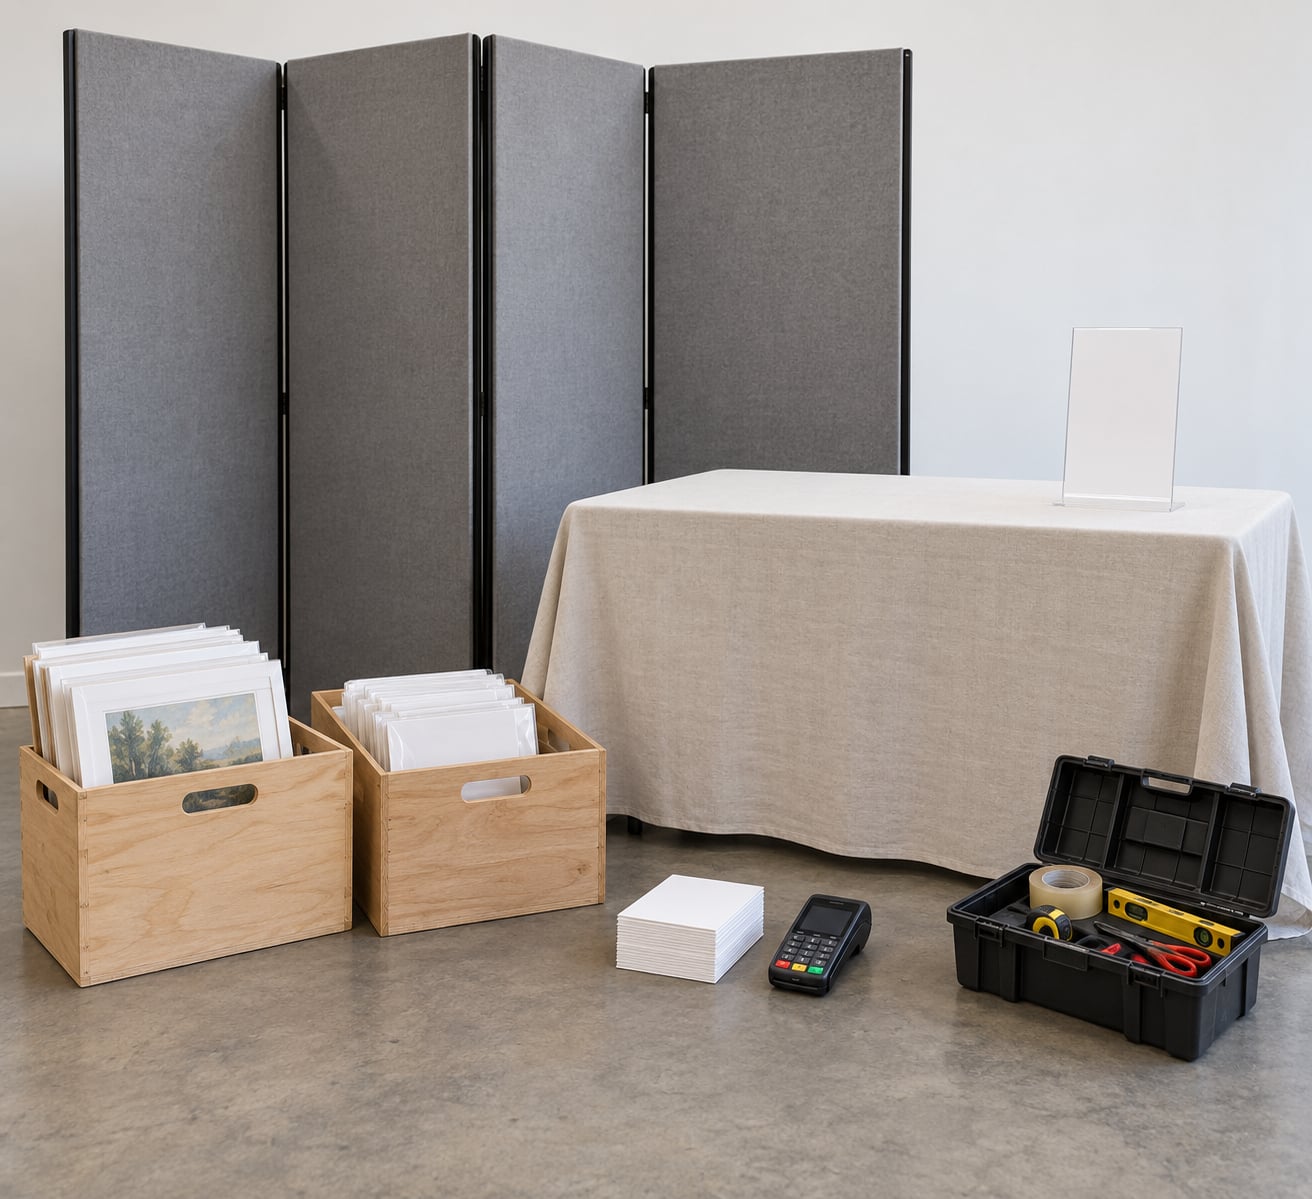
Cover both tables with floor-length cloths. Shorter cloths that stop at the tabletop expose boxes, totes and inventory, and the eye reads the whole thing as storage. Tuck the surplus into matching bins or a fitted skirt so the under-table is a solid plane of fabric.
Set featured pieces on risers so they sit above the cloth line, and group smaller work by series rather than by price. On this table, put the transaction kit where a customer can reach it: reader, receipts, cards, tape and wrapping paper within arm’s reach of where you stand.
Step 6: Set Up Lighting, Seating, and Comfort
Light your work rather than the booth. Two clamp-on LED panels aimed at the walls, or battery strips along a shelf, fix the dull look of an overcast outdoor fair and help at indoor shows with weak overhead lighting.
Test the light before you hang, not after. Clip a lamp to a panel, switch it on, and look at your piece from the aisle. If glare washes out the surface, move the light higher or angle it across the wall instead of straight on.
A folding chair and a rug or mat make a booth feel like a place a person chose to stand, and they slow traffic down without costing you floor space. Keep the chair out of the entry path and off any pedestal footprint.
Step 7: Pack a Checkout and Emergency Kit
Pack the kit in one labeled tote that you can grab with one hand. Inside: the payment reader and a spare cable, a power bank, tape, painter’s tape, a marker, bubble wrap, kraft paper, scissors, a hex key, pliers, a small driver, spare hooks or clips, shims, and a printed list of what you brought.
Add the fixes you cannot buy on site. A level and shims solve an uneven lawn. A spare clamp solves a shelf that wobbles when someone leans on it. Spare labels and a marker solve the moment a piece sells and the wall has a hole in it. A phone hotspot or a second payment option covers dead signal, which is the most common reason a card sale falls apart at a fair.
Under the table, stage your replacement work in the order you are likely to need it, with the crates doubling as risers so unpacking is not a separate job.
Step 8: Do a Final Walk-Through and Test
Stand five feet back in the aisle, which is the distance most people first see your booth, and check that your title, name and focal piece all read from there. If they do not, the fix is almost always height or contrast, not more work.
Then walk your own booth and confirm five things. That every piece is labelled and priced. That nothing sways when you push it lightly. That the reader works and the signal holds. That the entry path is clear and the aisle side of the booth is uncluttered. And that your seating, water and phone are reachable without crossing in front of a customer.
Do this before the doors open, not during the rush. Setup problems found at 9am are a five-minute adjustment. The same problem found at 1pm costs you a sale.
Display Hardware: What Each Option Is Good For
No single surface handles every booth. Here is how the main options compare, based on what exhibitors actually use and the trade-offs they report.
| Hardware | Best for | Stability outdoors | Relative cost |
|---|---|---|---|
| Grid wall panels | Framed and unframed 2D work, dense hangs | High, and heavy enough to double as canopy ballast | Medium |
| Mesh panels (Pro Panels) | A polished gallery look with even spacing | High, solid and quick to connect | Medium to high |
| Pegboard panels | Lightweight, budget-friendly, mixed small work | Moderate; needs a frame or the wall stays flexible | Low |
| Wire grid with saw kerfs | Build-your-own shelves registered into the grid | High when bolted, poor when simply rested | Low |
| Knock-down shelving | Shelves that collapse flat for the car | Varies; needs leveling feet and ballast on grass | Low if built, medium if bought |
| Crates, risers and pedestals | Ceramics, sculpture, prints and very small work | Good, and they hide inventory | Low |
Two practical notes from the forums. First, wire your panels together in a consistent, tidy pattern; white-coated wire run in straight lines reads as professional, while improvised runs read as temporary. Second, if you build knock-down shelves yourself, 2×3 lumber with thin plywood and cheap metal shelf brackets will fit in most cars, and the same box can serve as a shipping crate.
Common Mistakes
Cramming the walls. More work is not more value to a passerby. Leave space between groupings, cut your selection to what the wall can hold at a comfortable viewing distance, and bring the remainder as replacements for the day.
Skipping the weights. Many shows and most canopy manufacturers expect a minimum of 40 pounds at each corner. Practitioners on forum threads describe tents simply gone after a night storm, and the fix is four sand-filled weights and a stake in every available soft corner.
Standing at the entrance. Standing in the entry path blocks the flow you spent all morning creating. Sit back, stand to one side, and let people finish looking before you talk. Artists who do this report longer conversations and fewer interruptions.
Hiding prices. No price means no entry. Label before you open, including the work inside a bin.
Wobbly shelving on grass. This is the most complained-about problem in outdoor exhibitor threads. Leveling feet, plywood shims, wood wedges, and clamping tabletop shelves to the table all help. Weighted bases of around 20 pounds per unit turn a folding bookcase into something a child can lean on.
Ignoring the neighbour. If a neighbor’s bright wall or banner sits directly behind your hang, add a backdrop panel or a neutral cloth. It costs nothing and it protects the reading of your colors.
Eating and reading on duty. You have paid for the space and the hours. Take breaks in a rotation with a helper if you can.
Indoor and outdoor fairs need different emphases. Indoors, light and wall placement do the work, so spend on panels and spacing rather than on weights and stakes. Outdoors, stability and readable-from-five-feet presentation do the work, so spend on ballast, shims and height, and accept that a gray sky will flatten your colors no matter what you hang.
Frequently Asked Questions
How high should I hang art in an art fair booth?
Most exhibitors hang between about 40 and 60 inches off the ground, which is the band visitors naturally look at while walking. Keep a low group near 40 inches for seated viewing and reserve anything above 60 inches for a sign or banner rather than sale work. Step back five feet from the aisle and confirm the focal piece reads at eye level before you hang anything else.
How much weight does an art fair canopy need?
A 40 pound minimum at each canopy corner is the number exhibitors cite most often, and it is a reasonable floor for a 10×10. Sand-filled weights are easy to move and easy to add, while stakes help in soft ground. Check your show’s exhibitor guide, because organizers often publish their own minimum and expect you to follow it exactly.
Should I use a grid wall or a backdrop?
Use grid wall or mesh panels when you are hanging many two-dimensional pieces, since they hold weight, accept hooks at any point, and can be wired into a solid surface. Use a backdrop when you need to block a neighbor quickly or present a small, uniform selection. A tension-fabric backdrop is fast to install but limits how many pieces you can add once it is up.
How do I keep shelves stable on grass?
Level the ground first, then level the shelf: leveling feet or wedges under the base, and plywood shims under any corner that still rocks. Clamp tabletop shelves to the table, and add ballast of roughly 20 pounds per unit at the bottom where it cannot be kicked. Avoid tall, light folding bookcases entirely on uneven ground.
How do I price and label art at a fair?
Label every piece with title, medium, size, year and price using one label size and one placement, so the booth reads as a single system. Put the price where a visitor sees it from the aisle, and state ranges honestly rather than hoping they ask. Keep a numbered inventory list in the booth and mark sold work immediately with tape and a marker.
What should I bring to my first art fair?
Bring the work you want to sell plus replacements, your display hardware, corner weights, tables, floor-length cloths, risers, signage, price labels, a payment reader with a backup, packaging, a tool kit, shims, a chair and water. Most first-timers underpack the display kit and overpack the artwork, and the display kit is what determines whether people can see the work at all.
Conclusion
Start with the footprint. Sketch your 10×10 to scale, mark the aisle side and the canopy legs, and decide where the tables go before anything else.
Then put your strongest work at eye level between 40 and 60 inches, label it so the price reads from the aisle, and set aside a two-hour window to test the full setup with a friend standing in the aisle. Most booth problems are found in that test rather than on the fair day. Updated for 2026, and worth re-reading whenever you change mediums or sizes.