An art sales receipt is a numbered document you hand a buyer once payment is settled. It names the piece they bought, the amount they paid, the date, and who the seller is, and it doubles as proof of purchase and as your own record for tax time.
Writing one takes about ten minutes if you set up a template once and reuse it. The order of the fields matters more than the design, so I’ll walk through the order that works, then flag the places where people most often trip.
Tax and reporting thresholds differ by state and by how your studio is set up, so treat the tax notes below as a heads-up rather than advice. A qualified accountant or your state revenue department can confirm what applies to you.
Table of Contents
- What You Need
- Step-by-Step: How to Write a Receipt for Artwork Sold
- 1. Confirm the Sale and Choose a Receipt Number
- 2. Add Seller and Buyer Information
- 3. Identify the Artwork Clearly
- 4. Record the Price and Payment Status
- 5. Add Tax, Delivery, and Custom Terms When Relevant
- 6. Calculate and Reconcile the Total
- 7. Review, Sign, and Deliver the Receipt
- Common Mistakes
- Receipt Tips for Artists and Collectors
- Frequently Asked Questions
- Do I need a receipt when I sell original artwork?
- Is a receipt for artwork the same as an invoice?
- What information should an art sales receipt include?
- How should I record a deposit and final payment?
- Should sales tax appear on a receipt for artwork?
- Do I need to sign an artwork receipt?
- Conclusion
What You Need
Gather these before you open a template. Half the errors I see come from starting with a blank page and trying to remember a title or a dimension from memory.
- Transaction details: sale date, receipt number, and the payment status you are recording.
- Artwork information: title, medium, dimensions, year created, and edition number if it applies.
- Seller details: your name or business name, business address, email, and phone.
- Buyer details: the name on the payment and, for business purchases, the billing entity and its tax ID number.
- Payment method: how the buyer paid and the date the payment cleared.
- Amounts: agreed price, any discount, delivery charge, tax if applicable, deposit, and balance.
- Optional files: a photo of the piece, your certificate of authenticity number, and your license or reproduction terms if rights are changing hands.
One caution about the buyer fields. Write down the name and email you need to close the sale and keep the paper trail, and nothing more. If the purchase is personal, a home address is usually not needed once the transaction is done.
Step-by-Step: How to Write a Receipt for Artwork Sold
1. Confirm the Sale and Choose a Receipt Number
Write the receipt after the money has actually cleared, not when the buyer promises to pay. A receipt that says “paid in full” and describes money you never received is a document you will have to correct later.
Number receipts sequentially: 2026-001, 2026-002, 2026-003. Sequential numbering gives you an audit trail and stops duplicate numbers from creating confusion at tax time. Never reuse a number, even after a cancellation; mark it void instead.
A receipt, an invoice, a packing slip, and a certificate of authenticity are four different documents. A receipt confirms payment received. An invoice requests payment. A packing slip says what is in the box. A certificate of authenticity describes the work itself and stays with the piece permanently.
2. Add Seller and Buyer Information
Put your business name, address, email, and phone at the top so the buyer can contact you about delivery, framing, or a return without hunting for an old message thread.
On the buyer side, record the full legal name that matches the payment. For a company, a hospital, or a nonprofit, capture the billing entity name and its tax identification number, because their accounts payable department will ask for both. Avoid adding personal details that have no purpose on the document.
3. Identify the Artwork Clearly
Describe the piece the way a stranger would need to identify it: title in quotation marks, medium, height by width by depth, the year it was finished, and the edition number out of the total edition for prints.
Add framing details if the frame is included in the sale, and note any included extras such as a hardware package or a written artist statement. Attaching one photo helps enormously when the buyer will never see the piece in person.
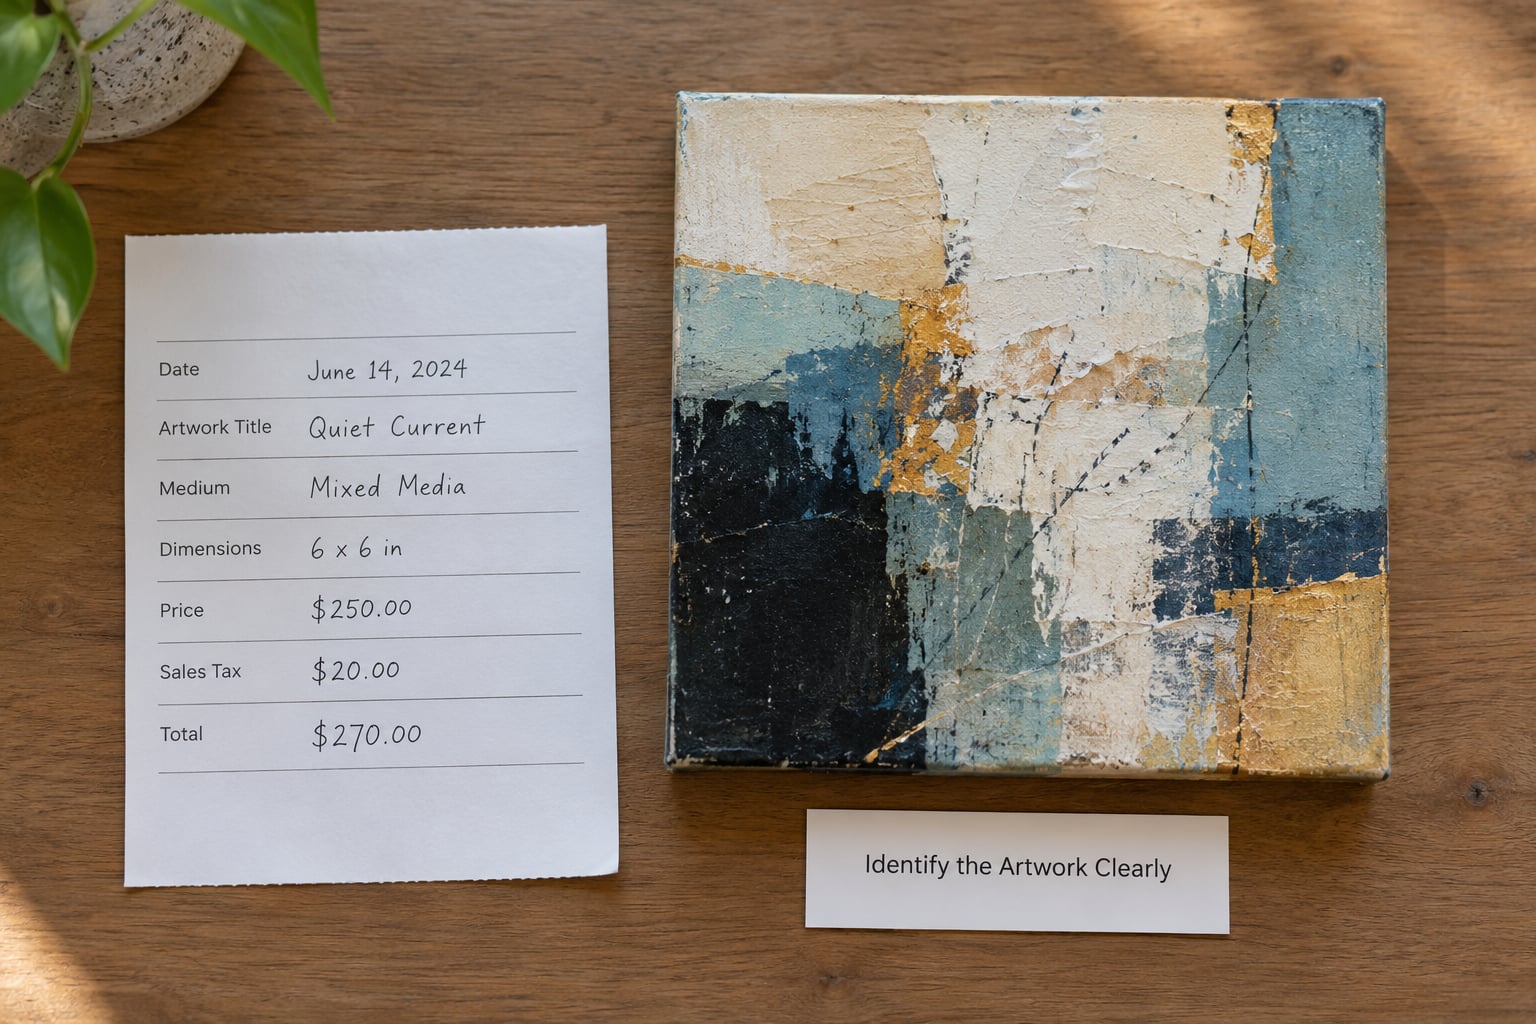
For editions, the wording matters. “Edition of 25, number 7” tells a collector exactly what they hold. “Limited edition” tells them nothing they can verify.
4. Record the Price and Payment Status
State the agreed sale price on its own line rather than folding it into the total. If a discount applied, show the original price and the discount as separate lines so the arithmetic is visible.
Then label the payment status unambiguously: deposit received, balance due, or paid in full with the date. Vague phrases like “balance to follow” cause more arguments than any other line on the document.
If rights change hands, add a short usage line. Saying that copyright remains with the artist, or describing a limited reproduction license with its duration and territory, prevents the most common misunderstanding after the sale closes.
5. Add Tax, Delivery, and Custom Terms When Relevant
Only include tax language that you can support. If the piece leaves your state for delivery, the treatment can shift, and some states handle physical artwork differently from other goods. State the tax you actually charged, the rate if there is one, and leave it there.
Add a delivery line when the buyer pays for transport or crating, and note who carries the risk during transit. If the sale carries a return window, a cancellation policy, or a gallery commission split, put those terms in writing on the same page rather than in a separate conversation.
Keep custom terms short. One or two lines of plain language that a reader can understand beats a paragraph lifted from a form.
6. Calculate and Reconcile the Total
The formula is simple: artwork price plus tax plus delivery charges and any other agreed fees, minus the discount, minus the deposit already received. What remains is either the balance due or the amount paid in full.
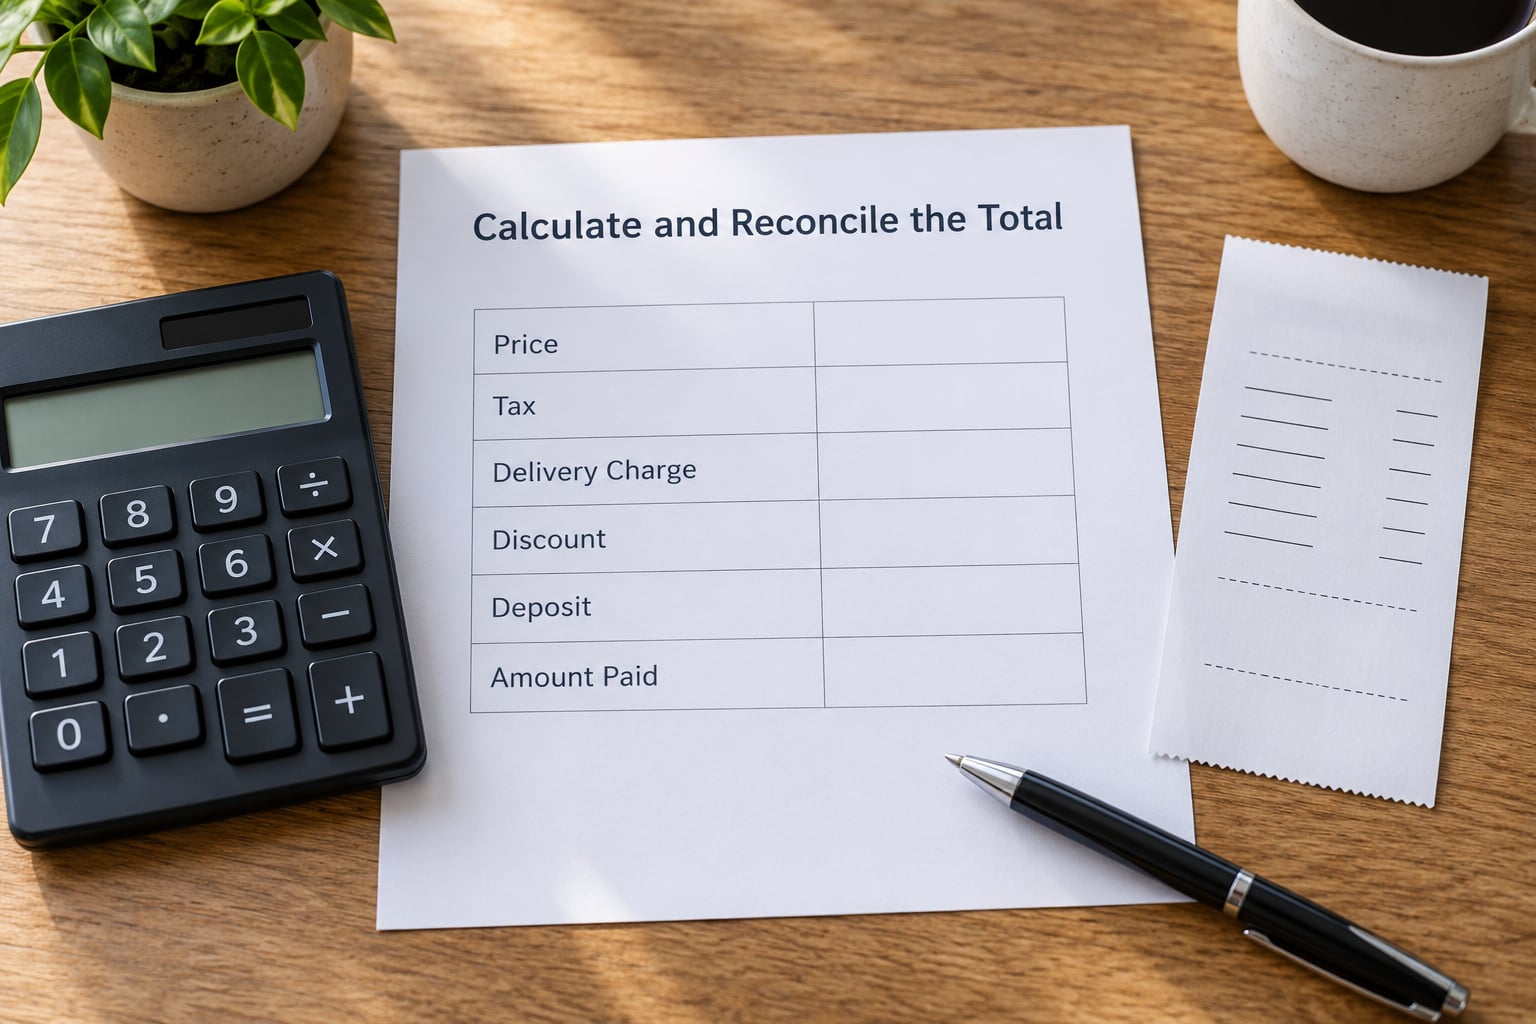
Then match the result to the bank or card record. If your deposit receipt showed 1,200 credited earlier and today’s receipt totals 3,400, the balance due should be 2,200 exactly. When those numbers agree, the paperwork will reconcile at tax time without detective work.
7. Review, Sign, and Deliver the Receipt
Proofread the buyer name and every figure before sending. Look for transposed digits in dimensions and amounts, since a title typo in an artist name is easy to miss on a second pass.
Sign the receipt if your practice calls for it, and let the buyer countersign when a physical transfer of the work happens in the room. Issue a copy to the buyer the same day, then file your own copy where you will find it in nine months.
A short note travels well with it: thank the buyer, restate the title and medium in the body of the message, list what is enclosed including the certificate of authenticity, and give a date for any remaining balance.
Common Mistakes
These are the errors that come up again and again, each with the fix.
- Descriptions that fit no other work. “Painting” is not identification. Fix: title, medium, dimensions, year.
- Totals that do not add up. A discount buried in a line item hides an error. Fix: show each line and the arithmetic.
- Vague payment status. “To follow” leaves both sides guessing. Fix: name the amount and the date.
- Silent tax treatment. Omitting a required tax line creates a gap later. Fix: record what you actually charged, and ask a tax professional about anything unclear.
- Duplicate receipt numbers. Two documents claiming to be number 14 wreck an audit trail. Fix: sequential numbering, never reused.
- Overreaching terms. Promising a return policy you will not honor damages the relationship. Fix: only state terms you can deliver.
- Losing the buyer’s copy. A receipt you never sent is only your own record. Fix: send it the day the payment clears.
Receipt Tips for Artists and Collectors
A few habits make this routine rather than a chore.
- Keep one master template per sale type and edit fields rather than rebuilding.
- Number sequentially by year, and never skip a number without marking it void.
- Save digital copies in one folder per year, named by receipt number.
- Keep a separate payment ledger so bank deposits, card payouts, and receipts can be matched at tax time.
- Pair each receipt with the certificate of authenticity and the provenance note for that piece.
- Send receipts from a business email on a dedicated business account, which keeps money and paperwork separated from personal records.
And confirm your own reporting obligations with a qualified professional. Thresholds for reporting a sale and for collecting buyer information vary, and they change.
Frequently Asked Questions
Do I need a receipt when I sell original artwork?
Yes, and it is worth giving every sale one. A numbered receipt confirms payment, identifies exactly which piece changed hands, and gives you a dated record for your own books. Collectors also use it as proof of purchase for insurance claims, and business buyers cannot process a reimbursement or a vendor payment file without one.
Is a receipt for artwork the same as an invoice?
No, they mark opposite ends of the transaction. An invoice is a request for payment, sent before or at the start of the sale, and it usually carries a due date. A receipt confirms the money has already arrived. Plenty of small studio sales skip the invoice entirely and issue only a receipt once payment clears.
What information should an art sales receipt include?
A useful receipt carries your business name and contact details, the buyer’s name, the receipt number, the sale date, the artwork title, medium, dimensions and year, the agreed price, any tax or delivery charge, the payment method and date, and the payment status. For a purchase with rights attached, add a short line describing the copyright or license terms.
How should I record a deposit and final payment?
Issue a numbered receipt for the deposit showing the amount received and the balance still due. When the balance clears, issue a second receipt that references the first number and shows the final amount paid in full. Two clean documents are far easier to sort out than one receipt with crossed-out figures on it.
Should sales tax appear on a receipt for artwork?
Only if you actually charged it. Record the tax line exactly as assessed, including the amount and any rate you applied. Rules for taxing physical artwork differ by state and change over time, and some states treat it differently from other goods, so ask your state revenue department or a tax professional before applying a rate you are unsure about.
Do I need to sign an artwork receipt?
A signature is not always required, but it helps. Signing the seller line shows the document came from you, and a buyer countersignature confirms they received the piece described. Keep it simple with a printed name, signature, and date. If a buyer needs a more formal transfer of title, that is a separate signed document.
Conclusion
Start with the details you already have: the final sale price, the cleared payment date, and the artwork’s title, medium, and dimensions. Build the receipt in the order above, work the total line by line until it matches your bank record, then send a copy to the buyer and file the other one under its sequential number.
Doing that consistently in 2026 takes minutes per sale, and it gives you a clean record whenever a buyer needs proof of purchase, a gallery asks for paperwork, or tax time arrives.