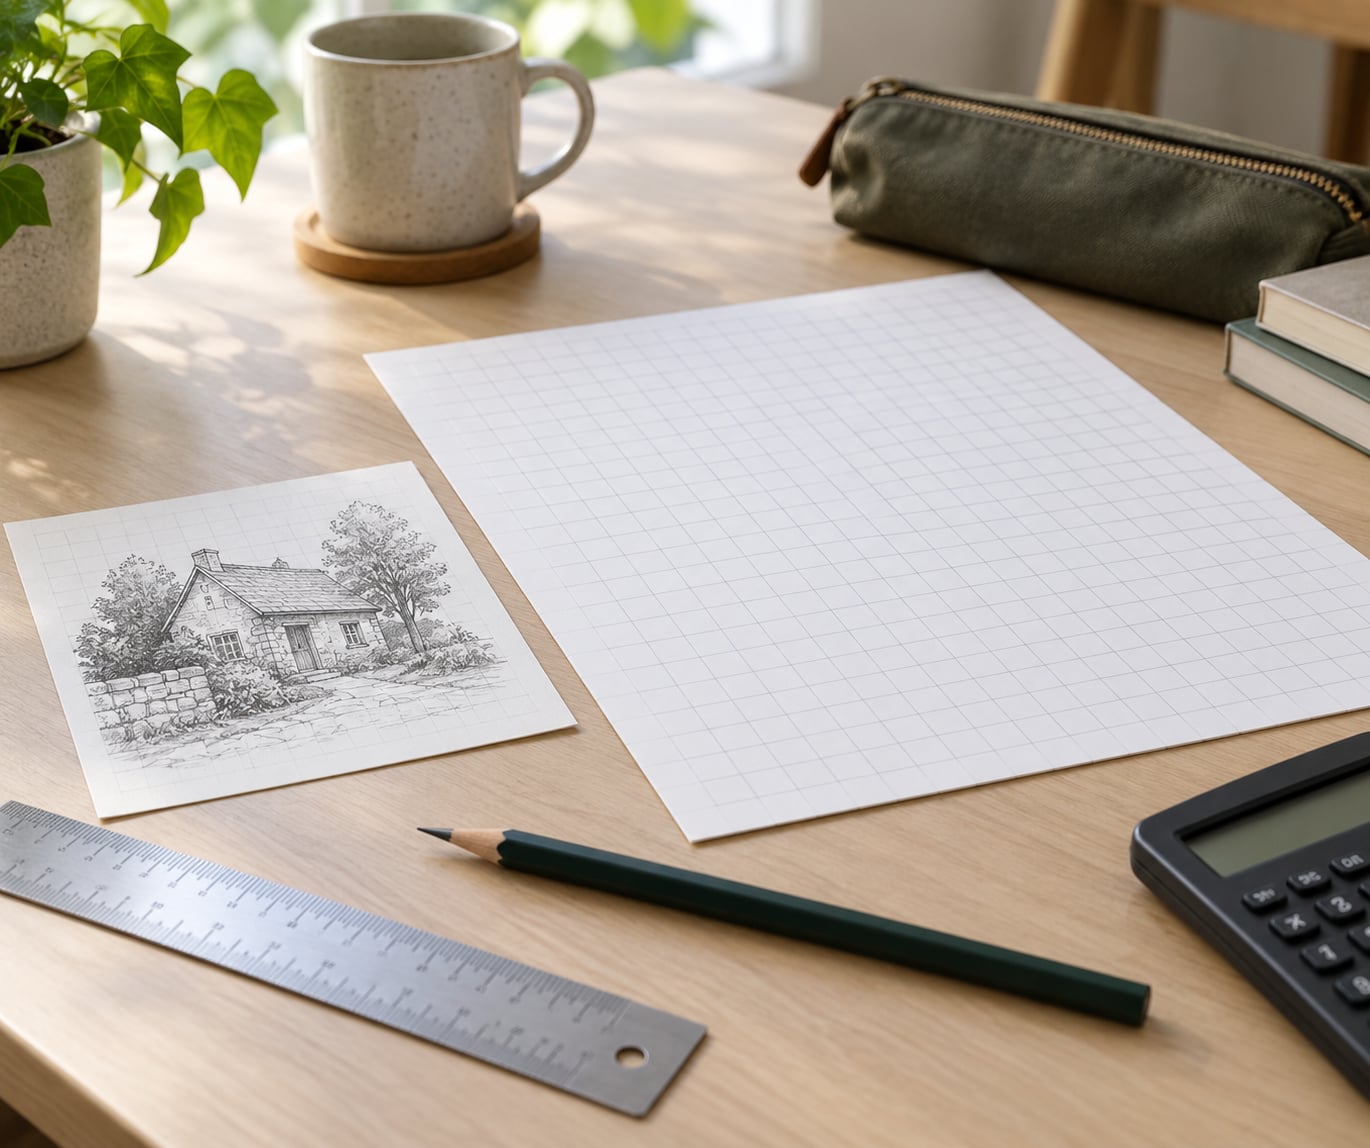
To use a grid to scale up a design, you divide the small reference into equal squares, draw a matching grid of larger squares on your final surface, and copy the image one square at a time. The grid holds every measurement in proportion, so a thumbnail sketch comes out the right size without guesswork. It takes about an hour for a simple composition and works in pencil, paint, textile and mixed media alike.
Enlarging by eye is where most drawings go wrong. Something that looks like a small shape on a thumbnail turns out to be twice as wide as you thought once it is four inches across. A grid removes that guesswork by giving every part of the design a fixed address, so a squiggle in square C4 lands in square C4 on your canvas, bigger and in the same place.
I use this whenever I am moving from a small study to a finished piece, and it is the method I teach first to anyone learning proportion. The setup is fussy for about ten minutes, then the drawing itself becomes almost easy.
Table of Contents
- What You Need
- Step-by-Step
- Step 1: Measure the Original Design
- Step 2: Choose a Grid Size
- Step 3: Draw the Scaled Grid
- Step 4: Map the Main Shapes and Landmarks
- Step 5: Connect the Marks and Refine the Design
- Step 6: Check, Transfer, and Clean Up
- Common Mistakes
- Frequently Asked Questions
- What is the grid technique in art?
- What grid size should I use?
- How do I change the grid size?
- What is the 50% rule in art?
- Can I use a grid digitally or on a tablet?
- Is using a grid cheating?
- Conclusion
What You Need
The full list is short, and most of it is already in your studio.
- The source design. A photo, a thumbnail, a page from a sketchbook, or a printout. It needs to be flat and easy to see.
- A measuring tool. A ruler long enough to span your surface, or a tape measure for anything wider than a foot.
- Grid paper or a digital grid. Graph paper with even squares works well for the reference. For the final surface, a printed grid, a ruler and a pencil, or a grid drawn freehand all do the job.
- A pencil. A hard grade such as 2H or 3H keeps your reference grid faint, and a softer 2B or 4B is easier for marking landmarks on the surface.
- An eraser. A kneaded eraser lifts a graphite line without scouring the surface, and a clean vinyl or hard rubber eraser takes down anything the kneaded one leaves.
- A surface sized for the finished piece. Paper, canvas board, panel, fabric or wall. Decide the final dimensions before you draw a single square.
One more thing helps more than any tool: a phone photo of your reference. When the physical print is tucked under a board or flipped face down, the phone gives you the image back at full size.
Step-by-Step
Learning how to use a grid to scale up a design takes six passes. Work through them in order and check your work at each stage, because a small error in square one becomes a large error by square nine.
Step 1: Measure the Original Design
Measure the height and width of your reference and write both numbers down. Divide one by the other and you have the aspect ratio, which is the single most important number in the whole process.
Aspect ratio is the relationship between the two dimensions. A 4 by 3 reference has a ratio of 1.33, so anything you make from it should also be about 1.33. If your finished surface is a different shape than your reference, the grid stretches and the drawing comes out distorted, which is the mistake beginners hit most often.
Next, decide the final size. Measure your surface, subtract a margin for edges or framing, and subtract that from your target. You now have the exact width and height you need to reproduce.
Step 2: Choose a Grid Size
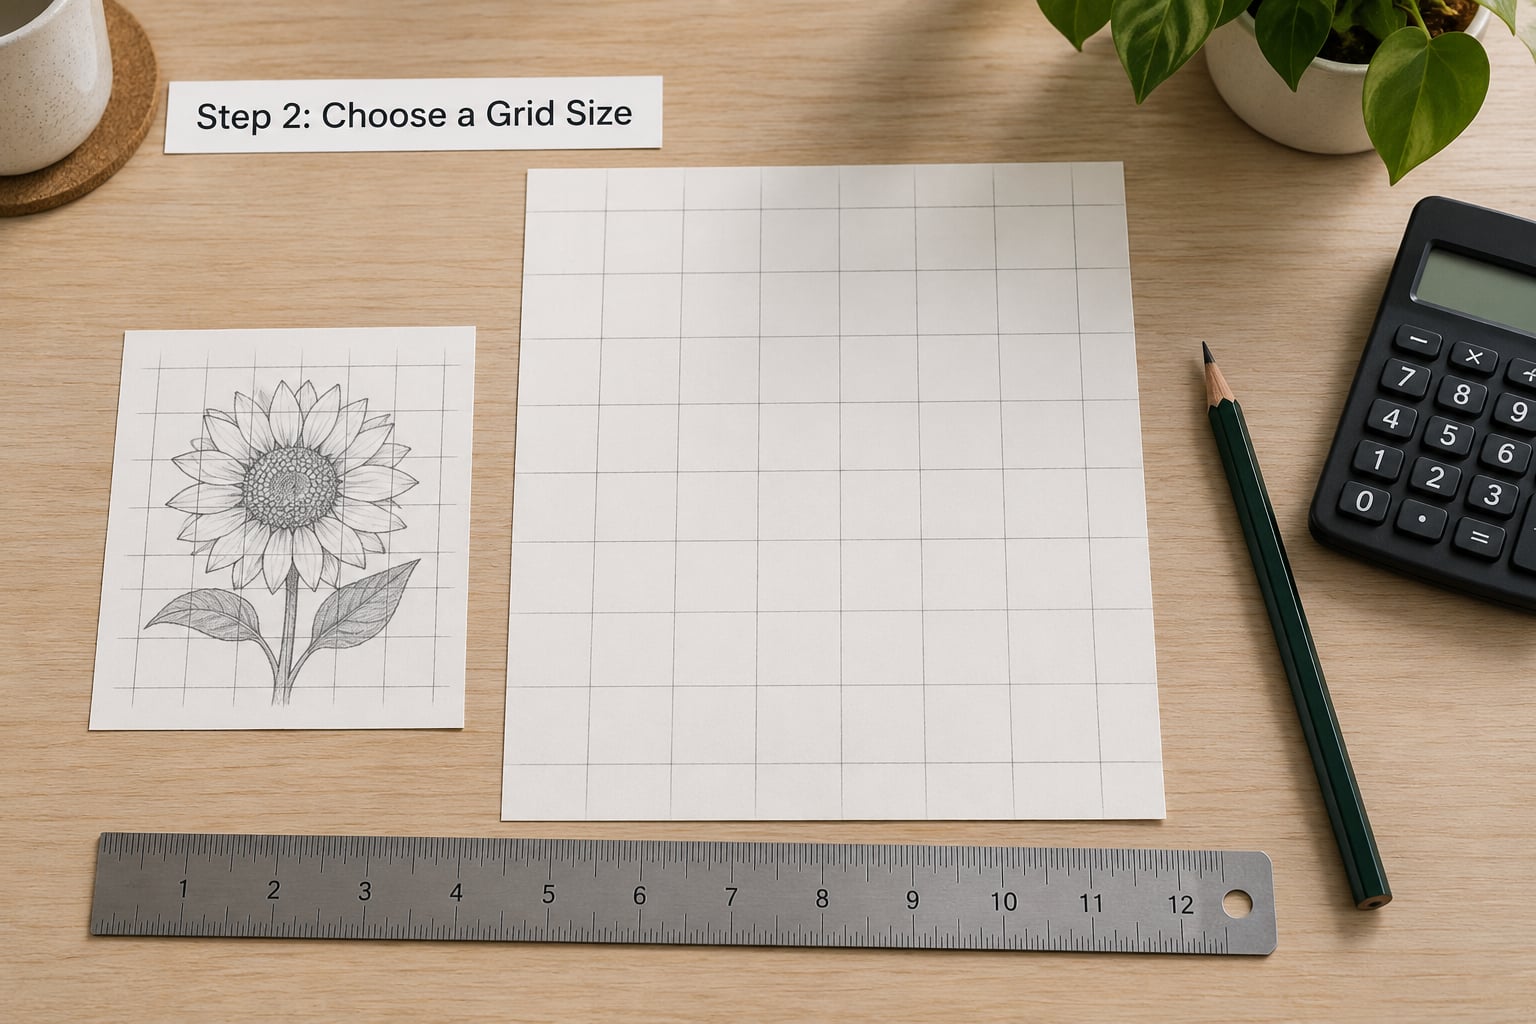
Count the squares across the reference and down its side. Somewhere between six and ten is the useful range for most work, and an even number of squares is easier to divide by than an odd one.
Then divide your target width by the number of squares across. A finished width of 20 inches with 8 squares gives you squares of 2.5 inches, and that figure is your square size for the rest of the process. Double the square count and you halve the square size, so ten across gives you squares of 2 inches and a finer read on detail.
Use the detail in your design as the guide.
| Level of detail in the reference | Squares across the width | Square size on a 20 inch wide piece | What to expect |
|---|---|---|---|
| Simple, big shapes only | 4 to 6 | 3.3 to 5 inches | Fast, forgiving, loses small detail |
| Moderate, recognisable subject | 8 to 10 | 2 to 2.5 inches | The usual choice for portraits and landscapes |
| Fine, dense detail | 12 to 16 | 1.25 to 1.7 inches | Accurate but slow, needs a steady hand |
Worked example: a 6 by 8 inch photo of a garden gate, enlarged to a 24 by 32 inch canvas. Eight squares across the width gives squares of 3 inches. Eight squares down the height gives the same 3 inches, because the photo and the canvas share a ratio of 0.75. Both grids match and the arithmetic agrees with itself.
Step 3: Draw the Scaled Grid
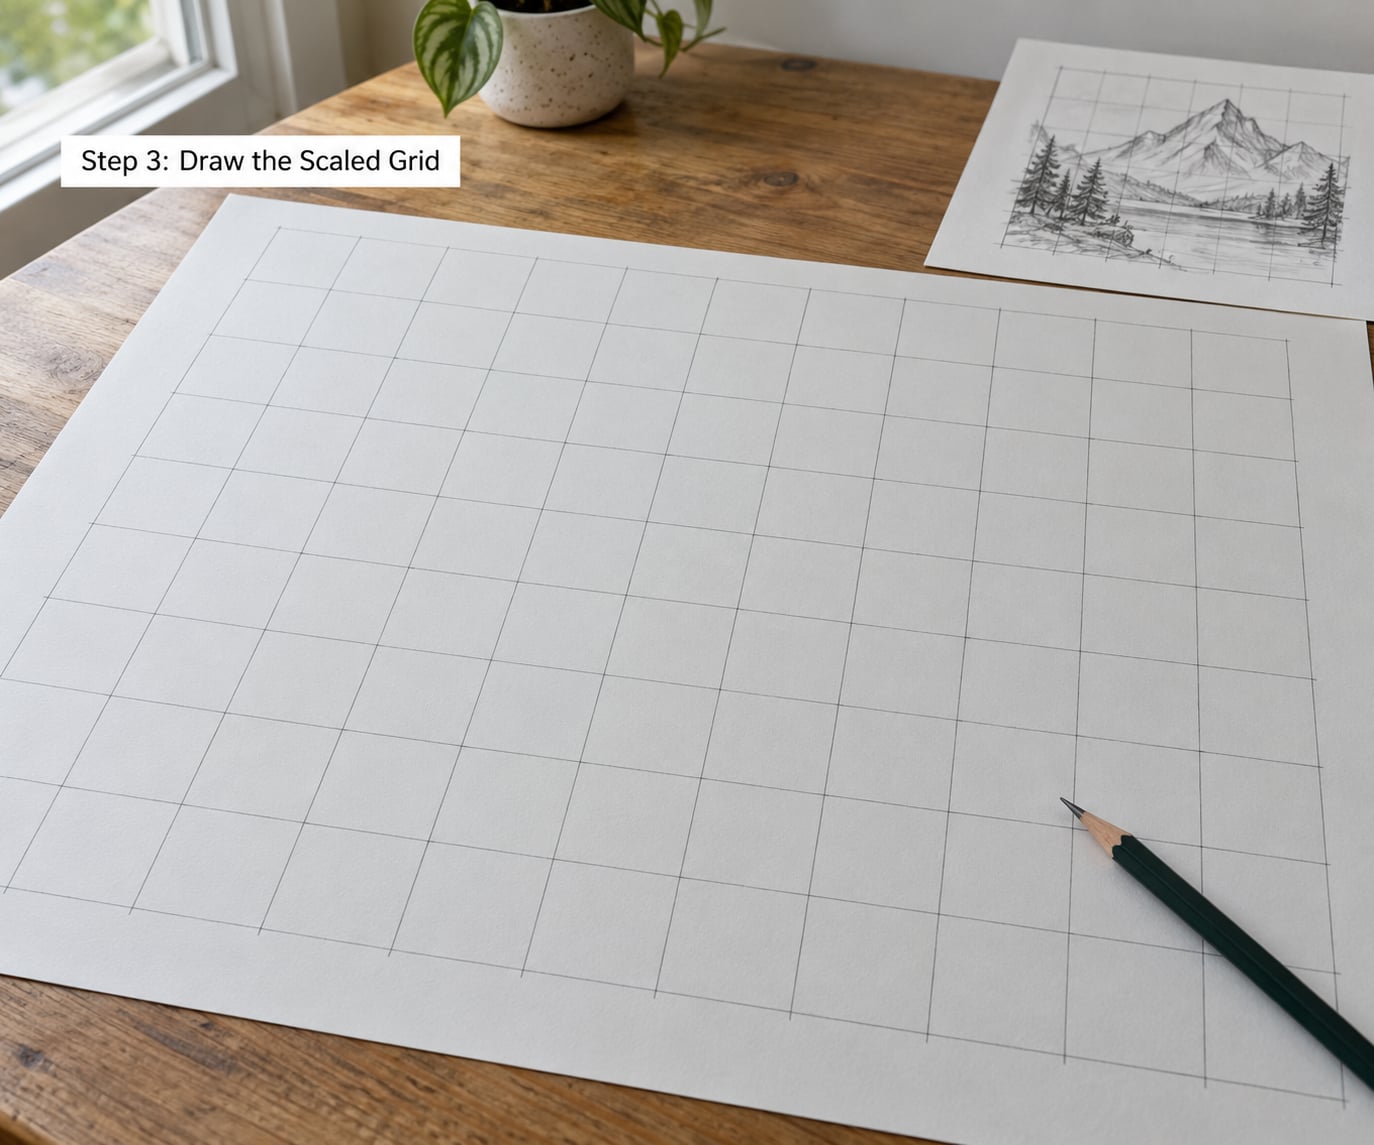
On the reference, draw your grid lightly in pencil or lay a sheet of graph paper over it and tape it down. Label the columns with letters across the top and the rows with numbers down the side. The labels cost you two minutes and save you from hunting for a square later.
On your final surface, mark the margins first, then measure your square size from the margin line outward rather than from the edge of the surface. Mark every square position with a light tick before drawing any lines. Measuring everything first and connecting second is how you avoid lines that drift.
Draw the grid in the faintest graphite you can still see. A 2H pencil on canvas board leaves almost nothing; on paper you may need an H. Any line that survives into the finished piece is a line you have to remove later.
Step 4: Map the Main Shapes and Landmarks
Before you draw a single curve, look across the whole reference and pick out the landmarks: the outer contour of the subject, the centre line, sharp corners, the point where a shadow turns, the edge of a horizon.
For each landmark, find the square it sits in on the reference and locate the same square on your surface. Mark the position lightly with a dot or a short tick, and note roughly where inside that square the point belongs. Ten landmarks will tell you the composition of the whole design.
Mark shapes in the order they read: biggest and highest contrast first, then the mid shapes, then the small ones. It is the same order you would paint them in.
Step 5: Connect the Marks and Refine the Design
With the landmarks placed, connect neighbouring marks inside each square with smooth curves. Stay inside one square at a time, then move on. You are redrawing a small, manageable area rather than staring at the whole thing.
Step back every few squares. If one part of the drawing is reading darker or heavier than the rest, you have almost certainly compressed the shapes in that area.
Add secondary detail only after the proportions are right, and only while the answer to “does this belong here” is yes. Overcrowding a small square is what produces a muddy, unrecognisable result from an otherwise accurate grid. If a shape does not fit in its square, it means the proportions are off, not that the square is too small.
Step 6: Check, Transfer, and Clean Up
Use the 50% rule before you go further: when you are about halfway through the design, stop and compare it against the reference from a distance. Square by square, check that each part sits in the right place. Corrections are cheap halfway through and expensive at the end.
Once the drawing holds together, secure it in its medium. Sketching medium can be traced directly. For paint, redraw the transferred line over the grid in your final colour, then let it dry. For fabric, use a lightbox or a tracing layer, or trace the line with a washable marker.
Only then remove the grid. A kneaded eraser lifts graphite gently; a hard eraser with a light hand takes down what remains. Work from the outer edges inward and change eraser faces often, because a smudged line is harder to lift than a clean one. If a few faint lines survive, they disappear under paint, and on paper a light spray of fixative locks the drawing before you erase.
Common Mistakes
Almost every bad grid result comes from one of a handful of problems, and each has a simple fix once you can name it.
| What went wrong | Likely cause | How to fix it |
|---|---|---|
| The finished drawing looks stretched or squat | Reference and surface have different aspect ratios | Recheck both ratios before drawing; match the long side to the long side |
| Grid lines wander and squares stop matching | Lines drawn freehand in one long stroke | Tick every position with a ruler first, then connect the ticks |
| A shape lands in the wrong square | Losing count of letters or rows | Label both grids with letters and numbers and check the label, not the shape |
| Detail turns to mush in small squares | Adding detail before proportions are fixed | Block in large shapes first and leave detail until the whole reads correctly |
| The grid shows through the finished piece | Too much pencil pressure or too soft a grade | Use a hard pencil and press lightly; secure the work before erasing |
| The result still looks wrong | Drawing from memory once the grid is on the surface | Keep the reference in view, phone in hand, and check every few squares |
| Grid removed too early | Erasing before the drawing is secured | Trace, transfer or paint the line through the grid first |
Two habits fix most of these at once. Measure before you mark, so ticks decide where lines go instead of your hand. And keep the reference physically in front of you for the whole session; the moment you start reconstructing a design from memory, the grid stops helping.
A blurred or low-resolution reference is worth replacing before you start. A grid faithfully reproduces what is there, including mush, so a sharp print or a sharper photo gives you a sharper enlargement.
Grids are not the only option. A projector is faster once it is aligned and works well for opaque media, though it is hard to square up to a large wall and it bends the image if the angle is off. Transfer paper and a light box suit clean, even subjects and cost you nothing but time. The grid wins for accuracy over a long session, for awkward shapes, and for any surface you cannot project onto.
Frequently Asked Questions
What is the grid technique in art?
The grid technique divides a small reference image into evenly sized squares, then draws a matching grid of proportionally larger squares on the final surface. You redraw the image one square at a time, so every shape keeps its original proportions and position. It is the standard method for enlarging a thumbnail, photo or sketch into a painting or drawing.
What grid size should I use?
Between six and ten squares across the width suits most work. Use four to six for simple, bold subjects where you only need the large shapes, and twelve to sixteen for fine detail such as faces, hands or foliage. An even number of squares divides more easily, and a square size of one to three inches on the final surface keeps the work comfortable to draw.
How do I change the grid size?
Change the number of squares on both grids at the same time, never one alone. Divide your final width by the new square count to get the new square size, for example 24 inches across with 12 squares gives 2 inch squares. Keep the reference and the surface at the same aspect ratio, otherwise the grid stretches and distorts the drawing.
What is the 50% rule in art?
The 50% rule means stopping when you are roughly half finished and checking your work against the reference before continuing. Artists use it because small placement errors are easy to correct early and expensive to correct later. Check each square against its numbered counterpart, fix what has drifted, and then carry on.
Can I use a grid digitally or on a tablet?
Yes. Add a grid layer over your photo in an image editor, set it to a multiply blend mode, and keep it on screen while you zoom in. Work out your square count first so the overlay matches what you will draw. The arithmetic does not change, and the reference stays flat and bright instead of sliding off the desk.
Is using a grid cheating?
No. A grid is a measuring tool, the same as a ruler or a protractor, and professional artists use it regularly for portraits, murals and commissioned illustration. The skill still comes from observation, marking and correcting. Many working artists also keep a lazy grid on hand, placing only a few reference marks instead of a full grid, when a subject is simple.
Conclusion
Knowing how to use a grid to scale up a design comes down to three habits: measure the original and write down its aspect ratio, choose equal squares on both grids, and map only the major landmarks before you draw any detail. Everything after that is steady, careful work square by square.
Start with your smallest reference and a modest square count. Once the process feels ordinary, tighten the grid for finer detail and the accuracy improves with no extra effort.