To cut fabric shapes without fraying, seal or support the fabric before the blade goes through, or finish the edge the moment the shape is cut. Fraying happens because a raw cut exposes the warp and weft yarns with nothing locking them in place, and the first tug sends those yarns loose. For curves, points, and irregular shapes you can never turn an edge under, that before-the-cut step is not optional — it’s the whole job. Everything below splits into those two buckets, because that is the decision competitors never make explicit.
Most people learn this the expensive way. You cut a linen leaf, admire it for an hour, and find a fuzzy halo around it the next morning. Once fraying starts it travels inward with every wash and every handling, and no amount of trimming gets you back to the crisp edge you wanted. Prevention at the cutting stage costs about a minute. So this guide walks the process in order: prepare the fabric, choose which bucket your method belongs in, mark and secure the shape, cut with a sharp tool, then check the edge. Time for the whole thing on a small appliqué shape is maybe five minutes plus drying time.
Table of Contents
- What You Need
- The essentials
- The optional tools, by method
- Step-by-Step: How to Cut Fabric Shapes Without Fraying
- Prepare the fabric so it lies flat and holds its shape
- Choose a method that seals or supports the edge
- Mark and secure the shape before cutting
- Cut with a sharp, controlled tool
- Check and finish the edge
- How each fabric behaves
- Common Mistakes
- Dull blades
- Fabric shifting or stretching under the blade
- Cutting off the grain
- Stretching knits before cutting
- A zigzag set too far in from the edge
- Peeling the tape off before cutting
- Glue bleeding to the face of the piece
- A white or stiff finish on the wrong fabric
- Flame on blends
- Pulling loose threads instead of trimming them
- Frequently Asked Questions
- What is the best way to cut fabric shapes without fraying?
- Does fusible interfacing stop fabric from fraying completely?
- Are pinking shears better than regular scissors for preventing fraying?
- How do I cut curved fabric shapes without making them stretch?
- What should I do if the fabric still frays after cutting?
- Can I cut knit or stretchy fabric without it distorting?
- Conclusion
What You Need
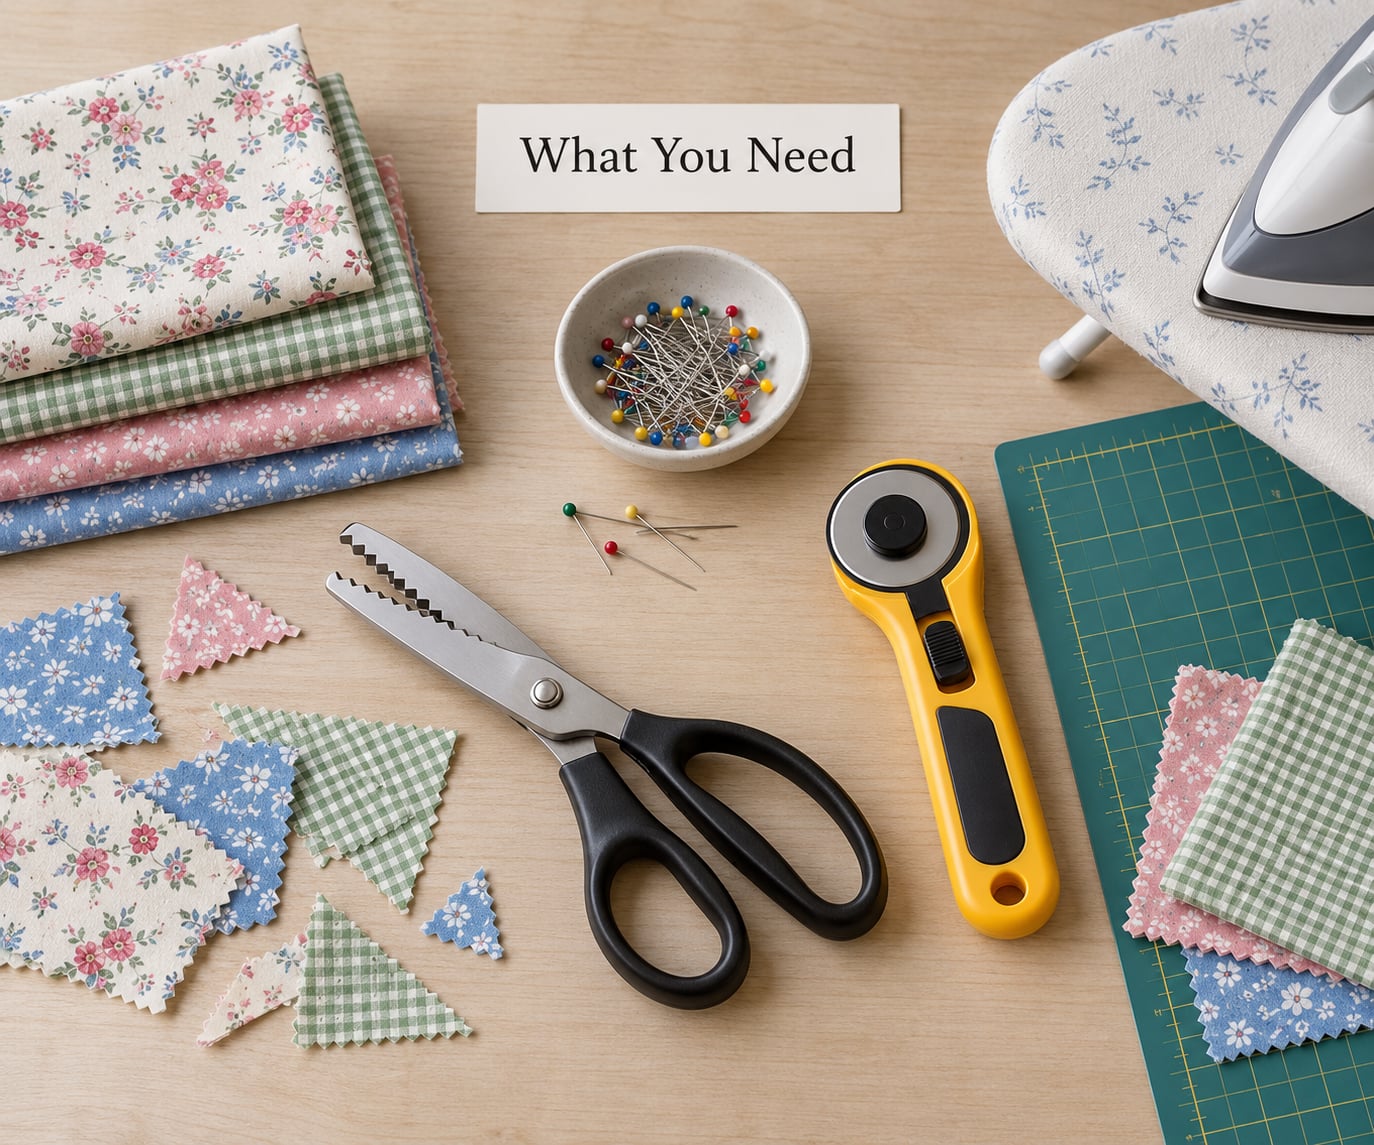
A sharp pair of fabric shears and a self-healing cutting mat cover most of it. Everything else depends on which method you pick, and you only need one method per project — chasing all of them is how people end up with a stiff scratchy edge and a ruined piece.
The essentials
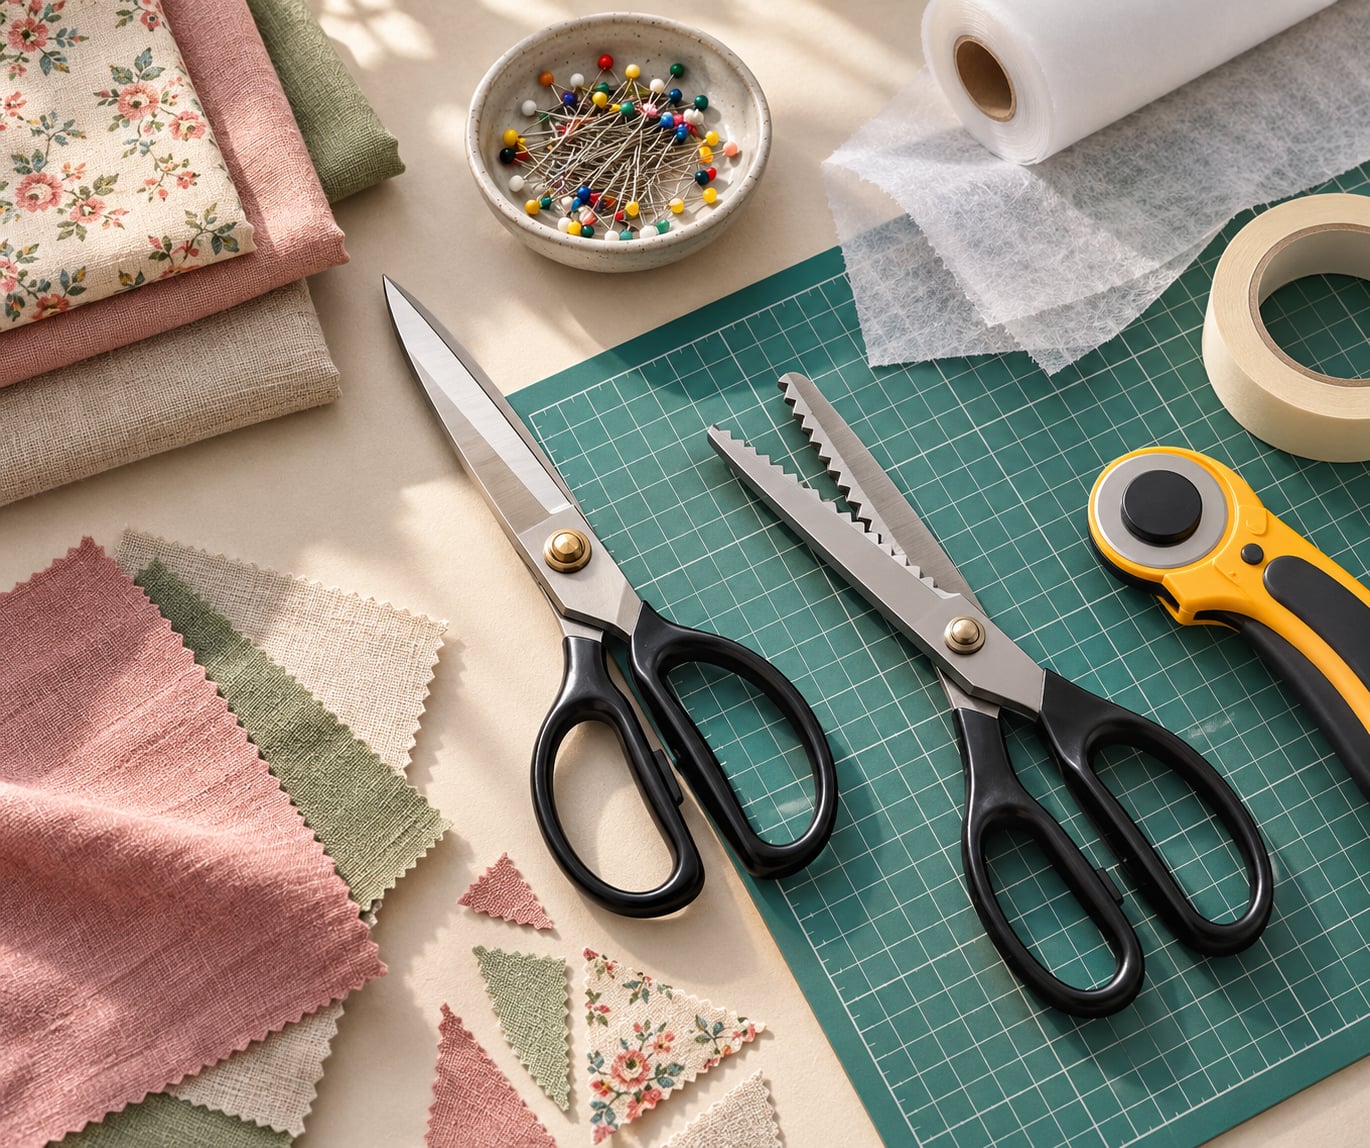
- Sharp fabric shears — 8 inch or 9 inch, kept for fabric only. Dull blades chew the yarn instead of parting it, and chewing is what starts a fray.
- Self-healing cutting mat and rotary cutter for straight lines, long runs, and anything you are cutting in layers.
- Cutting template plus a scalpel or craft knife for the sharp inner corners and smooth curves that scissors can’t reach.
- Iron, spray bottle, and pressing surface for the wash-dry-press preparation step.
- Clips or sharp glass-head pins — pins you can remove one at a time, and never in the path of the blade.
- A scrap of the same fabric in the same weave and color. Every method below gets tested there first.
The optional tools, by method
- Bondaweb or fusible web — a heat-activated web that fuses to the wrong side and gives the edge a body to cut against.
- Fusible interfacing strips — a narrow strip that irons along the raw edge and holds the yarns in a firm band.
- Fabric glue or a pipette-style liquid seal — runs along the cut line before cutting, dries clear, flexible on most wovens.
- Anti-fray spray or spray starch — for slippery satins and chiffons that slide all over the mat.
- Low-tack masking tape — taped over the cut line and peeled off only after the shape is free.
- Pinking shears — cut the notches fast, and understand exactly what they do and don’t do before you rely on them.
- Bias tape or binding — for edges you intend to cover rather than hide.
Your sewing machine covers the after-cut bucket if you own one. A serger or overlocker is the fastest route there, but an ordinary zigzag does most of the same work on appliqué-scale shapes.
Step-by-Step: How to Cut Fabric Shapes Without Fraying
Prepare the fabric so it lies flat and holds its shape
Wash, dry, and press your fabric before you cut it. Unwashed fabric carries shrinkage and a little tension from the bolt, and a shape cut from it comes out a different size and squarer than the pattern after the first wash. Spritz the pressing surface with water, press the wrong side first, then the right, and let it cool flat so the wrinkles don’t creep back.
Knits and jersey need different handling. Don’t stretch them to measure, cut them flat and relaxed, and cut slightly larger than the finished size since they’ll grow back. Any piece of knit won’t fray anyway — the question there is shape stability, not edge sealing. For slippery satins, taffeta, silk, and crushed velvet, give the back a light mist of spray starch or hairspray and let it dry; that temporary stiffening keeps the cloth from sliding and stretching mid-cut.
Stretch fabric and bias-cut wovens are the two cases where accuracy suffers most. Stabilize stretch fabric behind the cut line with fusible interfacing so it holds its shape under the blade, and be aware that any woven cut on the bias will stretch when you handle it, so bias edges get sealed after cutting, not before.
Choose a method that seals or supports the edge
Every method belongs in one of two buckets: seal the edge before you cut, or finish it right after. Curves, points, and anything you can’t turn an edge under need the first bucket. Straight hems and pieces that go straight into a seam can use the second.
| Method | Before or after the cut | Wash-durable | Best for |
|---|---|---|---|
| Bondaweb or fusible web | Before | Yes, if fused well | Intricate appliqué, linen, loosely woven cloth |
| Fusible interfacing strip | Before | Yes | Curved shapes you will cover with binding later |
| Fabric glue or liquid seal | Before | Varies — check the label | Quick no-sew pieces, mixed-media collage |
| Anti-fray spray or spray starch | Before | Temporary only | Slippery fabric that shifts while cutting |
| Low-tack masking tape | Before | No — the seal is temporary | Crisp curves, template cutting, one-off shapes |
| Zigzag or overcast stitch | After | Yes | Appliqué, patches, anything washed |
| Satin-stitch outline | After | Yes | Decorative border on thread-painted or embroidered shapes |
| Serger or overlocker | After | Yes, the most durable | Bulk work and edges inside a seam |
| Bias binding or tape | After | Yes | Visible finished edges |
| Pinking shears | After | No | Dry crafts, paper-backed pieces, temporary handling |
| Flame or heat sealing | After | Yes on synthetics | Polyester, nylon, pure synthetics only |
Whichever bucket you choose, patch-test it on the scrap first. Liquid sealants can dry with a white cast on dark fabric and leave a sheen on satin, and glue bleeds through thin cloth to the face of the piece. Testing costs a minute and tells you whether the finish is stiff, scratchy, or invisible on your specific fabric.
Mark and secure the shape before cutting
Transfer your pattern with a chalk pencil, tailor’s chalk, or a washable marker, then mark the seal line a few millimeters outside the finished shape if you’re using tape or glue. Secure the fabric to the mat with your non-slip mat surface, a ruler’s weight, or tape at the far corners — never pin where the blade travels.
Hold the fabric down rather than pulling it taut. Tension is what makes a cut shape come out wrong, and it also encourages the blade to wander as it travels. For knits and stretch fabric, lay a strip of fusible interfacing behind the cut line and press it first; that gives you something stable to cut against and fixes the shape at the same time.
Cut with a sharp, controlled tool
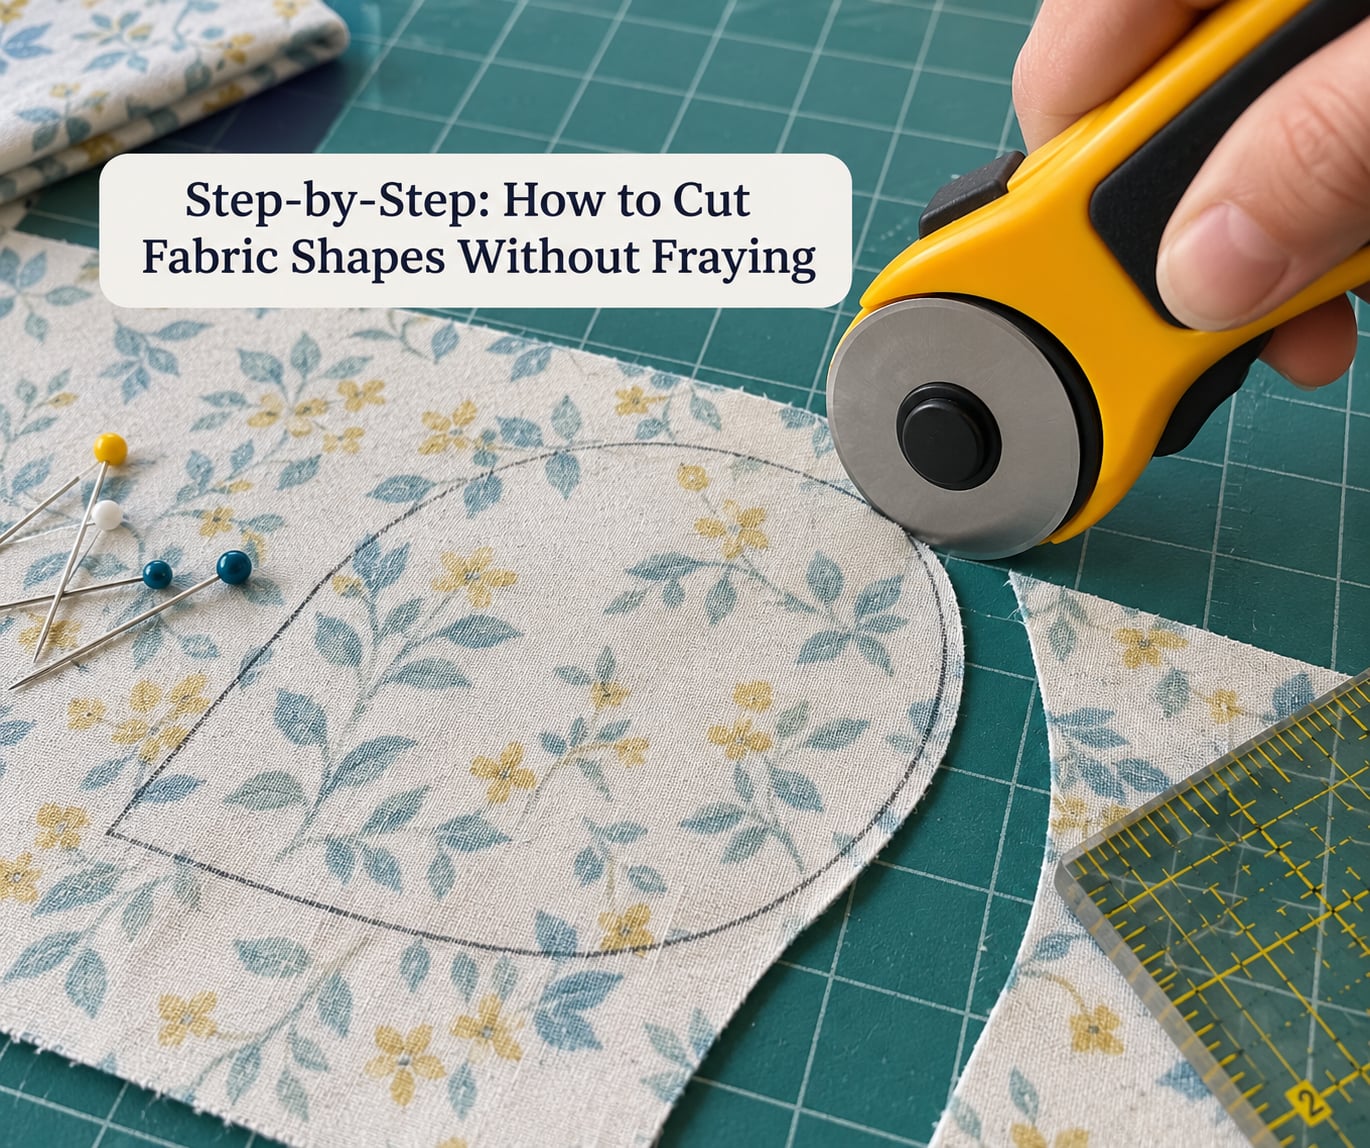
Shears, rotary cutter, and scalpel with a template each win on different shapes. Scissors cut best in an open area with the fabric flat on the table: open them wide, set the heel of the blades at the start of the line, and take long smooth cuts rather than snipping little bites. Snipping is what shreds yarn.
For a long straight run or multiple layers, a rotary cutter on a self-healing mat beats shears every time because the blade rolls the edge instead of shearing it. Push the roller in one direction only, without lifting, or you get a wobble you’ll feel in the finished piece.
For sharp inner corners and smooth curves, tape a template down and cut around it with a scalpel on a clean flat surface. Change blades more often than feels necessary — a nicked blade leaves a scalloped edge that reads as a mistake no matter how well you sealed it. Pull the shape out from under the blade rather than lifting it, so nothing snags the fresh cut.
Whatever the tool, cut in one continuous motion and don’t travel back over a finished edge. Every second pass pulls at fibers the first pass already parted.
Check and finish the edge
Hold the shape up to the light or run a fingertip along the cut line. Any whisker of loose yarn goes now, while it’s one thread, by snipping with sharp small scissors rather than pulling it — pulling is how a two-millimeter fluff becomes a five-millimeter one.
Then finish it. With a machine, run a narrow zigzag right at the edge, or better, an overcast stitch, with the stitch width about one millimeter inside the raw edge so the thread wraps the yarns rather than sitting beside them. If you want both a seam line and fray protection, sew a straight stitch a few millimeters in from the edge first, then the zigzag outside it; the outer stitch captures the loose yarns the inner one can’t reach.
For the no-sew route, lay down a continuous bead of fabric glue along the raw edge or squeeze the shape closed with your fingers and let it cure, then trim the dried bead back with scissors so it doesn’t read as a ridge. Liquid sealants need ventilation and time to dry clear — give them the full cure time on the label before you handle the piece much, and keep aerosol sealants away from any flame or heat.
A wash test is the honest check, when the project allows it. Wash the sealed scrap the way you’ll wash the finished piece and look at the edge afterward; a method that survives that is a method you can trust on the real piece.
How each fabric behaves
Match the method to the fiber and the weave. A glue that makes cotton supple can leave a hard plastic edge on chiffon.
| Fabric | Use | Avoid |
|---|---|---|
| Quilting cotton | Zigzag, overcast, or fusible web | Nothing — it takes all of them |
| Linen | Bondaweb behind the edge before cutting | Pulling threads to clean it |
| Denim and canvas | Overcast or binding; less risk of fraying | Fabric glue, which can stay tacky |
| Silk and chiffon | Low-tack tape before cutting, then binding | Heavy glue, glue bleed-through |
| Satin and taffeta | Spray starch for grip, then a light seam finish | Flaming, which melts and marks |
| Velvet and lace | Tape before cutting; bind the edge | Pinking shears, which crush pile |
| Jersey and knits | Nothing — they don’t fray; interfacing for shape | Stretching before cutting |
| Polyester and synthetics | Heat or flame sealing on the wrong side | Flame on blends with elastane |
Common Mistakes
Almost every frayed shape has one of these causes behind it, and most are cheap to fix on the next attempt.
Dull blades
A blade that isn’t sharp drags fibers out instead of parting them, which starts the fray before any sealant goes on. Keep a spare blade for the craft knife and dedicate the good scissors to fabric only — paper dulls a blade faster than anything else in the studio.
Fabric shifting or stretching under the blade
Slippery satins and taffetas slide, and knits stretch as you push. Mist the wrong side with spray starch or hairspray, hold the cloth down outside the cut path, and interface behind stretch fabric before cutting. Accurate cuts come from a still fabric, not from cutting harder.
Cutting off the grain
A straight edge cut on the bias grows noticeably the moment it’s handled. Check the selvage with a ruler before you start and align your straight lines with it, letting curves fall where they may. Curved shapes are less affected, but they still want to be handled gently once cut.
Stretching knits before cutting
Cutting jersey to size while it’s relaxed means it ends up tight after the first wash. Cut it flat, never pulled, and add a few percent to the finished measurement.
A zigzag set too far in from the edge
The single most repeated complaint from quilters is a strip of bare fabric left outside the stitch line, which frays anyway. Move the stitch width to sit within about one millimeter of the raw edge, or add the outer overcast pass.
Peeling the tape off before cutting
The tape’s job is to hold the edge threads while the blade travels. Pull it early and the cut line is exposed exactly as it would have been without tape. Cut first, peel after — and know that this is a temporary hold, not a permanent seal.
Glue bleeding to the face of the piece
Too much applied too close to the edge soaks through thin fabric. Apply a thin line slightly outside your final cut line on the wrong side, and test on a scrap to check whether it bleeds.
A white or stiff finish on the wrong fabric
Some sealants dry with a visible cast on dark or shiny cloth and can feel scratchy against skin — a real problem for garments and accessories. Patch-test on the actual color, and reach for fusible web instead when the edge needs to stay soft.
Flame on blends
Burning the edge of a polyester-cotton blend or anything with elastane melts unpredictably and leaves a scorch or a hole. Heat sealing is for pure synthetics, done on a heat-safe surface, in a ventilated room, with fabric away from open flame.
Pulling loose threads instead of trimming them
Pulling pulls more yarn with it. Snip the whisker flush with the edge and move on.
Frequently Asked Questions
What is the best way to cut fabric shapes without fraying?
Seal or stabilize the fabric along the cut line before you cut, then finish the edge immediately after. For curves and irregular shapes where an edge cannot be turned under, fuse fusible web or Bondaweb to the wrong side, or run fabric glue along the line, and cut straight through. For straight edges going into a seam, a narrow zigzag or overcast stitch at the raw edge is the quickest durable finish. Always patch-test on a scrap first.
Does fusible interfacing stop fabric from fraying completely?
Fusible interfacing holds the edge yarns together well enough that they don’t unravel while you work, but it is not a permanent seal on its own. Loose weave linens and open-weave cottons can still push yarns through, especially after washing. Fusing a strip along the edge, then adding a zigzag or overcast stitch afterwards, gives a finish that survives handling and laundering. For a completely non-fraying edge, bond the interfacing right to the edge.
Are pinking shears better than regular scissors for preventing fraying?
Pinking shears don’t prevent fraying, they shorten it. The zigzag teeth cut yarns off close to the fabric instead of pulling them loose, which holds for a while on a tightly woven fabric, but those pointed notches open up in a wash and the edge frays from there. Quilters generally avoid them on anything meant to be washed or used. For dry craft work they are fine; for finished pieces use an overcast or overlock stitch.
How do I cut curved fabric shapes without making them stretch?
Keep the fabric still and cut in one continuous motion. Hold the cloth down outside the path of the blade, mist the wrong side with spray starch if it’s sliding, and don’t pull the fabric taut while you cut. For smooth curves, tape a paper template down and cut around it with a fresh scalpel blade on a clean flat surface, which keeps the curve identical all the way round. Never cut a curve with snipped short bites of the shears.
What should I do if the fabric still frays after cutting?
Trim the loose yarns flush with the edge rather than pulling them, then apply the finish that addresses the cause. A seam that already has yarn interfering with it usually needs an overlock or a wider seam allowance, not more glue. For an already frayed edge, a strip of fusible interfacing bonded over the back of it often pulls everything back into a usable line. Covering it with bias binding is the reliable rescue.
Can I cut knit or stretchy fabric without it distorting?
Yes, and you never need an anti-fray method for it. Knits such as jersey and ribbing don’t fray at all, because the yarn loops rather than interlacing, so the cut edge holds on its own. Cut knits flat and relaxed rather than stretched, and cut them a little larger than the finished size since they relax back out. Fuse a strip of interfacing behind the cut line if the shape needs to stay exact.
Conclusion
Start with the fabric, not the tool. Wash it, press it flat, and choose which bucket your method belongs in — seal before the cut for curves and irregular shapes, finish after the cut for straight edges and seams. Then use a blade sharp enough to part the yarns rather than drag them, and you get a shape that still looks crisp after the first wash.