Free motion quilting means lowering or covering the feed dogs under your presser foot, swapping on a darning foot, and moving the quilt sandwich by hand under a needle that stays put. You do it on an ordinary domestic sewing machine, no long arm required. The whole method takes about an hour to set up and the first hour of sewing is genuinely awkward, so this guide walks you through a small practice square first.
Most beginners I have watched get stuck on the same three things: fabric bunching under the foot, stitches that come out loopy, and the fear of ruining a good quilt top. None of those are skill problems. They are setup problems, and they go away once you know what to look at. Below is the process I would walk a beginner through, updated for 2026, with the exact numbers that most tutorials skip.
Table of Contents
- What You Need
- The five things you actually need
- Also worth having
- Machine settings cheat sheet
- Step-by-Step: How to Free Motion Quilt, One Stage at a Time
- 1. Prepare and press a small practice square
- 2. Set up the free-motion foot, feed dogs, and tension
- 3. Position the fabric without tension
- 4. Practice straight lines: the heart of how to free motion quilt
- 5. Turn corners and make gentle curves
- 6. Add a simple motif or free-motion pattern
- 7. Finish the sample and review the stitching
- Common Mistakes
- Frequently Asked Questions
- Can I free motion quilt on a regular sewing machine?
- What type of foot should I use for free-motion quilting?
- Should I turn off the feed dogs when free-motion quilting?
- What thread and fabric work best for beginners?
- How do I stop the fabric from bunching under the foot?
- How long should I practice before quilting a larger project?
- Conclusion
What You Need
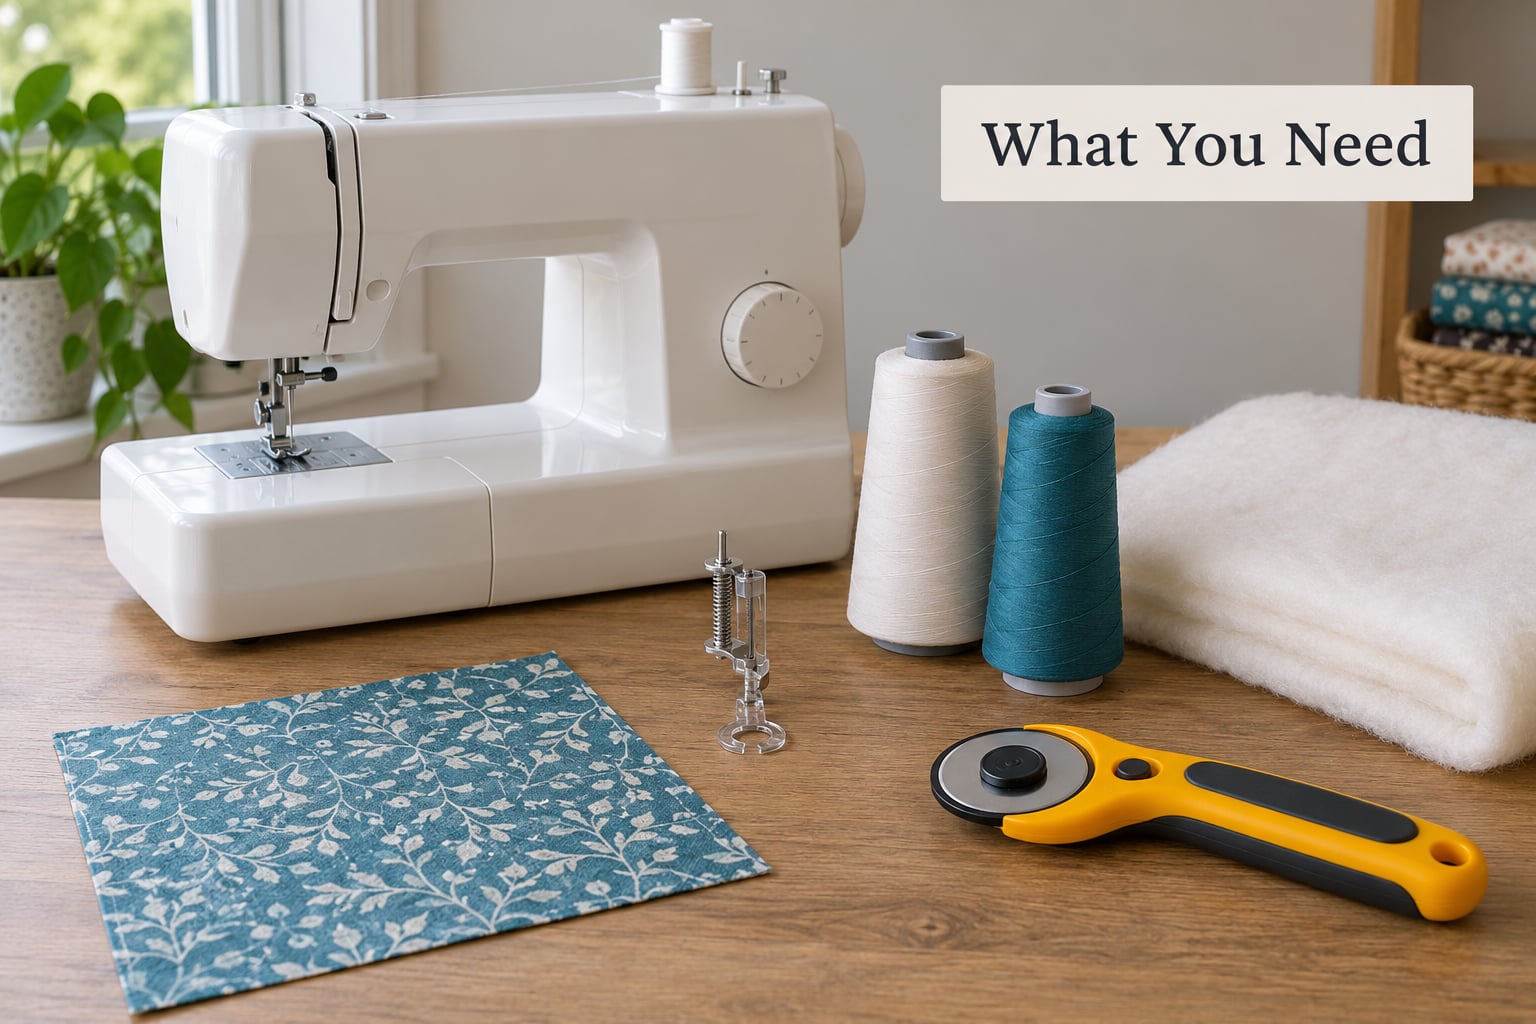
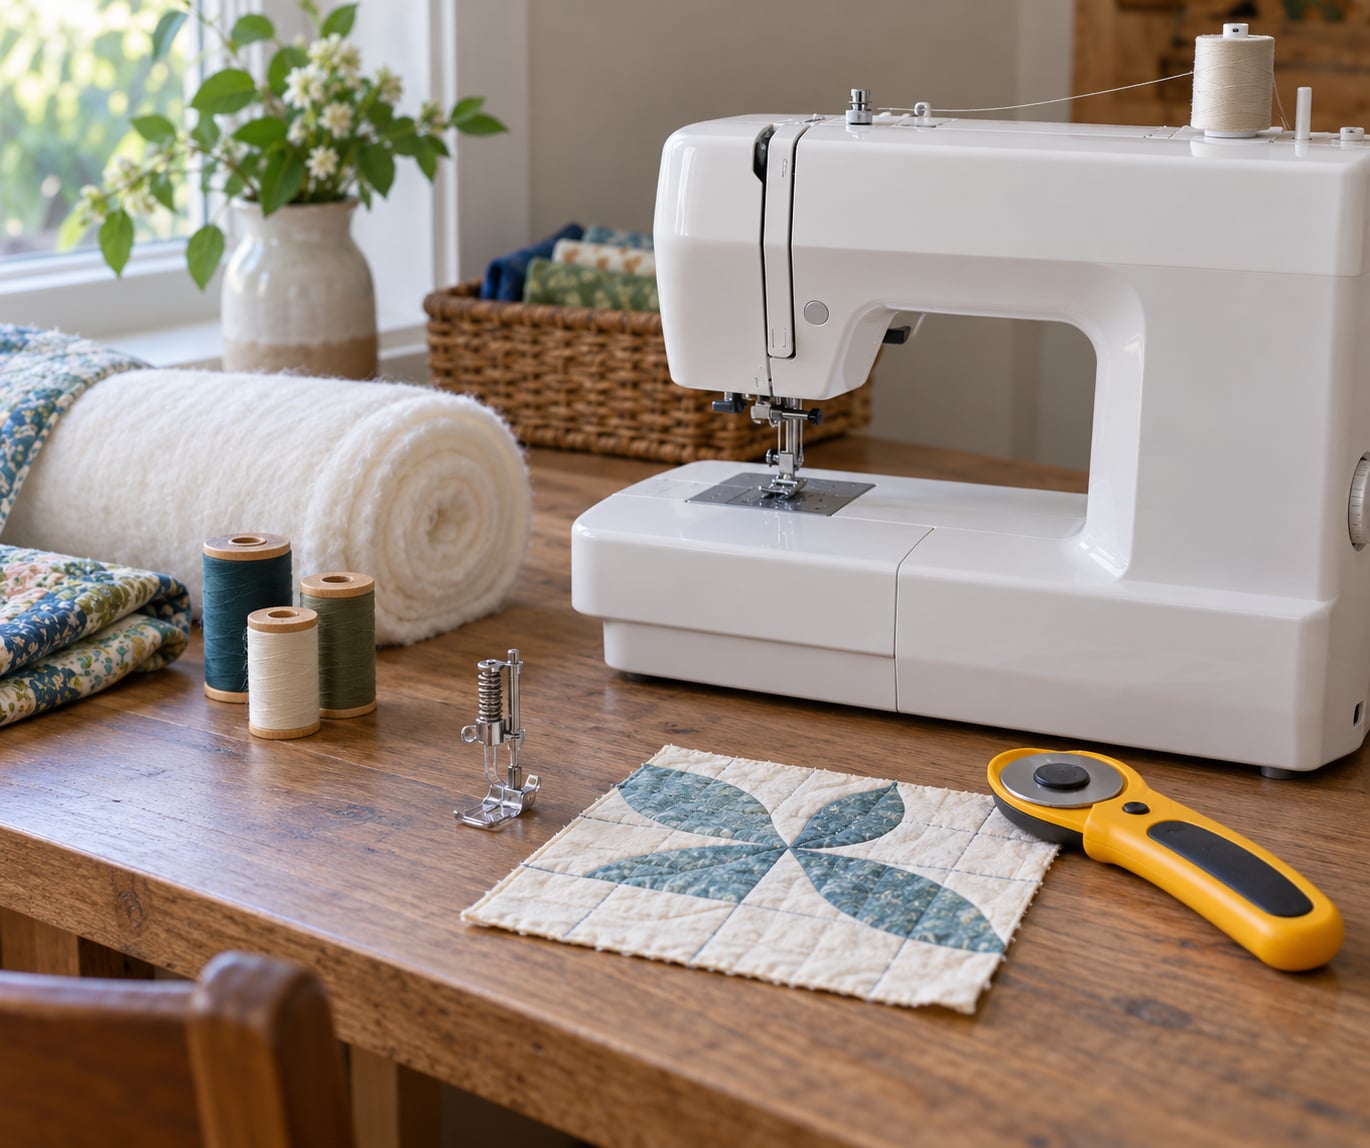
The short version: any machine with a presser foot that lifts off the bed, a needle that stops, and feed dogs you can lower or hide. That covers almost every domestic machine made in the last fifty years, including old mechanical ones with a lever to the side and modern computerized ones with a free-motion button on the screen.
A quilting machine differs from a domestic one in throat space, not in principle. It has a wider arm, a longer bed, and usually an automatic feed dog drop. Beginners rarely need one. The rule of thumb from other quilters is that if your quilt fits comfortably in the space between the needle and the machine body, you can quilt it at home.
The five things you actually need
- A darning foot or free-motion foot. An open-toe foot with a hinge or a spring, so the fabric can slide sideways and backward without dragging against the shank.
- A quilting needle, size 80/12 or 90/14. The sharp point pierces cotton batting cleanly instead of punching a fibre plug through it.
- 40 or 50 weight cotton thread. Cotton thread gives you visible texture and costs almost nothing to break while you are learning. Skip decorative rayon until your stitches are consistent.
- Feed dogs down or covered. Some machines have a lever, some have a button, some hide the dogs under the bed plate.
- Quilting gloves or a Supreme Slider. A slick surface under your hands so the sandwich does not catch and jerk.
Also worth having
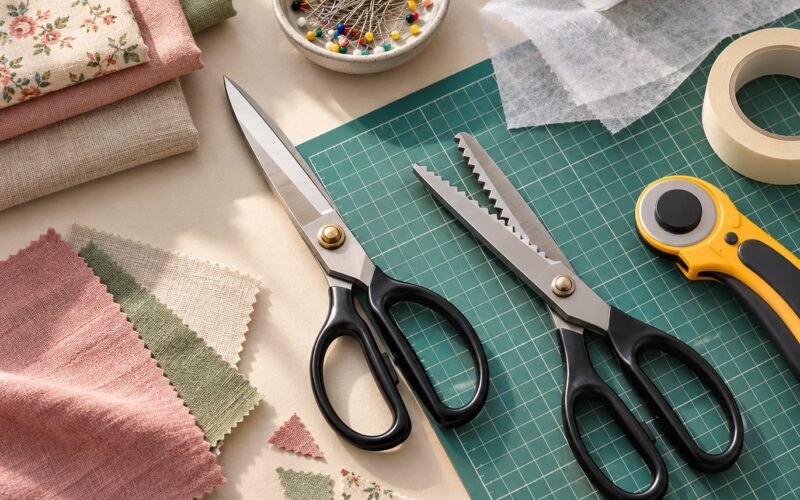
An extension table or a flat bed board gives you room to move the fabric in a circle. A small ruler and a fabric-marking pencil let you mark a path on your practice square so you are not improvising. A can of spray starch or a light pressing of the sandwich keeps the layers behaving. And a stack of scrap cotton plus a few inches of batting makes your practice pieces, which is the real answer to the cost question: you need a foot, a needle, a spool of thread and some scraps, and almost nothing else.
Machine settings cheat sheet
| Setting | What to do | Why |
|---|---|---|
| Stitch length | Set to 0, or the shortest setting if yours will not reach zero | Any forward feed advances the fabric and fights your hands |
| Needle | Fresh 80/12 for light batting, 90/14 for denser batting | A dull needle drags batting fibres to the top and causes skipped stitches |
| Upper thread tension | Wherever plain machine sewing sits, usually around 4 | Tension is not a quilting adjustment, it is a threading adjustment |
| Bobbin tension | Leave it alone unless stitches are truly uneven | Turning the bobbin screw is the most common beginner mistake |
| Presser foot lever | Fully lowered | A raised foot leaves the fabric pinched |
| Machine speed | Slow to medium for the first sessions | You cannot learn hand speed at full pedal |
Step-by-Step: How to Free Motion Quilt, One Stage at a Time
The workflow has five stages: prepare a small layered square, set up the machine, position the fabric loosely, sew while you watch your stitches, then finish and judge the result. Repeat the square until the stitching looks even, and only then move to a pillow or a wall hanging. A full quilt comes after that.
1. Prepare and press a small practice square
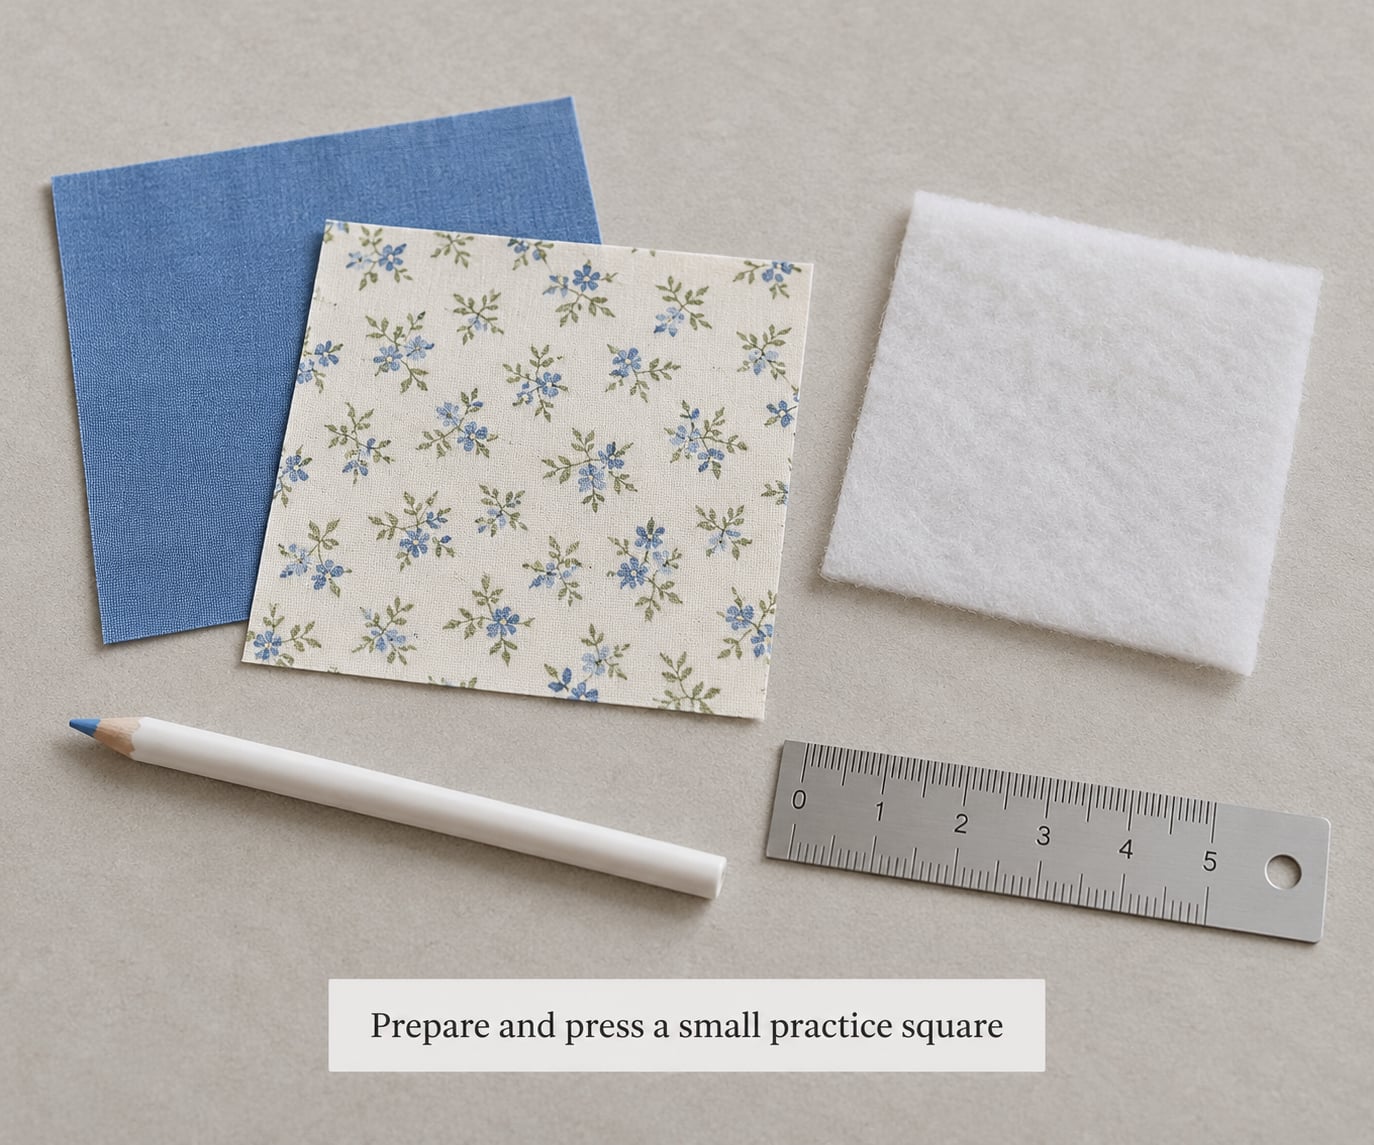
Cut two cotton squares about 10 inches across and a piece of batting the same size. A worn cotton shirt or a fat quarter works fine. Keep the fabric plain so you can actually see the stitching.
Layer the squares with the batting in the middle and press the stack flat. The iron knocks out folds and sets the fibres so the layers slide rather than grip. While it is still warm, use the marking pencil to draw three straight lines about half an inch apart across the top square.
You now have a test subject with a target. That matters more than it sounds: without a marked line, you are judging your work while you are still learning to move.
2. Set up the free-motion foot, feed dogs, and tension
Lower the feed dogs using the lever, button or plate cover your machine has. On some older machines the dogs sit in a slot with no cover, and quilters have been known to slide a piece of card over them, taped at the edges, or work with a metal spoon laid gently across the teeth. On a machine with no way to reach the dogs at all, that workaround is worth knowing before you start.
Swap on the darning foot. Raise the presser foot, unclip the standard foot, and slide the darning foot on the same shank. It should pivot freely when you tap it with a fingernail. A foot that does not move is a foot that will drag your fabric sideways.
Set the stitch length to zero, or the lowest number your machine offers. Some vintage machines bottom out at 0.5, which is fine. Lower the presser foot lever all the way down.
Thread the machine as you normally would, with the presser foot up and the take-up lever at its highest point. Set the upper thread tension where it always sits for regular sewing, and leave the bobbin screw untouched. If you turn that screw on day one, you will spend an afternoon trying to remember what to turn it back to.
3. Position the fabric without tension
Put the marked line under the needle, lower the needle into the fabric, then raise it back up about a quarter inch. That extra needle height is your whole safety margin. If the needle is buried in the fabric when you start sewing and your hands slip, the machine bends the needle.
Now flatten the sandwich with both hands so it lies slack on the machine bed. Do not pull it taut and do not yank it into position. You are going to move this fabric in every direction, so it needs slack in every direction.
Once you are comfortable with the practice square, baste the layers on a real project. A running stitch in a water-soluble or large-loose thread, in a grid across the quilt, stops the top from shifting and stops puckering later. Basting is insurance, and it is a five-minute job.
4. Practice straight lines: the heart of how to free motion quilt
Sit with both feet on the floor, elbows on the table, hands on the sandwich a few inches back from the needle. Start the machine, and for the first few inches go slowly enough to see every single stitch form.
Watch the underside as you sew, not just the top. If the stitches lie flat on both faces and land evenly in the groove, your hand speed is matched to the machine. If they bunch into tiny knots on the back, slow your hands down. If they stretch into long uneven stitches, speed them up slightly. That single adjustment, made continuously, is the entire skill.
Sew along your first marked line to the edge. To stop, lower the needle into the fabric, back the machine up one stitch with the reverse if your machine has it, then raise the needle and lift the foot. Trim the threads only as long as you need to move the sample out of the way.
Lines two and three are where it starts clicking. Aim for the same hand speed you used on line one rather than speeding up because it is going well.
5. Turn corners and make gentle curves
At the end of a line, stop with the needle down in the fabric. Pivot the whole sandwich so the next direction is lined up, keeping the foot in contact with the material the whole time. Then raise the needle, move, and sew on. Pivoting on a lowered needle is far smoother than lifting and repositioning.
Start your curves wide and slow. A tight curve takes more stitch turns per inch, so a fast hand movement makes stitches bunch right where the fabric turns most. As you get comfortable, tighten gradually.
If the fabric starts gathering in front of the foot, you are holding it too firmly or pushing it ahead of the needle instead of letting the needle lead. Flatten the pile and keep going. A little bunching at a turn is normal and pressable; a lot of it means slow down and relax your grip.
6. Add a simple motif or free-motion pattern
Once straight lines feel boring rather than difficult, move to a looping line that never crosses itself. That single rule is the whole of beginner free motion quilting: one continuous thread, no crossings, no backtracking. It is easier to stitch than it looks because your hand can follow a path you can already see.
Three shapes are worth practising. Loose meandering lines, the traditional filler that adds texture without competing with a print. Small loops or scallops, which teach you to change direction quickly. And a simple leaf or teardrop, which teaches you to stitch a shape that has a start, a body and a point.
One tip from the quilting forums that actually works: draw your design on paper with a smooth-flowing pen, over and over, before you sew it. The physical repetition of the movement builds the muscle memory faster than sewing dozens of wobbly lines.
Also pick your motif from the fabric. If there is a flower in the print, stitch a flower over it rather than fighting it with a background pattern. Curved motifs want angular connections behind them, so the two shapes do not blur into each other.
7. Finish the sample and review the stitching
Tie off thread ends or leave long tails to be buried later, then trim the batting and fabric edges flush with the top square. Press the sample following the care instructions for the fabric you used.
Now judge the result, in this order. Stitch length: are the stitches consistent from end to end, or do they change? Tension: do the threads sit in the middle of the fabric layers, or do you see loops on top or bobbin thread showing on the underside? Puckering: is the surface flat? Distribution: is the spacing even across the whole square?
You are not looking for perfection. You are looking for one repeating problem you can name and fix. A square with two long stitches in the middle of an otherwise even row tells you your hand stalled once. A square that is tight in the middle and loose at the edges tells you your grip changed.
Common Mistakes
Every problem below has the same shape: something mechanical, or something you were doing with your hands. Diagnose it in that order rather than reaching for the tension dial first.
| What you see | What is causing it | What to change |
|---|---|---|
| Fabric bunches in front of the foot | Hands pushing instead of letting the needle lead, or fabric held taut | Flatten the pile, lift your shoulders, drop the pedal to a crawl, keep grip light |
| Stitches bunch into dense knots on the underside | Hands moving slower than the needle | Move the fabric more per stitch, or lower the speed dial |
| Stitches stretch and look long and uneven | Hands racing ahead of the needle | Slow down and keep the sandwich moving smoothly |
| Thread breaks on top | Dull or wrong needle, or tension too tight, or a bobbin wound unevenly | Change the needle, re-thread fully, rewind the bobbin before loosening any dial |
| Loops on the top surface that lift later | Top thread too loose for the bobbin thread | Turn the top tension dial up a quarter turn at a time, testing after each turn |
| Bobbin thread sitting on the top surface | Bobbin tension looser than the top, common with thin 50 weight thread | Loosen the top tension instead of tightening the bobbin screw first |
| Skipped stitches, plus batting fuzz pulled to the top | Dull needle, or needle too small for the batting | Install a new needle and go up one size, 80/12 to 90/14 |
| Puckered, gathered fabric | Sandwich held under tension, or no basting | Release the tension, press flat, and baste the next one before quilting |
| Fabric catches and drags at the sides | Not enough flat workspace for the movement you are making | Add a bed extension table or a flat board under the work |
| Hands slip while sewing | No grip on the fabric surface | Quilting gloves, or a Supreme Slider stuck to the machine bed |
Two habits fix more of the above than any gadget. Test your needle on your own machine before you change anything else, and after every forty or fifty stitches, stop and look at the underside before you move on. A problem caught at stitch forty costs nothing; the same problem caught at stitch four hundred costs the sandwich.
On speed: run the machine at a slower setting than feels natural rather than trying to be fast. Beginners who force a fast pace end up with stretched stitches and no confidence, and then they blame the machine. Slow is not the goal. Even is the goal.
One more reassurance. Almost every experienced quilter has unpicked a puckered sandwich and started again, and the ones who are best at it now say it happened to them more than once. On a practice square it costs nothing at all.
Frequently Asked Questions
Can I free motion quilt on a regular sewing machine?
Yes. Any machine with a presser foot that lifts off the bed, lowerable or coverable feed dogs, and a foot that can be swapped for a darning foot will work, including older mechanical models from the 1970s onward. Quilting machines simply give you more throat space and a wider bed, which is convenient on a large quilt but not required to learn the technique.
What type of foot should I use for free-motion quilting?
A darning foot, also sold as a free-motion or quilting foot. It has an open toe and either a hinge or a spring so the foot tip can pivot with the fabric. A standard quarter-inch foot with an IDT system works for straight lines but not for curved free-motion work. Check that the foot moves freely on its shank before you start sewing.
Should I turn off the feed dogs when free-motion quilting?
Lower them if your machine has a lever or button. The feed dogs pull the fabric forward in a straight line, which is exactly what stops you from moving it sideways or backward. If your machine has no accessible feed dog lever, quilting forums suggest covering the teeth with a flat plate or a metal spoon held lightly in place. Set stitch length to zero as well, so no forward motion happens at all.
What thread and fabric work best for beginners?
Use a 40 or 50 weight cotton thread with a fresh 80/12 or 90/14 needle. Cotton is strong, cheap, and easy to unpick, which matters when you are still breaking it. Practice on plain woven cotton with a thin polyester batting so you can see the stitches clearly. Hold off on decorative rayon thread and heavy batting until your stitch length is consistent.
How do I stop the fabric from bunching under the foot?
Most bunching comes from your hands, not the machine. Keep the sandwich flat with slack in every direction, never pull it taut, and let the needle lead rather than pushing the fabric ahead of it. Bunching at a curve also means your hand speed is too fast for the turn. Slow the pedal, flatten the pile with your hand, and carry on.
How long should I practice before quilting a larger project?
Work through three or four small practice squares, roughly 10 inches, until you can sew an even line, a loop, and a gentle curve without stopping to look at the underside. Then move up to a pillow front or a small wall hanging. Beginners on quilting forums report that one hour on a scrap sandwich does more for confidence than an entire attempt on a real quilt.
Conclusion
Start this week with a 10-inch square of scrap cotton and batting, a fresh 80/12 needle, and 40 weight cotton thread on a foot that pivots. That square is the whole of how to free motion quilt for beginners: three straight lines, then one looping line that never crosses itself, checking the underside after each. When the stitches look even enough that you stop noticing them, move up to a pillow. It takes one practice square to learn.