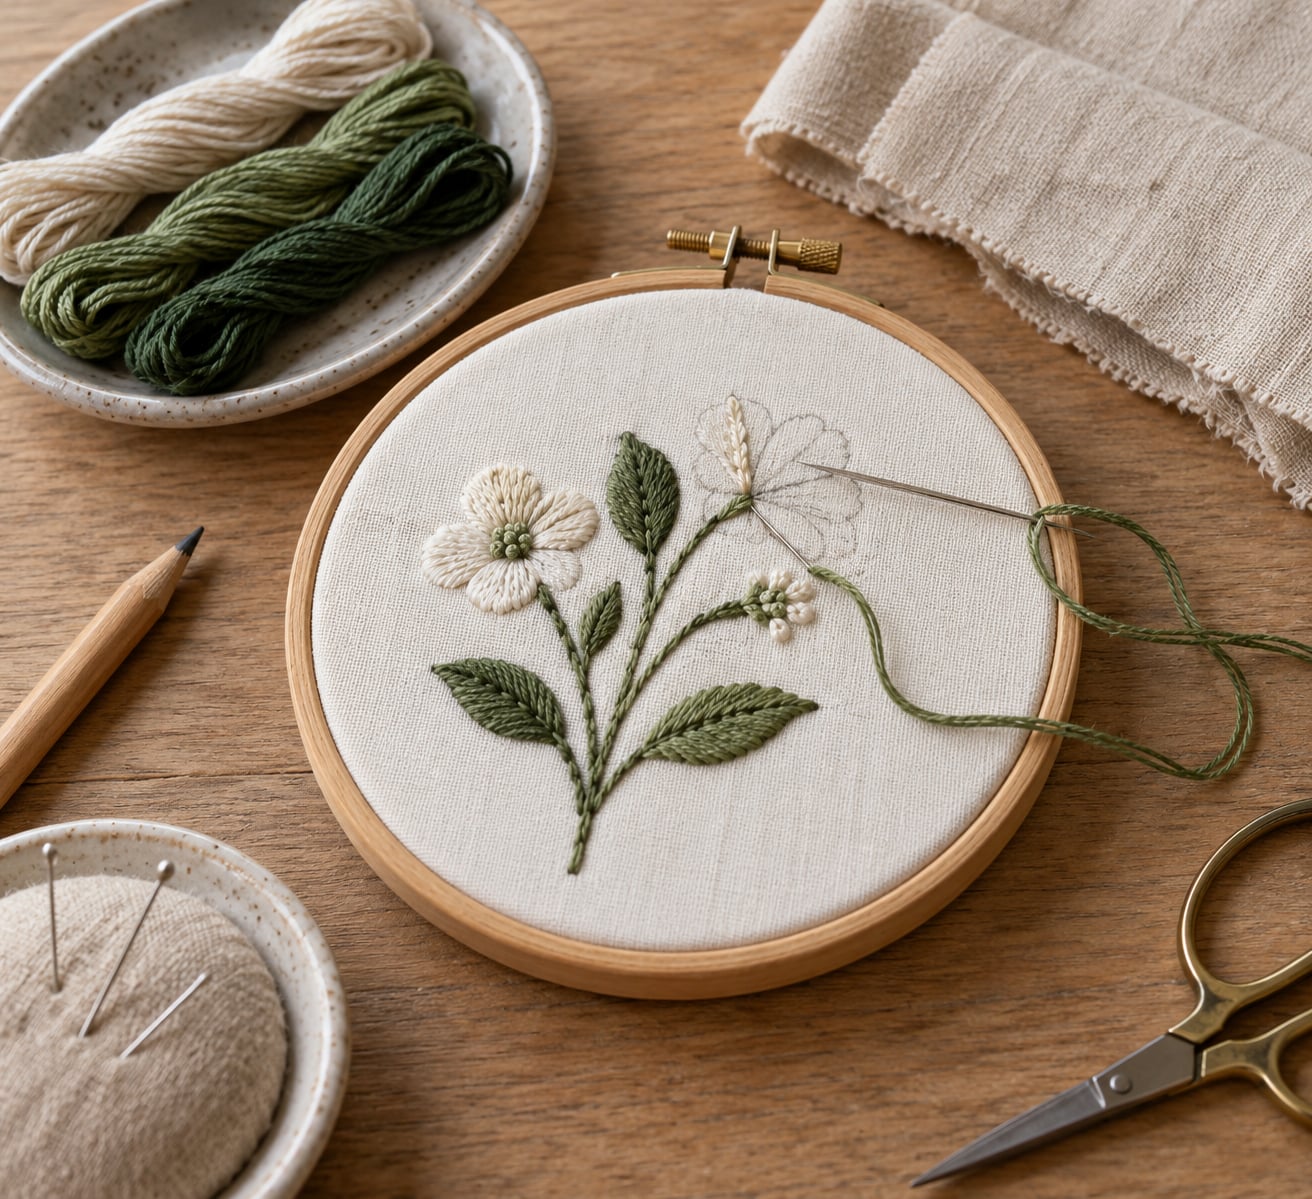
Thread painting is embroidery that builds an image out of layers of thread instead of paint, so the color, depth and texture all come from stitches laid close together. To learn how to thread paint on fabric you need very little: a stable woven fabric, a needle with an eye small enough to pass through the weave, floss in three light-to-dark values of the same color family, and a hoop or frame that keeps the fabric drum-tight while you work. A sewing machine with a free-motion foot makes bigger pieces faster, but the hand technique is where the technique is actually learned. Budget about an hour for a first small piece, and expect the third piece to take half as long again.
If you have never done it before, the hardest part is not the stitching. It is keeping the fabric flat and stopping yourself from stitching the wrong color in the wrong place twice. Fix both and the rest is repetition.
Table of Contents
- What You Need
- Step-by-Step
- Choose and Prepare the Fabric
- Transfer or Draw the Design
- Thread the Needle and Secure the Back
- Build the First Layer with Short Stitches
- Layer Colors and Create Dimension
- Finish, Secure, and Block the Fabric
- Common Mistakes
- Frequently Asked Questions
- What fabric is best for thread painting?
- Do I need a sewing machine to thread paint?
- Is thread painting the same as embroidery?
- What thread and needle should I use?
- How long does a first thread painting piece take?
- Can you thread paint on painted or acrylic-treated fabric?
- Conclusion
What You Need
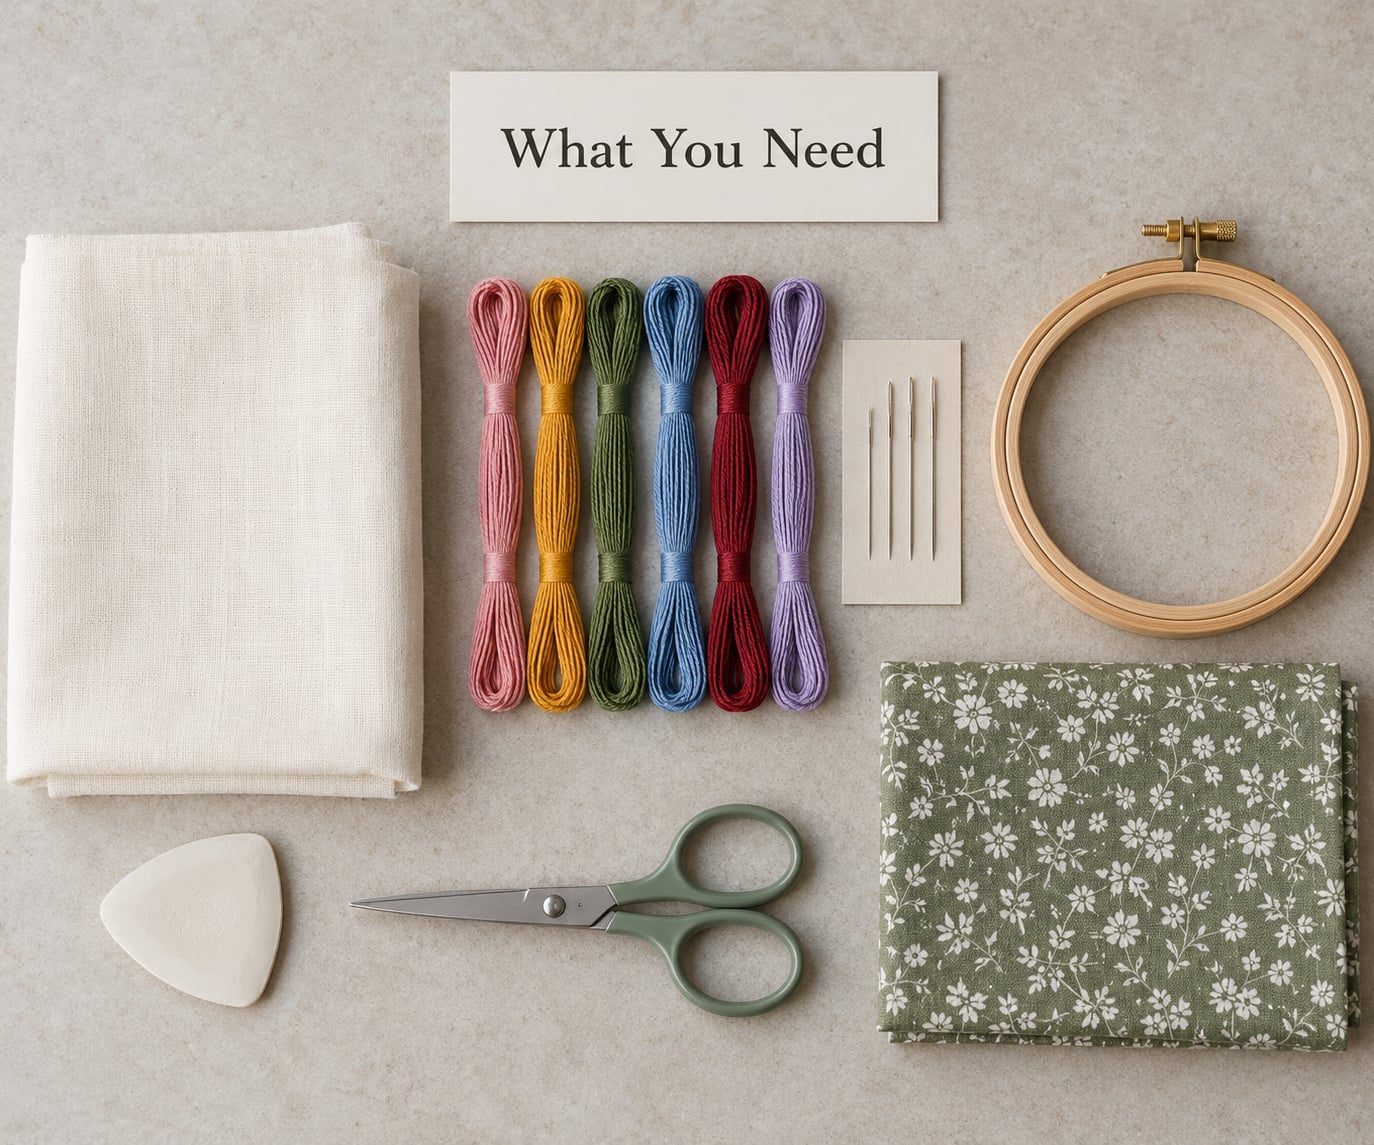
The list is short, and every item on it solves a specific problem: tension, visibility or stitch control.
- Fabric. Smooth, tightly woven cotton or linen in a neutral solid color. Avoid knits, jersey and anything stretchy, because stretch is what causes puckering later.
- Thread. Six-strand embroidery floss is the usual choice. Pick two or three color families and, for each one, a light, mid and dark value. Six-strand cotton or rayon both work; the values matter more than the fiber.
- Needles. A size 10 or 12 embroidery needle for hand work on cotton. Larger sizes make bigger holes, which show as gaps between short stitches.
- Hoop or frame. A small wooden embroidery hoop works for pieces under about 4 inches. Anything larger gets a quilting frame, because a hoop that small cannot hold enough tension across a wide area.
- Backing. A piece of cotton or linen backing fabric, plus optional batting or muslin between the layers to stop the needle from pulling the top fabric into valleys.
- Marking tools. A water-soluble pencil or a fabric marker that rinses out, plus a fine white pencil for dark fabric.
- Finishing supplies. Thread snips, a tapestry needle for weaving ends, and a pressing cloth.
Everything above handles hand thread painting. If you own a sewing machine that can lower or cover its feed dogs, add a darning foot, a topstitch 80/12 needle and a roll of medium-weight stabilizer, and you can fill areas ten times faster.
Step-by-Step
Choose and Prepare the Fabric
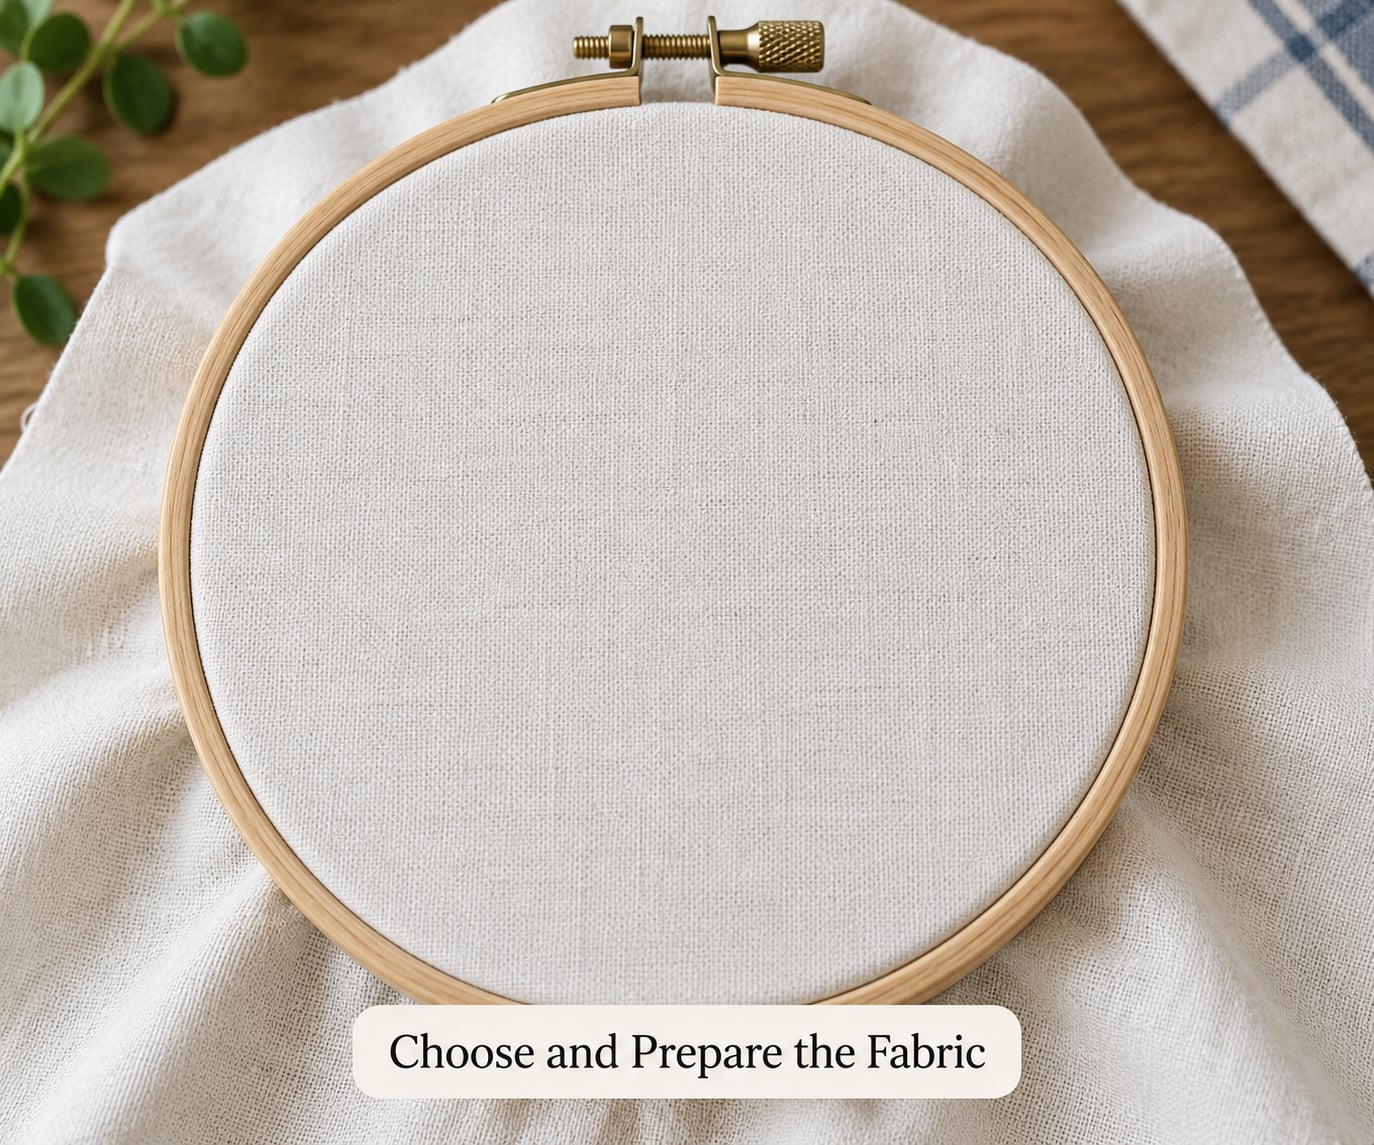
Wash and iron the fabric first, and test whether it stretches by pulling it gently across the hoop in two directions. If the weave visibly distorts, the fabric is wrong for this technique no matter how nice it looks on the bolt.
Cut your fabric at least two inches larger than the hoop all the way around, then iron the edges or sew them down. Frayed edges pull on the middle of the design, and that pull is the reason a finished piece curls after washing.
Stretch the fabric in the hoop until the grain runs straight in both directions and the surface has no ripples, then tighten the screw a further quarter turn. You are aiming for a surface that sounds faintly drum-like when you tap it. How do you know it worked? Press a fingertip into the middle: if the dent stays, the fabric is loose and needs more tightening.
Transfer or Draw the Design
Simplify before you transfer anything. Reduce a photograph to three or four shapes per object and drop any detail smaller than your shortest stitch. Thread painting rewards simplification, and trying to stitch every feature is where beginners get stuck.
Draw the outline directly on the fabric with a water-soluble pencil, or trace through a light box or onto tracing paper with a fabric marker. Mark the boundaries between colors as well as the outer edge, so you know where one color stops before you reach it with the needle.
Sketch stitch direction with a few light arrows inside each shape: down the length of a petal, following the curve of a leaf, with the grain for fur. Keep the marks thin. A heavily marked area turns brittle and tears as you stitch across it, so mark a guide, stitch one section, then erase and mark the next.
Thread the Needle and Secure the Back
Cut floss about 18 inches long and split it into two strands. Two strands are far easier to see against fabric than six, and you can add another two later for thicker coverage without restitching what you have done.
To thread reliably, press the thread flat with your thumbnail, cut the end cleanly with snips rather than tearing it, and hold the last few millimeters between finger and thumb so it does not fray while it passes through the eye.
Anchor the back without a bulky knot: run the thread along the underside of a few existing stitches or through the backing fabric, then take one small stitch in the backing. Clip close and tug gently until the end disappears. You will not see a knot on the front and nothing will unravel in the wash.
Build the First Layer with Short Stitches
Hold the hoop like a steering wheel with your non-stitching hand underneath, so the surface tilts slightly toward you and you can see where the needle lands.
Bring the needle up and pull the floss most of the way through, then lay the thread along the surface for a few millimeters before taking the next stitch down. That laying step is what closes the gap between stitches. For an edge, catch the floss under the previous stitch each time; for the interior, place stitches side by side with a slight overlap.
Keep the tension light. Pull until the thread lies flat, no further, because a stitch set too tight curls the fabric and makes the next one impossible to place cleanly. To check, lay a small ruler across the area and press down gently at both ends. If the middle bulges up, loosen your tension by a fraction and move on.
Short split stitches, where you split the thread of the previous stitch with the needle, give the most painterly result for beginners because they fill irregular shapes with no visible outline. Satin stitch, with stitches lying perfectly parallel and edge-to-edge, is faster and cleaner on shapes with straight sides.
Layer Colors and Create Dimension
Work from the darkest value into the lightest, so each new lighter layer sits on top of the darker one and the edges blend forward instead of stopping dead. Start at the shadow side and finish at the highlight.
Place each lighter layer one stitch-width short of the darker edge so the two colors overlap rather than meet. This overlap is the whole trick; a hard boundary between two colors reads as two flat shapes, while a two-stitch overlap reads as a gradient.
Change stitch direction as you go. Long stitches in the direction of a petal, tight and following the curve for fur, straight and varied for woodgrain. Direction is texture, and it is free once you stop stitching in straight parallel rows out of habit.
Test every new color on a scrap of the same fabric in a corner first. Thread behaves differently over an already stitched area than over bare cloth, and a color you loved in the skein can turn muddy once it sits beside its neighbor.
Finish, Secure, and Block the Fabric
Weave each thread end three or four stitches into the back of the stitching, change direction once so it locks, and snip close without cutting into the stitch you are hiding under.
Dampen the finished piece and press it from the back with a cloth, keeping the stitching side down or covered so you do not flatten the sheen you have built. For anything larger, wet the piece, stretch it gently back to its original shape, pin it to a towel and let it dry flat. That final blocking step removes the hoop marks and gives you back a surface that looks finished rather than merely complete.
Check the back before you call it done. Thread painting is judged on the reverse as much as the front, and loose loops or a visible grid of bobbin show up first there.
Common Mistakes
Nearly every beginner problem comes from one of four things: too much tension, too little backing, a wrong needle or a rushed stitch length.
| Problem | Likely cause | Fix |
|---|---|---|
| Fabric puckers around a stitched area | Stitches pulled too tight, or too little backing under a sparse area | Loosen tension until thread sits flat; add a layer of batting or a second backing fabric |
| Visible knots or a lumpy back | Starting and ending with a full knot | Weave ends into existing stitches instead, and clip flush |
| Gaps between stitches | Needle hole too large, or stitch length too long | Drop to a smaller needle and shorten stitches to about half the hole width |
| Muddy color transitions | Too many colors, or two mid values placed side by side | Commit to three values per shape and overlap edges by two stitches |
| Stitches look harsh and corded | Full six-strand floss used throughout | Split to two strands and build coverage with more, thinner layers |
| Design distorted after washing | Unfinished fabric edges pulling the center | Hem or bind the edges before hooping, and press damp to original measurements |
Thread breakage on a sewing machine usually means the speed outran your hand, not that the thread is bad. Slow the machine down until you can move the fabric smoothly, and hold the threads to the side rather than pulling them down at the machine, which creates drag and fraying.
If you are painting on fabric you have already colored with acrylic or fabric paint, use a sharp embroidery needle, since a dull needle has to push through the dried paint film and will carve a ragged hole. Let each layer dry fully, ideally overnight, before stitching over it.
Frequently Asked Questions
What fabric is best for thread painting?
Smooth, tightly woven cotton or linen in a neutral solid color works best, because the surface stays flat and the stitch marks stay visible. Washed and pressed fabric is essential, and stretchy knits and jersey should be avoided entirely since they pucker as you stitch. Test any fabric by pulling it across your hoop first, and if the weave visibly distorts, pick a different one.
Do I need a sewing machine to thread paint?
No. Hand thread painting with an embroidery needle and floss teaches you the technique, and many artists never move to a machine. A machine with a free-motion darning foot is faster for large areas, but the machine becomes a brush only when you can move the fabric freely by hand under a lowered needle. Many beginners hand paint a few small pieces first so the stitch control is already there when they try it.
Is thread painting the same as embroidery?
It is a form of embroidery, but the goal is different. Traditional embroidery builds recognizable shapes from discrete stitches and counted patterns, while thread painting layers thread in different values and directions to create shading and texture, so the finished piece reads like a painting rather than a pattern. The technique is also known as silk shading, needle painting, or free-motion embroidery when a machine does the stitching.
What thread and needle should I use?
Six-strand embroidery floss in three values per color family is the standard starting point, and you split it to two strands so coverage builds in thin layers. A size 10 or 12 embroidery needle suits cotton and linen, while heavier fabric needs a size 14. On a machine, use 40wt or 50wt rayon or cotton with a topstitch 80/12 needle, and use 90/14 on thicker cloth.
How long does a first thread painting piece take?
Allow about an hour for something small, such as a single leaf or petal in three values. It is slower than it looks because finishing, blocking and rethreading take real time, and the second piece takes noticeably less than the first. If you are doing it free-motion on a machine, a small motif is well under an hour, but a detailed piece of several inches is genuinely time intensive.
Can you thread paint on painted or acrylic-treated fabric?
Yes, and it can look striking, as long as the surface is prepared properly. Thin acrylic with roughly equal parts water and paint so it absorbs into the weave instead of sitting on top as a film, let each layer dry before adding the next, and give the finished piece a full day before stitching. Use a sharp embroidery needle and expect occasional holes where the film is thicker.
Conclusion
Three things decide whether your first thread painting piece looks good. Start with washed, tightly woven fabric held genuinely taut in a hoop or frame, and pick a design simple enough to fit in three colors per shape.
Then keep your stitches short, even and only lightly tensioned, layering each lighter value over the darker one so the colors blend instead of meeting. One leaf or petal in three values is the right first project, and once that one sits flat on the hoop you will know the rest is practice, not technique. The same steps hold whether you stitch by hand or run free-motion on a machine, so pick the setup you already own and start there.