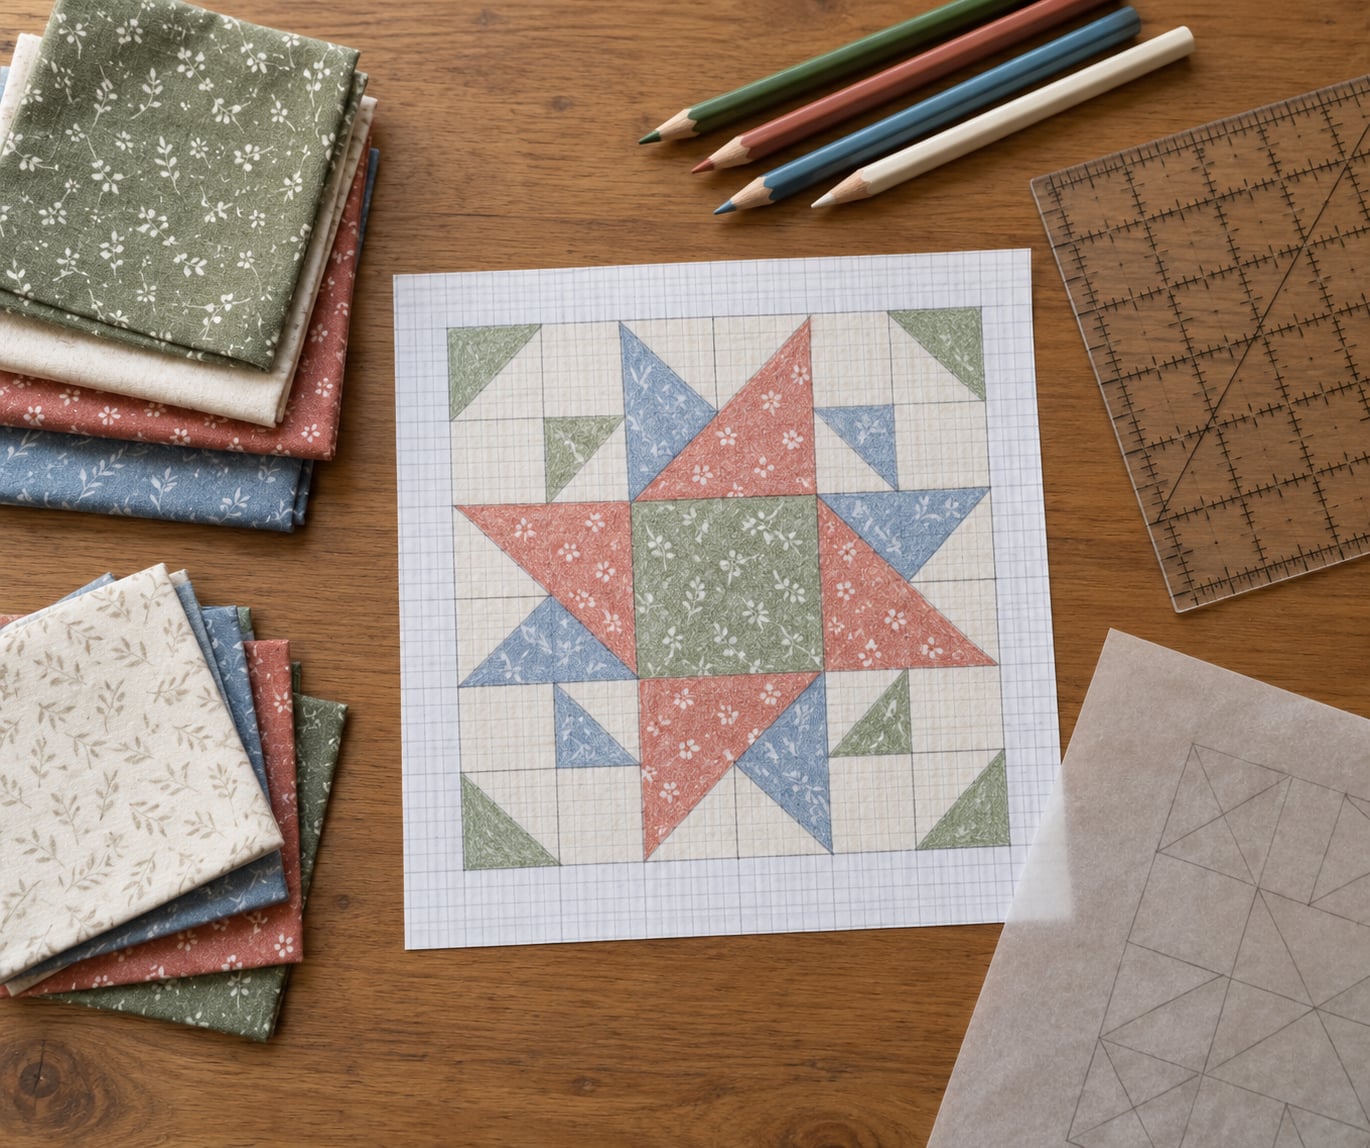
To design a quilt pattern on paper, you draw the block on quarter-inch graph paper as a grid of repeating units, label every patch with its grid-unit size, then add 1/2 inch to each finished measurement to get your cut sizes. It takes about an hour for a first block and costs almost nothing, and the method works for original designs, adapted traditional blocks, or a photo you want to turn into a quilt.
The part that catches beginners is starting with a picture instead of a number. If you know the finished block size before you draw a line, every later decision falls into place.
Table of Contents
- What You Need
- How to Design a Quilt Pattern on Paper Step by Step
- 1. Decide the quilt and block size
- 2. Sketch a simple block concept
- 3. Draw the design on grid paper
- 4. Add color and fabric decisions
- 5. Check the repeat and make a test block
- Common Mistakes and How to Fix Them
- Frequently Asked Questions
- What kind of graph paper should I use to design a quilt pattern?
- How do I calculate cut sizes from a paper quilt design?
- Can I resize a quilt block I already drew?
- Is there an app to design quilt patterns?
- How do I choose a colorway before buying fabric?
- How do I turn a picture into a quilt pattern?
- Start With One Block
What You Need
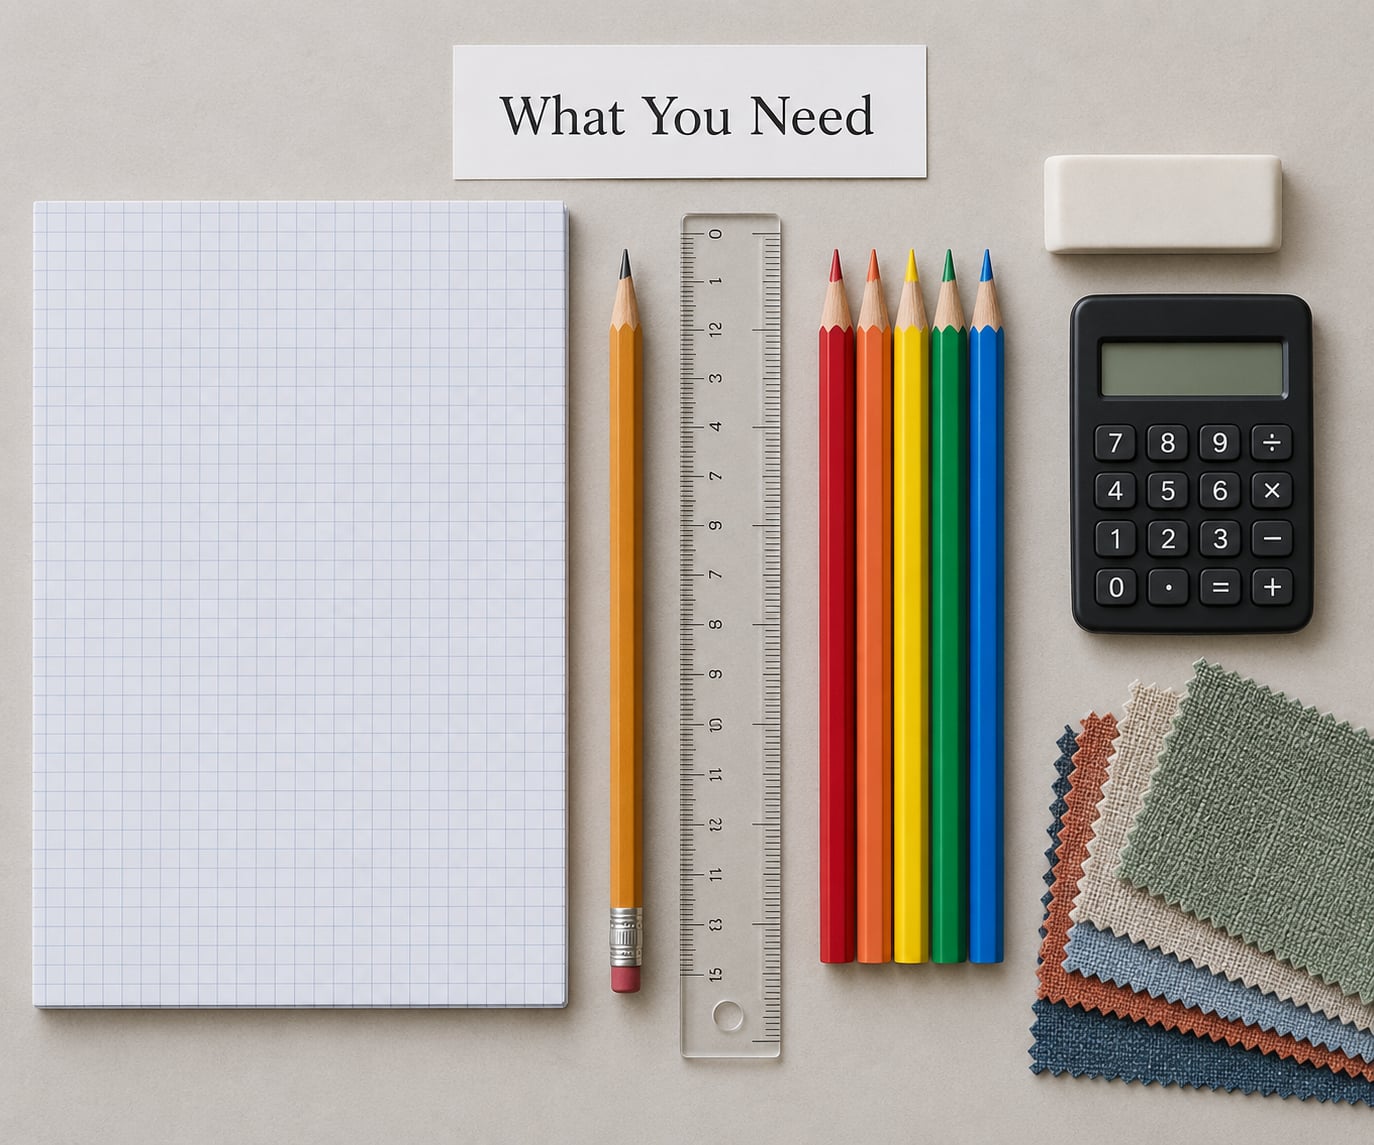
You need very little. Most quilters already own three or four of these items, and the rest cost a few dollars.
- Quarter-inch graph paper, ideally several sheets taped together for larger blocks. Quarter-inch squares are the standard because a 1-inch grid unit is four squares wide, which divides evenly.
- Sharp pencil and a good eraser. You will redraw lines more than you expect.
- Clear ruler long enough to span your block, plus a small square ruler for checking right angles.
- Calculator or a phone math app for the finished size plus 1/2 inch arithmetic.
- Colored pencils and one or two sheets of tracing paper for the color step.
- Reference images, a photo of a quilt you admire, or your own sketch.
- A flat workspace with room for a sheet of paper you can spread out and a cutting mat nearby once drafting turns into cutting.
- Scrap fabric in three or four colors for a test block. This is the step people skip and then regret.
If you would rather print than draw, free graph-paper templates made for quilters exist online and print cleanly at letter size. Tape two sheets edge to edge if your block runs past the page.
How to Design a Quilt Pattern on Paper Step by Step
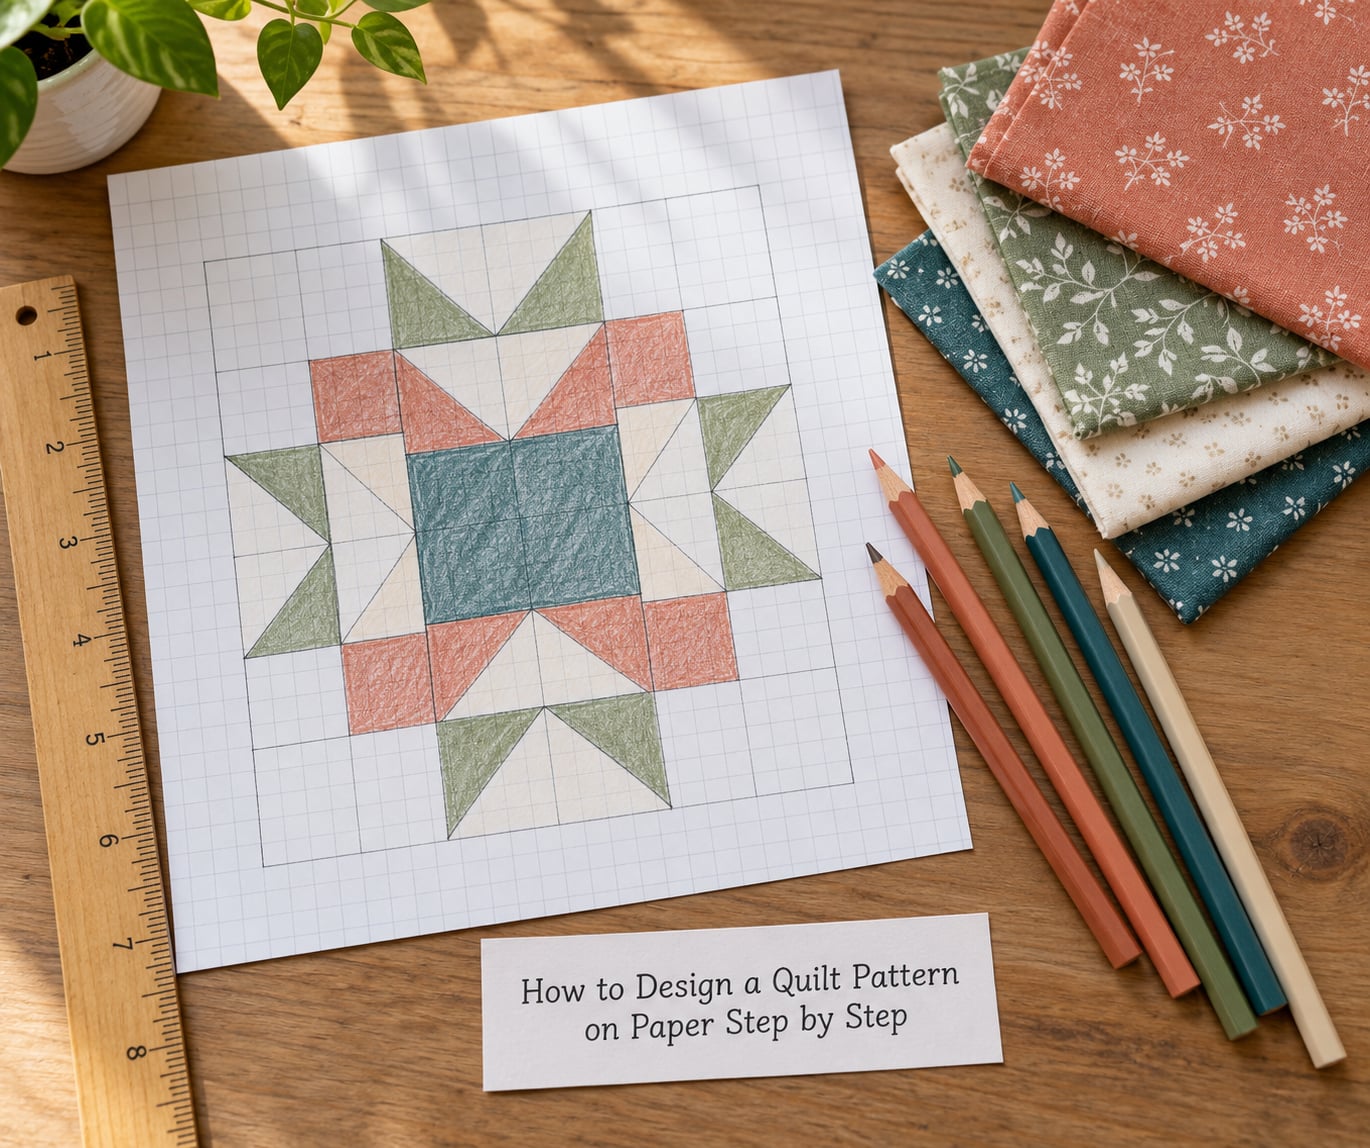
The whole method runs in five moves: fix the size, sketch the idea, draw it on the grid, add color, then proof it in fabric. Here is each one.
1. Decide the quilt and block size
Pick your finished block size before anything else. Finished size means the sewn block measured from outer edge to outer edge, with every seam allowances already swallowed by stitching.
Work out how many blocks you need next. For a throw that finishes at 60 by 72 inches, a 9-inch finished block gives 7 blocks across and 8 down once you divide the dimensions by the finished block size and round to a whole number.
Three measurements matter at this stage:
| Measurement | What it means | How it relates |
|---|---|---|
| Cut size | Raw size of fabric before sewing | Finished size plus 1/2 inch |
| Unfinished size | Sewn block before it joins the quilt | Finished size plus 1/2 inch |
| Finished size | Measured block inside the quilt | The number everything else is built from |
Why add 1/2 inch? Because four patches meet at a point, and each contributes a 1/4-inch seam allowance. Two opposite seams equal 1/2 inch, so adding 1/2 inch to each finished measurement compensates for the seams that eat into it.
Write the finished block size at the top of your graph paper with the finished block count. Those two numbers are your anchor for everything else.
2. Sketch a simple block concept
Reduce your idea to a handful of repeatable shapes with one clear focal point in the middle. Three to five distinct shapes is plenty for a first design, and each one should be able to repeat in a straight line without looking accidental.
Start from what repeats. If you love a traditional block such as a nine-patch, Ohio star, or log cabin, sketch the underlying unit, not the finished look. A nine-patch is one square, a log cabin is a center square with two log rounds, and both are easy to keep on a grid.
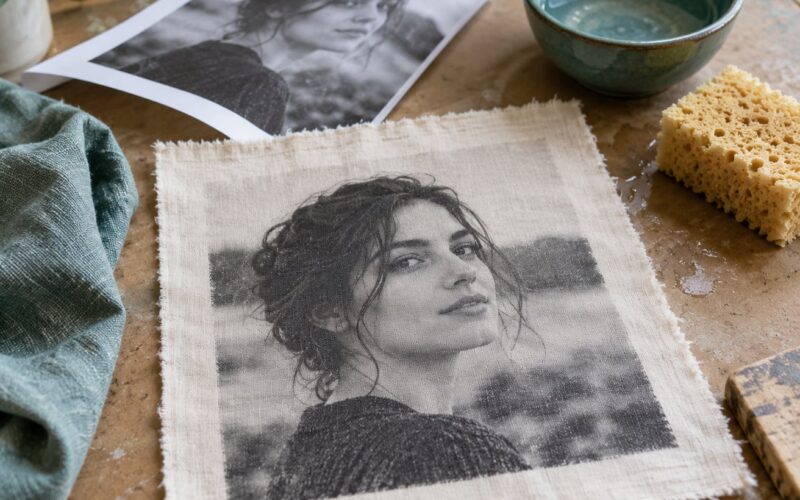
Working from a photo or a photo of a quilt you took yourself? Reverse-engineer it by counting from the smallest patch. Find the smallest piece, decide it is one grid unit, then count outward. PatternReview forum threads describe the same move in reverse: copy your drawing onto graph paper, redraw it on a larger grid, and use the grid as a guide while transferring.
Keep the first draft loose. If a detail will not sit on the grid after two tries, simplify it now rather than fighting it later.
3. Draw the design on grid paper
Choosing the right grid unit saves you from redrawing later. A 1-inch, 1-1/2-inch, or 2-inch grid unit divides cleanly, so a rotary cutter can cut every strip without a math check, and the same draft rescales to other sizes. Fractional grid units like a 3/4-inch unit force you to calculate every cut line by hand, and quilters on r/quilting describe that as the moment they give up on paper drafting and learn software.
Here is how to draw the design on grid paper so it works the first time:
- Mark the finished block outline on the grid and count the grid units across and down. An 8-inch finished block on a 1-inch grid unit is 8 by 8.
- Draw only the shapes, as straight lines from grid intersection to grid intersection. Angles get planned later.
- Use solid lines for cut lines and light dashed lines for seam or guide lines, so you know what gets cut and what is reference only.
- Label every patch inside its outline with its grid-unit dimensions, for example 2 GU by 2 GU, written in pencil.
- Write the finished size once in the corner of each patch, then a row of cut sizes underneath.
To scale a drafted block without redrawing it, change the grid unit rather than the drawing. The same 8 by 8 unit design becomes a 12-inch finished block on a 1-1/2-inch grid unit, and an 8-inch block becomes a 6-inch block on a 3/4-inch grid unit, if you do not mind doing the cut math.
Convert the units into cut sizes with one formula, then check it against this table:
Cut size equals finished patch size plus 1/2 inch on every side.
| Finished patch | Cut size on a 1-inch grid unit | Cut size on a 1-1/2-inch grid unit | Cut size on a 2-inch grid unit |
|---|---|---|---|
| 1 GU | 1-1/2 inch | 2 inch | 2-1/2 inch |
| 2 GU | 2-1/2 inch | 3-1/2 inch | 4-1/2 inch |
| 3 GU | 3-1/2 inch | 5 inch | 6-1/2 inch |
| 4 GU | 4-1/2 inch | 6-1/2 inch | 8-1/2 inch |
| 6 GU | 6-1/2 inch | 9-1/2 inch | 12-1/2 inch |
The three columns show cut sizes for grid units of 1 inch, 1-1/2 inch, and 2 inch. Half-square triangles follow the same arithmetic before you cut the square, so a 2 GU HST on a 1-inch grid is cut from a 2-1/2-inch square.
4. Add color and fabric decisions
Check value before hue. Use a grayscale print or photograph your draft in black and white, then squint at it from across the room. Shapes that disappear at that distance need a value change, and no amount of pretty fabric fixes them.
Then assign colors. Lay a sheet of tracing paper over your drawn block, tape it down, and color inside each outline with colored pencils as a colorway preview. Lift the tracing paper and you still have the original grayscale draft underneath, which is exactly what quilters who work this way describe as the reason paper is faster than software for color decisions.
Keep the color plan simple:
- Two or three background fabrics, usually a light and a mid value.
- One dominant color that carries the focal point.
- One accent, used sparingly, in a hue that sits opposite your main color on the color wheel.
Test the plan at two distances. Hold it at arm’s length, then hold it across the room. If the block reads clearly at both, your value structure works. Note the fabric choices and yardage estimates on the drawing so the plan travels with the pattern.
5. Check the repeat and make a test block
Draw your block two or three times in a row on a second sheet to see the rhythm. This is where designs that looked balanced alone fall apart, usually because the accent color appears at the same strength in every block.
| Layout | How it works | Best for |
|---|---|---|
| Repeat | Identical blocks in rows and columns | A single block you already love |
| Alternating | Two blocks, rotated or flipped, in checkerboard order | Simple two-color designs |
| One-patch | A large field of small pieces with no matching patches | Playing with scraps and scale |
| Sashed | Blocks separated by strips of a contrasting fabric | Busy blocks that need breathing room |
| Medallion | One central panel surrounded by borders | Showcasing a single complex block |
Do not have a design wall? Tape your layout sheets to the floor, or lay them on a bed. Draw the whole quilt top, including sashing and border widths, and add the finished measurements to the outer edge. That drawing tells you the final size and how many blocks you actually need.
Then sew one block from scrap fabric before you cut anything else. It is the fastest way to catch a wrong measurement, and quilters who sew a sample block and live with it for a week before choosing a colorway rarely regret the fabric.
Two practical notes. If your design has four-way points, expect either Y-seams or partial seams, sometimes called puzzle seams, and draw the seam lines on your draft so you know before cutting. And if you want paper piecing, draw the same grid on foundation paper instead, marking sections in reverse order with a 1/4-inch line and adding 3/8 of an inch between patches instead of 1/2 inch.
You can move a paper draft into Electric Quilt later by rebuilding the patches at the same grid unit, but many experienced quilters simply keep both, using paper for the early sketching and software once a layout gets large.
Common Mistakes and How to Fix Them
These are the errors that show up most often, all of them cheap to fix once you know they exist.
- Designing at the wrong finished size. Fix: write the finished size at the top of the page before you draw anything, and measure from the outside edge in your head.
- Forgetting the seam allowance. Fix: apply finished size plus 1/2 inch to every patch and sub-block, including strips you will sew into pairs.
- Off-grid lines. Fix: use the clear ruler for every edge and count grid units rather than eyeballing distance.
- A grid unit that fights the rotary cutter. Fix: use 1 inch, 1-1/2 inch, or 2 inch units so cuts land on multiples of an eighth.
- Too many shapes in the first draft. Fix: cut it back to three or four patch types and see whether it still reads.
- Color chosen without a value check. Fix: squint at a grayscale copy from across the room before you pick fabric.
- An unbalanced repeat. Fix: draw the block three times in a row and move the accent color off the strong diagonal.
- Unlabeled patches. Fix: write grid-unit dimensions inside every outline while drawing, not after.
Keep revisions manageable by versioning your draft instead of erasing it. Draw version two on fresh paper with a small note about what changed, so you can compare without losing the original idea.
Frequently Asked Questions
What kind of graph paper should I use to design a quilt pattern?
Quarter-inch graph paper is the standard for quilt drafting because a 1-inch grid unit equals four squares, so every grid unit divides cleanly for cutting. Tape sheets together for blocks larger than a page. Printed graph-paper templates made for quilters work well if you prefer to start from a clean sheet rather than a spiral notebook.
How do I calculate cut sizes from a paper quilt design?
Add 1/2 inch to every finished measurement, because four patches meet at a point and two 1/4-inch seam allowances equal that 1/2 inch. A patch finished at 4 inches gets cut at 4-1/2 inches. Apply the same rule to strips, sub-blocks, and half-square triangles, since each is measured before joining the rest of the block.
Can I resize a quilt block I already drew?
Yes, if you drafted it on a clean grid. Change the grid unit rather than the drawing: an 8-by-8 unit design becomes a 12-inch block on a 1-1/2-inch grid unit. A fractional grid unit also works, but you then calculate each cut line by hand instead of counting squares.
Is there an app to design quilt patterns?
Electric Quilt EQ8 is the standard software, with subscription versions of EQ8 and EQ8 Mini available, and it handles layout, fabrics, and quilt calculations well. Many quilters draft early ideas on paper because pencil and graph paper are faster for the first hour, then rebuild the patches in software once a layout grows large.
How do I choose a colorway before buying fabric?
Tape tracing paper over your drawn block and color each section with colored pencils, which keeps the grayscale draft underneath intact. Check the design in grayscale first so value problems show up before hue hides them. Then write fabric choices and yardage notes on the drawing so the plan stays with the pattern.
How do I turn a picture into a quilt pattern?
Count from the smallest patch in the image and assign it one grid unit, then count outward in units to rebuild the design. Copy your sketch onto graph paper and use a larger grid as a transfer guide. Once redrawn, label every patch in grid units and convert to cut sizes with the plus 1/2 inch formula.
Start With One Block
Pick your finished block size, draw that outline on quarter-inch graph paper, and label one patch. That single block is the whole method, and the rest of the quilt is repetition.