There are two very different jobs hiding in this question. If you want a photograph or a finished piece of artwork on cloth, you print it, coat it with a photo transfer medium, press it onto washed cotton and rub the paper away. If you want a pattern you can stitch, you trace a line-art outline with a water-soluble pen over a light source and never print at all.
This guide covers how to transfer an image onto fabric both ways, starting with the print-and-rub method because it needs nothing more than a printer, a medium, an iron and about 30 seconds of actual pressing time. Do a test square first. Every method here behaves differently on canvas than it does on a tightly woven cotton, and a scrap of the same fabric will save the panel you care about.
Table of Contents
- What You Need
- Step-by-Step
- Step 1: Prepare the Fabric and Design
- Step 2: Apply the Transfer Medium
- Step 3: Transfer the Image
- Step 4: Finish and Protect the Fabric
- Which Transfer Method Is Best?
- Common Mistakes
- Frequently Asked Questions
- Can you transfer a printed image onto fabric?
- What fabric works best for an image transfer?
- How do I transfer an image without an iron?
- Will a transferred image wash off or fade?
- How do I prevent the image from printing backward?
- Can I transfer a photo onto fabric?
What You Need
The core kit is short. Everything else depends on the fabric and the look you want.
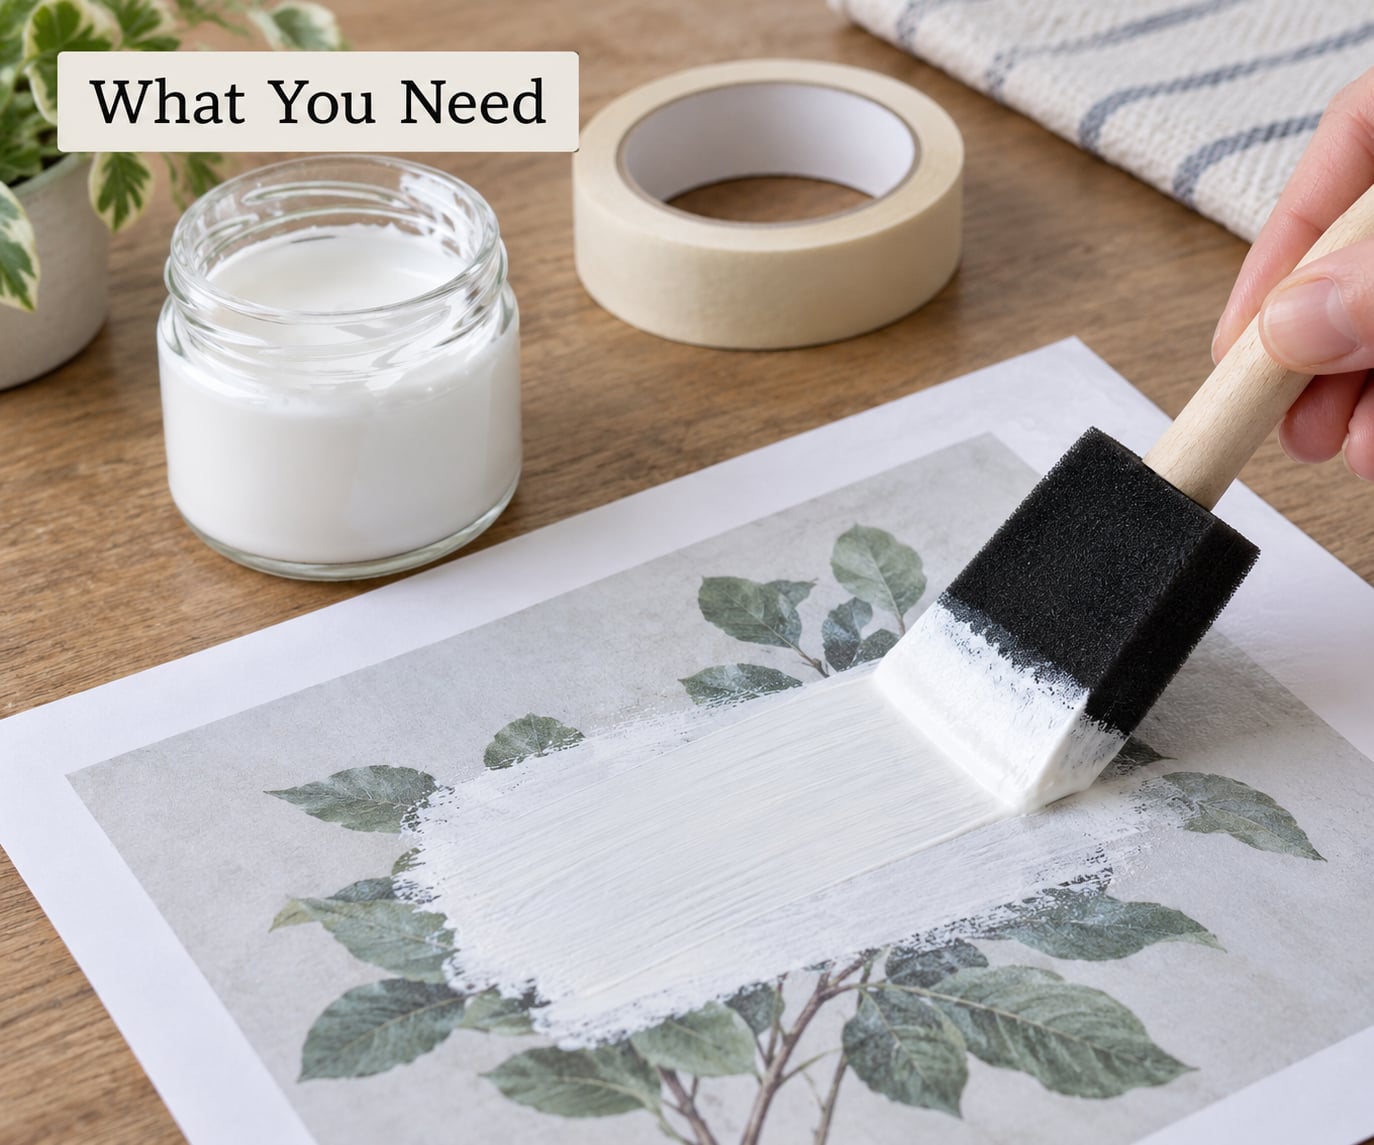
- 100% cotton fabric, natural or white for the easiest result. Cotton and linen take a transfer well because the fibres absorb the medium.
- Photo transfer medium, sold as a liquid or gel you brush onto the back of the print. This is not the same product as fabric medium, which is used for activating fabric paint.
- A printed copy of your image on plain copier paper, printed in mirror image so it lands the right way round.
- A foam brush or foam roller for spreading the medium evenly without dragging wet ink across the print.
- A dry iron, or a heat press if you already have one. Set it to the fabric’s care label temperature.
- Medium-weight pressing cloth and a flat surface you can leave undisturbed while everything dries.
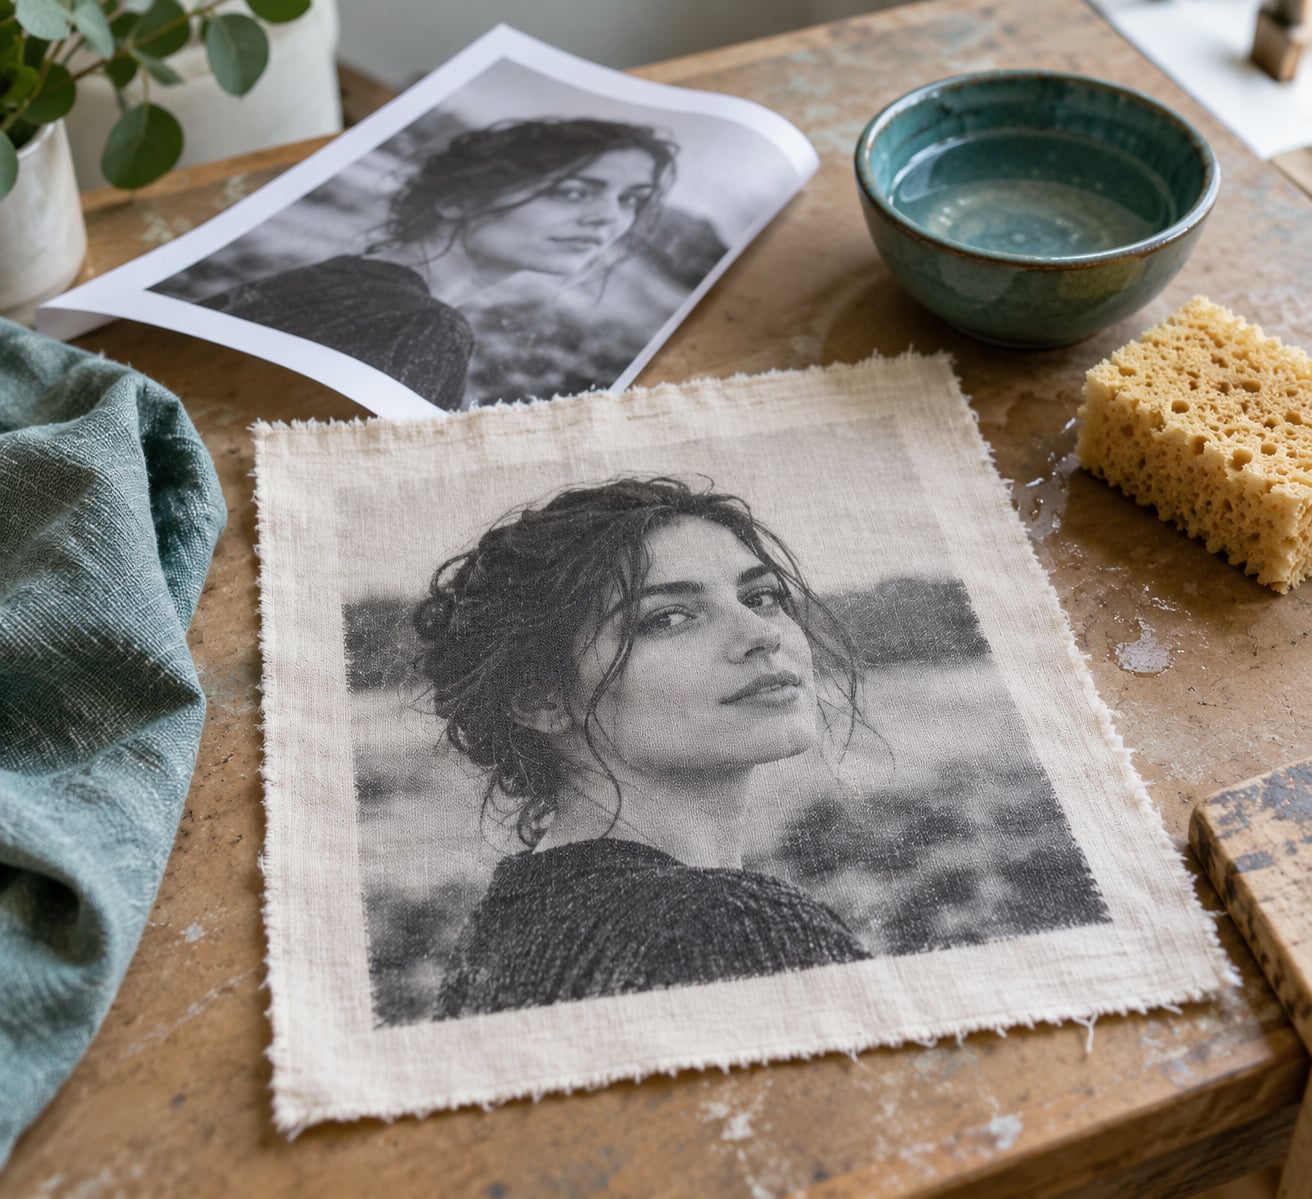
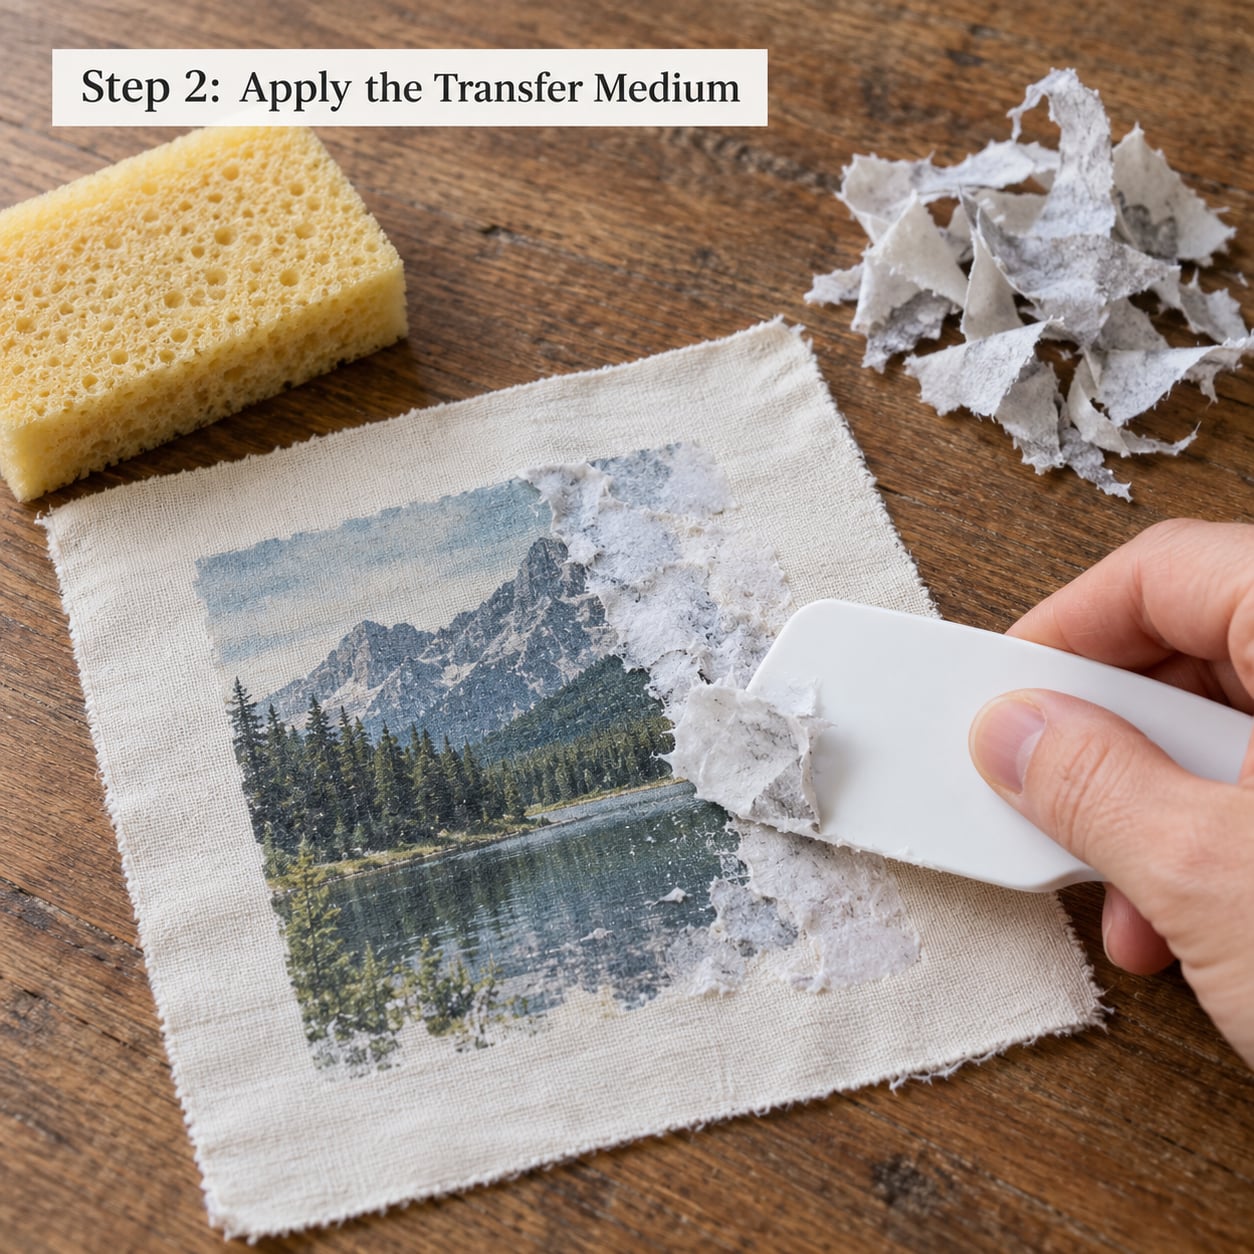
- A damp sponge, a bowl of water and a plastic scraper for lifting the softened paper fibres.
- A soft textile medium or fabric-safe fixative if the finished piece will be washed or handled.
Two optional items cover common cases. Printed water-soluble stabilizer gives you a clean pattern placement if you own a printer and want to stitch the design. White transfer paper or light-coloured transfer paper is what you need for dark fabric, where a translucent sheet would let the background colour muddy the image.
Step-by-Step
Print-and-rub transfer is the method most people mean when they search how to transfer an image onto fabric. It works because a laser printer melts toner into the surface of the paper, and the transfer medium soaks through the paper and bonds that toner to the cloth. Once the paper dries, water dissolves the fibres and lifts them away, leaving the image behind.
Step 1: Prepare the Fabric and Design
Wash and dry the fabric first, then press it flat. Washing shrinks cotton, and a transfer applied to fabric that later shrinks will crack along the lines. Ironing out the wrinkles matters too, because a crease under the paper becomes a crease in the image.
Flip your image horizontally before printing. The print goes face down onto the fabric, so a normally oriented file lands mirrored. Check the direction by looking at lettering: if a word reads backwards on the screen it will read correctly on the cloth.
For the truest colour, raise contrast slightly and stay at a normal viewing zoom when you edit. Print on plain white copier paper rather than photo gloss, and give the ink a few minutes to settle before you coat it.
If your printer is inkjet rather than laser, you have two ways forward. Photocopy the print at a copy shop onto a laser machine, which is what people in r/gelliprinting report doing when they want a saturated result. Or switch to inkjet transfer paper, which is built to receive liquid ink and releases it under heat instead of rubbing.
Step 2: Apply the Transfer Medium
Tape your printed sheet face up to a flat surface. Pour out a small amount of medium and roll it across the back with a foam roller in every direction until the paper is fully covered. Thin, even coats dry clearer and stay flexible; a thick coat sits on top of the fibre and is exactly why so many people end up with cardboard-crisp fabric.
Let the sheet dry completely. It should look opaque, with no image showing through the wet layer. Any gloss left on the surface means more drying time.
Step 3: Transfer the Image
Trim the dry sheet to the size of your fabric, leaving a small margin. Sand the back of the sheet lightly with fine grit so the medium grips the cloth, then remove the sanding dust with a dry cloth.
Place the fabric right side up on your pressing surface and lay the coated sheet on top, coated side down. Take a piece of thin cotton pressing cloth and add it over the whole thing.
Set the iron to the temperature on the fabric’s care label and hold it still over the sheet. Do not slide it, and do not press harder to hurry things along. Fifteen to twenty seconds of steady heat is enough for most mid-weight cotton. Work in overlapping patches to cover the whole design.
Lift the iron, let the cloth cool for a minute, then peel the paper back slowly at a shallow angle while the fabric is still slightly warm. Pulling it straight up tears fibres.
Step 4: Finish and Protect the Fabric
Wet a sponge and wring it out until it is damp but not dripping. Soak the back of the paper, wait about fifteen seconds, and peel with a plastic scraper held at a low angle. Repeat until no paper texture remains and no fuzzy fibres come away on the sponge.
Leave the fabric flat and undisturbed for several hours. Once it is dry, check that every part of the image transferred and that no area of medium has left a stiff patch.
If the piece will be washed, brush a thin coat of soft textile medium over the image and let it cure. That extra step is what separates a transfer that survives a cool gentle wash from one that peels in the first rinse. Wash inside out, cold, and skip the tumble dryer, which is what cracks transfer media faster than anything else.
Which Transfer Method Is Best?
Each method trades off detail against durability, and the right pick depends more on the fabric and the intended use than on the image itself.
| Method | Best for | Fabric | Wash durability | Kit needed |
|---|---|---|---|---|
| Photo transfer medium | Photographs, portraits, artwork with continuous tone | Cotton, linen, canvas | Good with a sealing coat | Laser printer, iron, medium |
| Iron-on transfer paper | Lettering, logos, simple bold graphics | Cotton and cotton blends | Very good on light fabric | Iron, cut sheets |
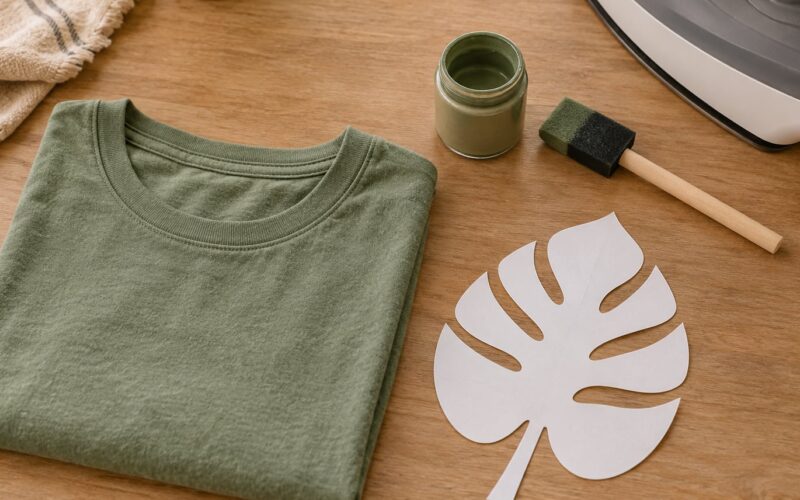
| Transfer paint and markers | Hand-drawn work, quilting labels, thread painting | Any fabric, including synthetics | Excellent | Nothing but the paint |
| Printable fabric sheets and sublimation | All-over fabric panels, totes, high-volume pieces | Polyester and coated fabric | Best available | Inkjet printer or transfer paper plus heat press |
Photo transfer medium gives the most photographic result at home and takes the most prep. Iron-on paper is faster and survives washing better, but fine detail goes flat and it is designed for light fabric. Transfer paint and markers skip the printer entirely and never need heat, which makes them the answer for synthetics, for a traced pattern, and for anyone whose design is drawn rather than printed.
Sublimation is the durability leader because the dye goes into the fibre instead of sitting on top of it, so the print cannot peel. It needs polyester or a coated fabric and a heat press or a very hot iron, which is why it is a workshop tool rather than a kitchen drawer one.
Two home shortcuts are worth knowing. Freezer paper works in an inkjet printer because its glossy coating stiffens the sheet enough to feed through, then you iron it on glossy side down and rub the paper away while still warm. Wax paper works for fabric paint: draw your image onto it, iron it face down, and the wax lifts the design onto the cloth. Ordinary PVA glue thinned with water will also hold an image, and forum users report it working, though it sits on the surface and needs more sealing than a proper medium.
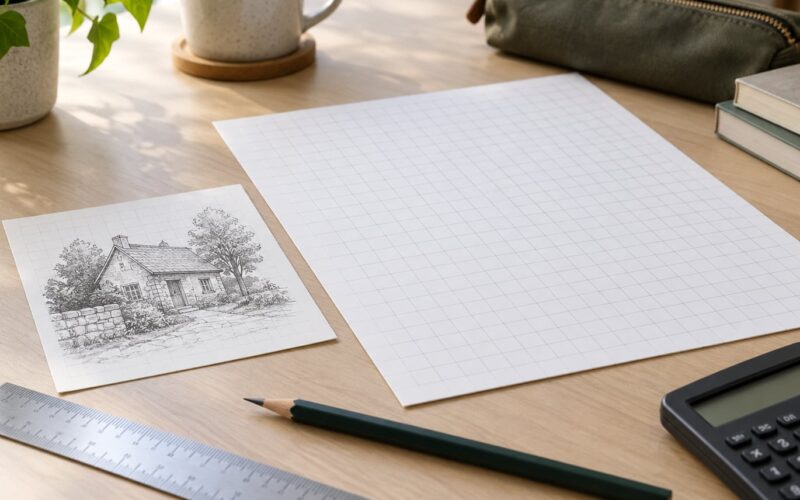
If what you actually need is a pattern to stitch rather than a picture to look at, skip all of this. Stretch the fabric over a laptop or tablet screen, tape it flat, and trace the line art with a water-soluble pen. That lightbox method is the most repeated answer in r/Embroidery, and the pen rinses out completely once the stitching is done.
Common Mistakes
Almost every failure traces back to one of six things.
The fabric went hard and stiff. You laid the medium on too thickly. Sand the finished area lightly with fine grit to knock the surface back, then brush a soft textile medium over it to fill the valleys, and accept that a heavily coated area will never drape like untreated cloth. Next time, roll thinner coats and let each one dry.
The image peeled or flaked after washing. It was not sealed, or it was dried in a hot dryer. Add a thin textile medium coat, cure it fully, and from then on wash cold and inside out.
The image looks blurry or smeared. Either the ink bled into wet medium, which happens when you coat a print that is still fresh, or you pressed too early. Let the printed sheet sit for a few minutes after printing and dry the coated sheet completely before heat.
The image came out backwards. Flip the file before printing. There is no fix afterwards, though a second layer of a traced design over the mirror image can rescue a panel you have already committed to.
Paper will not rub away cleanly. You did not soak it long enough, or you scrubbed while it was dry. Wet, wait, then scrape at a low angle. Work from the edges inward and repeat the soak rather than picking at a stubborn patch.
Colours look muddy, or the fabric scorched. Muddy colour usually means the medium was not opaque enough or the image lacked contrast before printing. Scorch marks mean the iron was too hot for that fabric or you left it sitting in one spot; follow the care label and move the iron only between patches.
Frequently Asked Questions
Can you transfer a printed image onto fabric?
Yes. Print your design on plain copier paper, brush photo transfer medium over the back, let it dry, then iron it onto pre-washed cotton with the coated side down. Once the paper is dry, a damp sponge and a plastic scraper lift the fibres away and the image stays on the cloth. Seal the finished area with a soft textile medium if the piece will be washed.
What fabric works best for an image transfer?
100% cotton and linen give the most reliable result, and natural or white fabric makes the brightest image. Cotton canvas also works well. Polyester and other synthetics are poor candidates for photo transfer medium because the fibres do not absorb the medium properly; use transfer paint or a sublimation transfer on those instead. Always test on a scrap of the same fabric first.
How do I transfer an image without an iron?
You can, using fabric transfer paint or fabric markers. Draw or paint the image directly on the cloth with a brush, pen or marker formulated for textiles, and nothing is needed but a flat surface and a sealing medium. If you have a printed photo rather than a drawing, transfer paper and photo transfer medium are the only home methods, and both need heat.
Will a transferred image wash off or fade?
A well-sealed transfer, washed cold on a gentle cycle and dried flat, holds up well for years. Skip the sealing coat and it usually starts cracking within a few washes. Heat the drying, not the washing: a hot tumble dryer is what cracks transfer media faster than detergent or time. Line art traced with a water-soluble pen behaves differently again, since the guide rinses out entirely once stitching is finished.
How do I prevent the image from printing backward?
Mirror the image in your editing software before you print it. The printed sheet goes face down onto the fabric, so anything that reads left to right on screen arrives right to left on the cloth. Check lettering on the print sheet before you coat it. If you forget and the transfer is already done, trace the correct design over the mirrored one with a fabric pen and work on top of it.
Can I transfer a photo onto fabric?
Yes, and a photograph is the main reason most people learn how to transfer an image onto fabric. Use a laser printer if you can, since toner sits on the paper and transfers cleanly, and increase contrast slightly so the image is not muddy. A dry iron, a foam brush, photo transfer medium and a damp sponge are the whole tool list. Inkjet prints work with inkjet transfer paper, which needs heat instead of rubbing.
Start with a 4-inch square of the same fabric you plan to use, run the whole process once, and you will know which method your cloth can take before you commit a panel. From there, the method comes down to one question: do you want a picture that looks like a photograph, or a design that lasts through washing? Choose the first and reach for photo transfer medium and a laser print. Choose the second and reach for iron-on paper, transfer paint, or sublimation.