If you have been wondering how to make a cartoon for a tapestry, it comes down to one document: a full-size drawing you place behind or beneath the warp threads so the weaver can read the design through the cloth as it grows. To make one, you simplify the subject, limit the palette, enlarge your approved sketch to finished size on grid paper, and mark every color area clearly enough to follow at the loom.
Budget a weekend for a simple character design and several hours more if you are drawing from a photograph. It is not a difficult technique, but it does ask you to throw away detail you love, which is the hardest part for most people starting out.
One thing to settle before you start: the finished tapestry is the reverse of your cartoon. Because the right side of the weaving faces the drawing the entire time you work, any lettering or numbers in your design have to be drawn backwards.
Table of Contents
- What You Need
- How the loom sets your drawing size
- Step-by-Step: How to Make a Cartoon for a Tapestry
- 1. Define the Character and Its Role in the Composition
- 2. Choose the Finished Tapestry Size
- 3. Make Several Small Composition Sketches
- 4. Simplify Shapes Into Weaving-Friendly Forms
- 5. Design Color Areas and Texture Cues
- 6. Create the Full-Size Cartoon
- 7. Check the Design Before Transferring It
- Common Mistakes
- Frequently Asked Questions
- What size should a tapestry cartoon be?
- Can I make a tapestry cartoon in Photoshop or Procreate?
- How do I simplify a character for tapestry?
- Should I draw the cartoon in color or black and white?
- How do I transfer a cartoon onto the weaving?
- How much detail can I include in a tapestry cartoon?
- Start With a Small Sampler
What You Need
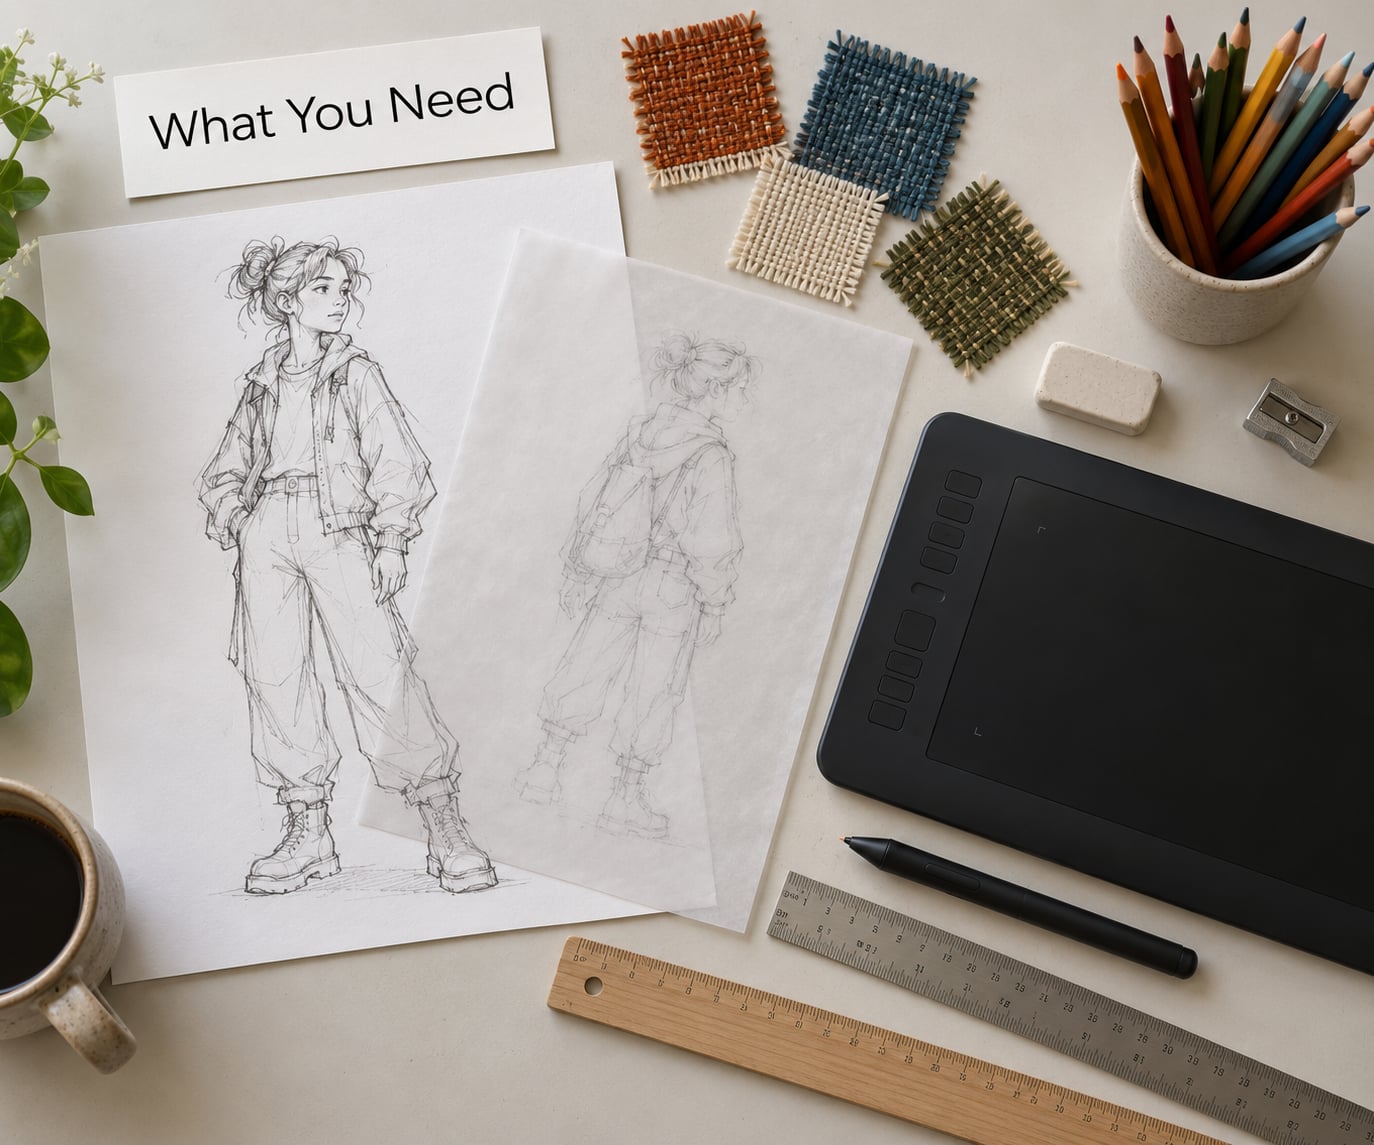
Everything you need is either already on your drawing table or sitting in your yarn basket. The list is short because a cartoon is a working document, not a finished painting.
- A reference image. A photograph, your own sketch, a collage, or a found object. It only needs to fix the idea, not the details.
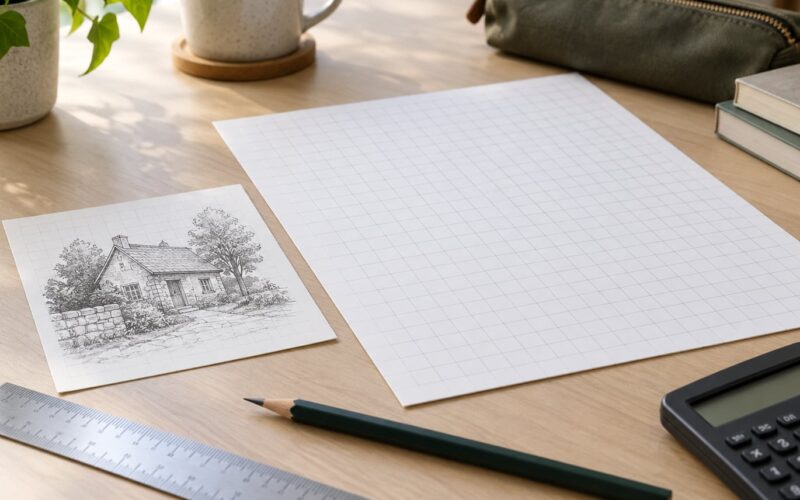
- Large drawing paper. Grid paper is the standard because the grid sets the scale. Full-size sheets are hard to find, so tape four or six sheets edge to edge and keep the grid lines running straight across the joins.
- Graphite and a soft eraser. A 2H pencil for construction lines and an H or HB for the drawing you will keep. Designate a clean kneaded eraser so you can drop a line without smearing everything around it.
- Colored pencils or a small paint set. Color the actual areas of yarn, not idealized color. Pull the yarn you plan to use and paint next to it rather than trusting the pencil’s idea of the shade.
- A transparent overlay or tracing paper. Useful for testing arrangements without destroying your thumbnails.
- A ruler and a triangle. For grid lines that stay true across a large sheet, and for marking the margins.
- A light source. A window, a lamp, or a lightbox if you work at night. A projector is an option for enlarging an image.
Two optional tools earn their keep. A drawing tablet lets you block in large shapes quickly and rearrange them before committing to pencil. And a real sample of the yarn itself, wound on a small card, tells you more about how a color will read in cloth than any swatch on paper.
How the loom sets your drawing size
Sett, the number of warp ends per inch, decides how big your drawing should be. Each square on your cartoon grid equals one warp end and one weft pick in the finished cloth, so a 12-sett weaving puts 12 squares inside every inch.
That number is also your detail limit. At 8 sett, one inch of drawing holds 8 threads, and anything thinner than a couple of squares disappears into a blur or a ragged slit. Decide your sett, or at least a range, before you draw, so you know which details will survive.
Step-by-Step: How to Make a Cartoon for a Tapestry
Here is the whole sequence in order: define the character, set the finished size, make small sketches, simplify the forms, plan color and texture, enlarge to full size, then check everything before you transfer it. Seven steps, and the first two decide whether the last five are easy.
1. Define the Character and Its Role in the Composition
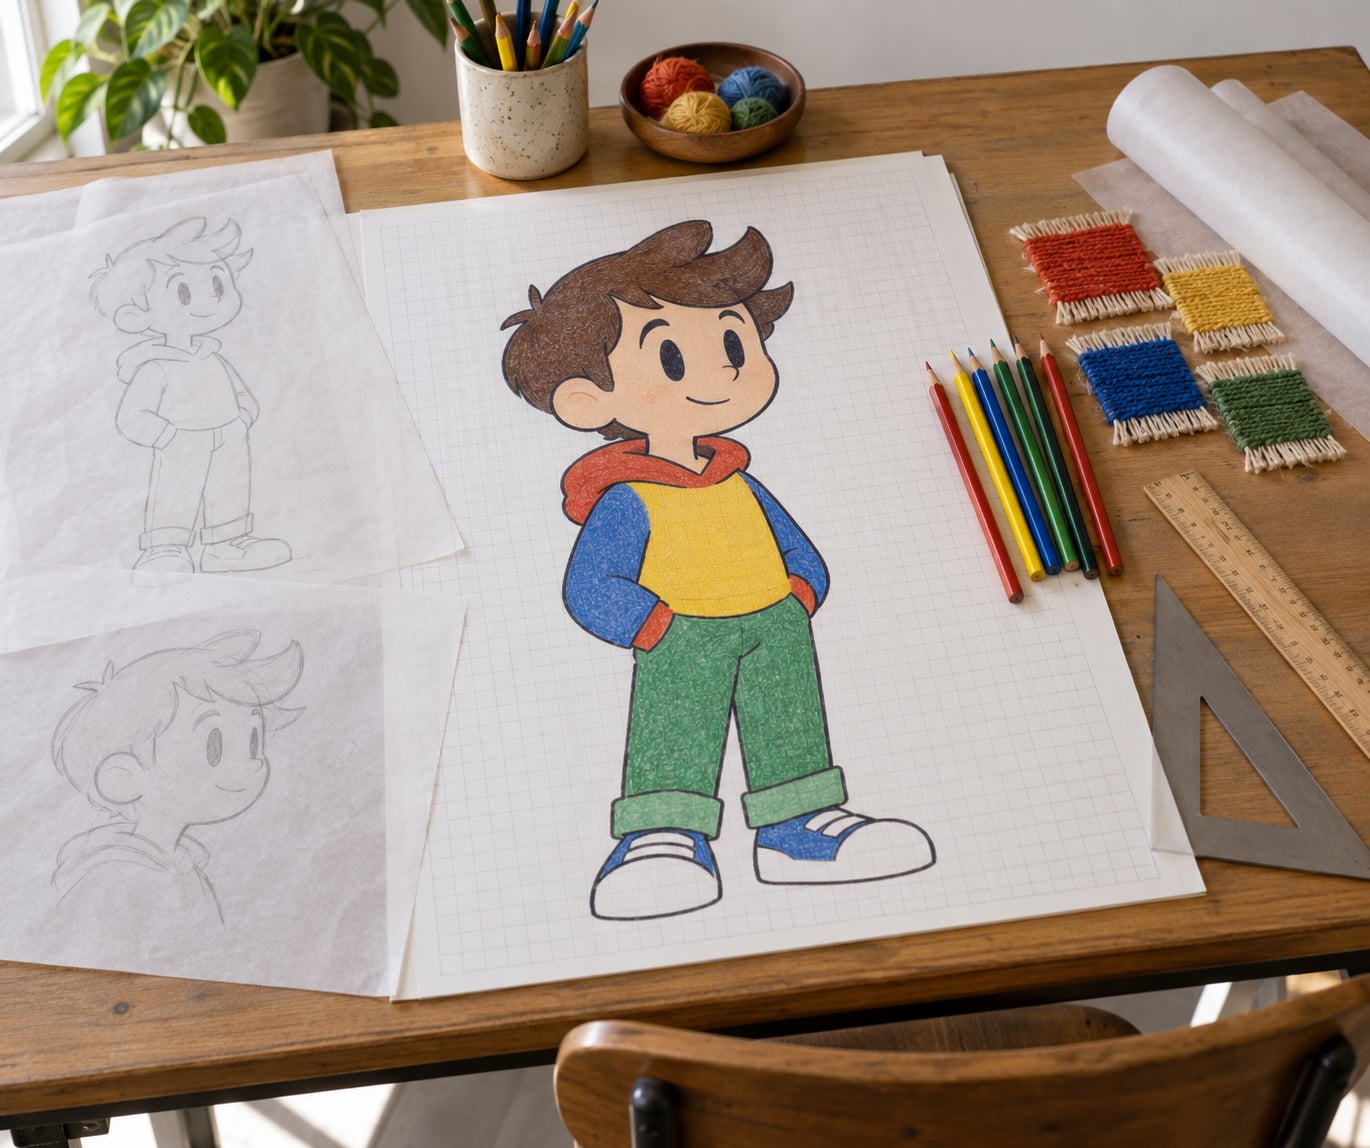
Decide who the character is before you draw them, because the drawing only carries the traits that matter to the composition. Write down the three things a viewer must read in one glance: pose, expression, and silhouette.
Ask what the character is doing and what sits behind them. A tall figure against open negative space is far easier to weave than the same figure inside a busy background, and open space is also where you can change your mind later without losing yarn.
Test the silhouette by filling your rough sketch in solid black. If the shape reads at postcard size, the character will read at tapestry scale. If it collapses into a lump, the pose needs work before color ever enters the picture.
2. Choose the Finished Tapestry Size
Pick the finished dimensions first, then add your margin allowance, because the cartoon has to be full size of the weaving and a little larger. Most people allow two to three inches of extra paper on each side for borders and for the section that stays on the loom.
Now do the arithmetic that trips up beginners. If you want a weaving 20 inches wide at 10 sett, the cartoon needs to be 200 grid squares across. Sketching 200 squares on a sheet of paper feels enormous until you remember that every square is one thread.
Write the numbers on the corner of your sheet: finished width, finished height, sett, and whether the cartoon is mirrored. Come back to them at the end and check your drawing against them.
3. Make Several Small Composition Sketches
Work small and fast, at postcard size, and make more versions than feel necessary. Three or four thumbnails that disagree with each other will save you from a full-size drawing you cannot use.
Vary the pose, the crop, and the amount of background in each one. Trace paper over the top lets you move a head from one arrangement to another in seconds instead of redrawing the whole figure.
Pick the version that reads most clearly at arm’s length, not the one with the best expression. Detail you cannot see from across the room will not be visible on the wall either.
4. Simplify Shapes Into Weaving-Friendly Forms
Reduce the character to a small number of large shapes with clear boundaries between them. Every shape you keep should span enough squares to weave cleanly at your sett, and every edge between two colors should run in a direction yarn can follow.
Two habits make the rest of the drawing easier. Avoid long, thin, isolated marks such as eyelashes, whiskers, or a strand of hair; they float, snag, and fray. And prefer a stepped or notched edge over a smooth curve, because a notch tells the weaver exactly where one color stops and the other begins.
Clothing folds, buttons, and fingers are usually the first things to go. Keep the two or three details that identify the character, such as a hat shape or a collar, and drop the rest. A first tapestry often comes off the loom looking softer and rounder than the drawing, and that is completely normal.
5. Design Color Areas and Texture Cues
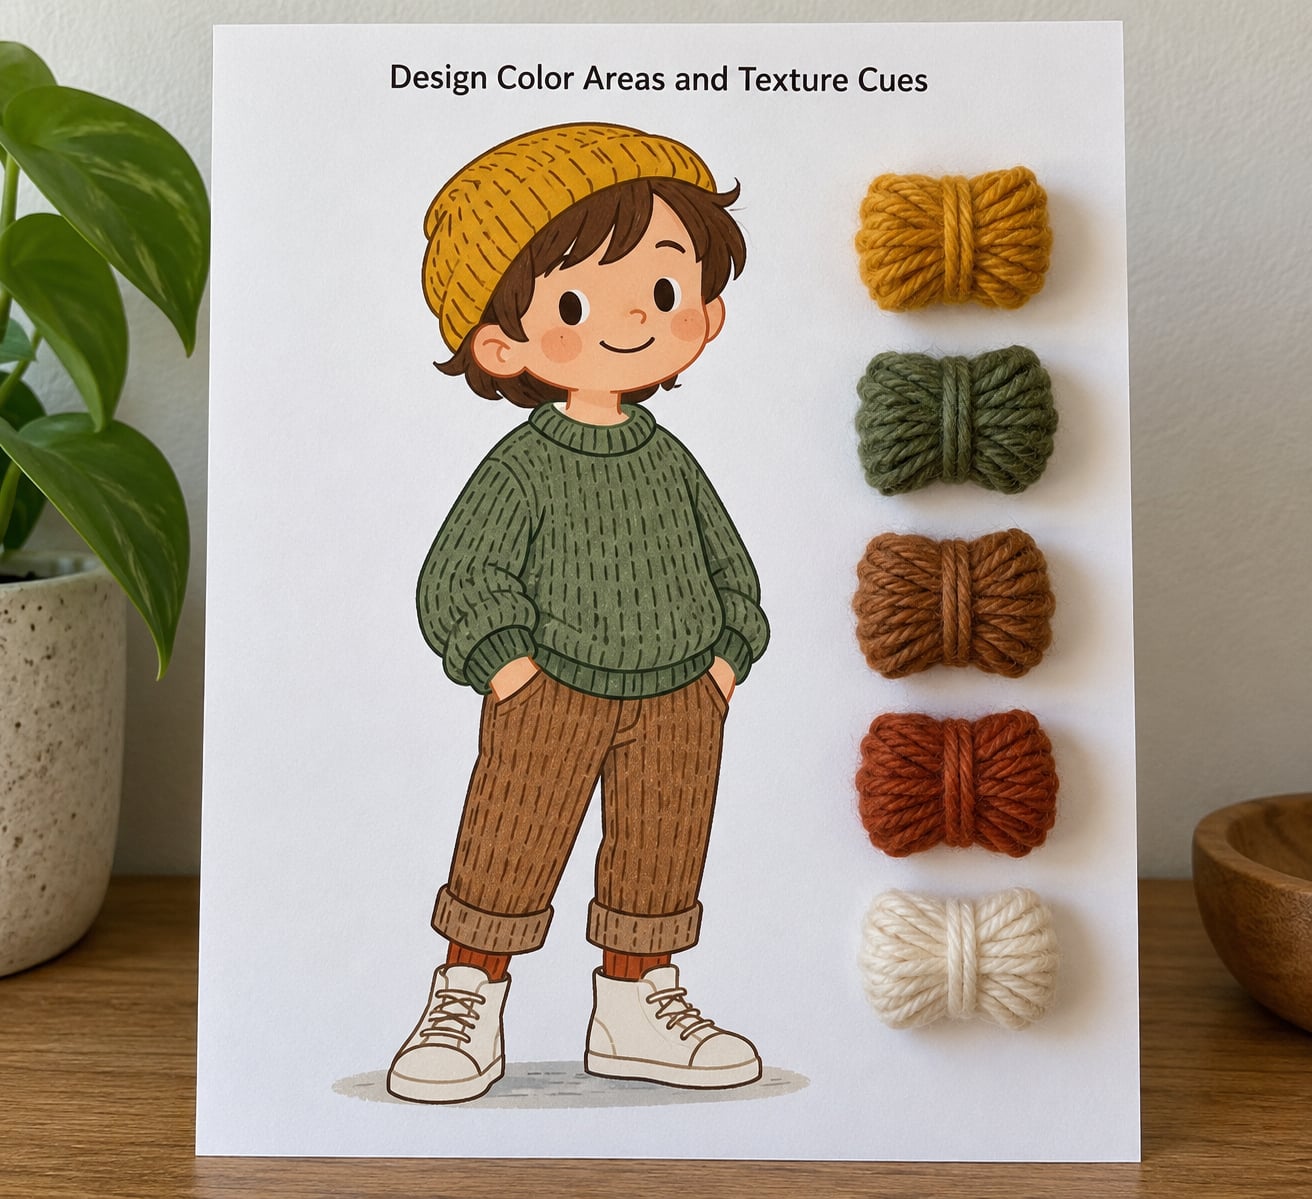
Limit the palette to the number of colors you will enjoy weaving, which for a first project is closer to six or eight than to twenty. Every extra color means a dye lot to buy, a change in the color key, and another border decision at the loom.
Then handle texture without drawing more shapes. Short directional marks, hatching for a matte surface and hachure for a shiny one, tell the weaver how to change the way a weft lies inside an existing color area. Those marks describe treatment without adding new boundaries.
Build a color key beside the drawing, not on it. Label each area with the yarn and dye lot you plan to use, keep the key with the cartoon, and label by yarn rather than by pencil or ink color, because screen and paper never match cloth.
Check value, not just hue. Lay a strip of black-and-white next to the drawing and see whether the large shapes still separate when the color information is gone. If everything collapses into one gray, you need a bigger value step between the character and the background.
6. Create the Full-Size Cartoon
Enlarge the approved thumbnail to true finished scale. The grid method is the most dependable: put a grid of squares on your thumbnail, count the squares, and copy that many squares across your large sheet, one thumbnail square per grid square.
A projector works well for flat, even light and takes about two minutes. A lightbox gives you the cleanest trace for a drawing you have already simplified. Hand tracing suits organic, irregular shapes, since the pencil follows the original rather than a measured grid.
Whichever method you use, tape the small original to a corner of the sheet for reference while you work. Draw construction lines lightly, refine them only once the whole drawing is in place, and mark the borders and margin allowance before you start coloring.
7. Check the Design Before Transferring It
Step back six feet and look at the cartoon. Then look at it from arm’s length, then at a hand’s width. If the character is still readable at all three distances, your shapes are large enough.
Measure to confirm the finished dimensions, and check the sheet against the numbers you wrote in step 2. Look for mirrored lettering, stray construction lines, gaps smaller than a few squares, and any color area that touches only at a single point, since those areas need a notch.
Finally, photograph the finished cartoon flat and in good light. If you are weaving it yourself, keep the original accessible at the loom; if someone else will weave it, the drawing and the color key travel together, and the weaver should be able to work without phoning you.
Common Mistakes
These are the errors that cost the most weaving time, and each one has a simple correction.
- Copying every detail from the source. Correction: the minimum test is whether a shape spans several grid squares. Anything smaller gets cut.
- Drawing at the wrong scale. Correction: decide your sett, then count grid squares instead of estimating by eye.
- Forgetting the mirror image. Correction: draw lettering and numbers backwards, and check the whole sheet against your finished piece held up.
- Relying on color alone to separate shapes. Correction: strengthen the value difference between adjacent areas so the drawing still reads in black and white.
- Using soft outlines that blur together. Correction: draw clear, slightly heavier boundaries where one color meets another, with a notch if the meeting point is sharp.
- Skipping the margin allowance. Correction: add two to three inches of blank paper on every side, and mark where the border begins.
- Leaving no color key. Correction: write yarn names and dye lots on a separate sheet before you warp, because yarn colors shift in storage.
- Expecting the weaving to match the drawing exactly. Correction: treat the cartoon as a guide to interpret. Cloth relaxes, colors shift, and hand weaving is never a photocopy.
Frequently Asked Questions
What size should a tapestry cartoon be?
A tapestry cartoon should be the finished size of the weaving, one grid square per thread, plus two to three inches of extra paper on each side for borders. If you plan a 20 inch wide piece at 10 sett, the cartoon needs 200 grid squares across. Buy extra sheets rather than one oversized one, and tape them with the grid lines matched carefully.
Can I make a tapestry cartoon in Photoshop or Procreate?
Yes, and for most people it is the fastest way to rearrange a design before committing paper. Print the finished file at exactly 100 percent scale, choose a grid overlay matching your sett, and print light enough to trace. Label the color key by yarn and dye lot rather than by ink color, since printed color never matches cloth. Keep a hand-drawn copy for weaving, since the drawing is what the eye reads through the warp.
How do I simplify a character for tapestry?
Fill the drawing in solid black and check whether the silhouette still reads. Keep pose, expression, and two or three identifying details such as a hat or a collar. Cut eyelashes, whiskers, thin fabric folds, and any shape that spans fewer than a few grid squares at your sett. Replace fine detail with hatching or hachure, which change texture without adding color boundaries.
Should I draw the cartoon in color or black and white?
Draw the full design in black and white first, then add color areas once the shapes are working. Value first is faster, because you cannot judge a composition while you are still changing colors. Use a black-and-white photocopy or a value check by squinting to confirm the drawing works before coloring. Then fill each area with the real yarn color rather than a pencil guess.
How do I transfer a cartoon onto the weaving?
The cartoon goes behind or beneath the warp threads, flat and unclipped, so you can read it through the openings as the cloth grows. Tape or pin it to the loom back rail or a board and keep it flat. Update it as you weave by marking off completed rows or covering woven sections. If the drawing is too large to sit flat, work in sections from the center outward.
How much detail can I include in a tapestry cartoon?
As much as your sett can resolve, and no more. At 8 sett, one inch of drawing holds eight threads, so any feature under two or three squares disappears into a blur or opens a slit. Judge detail by counting squares rather than by eye. If a shape is roughly one square at the size you intend to weave, cut it.
Start With a Small Sampler
Beginners get better results when they weave one small practice piece before committing to a finished cartoon. Weavers on weaving forums consistently describe first tapestries as softer and less accurate than the drawing, and treat that as ordinary rather than as something to fix.
So pick the smallest project your loom allows, take one simple shape through all seven steps above, and weave it in a single color. You will learn more about how a cartoon behaves at your sett in that one sampler than from any amount of planning on paper.
That is really the whole of how to make a cartoon for a tapestry: decide the sett, choose the yarn, simplify the character, and only then pick up the pencil.