To distress fabric for art projects, you age it on purpose: sand or brush the surface to thin it, lighten the color with a controlled bleach bath, stain it with tea or coffee, then fray the edges so the whole piece reads as worn and handled rather than new. Most artists start with sandpaper abrasion or tea staining because both are cheap and completely reversible while you are learning.
The word covers a wide range of effects. A grunge junk journal cover, a soft watercolor book cloth, and a faded quilt block all need different treatments, and picking the wrong one leaves you with fabric that is either too uniform to look old or too weak to glue down.
A few habits make the difference between fabric that looks genuinely aged and fabric that looks like a craft project gone wrong. Work on a scrap of the exact same fabric first, always, every single time. Place wear where real wear would happen, not wherever the surface happens to be boring. And if you go anywhere near bleach, read the safety note below before you open the bottle.
Table of Contents
- What You Need
- The essentials
- The optional extras
- Choosing fabric to distress
- Step-by-Step: How to Distress Fabric
- Step 1: Test and Prepare the Fabric
- Step 2: Choose a Distressing Method
- Step 3: Apply the Texture and Color
- Step 4: Set, Rinse, and Finish the Fabric
- Common Mistakes
- Distressing Tips for Different Fabrics
- Frequently Asked Questions
- How do I make fabric look distressed without bleach?
- What tool is best for distressing fabric?
- How do I distress fabric edges so they look worn, not cut?
- How do I make canvas fabric look old?
- Do you neutralize bleach with vinegar?
- Does the distressed effect survive washing?
- Conclusion
What You Need
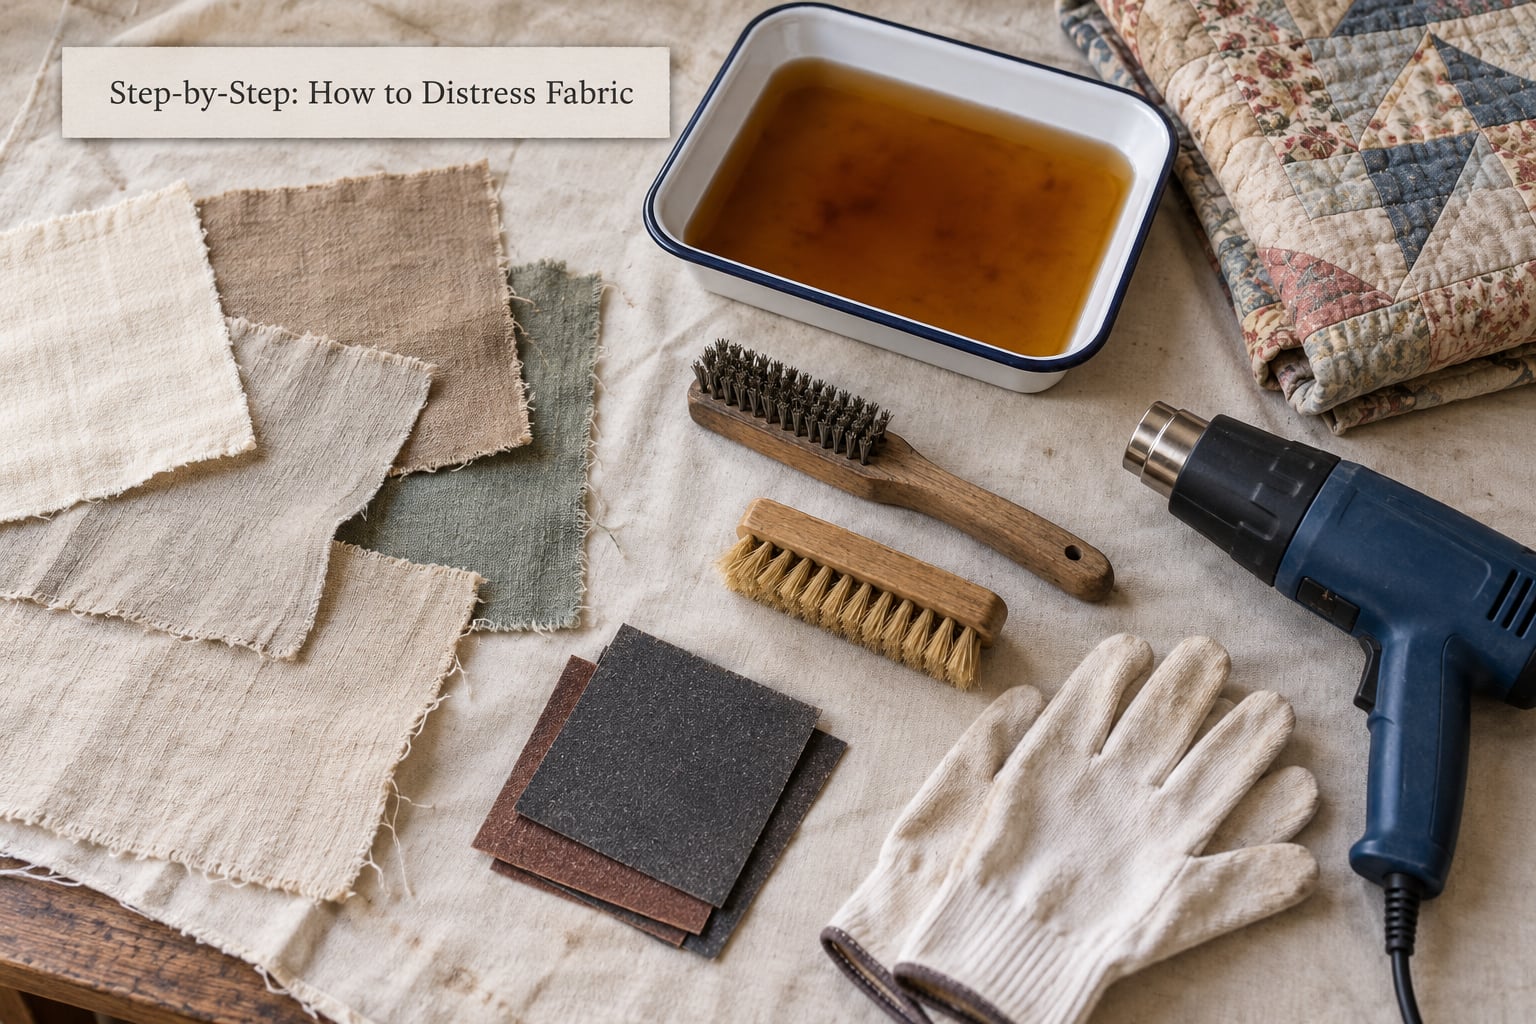
Most of the supply list is stuff already sitting in a studio. The essential core is small: fabric scraps to test on, an abrasive, something to stain with, and a tray you are willing to ruin.
The essentials
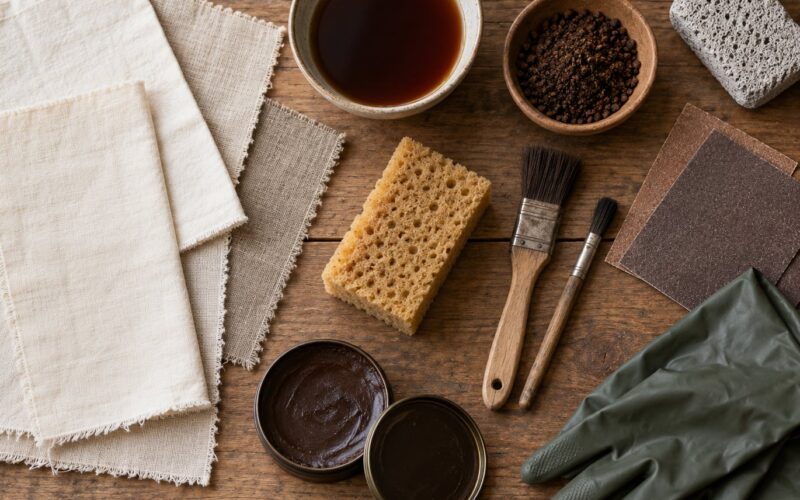
- Scrap fabric of the same weight and fiber as your finished piece. A test on cotton tells you nothing about denim.
- Sandpaper in two grits, roughly 120 for shaping and 220 for softening. Coarser grit cuts threads; finer grit just dulls the surface.
- A stiff-bristled brush, a wire brush, or an old toothbrush for loose-weave surfaces.
- A shallow tray or plastic bin big enough to lay the fabric flat. Bigger is better than you think.
- Cotton swabs, old rags, and a spray bottle of water for keeping things damp while you work.
- Craft gloves and a work surface you can protect with a sheet of newspaper or a canvas drop cloth.
The optional extras
Strong tea or instant coffee, a jar of fuller’s earth or powdered tempera for grime, lemon juice, hydrogen peroxide, and a hairdryer or heat gun for heat-set staining. If you plan to bleach at all, buy an anti-chlor neutralizer, which is sodium thiosulfate sold for textile work. Do not substitute anything, and we will get to why in a moment.
Choosing fabric to distress
Weave openness decides more than color does. Tight weaves like canvas and denim hold up well under abrasion and fray slowly, which gives you control. Loose weaves and muslin shed threads immediately and fray beautifully but lose strength fast. Thrift-store and scrap-busting fabric is ideal practice material since the stakes are low and the fibers are already soft.
Whatever you pick, pre-wash it first. Factory sizing and leftover finishes sit on the surface and block stains from penetrating, so a fabric that should have taken a deep coffee stain ends up with a pale ghost of one. Washing also tells you how the cloth behaves, and it shrinks, before you cut into it.
Step-by-Step: How to Distress Fabric
Step 1: Test and Prepare the Fabric
Cut a swatch from the same bolt your project fabric comes from and check the fiber content label first. Cotton takes almost anything. Linen and hemp shred. Rayon weakens when wet. Silk is ruined by a stiff brush and by any harsh abrasive at all.
Run your chosen method across half the swatch and leave the other half alone. That untreated half is your control, and comparing the two tells you more in five seconds than an hour of guessing would.
Wash the swatch and your fabric together in cool water with a small amount of detergent, then press them flat. Working on a flat, slightly damp surface gives you more control than working on a loose scrap over your lap, and damp fabric resists the static cling that makes sanding useless.
Step 2: Choose a Distressing Method
Match the method to the effect you want rather than to the tool you happen to own. Sanding changes the surface, staining changes the color, and fraying changes the edge. Most convincing aged pieces use two of them together, not one.
| Technique | What it does | Tools | Time | Best fabric | Difficulty |
|---|---|---|---|---|---|
| Sandpaper abrasion | Thins the surface, softens color, adds nap | 120 and 220 grit | 5-10 min | Cotton, denim, canvas | Easy |
| Wire brushing | Pulls surface fibers, creates wear lines | Wire brush | 5-15 min | Denim, loose-weave cotton | Easy |
| Stiff-bristle brushing | Opens the weave, dulls the sheen | Stiff brush | 5 min | Canvas, linen | Easy |
| Grater or razor slashing | Makes slashes, small incisions, controlled holes | Cheese grater, razor blade | 10-20 min | Cotton, muslin | Medium |
| Bleach bath | Lightens color dramatically | Bleach, anti-chlor, 3 containers | 15-30 min | Cotton, cotton blends | Medium |
| Tea or coffee staining | Adds warm uneven tone and grime | Tea, coffee, salt | 20 min plus drying | Any natural fiber | Easy |
| Dirt and pigment staining | Even, worn vintage patina with grime in the low spots | Fuller’s earth, acrylic or tempera | 10 min | Cotton, canvas | Easy |
| Fraying edges | Raw, softened, used-looking border | Your fingers, a stiff brush | 5-10 min | Loose-weave cotton | Easy |
Two notes on the table. Slashing is manipulation rather than aging: you cut parallel lines that stay intact at their ends, which gives you a textile surface that catches light and shadow but has not been damaged. And the bleach row is the only one with real safety weight, covered below.
The vinegar warning: vinegar does not stop chlorine bleach. Mixing the two can release chlorine gas, which is genuinely dangerous in a small studio. The correct neutralizer is anti-chlor, or sodium thiosulfate, used in a separate container after the bleach bath. Use three containers in a row: bleach bath, neutralizer bath, plain rinse. Never pour bleach into a sink, and never combine bleach with ammonia or any other cleaner.
Step 3: Apply the Texture and Color
Build the effect in layers and check your work constantly. Stopping while the fabric still has usable strength is the whole game, and you can only do that if you look at it every thirty seconds instead of every ten minutes.
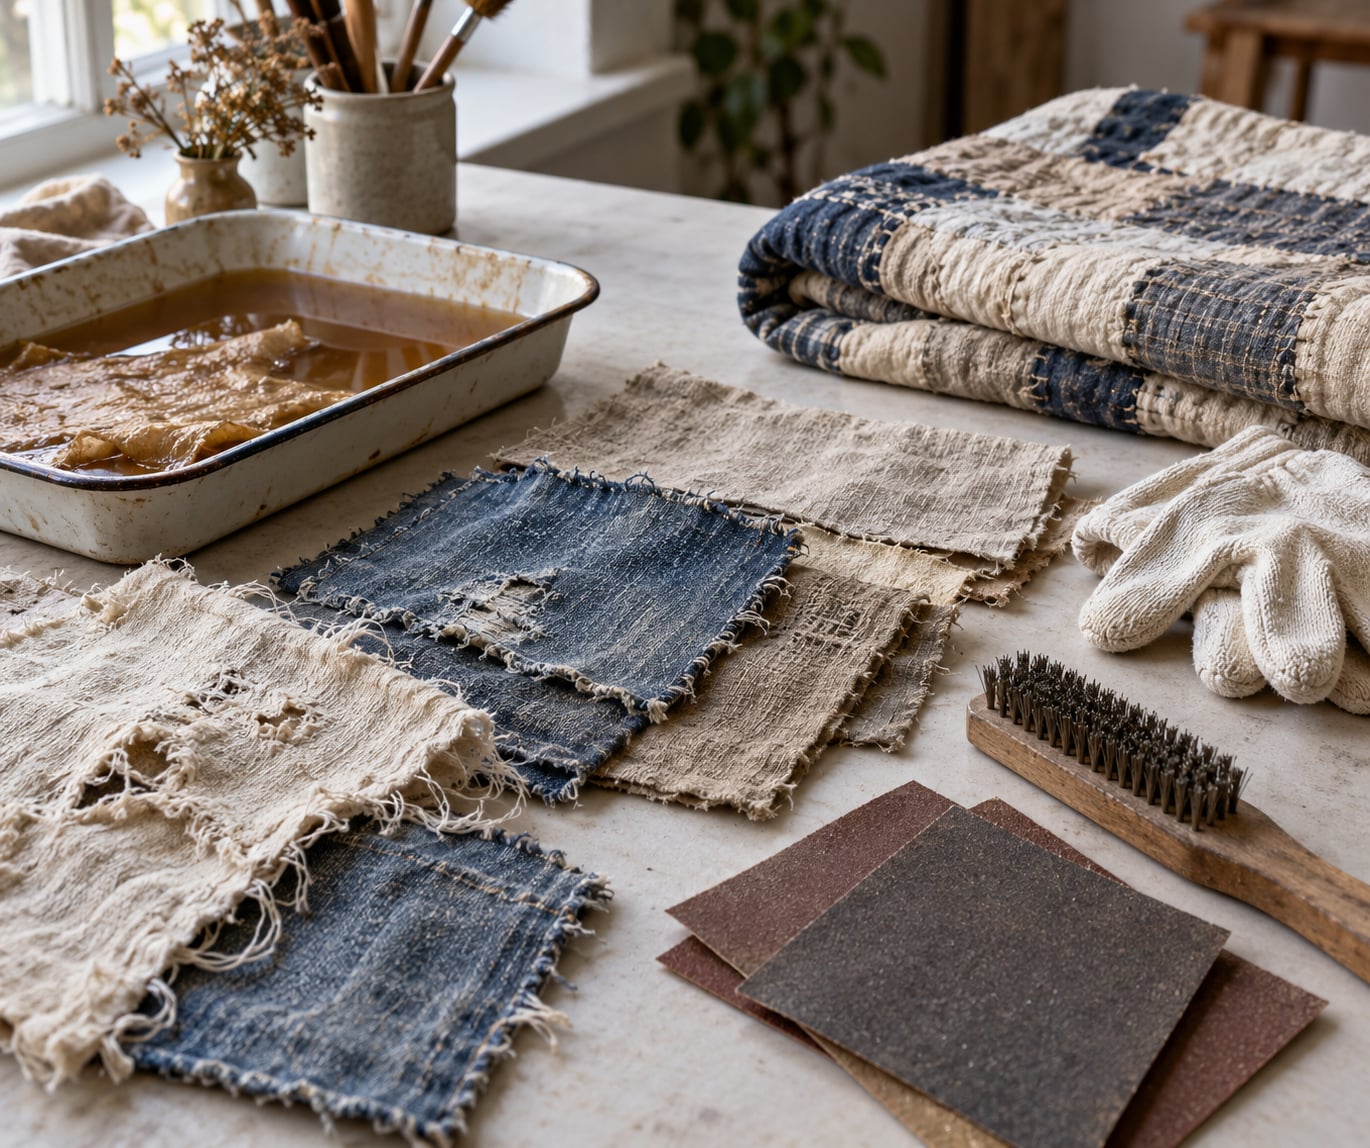
For sanding, stretch the fabric over a scrap board and work with the grain in long light strokes. Pressure does the work, not grit. Start with 120 grit to open the surface, then 220 grit to soften the harshness. Change direction at angles so the wear follows the weave instead of cutting across it. A pumice stone or a piece of rough brick works surprisingly well on denim and gives you a slower, more even abrasion than sandpaper.
For brushing, drag a wire brush along the weave with the nap. On a tight weave it snags rather than tears, which produces wear without destroying the cloth. On a loose weave it pulls whole threads out, so go lighter and expect to lose some hand. Always brush toward a scrap bowl, because you will be surprised by how much fiber comes off.
For staining, brew strong tea or coffee, add a pinch of salt, and apply it with a brush or sponge while it is still warm. Work in small dabs rather than long strokes so the marks pool unevenly, which is exactly the look you want. Salt catches the pigment and keeps it from washing straight out. Let the piece dry fully, then decide whether to repeat. Two light passes beat one heavy pass, and you cannot undo a soaked-through stain.
For bleach, dilute household bleach roughly one part to three or four parts cold water in a well-ventilated space. Dip the fabric flat, never scrunched, and count the seconds out loud. Start at ten to fifteen seconds and pull it out to look. Never go past about forty-five seconds for a first attempt. Hold it flat rather than wringing it, then move it straight into the anti-chlor bath for an equal time, then into the plain rinse. Expect black fabric to bleach to a blue or lavender tone rather than a neutral grey, and expect a sharp line between treated and untreated halves that softens only after a wash.
For fraying, wet the edge and pull single threads with your fingers or tease them with a stiff brush. Stop when the fray reaches the length you like. A ragged edge with visible long and short threads looks worn; a neat even fringe looks machine-made and instantly fake. Most artists find that a single stray thread pulled three inches past the fray looks more convincing than fifty threads pulled evenly.
Preserve untouched areas deliberately. Masking with painter’s tape or working from the back keeps the edges of a panel crisp while the center goes wild, and that contrast is what makes a distressed surface look designed rather than damaged.
Step 4: Set, Rinse, and Finish the Fabric
Rinse stained or bleached fabric thoroughly in cool water until the water runs clear, then air-dry it flat or hang it in shade. Direct sun while damp will fade your stains unevenly, which occasionally helps and more often ruins the effect you spent an hour building.
Once it is completely dry, press it. Heat sets tea and coffee stains permanently, so a warm iron with a press cloth locks the color in. Skip the iron on bleached pieces if the fibers feel fragile, and press from the reverse instead.
How to distress fabric and then use it in a finished piece depends on the medium. If you plan to paint or collage on it, keep in mind that acrylic paint and acrylic medium dry into a plastic film that stiffens the cloth and kills the drape. Thin them with water or a matte medium, or spray the fabric with a workable fixer first. This trips up more people than any other finishing mistake.
Do a final inspection under good light. Rub the surface with a fingertip: if it feels brittle, thinned to the point of near-transparency, or sheds fiber onto your hand, stop there. You have gone far enough. Rub the piece with a damp white cloth and see if color comes off, which means it is not yet fully set.
Common Mistakes
- Random wear placement. Tearing across the middle of a panel reads as fake because nothing wears out there in real life. Concentrate distressing on edges, corners, seams, and handles where a piece would actually be gripped.
- Over-distressing. Paper-thin spots and holes you cannot predict are almost always the result of pushing through a good result. Check every thirty seconds and set the fabric aside when you like what you see.
- Uneven bleaching. Wrinkled or bunched fabric bleaches unevenly, always. Lay it flat, keep it submerged evenly, and accept that color transitions between fabrics cannot be matched perfectly.
- Stains that bleed. Test every new staining solution on the seam allowance or offcut first. Different dye lots in the same quilt block will not take a stain identically.
- Scuffed work surfaces. Sandpaper and gritty pigment will mark a table permanently. Work over a drop cloth you can roll up and bin afterwards.
- Inconsistent color. Distress every piece intended for one collage together, in the same session. A panel aged last month will never match one aged yesterday.
Distressing Tips for Different Fabrics
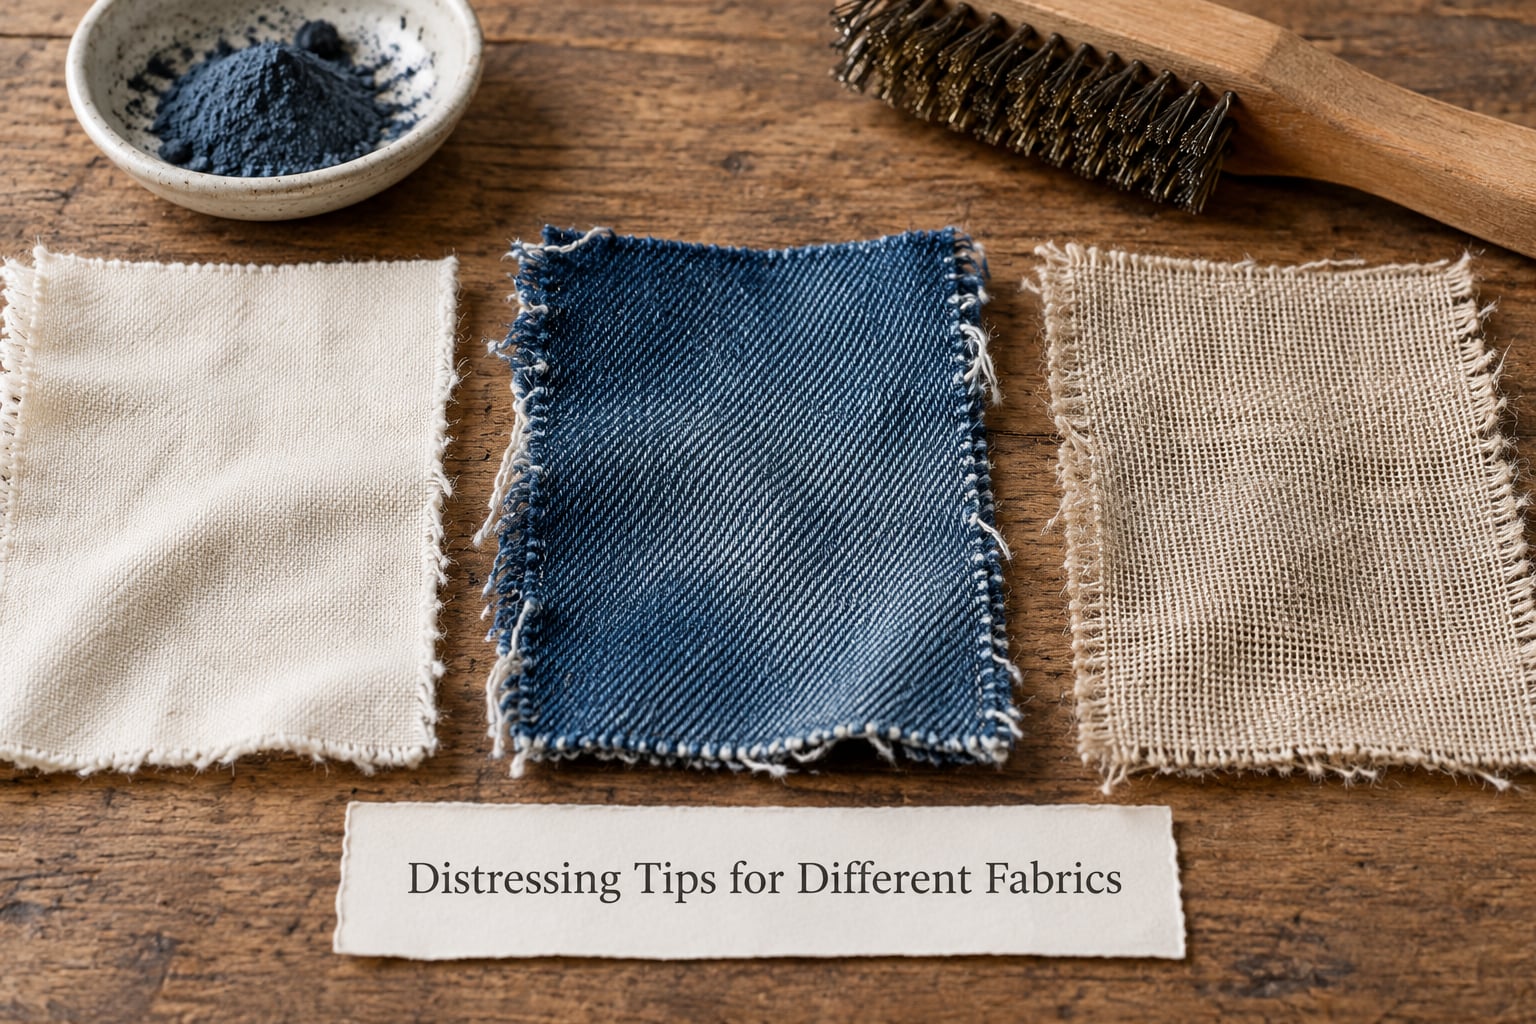
Fabric response is the single biggest factor in whether your technique works. Here is what to expect from the common fibers in an art studio.
Cotton and cotton blends are the most forgiving. They take abrasion, bleach, staining, and fraying all reasonably well, which makes them the right fabric for learning. Quilters report that bleach dipping produces dramatic value changes and is genuinely addictive, but also warn about deterioration on anything vintage, so keep the practice swatches new.
Linen responds to brushing and staining beautifully. Its slubs and thick-thin yarns catch pigment unevenly, which gives you a varied surface for free. Bleach hits linen hard, so dilute it more than you think you need to.
Denim is tough enough to take real mechanical work. A wire brush, a metal file, or a rough brick all produce convincing wear, and denim only starts to give up at the seams and the pocket areas. Bleach will lighten indigo to a pale blue and often leaves the white weft exposed, so plan your values before you start.
Canvas is the artist favorite. To make canvas fabric look old, brush it with a stiff brush to open the weave, sand lightly along the surface, then stain with weak tea or coffee and scrub off the highlights. Skip bleaching on stretched canvas since the tension and the sizing react unpredictably, and distressed edges will slump.
Rayon and silk need gentle hands. Both lose a surprising amount of strength when wet, so work dry or barely damp, and never use a wire brush. Blotchiness is normal on rayon because the fibers drink unevenly.
Synthetics such as polyester and nylon melt, scorch, and smell terrible under a heat tool. Skip abrasion on shiny synthetics, which will pill permanently, and stay away from bleach entirely since most of them will yellow over time regardless.
Frequently Asked Questions
How do I make fabric look distressed without bleach?
Sandpaper abrasion, wire brushing, and tea or coffee staining will do most of the work with no chemicals at all. Sand lightly with 220 grit for a softened surface, brush the weave open with a stiff brush, then dab on strong tea or coffee and let it dry fully. Add a little fuller’s earth or powdered tempera for grime. These methods are slower than bleaching but give you far more control and never weaken the fiber.
What tool is best for distressing fabric?
It depends on the fabric and the effect. Sandpaper is the most controllable and works on almost anything. A wire brush is the fastest way to pull surface fibers on denim or loose-weave cotton. A stiff-bristle brush opens a tight weave without damaging it. A cheese grater or a razor blade makes slashes and small incisions. Most artists keep all three on hand and switch between them.
How do I distress fabric edges so they look worn, not cut?
Wet the edge first, then pull individual threads free with your fingers or tease them out with a stiff brush. Let the fray run to the length you want and stop. The trick is irregularity: mix long pulls with short stubs and leave one or two threads trailing further than the rest. An even fringe looks machine-made, while a slightly messy, uneven edge reads as genuine wear.
How do I make canvas fabric look old?
Open the weave with a stiff-bristle brush, abrade the surface lightly with 220 grit sandpaper, then apply weak tea or coffee with a sponge and blot off the highlights so the raised fibers stay pale. Follow with a scrub of fuller’s earth for grime in the low areas. Avoid bleaching stretched canvas, because the sizing and tension react unpredictably and the edges will slump.
Do you neutralize bleach with vinegar?
No. Vinegar does not neutralize chlorine bleach, and mixing the two can release chlorine gas, which is dangerous in an enclosed studio. Use anti-chlor, which is sodium thiosulfate, in a separate container after the bleach bath, then rinse in a third container of plain water. Wear gloves, work with the windows open, and never combine bleach with ammonia or any other household cleaner.
Does the distressed effect survive washing?
Sanded and brushed surfaces survive washing reasonably well, though heavy abrasion will keep thinning over time. Bleach and tea or coffee stains are permanent once heat-set, so they will not run, but continued abrasion will spread them slightly. Frayed edges will keep growing, and heavily bleached fabric becomes progressively weaker, which is why experienced quilters advise against bleaching vintage material you want to preserve.
Conclusion
The workflow that works every time is short. Test a swatch of the exact fabric, choose one distressing method, and work in layers you can undo rather than one pass you cannot. Stop while the material still feels like fabric rather than paper, because the moment it goes brittle, the piece stops looking old and starts looking damaged.
If you are new to this, start with a length of old cotton or linen and a piece of 220 grit sandpaper. Sand a corner, brush the weave with a stiff brush, fringe the edge, and hang it up to see what you like and what you would change. Keep the bleach bottle closed until the mechanical methods feel boring.