Learning how to dye fabric with natural materials comes down to four stages: scour the cloth, mordant it, simmer a dye bath from plants or kitchen waste, then soak and rinse. It takes longer than a box of commercial dye and the colours come out softer, but you control every step and most of what you need is already in your kitchen.
Budget a half day for the whole process and expect at least one overnight soak in the middle. For a beginner, onion skins, avocado pits and turmeric are forgiving, while red cabbage and hibiscus give you the most control over the final shade.
Two things surprise people most often. Natural colour lands far paler and more muted than the vivid results in a textile-aisle packet, and results shift slightly from batch to batch because plants change with season and rainfall. That variability is the charm, but it does mean you should always run a test swatch before committing a whole garment.
One safety note up front: the common mordants are metal salts, not food ingredients. Alum and iron are safe to use if you wear gloves, avoid breathing the powder, and keep children and pets out of the work area while a bath is hot.
Table of Contents
- What You Need to Dye Fabric With Natural Materials
- Why Mordant Matters When You Dye Fabric With Natural Materials
- Step-by-Step: How to Dye Fabric With Natural Materials
- 1. Prepare the Fabric
- 2. Choose and Test the Dye Material
- 3. Extract the Colour
- 4. Mordant the Fabric
- 5. Dye the Fabric
- 6. Rinse, Dry, and Store the Fabric
- Natural Dye Materials Reference
- Which Fabrics Take Natural Dye Best
- Safety With Mordants and Dye Baths
- Common Mistakes and How to Fix Them
- The colour came out pale
- The colour is blotchy or uneven
- The colour washed out after a wash or two
- The colour never took to the fabric at all
- Avocado or bean dye turned muddy brown
- Frequently Asked Questions
- What natural materials can I use to dye fabric?
- Do I need to mordant fabric when using natural dyes?
- Can I dye cotton and linen with natural materials?
- How much fabric should I dye for a small test swatch?
- How do I make natural-dyed colors more colorfast?
What You Need to Dye Fabric With Natural Materials
You need four categories of supplies: fabric that can hold colour, dye material to get colour from, something to fix that colour to the fibre, and equipment to handle hot liquid safely.
- Fabric: 100 percent wool, silk, cotton, linen or hemp. Natural fibre takes plant colour; synthetics will not.
- Dye material: onion skins, avocado pits, turmeric, black walnut hulls, red cabbage, black beans, hibiscus, madder root or beet scraps.
- Mordant: alum (potassium aluminium sulfate) as the beginner-friendly default, or ferrous sulfate (iron) when you want a deeper, cooler shade.
- Pot: a stainless steel or enamelled pot you do not mind staining. Never use aluminium or cast iron for the dye bath itself.
- Strainer and jars: a fine mesh strainer or cheesecloth for the bath, plus glass jars for soaking fabric.
- Soap and measuring tools: pH-neutral soap, kitchen scale, wooden spoons or measuring cups.
- Protective gear: rubber gloves and a cloth or paper mask for measuring dry mordant powder.
- Workspace: a covered surface near a sink, because liquid will splash and dye baths stain.
Why Mordant Matters When You Dye Fabric With Natural Materials
Mordant is the difference between a fabric that holds colour for a year and one that fades after two washes. A mordant is a metal salt that creates binding sites on the fibre, so the dye molecules have something to attach to instead of just sitting on the surface and washing away.
Alum gives clear, bright colour on both protein and cellulose fibres and is the safest common choice in a home with kids around. Iron deepens and cools colours, which suits walnut and onion but can turn anything soft and rosy muddy, so use it deliberately. Vinegar and salt are not mordants. Vinegar acidifies the bath, which helps set colour on wool and shifts plant hues toward pink and red; salt raises the ionic strength of the bath and helps push colour onto fibre, but neither replaces alum for washfastness.
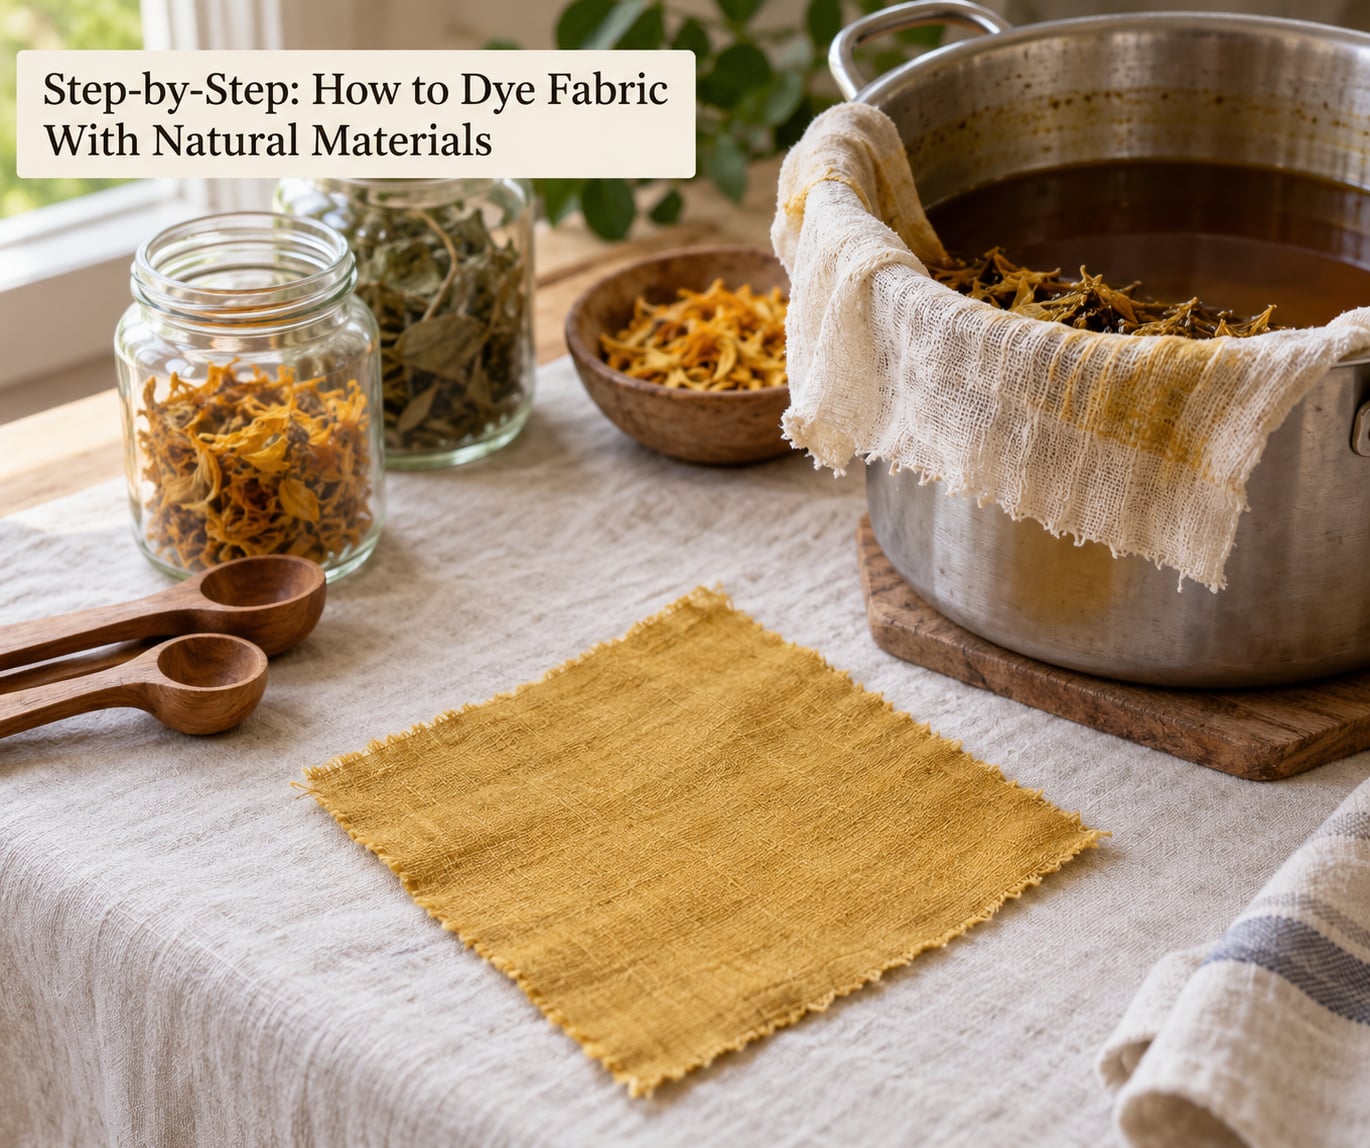
Step-by-Step: How to Dye Fabric With Natural Materials
1. Prepare the Fabric
Wash, scour and pre-treat your fabric first so the dye has a clean, absorbent surface to bond to. Any factory finish, sizing or leftover detergent creates a barrier that makes colour look weak and blotchy rather than even.
Wash the fabric in pH-neutral soap with no enzymes or brighteners, then simmer it plain in water for about an hour to strip grease and dirt. After that, some dyers run a vinegar pre-soak for protein fibres: roughly four parts water to one part white vinegar, submerged for two hours, then wrung out. Skipping the scour is the most common reason cotton looks dusty after an otherwise successful dye.
Take extra care with protein fibres. Wool felts if you stir it, boil it or rub it, so heat wool slowly and handle it gently. Blends are a poor bet: the plant dye takes on the cotton portion while the polyester stays white, and the result looks uneven rather than intentionally mottled.
2. Choose and Test the Dye Material
Choose your dye material by the colour you want, then test it on a small swatch of the exact fabric you plan to use before dyeing anything larger. A test piece tells you the shade, whether your fabric holds colour well and how long the bath needs to sit.
Cut two or three 5 cm squares from the same cloth you are dyeing. Run each one with the same quantities, then compare them dry. Dry colour is always paler than wet colour, and it is the dry result you have to live with, so judge on dry swatches only.
Use fresh material where you can. Onion skins that have been stored for months hold far less pigment than fresh ones, and dried herbs from the kitchen cupboard often give almost nothing.
3. Extract the Colour
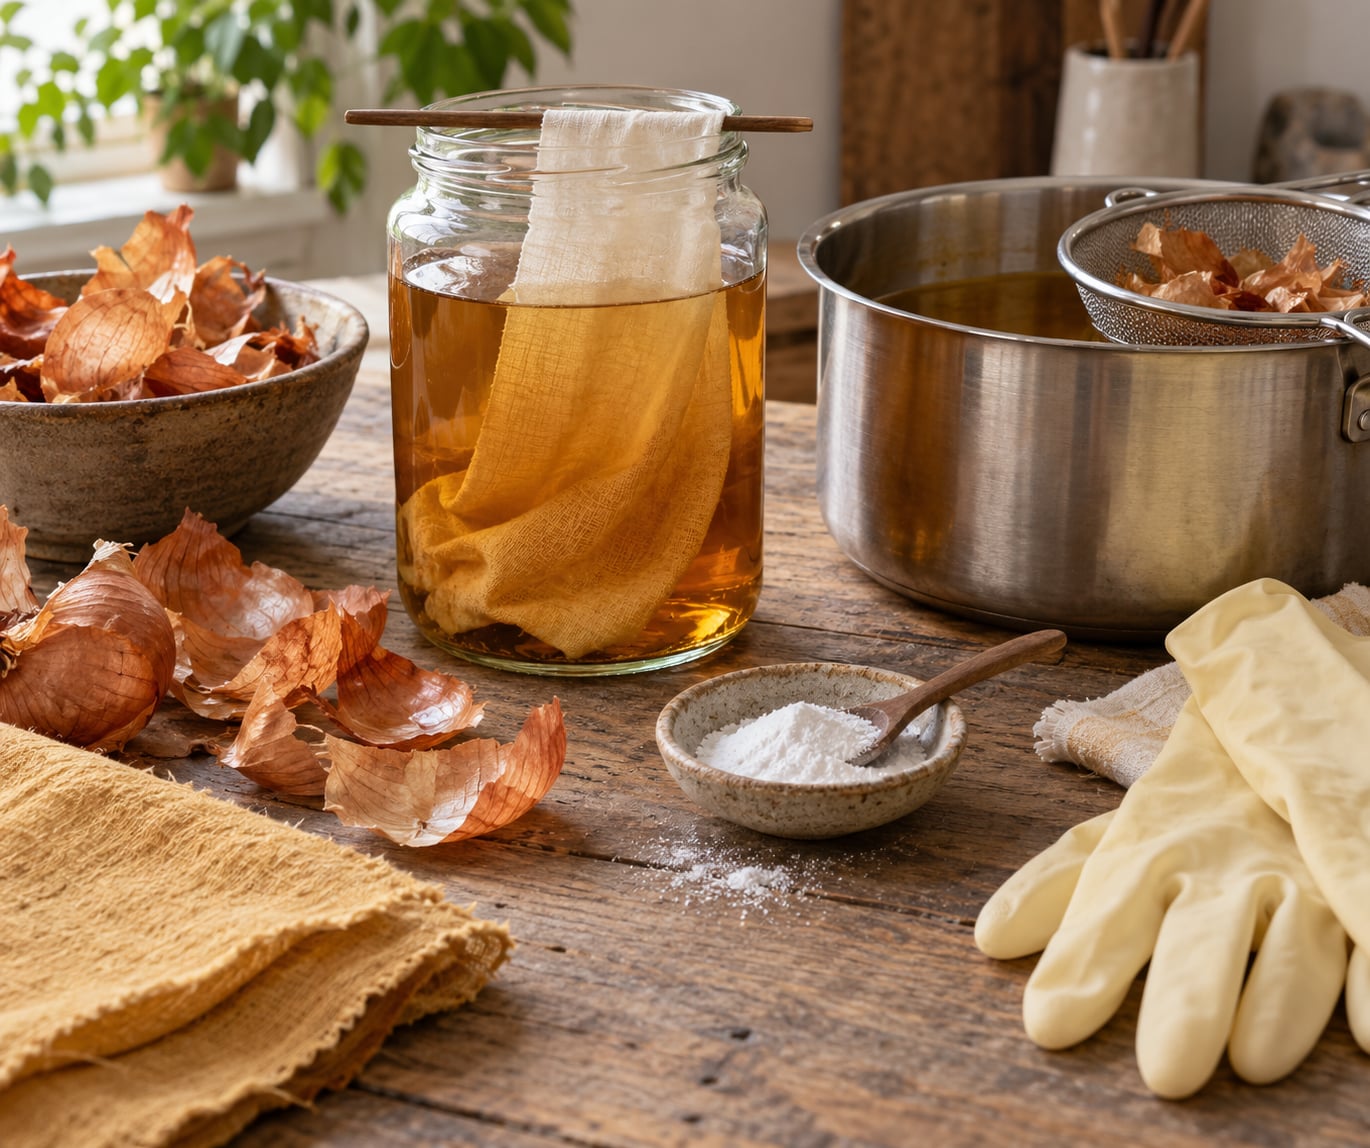
Extract the colour by covering the dye material with water and simmering it, then straining the liquid into your dye pot. Plant material releases pigment at different rates depending on heat and time, so the same dyestuff can give you three different colours from the same pot.
Chop or tear the material to expose more surface, cover it with about four times its weight in water, and simmer gently for one to two hours. A slow simmer extracts more colour than a hard boil, which mostly dulls things. Strain out the solids, add fresh water until your fabric floats freely and moves without bunching, and adjust here if the shade is off.
Some materials work without heat at all. Red cabbage, black beans and fresh berries extract in a jar of hot water left in the sun for several hours, which makes a good project to do with older children. Keep black bean soaks to roughly 16 hours, since longer turns the liquor grey and weak.
4. Mordant the Fabric
Mordant the fabric before it goes into the dye bath, using the ratio printed on your mordant rather than improvising, because too much metal salt dulls the colour instead of strengthening it. A widely used starting recipe is about 10 percent alum by weight of dry fabric, dissolved in water at around 120 F.
Weigh your dry fabric first, multiply by 0.1, and measure that weight of alum. Bring water to temperature in a separate pot, stir the alum in until it dissolves fully, then add your wet fabric. Keep it warm for an hour or two, let it cool, and leave the fabric soaking overnight if you can. Iron is used at a much lighter rate, usually around 2 percent by weight of fabric.
Wear gloves and a mask when you measure the powder, and never guess at the ratio by eye. If you would rather avoid metal salts entirely, a tannin pre-bath from oak galls, acorn shells or your own onion skins will help on protein fibres, but expect softer colour than alum gives you.
5. Dye the Fabric
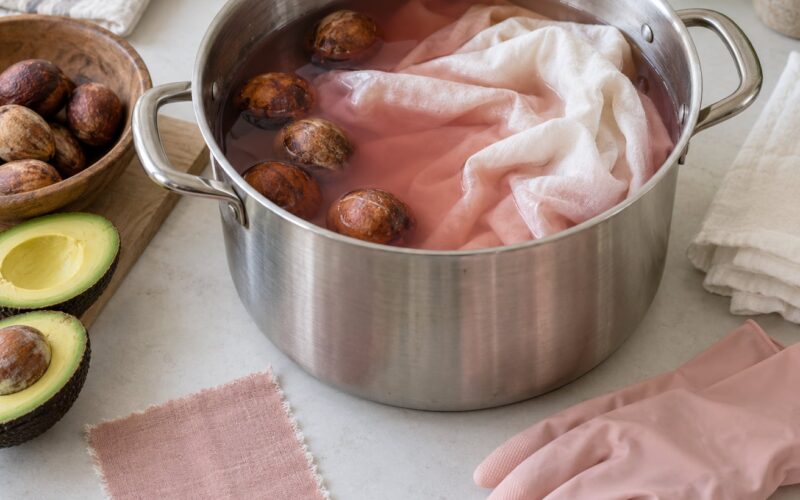
Dye the fabric by immersing it fully in the warm dye bath and leaving it undisturbed so the colour spreads evenly. Keep the liquid warm without a rolling boil, move the fabric once at the start to wet it out, and then leave it alone.
Most dyers soak fabric for several hours and up to overnight. Longer soaking does not always mean deeper colour. Many people get stronger results by dipping the fabric for an hour, letting it dry completely, then repeating the dip two or three times. Drying between dips lets the fibre take up more pigment than one long soak does.
Hold a small damp corner up to the light to check depth, and remember that everything looks several shades darker wet than it will be dry. Aim past your target shade on the first dip.
6. Rinse, Dry, and Store the Fabric
Rinse the fabric in cool water until the run-off is nearly clear, then dry it out of direct sun and store it away from light and damp cupboards. Rushing the rinse is the fastest way to bring back bleeding later.
Cool the bath, take the fabric out and rinse it in cool running water until the water runs clear. Many dyers then rinse in water with a little vinegar added to set the remaining loose colour. Avoid hot water, which strips more dye, and skip the washing machine for the first wash or two.
Hand wash gently in cool water with a neutral detergent, dry flat or in shade, and iron while slightly damp if the fibre allows it. For the long term, store the finished piece folded in a dark drawer or a cotton bag. Natural colour fades with light exposure, so a piece that sits on a sunny windowsill will lose far more colour than one kept in the dark.
Natural Dye Materials Reference
These are the most reliable dye materials for home work, with the mordant each one responds to best. Most come from food waste, garden material or a kitchen shelf, and specialist dye suppliers also stock roots, bark and galls if you want to go further.
| Dye material | Colour range | Best mordant |
|---|---|---|
| Yellow onion skins | Golden amber to warm brown | Alum; works alone because of its tannins |
| Red onion skins | Soft rust to dusty rose | Alum |
| Avocado pits and inner skins | Blush pink to dusty rose | Alum; strain carefully or it turns brown |
| Black beans, soaked overnight | Cool blue to soft purple | Alum, best on wool |
| Red cabbage | Pink to red when acidic, blue to teal when alkaline | Alum |
| Turmeric, fresh or powdered | Clear yellow to deep gold | Alum on cotton; strong without one on wool |
| Black walnut hulls | Warm tan to deep brown | Works without a mordant |
| Hibiscus flowers | Crimson to deep red | Alum |
| Madder root | Orange to brick red | Alum |
| Beet scraps | Magenta to pink | Alum |
| Carrot tops and peels | Soft orange to apricot | Alum |
| Rhubarb leaves | Pale yellow to chartreuse | Alum |
| Marigold petals, dried | Yellow to orange | Alum |
| Coffee grounds | Tan to soft brown | Alum; good for neutral toning |
| Black tea leaves | Warm beige to brown | Alum |
| Oak galls or acorn shells | Grey to deep brown | Tannin pre-bath, then alum or iron |
| Pomegranate rind | Golden yellow to amber | Alum |
| Rose hips | Pale coral to warm orange | Alum |
| Dandelion flower heads | Soft yellow | Alum |
| Indigo, in a vat | Blue to deep blue-green | Indigo does not need a mordant |
Two of these are worth the extra effort. Red cabbage is your pH test material: the same bath moves between pink, red, blue and green as you add white vinegar or bicarbonate of soda, which makes it the cheapest way to learn how pH changes hue. For greens, dye yellow first with turmeric, then overdye with indigo or weld; blue over yellow gives green, blue over madder gives burgundy.
Which Fabrics Take Natural Dye Best
Wool and silk take the most colour from plant dyes, and cotton and linen take less, because protein fibres bind dye more readily than cellulose fibres do.
That difference shows up in real results. The same dyestuff often gives a vivid purple on wool while leaving cotton looking washed out. On cellulose fibres, mordanting matters more, a hotter bath helps, and you may need repeated dips to build depth. On wool, use gentle heat and no agitation at all, since sudden temperature changes and rubbing felt the fibre.
Synthetics will not take natural dye at all. Polyester, nylon and acrylic have no binding sites for plant pigments, so they rinse clear while the rest of a blended garment holds colour. This is why second-hand shops are full of cotton blouses and why wool scarves dye well while a polyester shirt does not.
Safety With Mordants and Dye Baths
Treat mordants as chemicals, because alum and iron are metal salts that should not be tasted, breathed in or poured down a drain without thought.
Wear rubber gloves whenever you handle a mordant bath or wet dyed fabric, and use a cloth or paper mask when scooping alum or iron powder so you do not inhale it. Run the work outdoors or in a ventilated room, and keep the area clear of children and pets, especially while a pot is hot. Do not use the same pot and utensils for dye bath and food prep afterwards without washing them thoroughly.
Disposal matters too. Let the bath cool, then dilute it heavily and route it into a sink where you wash dishes rather than a yard or a storm drain. Alum and iron are not going to break down quickly in soil, and repeated dumping into the same patch can build up metal in the soil.
Common Mistakes and How to Fix Them
Almost every disappointing natural dye result has one of five causes: fabric that was not prepared, too little mordant, too little material, too short a soak, or a mismatch between dyestuff and fibre.
The colour came out pale
Use more dye material, mordant at roughly 10 percent of dry fabric weight, and dip repeatedly with drying in between instead of one long soak. If you skipped the scour, that is the first thing to fix on the next batch.
The colour is blotchy or uneven
Blotches almost always come from handling the fabric after it has started to take colour, or from fabric that bunched in the pot. Submerge it fully, stir once at the beginning, and do not lift it out to check until you are ready to move it to a jar.
The colour washed out after a wash or two
Expect some fading with natural dye, but poor washfastness usually means no mordant or too little. Hold the wet fabric against a white cotton towel and rinse until almost nothing transfers, then wash cool and separately for the first few washes.
The colour never took to the fabric at all
Check the fibre first. Synthetics and heavy polyester blends will not hold plant dye, and some flame-retardant or water-repellent finishes block it too. On cotton and linen, repeat with proper mordanting and a longer warm soak.
Avocado or bean dye turned muddy brown
You left green plant bits in the bath, or used iron rather than alum. Strain the material through fine cloth twice, pick out every solid, and stick to alum for those colours.
Before you start another pot, run through this checklist: 100 percent natural fibre, scoured, mordanted at the right ratio, enough dye material, fabric fully submerged, and a swatch tested first. Six of seven steps done right beats one perfect measurement.
Frequently Asked Questions
What natural materials can I use to dye fabric?
Kitchen waste and garden plants work well. Onion skins give amber and brown, avocado pits blush pink, turmeric clear yellow, hibiscus and beet crimson, red cabbage a full range from pink to blue-green, and black beans cool blue to purple. Black walnut hulls, oak galls, madder root and coffee grounds deepen to browns and greys. Indigo is the one material that needs a special vat rather than a mordant.
Do I need to mordant fabric when using natural dyes?
Almost always. Alum at about 10 percent of your dry fabric weight is the standard beginner recipe, dissolved in water around 120 F, with the fabric soaked warm and then left overnight. Mordant creates binding sites on the fibre so colour resists washing out. Materials high in tannin, such as onion skins and black walnut hulls, dye reasonably well without one, but colour still fades faster.
Can I dye cotton and linen with natural materials?
Yes, but expect softer colour than you get on wool or silk. Cotton and linen are cellulose fibres that bind plant dye less readily, so scour them first, mordant properly, keep the bath hot and dip several times with drying in between. Linen usually takes colour more easily than cotton. Synthetics will not work at all, and blends dye unevenly because only the natural portion holds colour.
How much fabric should I dye for a small test swatch?
Two or three squares about 5 cm across are enough, cut from the same cloth you plan to dye. Use the same fabric weight, mordant ratio and soak time as your real batch, then compare the swatches once dry, since wet colour always looks darker than finished colour. Testing with a different fibre wastes the experiment entirely.
How do I make natural-dyed colors more colorfast?
Mordant well, use enough dye material, and rinse in cool water until the run-off is nearly clear before washing anything. Dye fabric separately in cool water with a neutral detergent for the first few washes, dry it out of direct sun, and store the finished piece folded in a dark drawer. Some fading over months is normal with plant colour and no mordant makes it worse.
Start smaller than feels sensible: two 5 cm squares of cotton, a handful of onion skins and a spoonful of alum. That single test run teaches you more about mordant ratio and soak time than any tutorial can, and it costs almost nothing to get wrong.
Once the swatch behaves, scale the same quantities up for the fabric you actually want to dye.