If you have ever pulled a wobbly binding around a curve and wondered what you did wrong, the fix is bias. Here is how to make binding for curved edges so the strip hugs the curve instead of fighting it: cut 2.25 inch strips on the true bias, join them with 45 degree diagonal seams into one long strip, and sew it on with a quarter inch seam, easing gently as you go and clipping the seam allowance at the inside of every curve. Straight-grain binding will pucker and pull on a curve, while bias fabric stretches just enough to lie smooth.
I wasted a whole binding strip learning this the hard way. The scallops looked fine from the front and rippled like a gathered skirt from the back, and no amount of pressing fixed it. Bias strips plus easing is the whole fix.
Assume a couple of hours for a small project such as a table runner, and about ten minutes of that is clipping. If you are new to binding, run the technique on a scrap of the same fabric first.
Table of Contents
- What You Need
- Supplies for bias binding on curves
- How much binding to cut
- How to Make Binding for Curved Edges, Step by Step
- Step 1: Measure and Prepare the Curved Edge
- Step 2: Cut Enough Binding for Curved Edges
- Step 3: Fold the Binding and Attach It
- Step 4: Sew Around the Curves
- Step 5: Join and Finish the Binding
- Common Mistakes and How to Fix Them
- Frequently Asked Questions
- Can I use straight-grain binding for a curved quilt edge?
- How much extra binding should I add for inward curves?
- Should I clip the quilt edge before sewing on binding?
- How do I keep binding from puckering around a curve?
- What is the best way to join the ends of binding?
- Can I hand-sew binding around a curved edge?
- Conclusion
What You Need
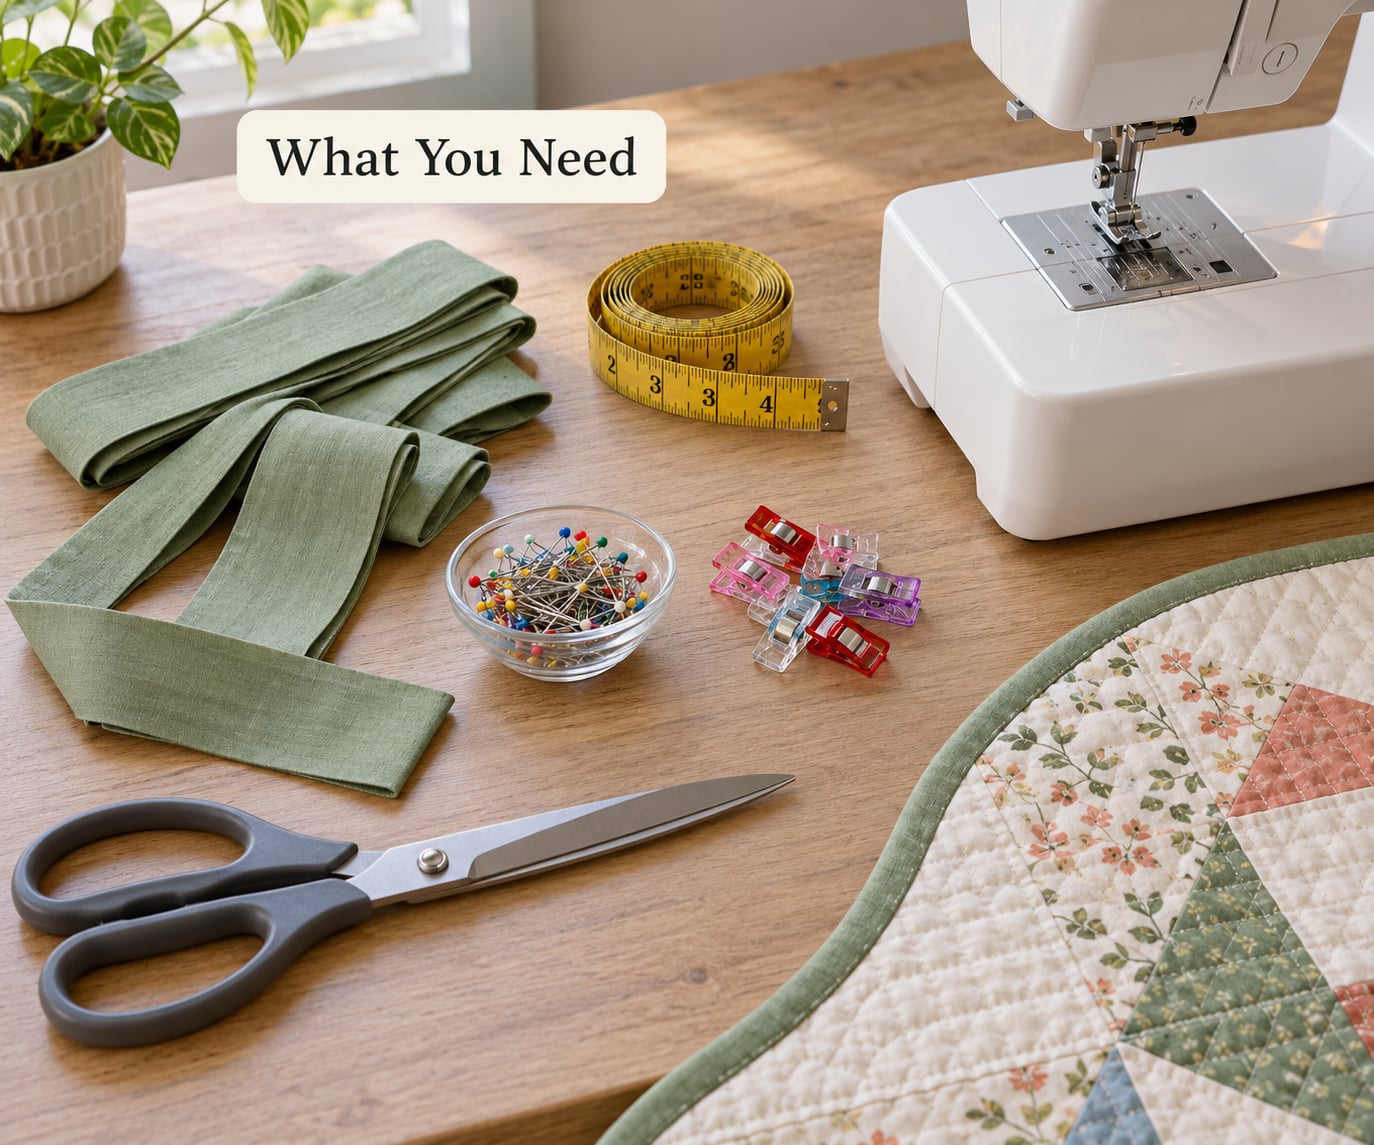
Supplies for bias binding on curves
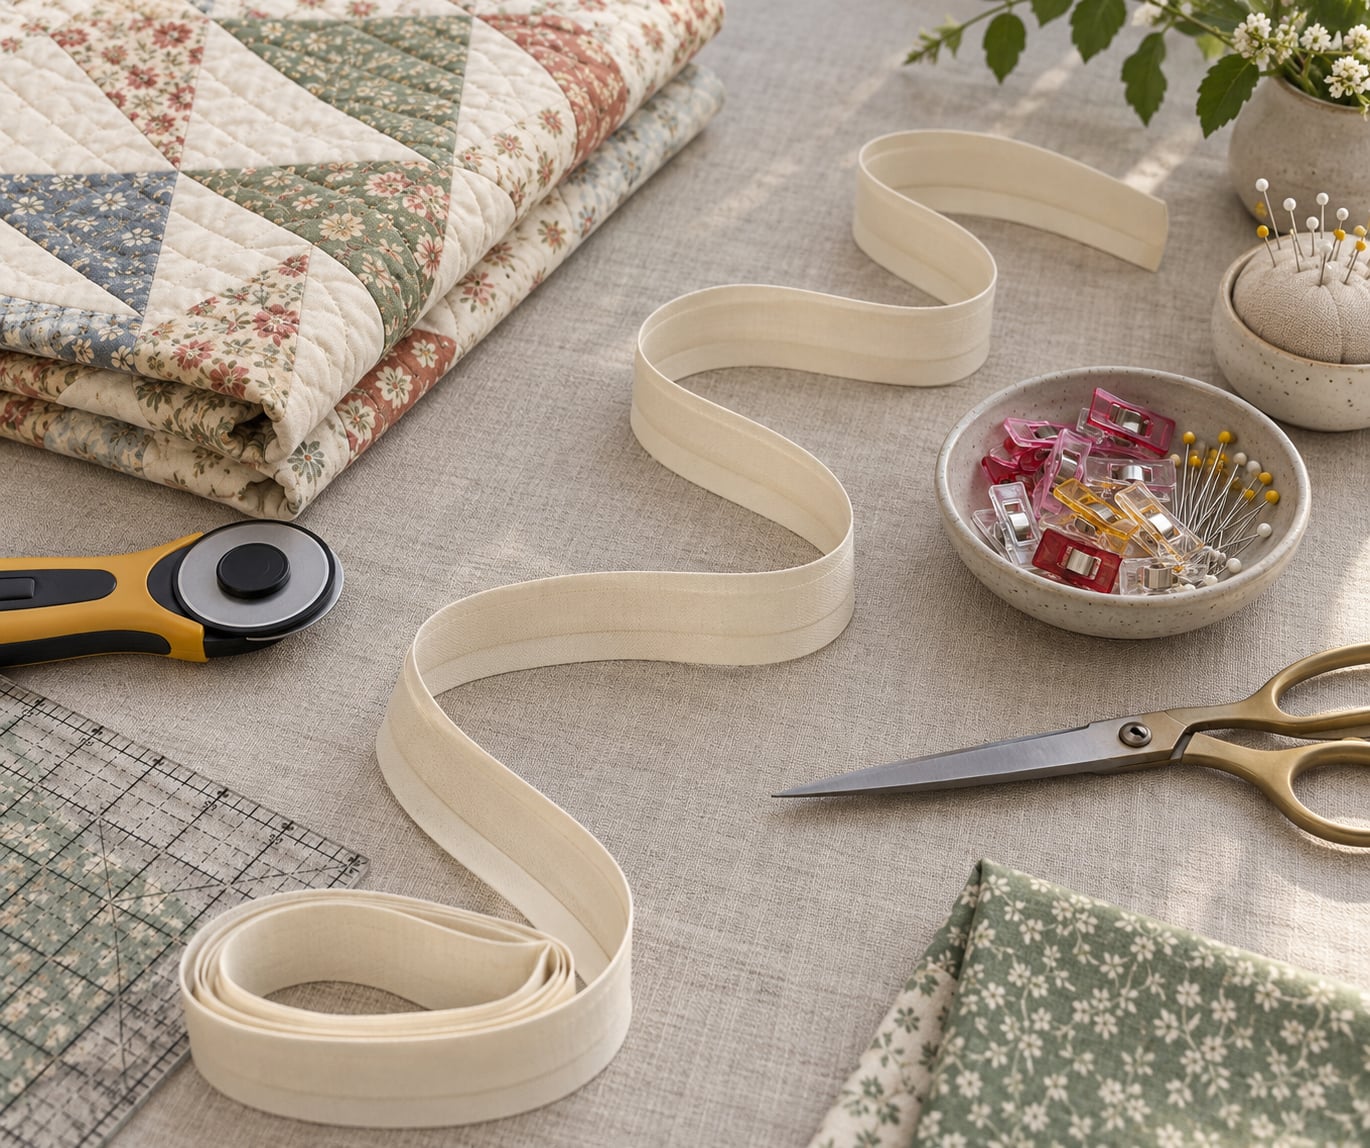
- Quilt cotton or cotton blend, wide enough to cut bias strips from. A fat quarter gives you roughly 55 to 60 inches of 2.25 inch bias binding, which is enough for a small round mat but not a throw.
- Rotary cutter, ruler, and mat for accurate strips, or a pair of sharp scissors if you prefer cutting by hand.
- Clips or pins in the quantity you can comfortably move around a curve. Most quilters find 1 inch clips beat pins on tight curves.
- Sewing machine with a quarter inch foot, plus a walking foot if you have one. Skip binding attachment feet here, they perform poorly on curves.
- Small scissors or seam ripper for clipping the seam allowance.
- Iron, board, and a little starch or glue basting to hold the binding in place on the back.
How much binding to cut
Measure the finished edge in several places, including the full length of every curve, and write the number down. Do not trust a single tape measure pass on a wobbly edge, curved edges rarely measure straight.
Then add 20 inches to the total for joining allowances, and add more for the curves themselves. For shallow scallops, that 20 inches is usually enough. For deep peaks and valleys or a tight circle, add another 10 to 20 percent, because the outer edge of a curve needs extra length to travel.
Cutting on the bias costs you fabric. Bias strips only run about 4 inches long across a 44 inch width of fabric, so expect to buy roughly three times the finished binding length. That is why most quilters make a stash of bias binding while they are at it. If you wind finished binding onto a cardboard bolt, do not pull it tight, it distorts and stretches while it sits.
| Point of comparison | Bias-cut binding | Straight-grain binding |
|---|---|---|
| Stretch around a curve | Gives a little, so it hugs the curve | None, so it fights the curve |
| Appearance on scallops | Smooth and flat | Puckers, ripples, and gaps |
| Fabric needed | About 3x the finished length | Close to the finished length |
| How the strip is made | Continuous long strip, cut with a ruler at 45 degrees | Quick to cut, joined with a straight seam |
| Best used for | Curves, scallops, circles, ovals, appliqué | Straight edges and mitered corners |
How to Make Binding for Curved Edges, Step by Step
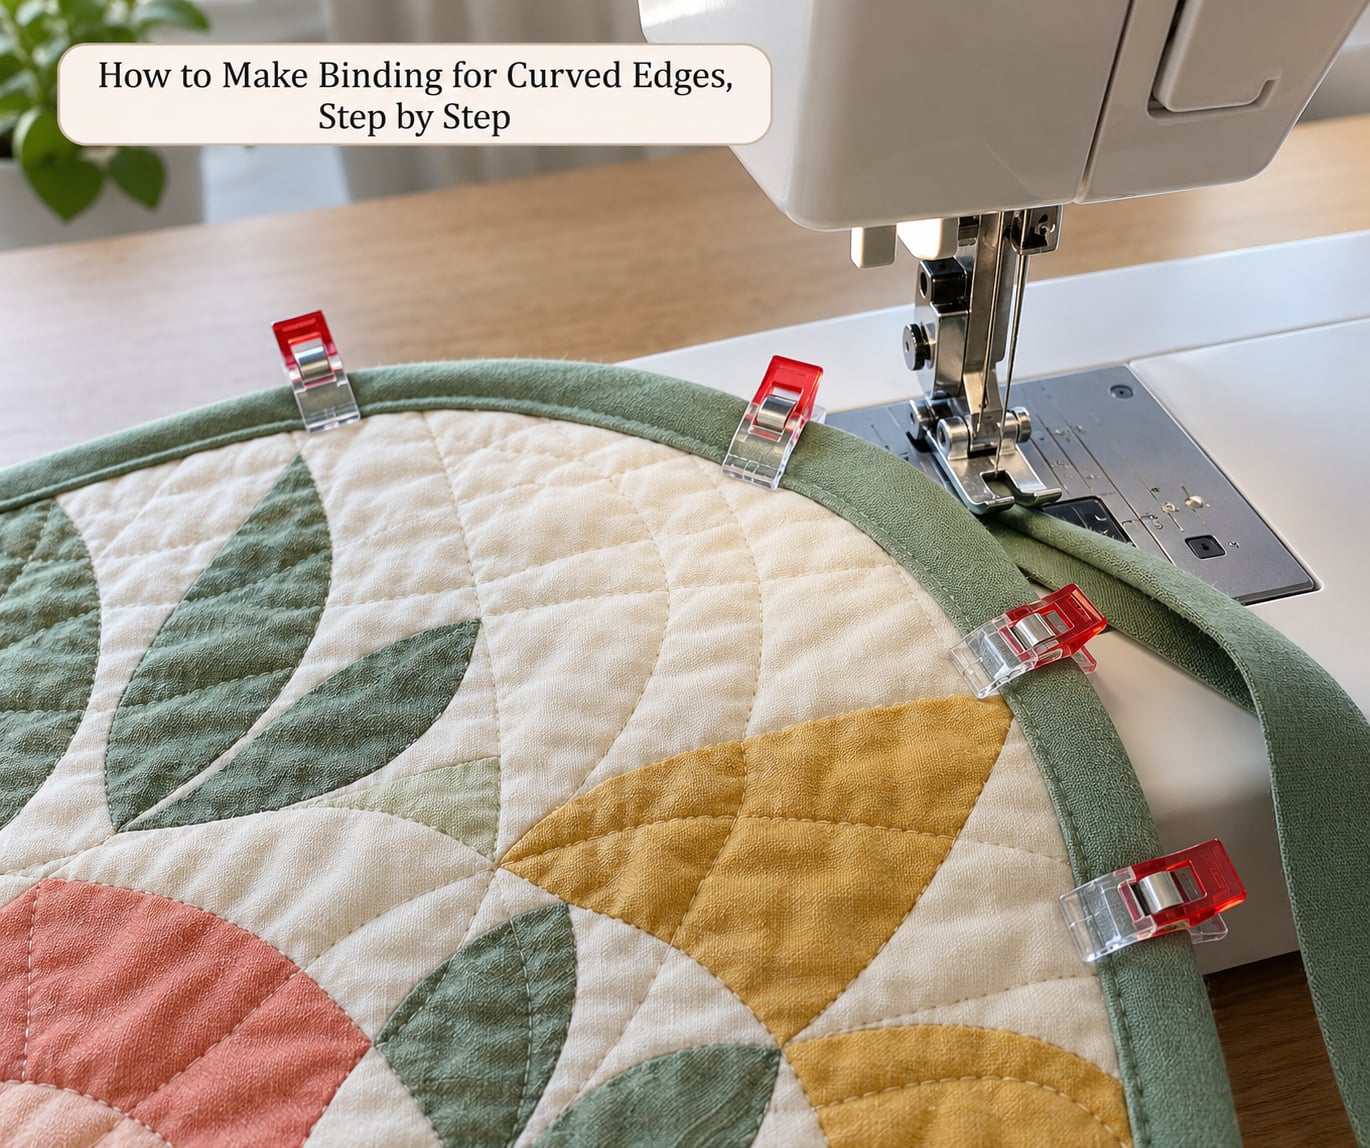
Step 1: Measure and Prepare the Curved Edge
Check that the edge is finished and quilted before binding goes on. Trim the batting and backing so they sit about one eighth inch inside the top fabric, the excess only adds bulk at the curve.
Know which curves you are dealing with. On a convex curve, such as the outside of a circle or the hill of a scallop, the binding has to ease outward a little. On a concave curve, the inside of a valley, the binding lies flatter and the seam allowance on the quilt edge is what needs clipping.
Press the seam allowances flat and open. If the batting is puffy or the edge has stretched during quilting, use a washable fusible web to stabilise it. A stable edge is what makes the easing step possible.
Step 2: Cut Enough Binding for Curved Edges
Length is the part of how to make binding for curved edges that trips people up most often, so do it before you cut anything. Fold the fabric so the selvage lines form a neat triangle at the top, then place your ruler along the true bias, the line running from one corner of the triangle to the opposite corner. Cut your first strip along that line. Without moving the ruler, slide the fabric along and cut strip after strip, which is how a continuous bias strip gets its length.
Set the strip width at 2.25 inches for a standard double-fold binding that finishes about a half inch, or 2.5 inches for a wider finish on a big quilt. Some quilters add an extra eighth inch for a generous allowance on the back of a heavy quilt.
To join two strips, lay them right sides together with the strips crossing at right angles. Sew a quarter inch seam along the diagonal, then trim the triangular allowance and press both seam allowances open in opposite directions. That 45 degree seam is the reason the join lies flat and disappears in the binding. Repeat until your strip is long enough, finishing with a straight seam rather than a diagonal one at the very end so you can tell the two ends apart.
Step 3: Fold the Binding and Attach It
Sew one 2.25 inch strip at a time. Fold the long raw edges of the strip to the centre, crease well with your iron, and unfold. If you have a bias tape maker, it does this crease in one pass, though the iron method is fine.
Start at a spot on the back of the quilt that will sit under a binding fold, near the bottom edge is usually good. Sew the binding to the FRONT of the quilt with a quarter inch seam, letting the first few inches of the strip overhang past the start. Leave that tail unstitched for now.
Work in short sections. Stitch a couple of inches, stop, and check that the strip lies flat along the entire stitched section before you go further. Pinning and clipping the binding to the front as you go keeps it in line, and you can reuse the same clips as you travel around.
Step 4: Sew Around the Curves
Slow the machine down. Curves are where rushed stitching shows up as a wavy or bunched edge.
Put a pin at the peak of each scallop and at the bottom of each valley, so you know exactly where to plan your pivot. Most quilters find that you need to pivot earlier than instinct suggests, and those pins make the timing obvious.
On convex curves, ease the binding as you sew. Let the strip spread slightly wider than the quilt edge, which it wants to do anyway, and guide the fabric with your hands. Do not pull the binding to make it match, that is what creates gathers and a bulky ridge at the peak.
On concave curves, the seam allowance bunches and resists the turn. That is normal. Stop sewing a stitch or two before the lowest point, clip into the seam allowance with your small scissors, and the allowance will open up into a fan so the strip can turn without dragging.
On straight sections, stop at each quilt corner, sew the binding right to the corner, then fold it up and back on itself to make a mitered corner. Crease it firmly and continue. The mitered corner technique is covered in more detail in most general binding tutorials, but it works the same way once you are back on a straight run.
Clip the seam allowance every inch or so through any curve deeper than a gentle bow. Small clips let the seam release in small increments. Long clips turn the allowance into a hinge and it is far neater.
Step 5: Join and Finish the Binding
Bring the two loose ends together so the binding overlaps by about the width of the strip. Unpick the top layer of stitching from the first tail where the strips meet so each end has a free tail to work with, then trim the tails square with the binding edge.
On a curved edge, place this join on the hill of a scallop, where the seam is least visible and the flat ground around it hides the join better than a valley does. Overlap the strips by the binding width, pin through both layers, and sew the overlap.
Fold the raw edges of the binding to the back at the join, press them flat, and continue folding the rest of the binding to the back. Crease with your iron, working in sections around the curve.
Finish on the back. Glue baste the binding in place, then topstitch close to the inner fold and again close to the outer edge, which is the stitch in the ditch method. If you would rather hand-finish, stitch with a blind hem stitch worked in small increments, taking a tiny bite of quilt each time so the curve does not drag.
The finished binding should lie flat all the way around, with no ripples on the front and no gaping on the back. Where the curve is deepest, the binding should hug the edge with no bulk on top of the quilt.
Common Mistakes and How to Fix Them
Almost every problem with binding on a curve is a length problem, a tension problem, or a grain problem. Here is what goes wrong and what to do about it.
| What you see | Why it happens | How to fix it |
|---|---|---|
| Ripples or a wavy edge along the curve | Binding was pulled taut while sewing | Unpick the section and sew it again, easing the strip wider as you go |
| A bulky lump at the peak of a scallop | Too much easing, or the binding width is too narrow for the curve | Stitch more slowly and ease less, or widen the binding to 2.5 inches |
| Puckering near the top of a valley | Seam allowance was never clipped | Unpick, then clip the allowance with short clips through the curve |
| Scallops stretched and thin after binding | Straight-grain binding on a curved edge | Use bias strips next time, they are much harder to overstretch |
| Not enough binding to reach the end | Measure missed the extra length curves need | Unpick the starting seam, add more binding, and sew again |
| Binding feet snagging or stitching badly | Attachment feet are designed for straight, stable edges | Switch to the quarter inch foot for curved work |
Two more mistakes come up often. Cutting into the points of your scallops is a one-way door, the points will never lie flat, so trace the scallop line and cut only to that line. And if your edge is scalloped, sew the binding on before you cut the scallop curve, because cutting the curve first means the edge is unsupported while you stitch and it stretches as you work. Almost every quilter makes that call first and cuts second.
On scallops, keep your deepest cuts shallow. A scallop cut too deep cannot fold flat no matter how good your easing is.
Frequently Asked Questions
Can I use straight-grain binding for a curved quilt edge?
Straight-grain binding works on straight edges and mitered corners, but it does not stretch, so it pucks and gaps on a curve. Bias-cut strips give just enough give to lie smooth over scallops, rounded corners, and circles. If you have already cut your strips straight, join them into one long strip and use it on the straight sections, then cut bias for the curved ones.
How much extra binding should I add for inward curves?
Start with your finished perimeter plus 20 inches for joining allowances, then add 10 to 20 percent more if the edge has deep scallops or a tight circle. Concave curves eat binding quickly because the seam allowance there is compressed. Measure in several places rather than trusting one pass, and always cut longer than you think. A spare strip is easier to trim than a short one is to replace.
Should I clip the quilt edge before sewing on binding?
You do not cut into the edge itself, but you should clip the seam allowance of the top fabric and batting just inside the raw edge through deep curves. Short clips, about one every half inch, let the allowance spread as the binding turns. On very deep valleys, stop sewing a couple of stitches before the low point and clip right up to the stitches so the fabric can fan open.
How do I keep binding from puckering around a curve?
Slow down, ease the strip wider as you sew convex curves, and never pull the binding to match the quilt edge. Puckering means either the strip is under tension or the seam allowance is bunching on an unclipped concave curve. Stop, unpick, and redo that section with more easing. A walking foot also helps stop the layers from shifting under each other.
What is the best way to join the ends of binding?
Overlap the two ends by the width of the binding strip, pin them through both layers, and stitch the overlap. Unpick the top layer of stitching from the start tail first so you have free ends to work with, then trim them square. On a scalloped edge, place the join on the hill of a scallop where the seam hides better and the ground is flatter.
Can I hand-sew binding around a curved edge?
Yes, and many quilters prefer it on circles because they control the easing with their hands. Work in small sections, easing the binding wider at convex curves and using short clips through concave ones. A blind hem stitch with a small bite of quilt each time keeps the curve from dragging. Glue basting the binding to the back first holds everything in place while you stitch.
Conclusion
Start by measuring the curve in three or four places, then add 20 inches plus another 10 to 20 percent if the scallops are deep. Cut 2.25 inch strips on the true bias, join them with 45 degree diagonal seams, and sew the strip on while easing it wider at every convex turn. Clip the seam allowance through the valleys and never pull the binding to fit.
Before you commit a finished quilt, run the same fabric and the same curve through a small sample. Ten minutes on a scrap teaches your hands the pivot timing that no tutorial can.