To hem the edges of a wall hanging you fold the raw outer edge to the inside and secure it, so the fabric stops fraying and the border reads as a finished edge rather than a cut one. Most people manage it with a needle, thread and about half an hour of work, and the whole job takes under an hour once you have measured. The case below is the one that catches people out: a woven hanging with a narrow border, which sends half of them reaching for the sewing machine in a panic.
Before you start, decide which kind of wall hanging you are finishing. A woven piece behaves nothing like a quilted one, and the method that gives a crisp edge on cotton will sink into batting. Everything below works for both as long as you match the technique to the material.
Table of Contents
- What You Need
- Five Ways to Hem a Wall Hanging Edge
- Hand Tools or Machine
- Step-by-Step: How to Hem the Edges of a Wall Hanging
- Prepare and Measure the Wall Hanging
- Press a Straight Guide Line
- Fold and Secure the First Hem
- How to Hem the Edges of a Wall Hanging
- Close and Reinforce the Corners
- Hem a Curved or Irregular Edge
- Fold an Inward Corner Without a Bulge
- Finish the Remaining Three Edges
- Add a Sleeve, Pocket, or Rod Wrap
- Press, Hang, and Inspect the Finish
- Common Mistakes and How to Fix Them
- Frequently Asked Questions
- What is the best hem width for a wall hanging?
- Should I hem the top edge of a wall hanging?
- Can I hem a quilt or thick textile wall hanging?
- Is a blind hem better than a ladder stitch for wall art?
- How do I keep a hem straight on uneven fabric?
- Can I use fusible tape instead of stitching the hem?
- Final Check Before Hanging
What You Need
The tool list is short, and you can get through a finished hem with very little. The one thing you cannot skip is a measuring tape, because an uneven allowance is the single most common reason a hem looks amateur.
- A sewing machine with a straight stitch and a standard presser foot, for cotton, canvas, drop cloth and quilted pieces.
- Hand sewing needles — a size 7 or 8 sharps for woven cloth, a blunt weaving needle for weaving and embroidery.
- Thread that matches or sits one shade darker than the fabric. Polyester thread on woven wool will slide; use cotton thread there.
- Fabric scissors and small snips for trimming weft ends.
- Clips or long straight pins to hold a folded allowance without puncturing thick quilting.
- An iron and a pressing cloth for a straight guide line.
- Fusible hem tape as a no-sew fallback for cotton and canvas only.
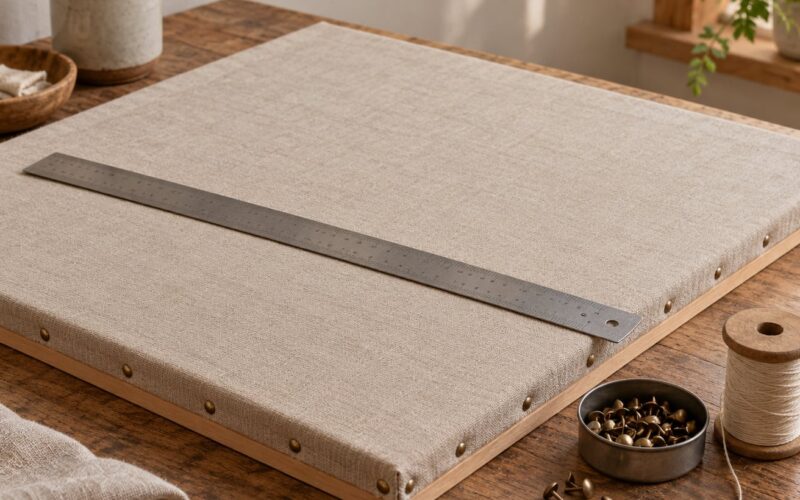
- Rustproof washers or a small corner reinforcement if the piece will hang from nails or push-pins.
Five Ways to Hem a Wall Hanging Edge
This table is the decision I make first. Find your row, and the rest of the instructions below tell you exactly how to carry it out.
| Method | Skill level | Tools | Best for |
|---|---|---|---|
| Machine fold-over hem | Beginner | Machine, clips, iron | Cotton, canvas, drop cloth, quilted panels |
| Hand blind hem | Beginner | Needle, thread | Any edge where you want the stitching invisible |
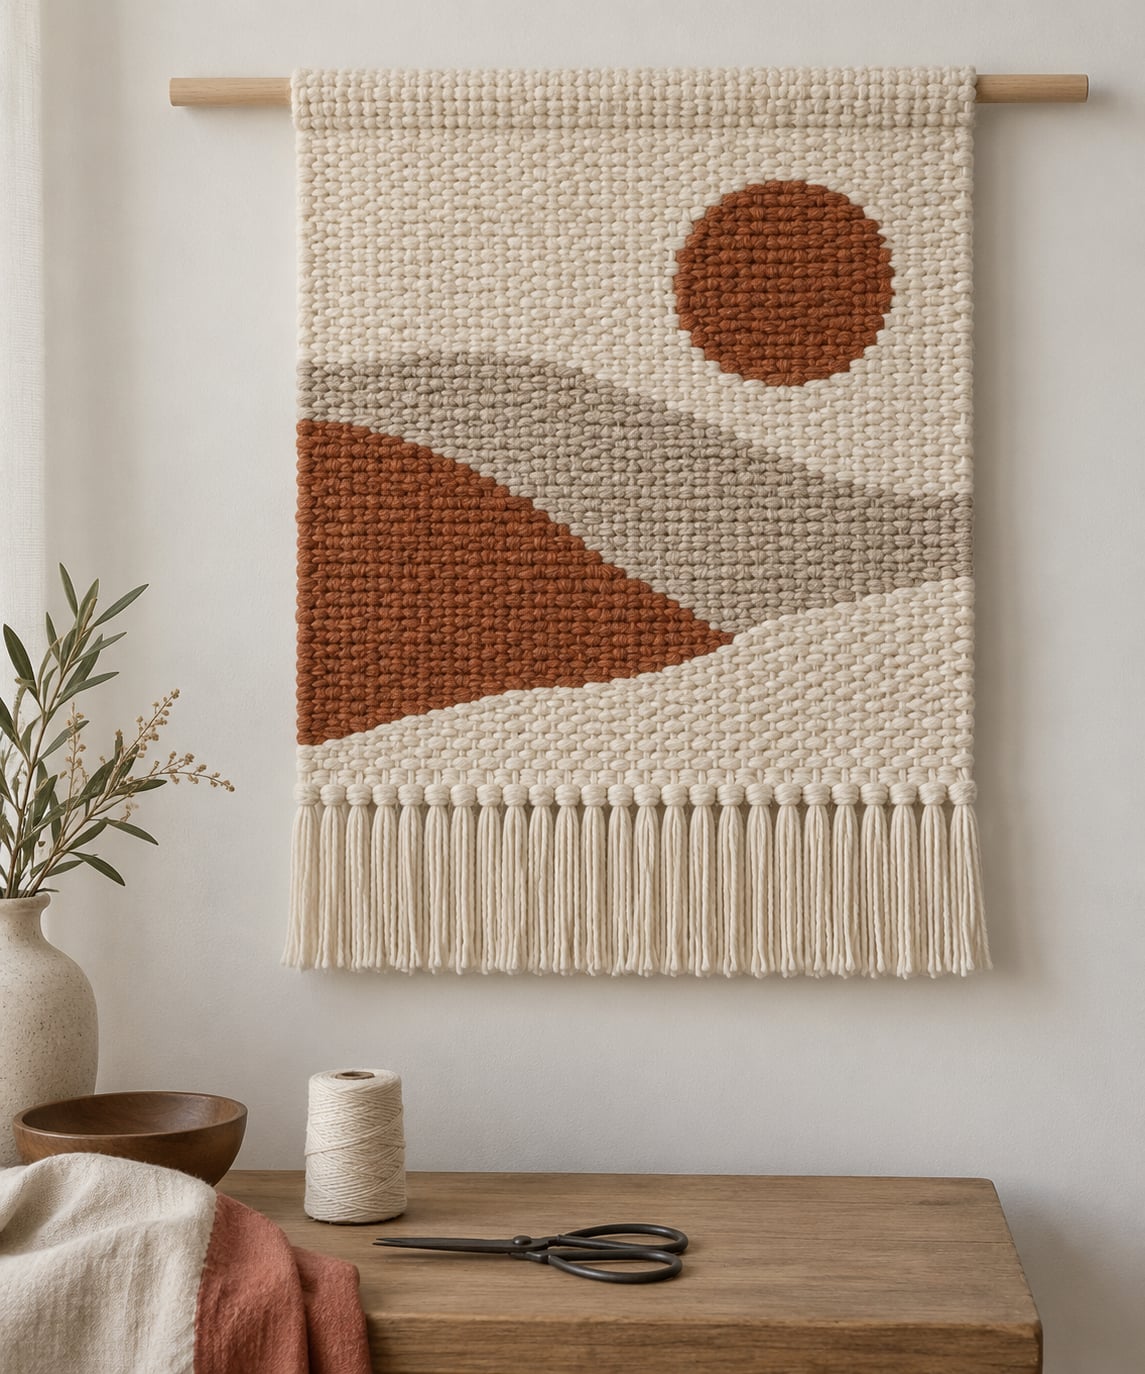
| Hemstitch (needle weaving) | Intermediate | Blunt weaving needle, yarn | Woven weavings, macrame, cross stitch |
| Fusible hem tape | Beginner | Iron, tape | Light cotton and canvas when no machine is available |
| Wrapped rod pocket | Intermediate | Dowel, clips, needle | The top edge of anything hung from a stick |
Hand Tools or Machine
Machine sewing is faster and gives a straighter line, but it is not better here. Plenty of weavers finish every piece entirely by hand, and a hand-sewn hem on a woven hanging is both stronger and quieter than a machine topstitch.
If you have no machine at all, methods 2, 3 and 5 in that table need nothing but a needle. Save the fusible tape for cotton and canvas; the adhesive will not bond to a wool weave, and it will stiffen a piece that is supposed to drape.
Step-by-Step: How to Hem the Edges of a Wall Hanging
Seven steps, in order, and the order matters more than the technique. Working bottom edge to top edge keeps the piece flat on the table instead of fighting you.
Prepare and Measure the Wall Hanging
Lay the piece face down on a clean surface and clip every loose thread first. Stray weft ends look untidy when the hem folds over them, and they are much easier to trim before you fold than after you stitch.
Then work out your finished size and subtract it from the current size. That difference divided by two is your hem allowance on each edge. As a starting point: 1/4 inch (6 mm) for light cotton and canvas, 1/2 inch (12 mm) for woven wool, and 3/4 inch (18 mm) for quilted or heavily appliqued work.
| Wall hanging type | Hem allowance | Why |
|---|---|---|
| Drop cloth or canvas | 1/4 to 1/2 inch (6 to 12 mm) | Stiff plain weave presses flat and holds a crisp fold |
| Plain-weave cotton hanging | 1/4 inch (6 mm) | Enough to hide the cut edge without losing width |
| Woven wool or handspun | 1/2 inch (12 mm) | Thicker yarn needs room to fold without a rope edge |
| Quilted panel | 3/4 inch (18 mm) | Absorbs the loft of batting so the edge is not lumpy |
| Cross stitch or embroidery | 1/4 inch (6 mm) | Narrow border, so the stitch has to stay small |
You know it worked when the marked allowance line runs in one unbroken parallel line all the way around, with no dips where the fabric changed thickness.
Press a Straight Guide Line
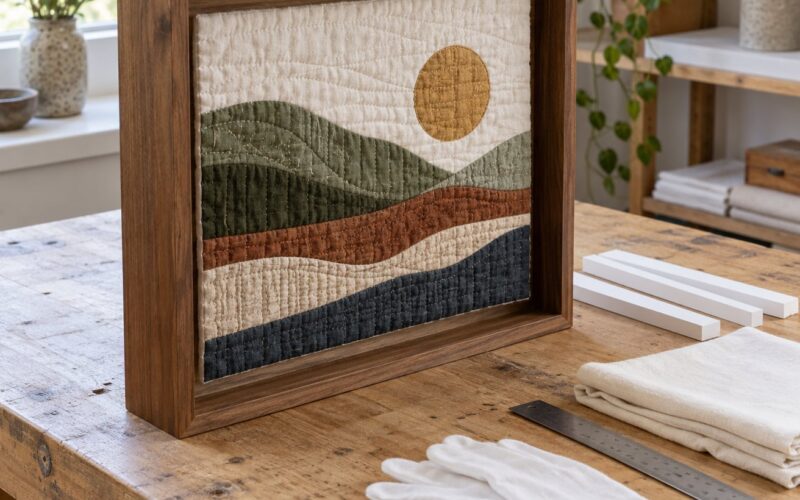
Measure up from the raw bottom edge and mark a light line with chalk or a fabric marker. Follow the thread grain, not the edge itself — woven pieces often come off the loom slightly skewed, and following a straight ruler beats copying the wobble.
Tack the fold with long pins or a running basting stitch, then press it with a pressing cloth over the top to kill the fold in. On thick quilting, skip the pins and use clips so you do not dimple the loft.
Fold and Secure the First Hem
Turn the allowance to the wrong side along your guide line and press it flat. The raw edges should meet or overlap slightly in the middle — a gap means you folded two different widths and will see it immediately.
Trim any bulk out of a thick seam allowance with your scissors before you fold, because that lump will never press out and it will show as a ridge under the finished edge. Work along the fold with clips every few inches, checking that your finished dimensions are still accurate.
How to Hem the Edges of a Wall Hanging
This is where the fold gets locked in. On a machine, set a straight stitch at 10 to 12 stitches per inch, lower the presser foot, and run the line about 1/8 inch (3 mm) from the fold — close enough to hold, far enough to see. Backstitch at the start and end.
By hand, work a ladder stitch: take a tiny 2 mm bite of the folded edge, then a longer bite of the main fabric just above the fold, and repeat. The bites under the fold disappear into the edge. On thick or fragile work, switch to a running stitch along the fold line, using a single strand of thread so it does not cut through a delicate weave.
Whatever method you use, the raw edge stays enclosed. That is the whole point — an enclosed edge cannot fray, and the fold gives the piece a little extra weight that helps it hang straight. You will know it worked when you tug the hem gently and nothing shifts or gaps.
Close and Reinforce the Corners
At an outer corner, fold each edge first, then fold the corner itself diagonally and trim off the excess bulk so the two layers align. Fold the diagonal back on itself and stitch across it to lock the mitre in place. A mitred corner keeps the hanging square and leaves no thick ridge at the point.
Reinforce the lower two corners with a few extra backstitches or a small patch of backing fabric. Those corners carry the most weight, and they are the first place a hanging starts to pull out of shape.
Hem a Curved or Irregular Edge
Curves are easier than beginners expect. Snip a few millimetres into the allowance along the curve at regular intervals so the fabric can spread, then use a narrower allowance than usual — about 1/4 inch (6 mm).
Pin the fold in short sections and ease it as you go, letting the curve stretch very slightly rather than fighting it. Press as you work. On a strongly shaped edge, clip almost to the stitch line so the allowance has room to turn without bunching.
Fold an Inward Corner Without a Bulge
An inward corner is the notch where the edge turns back on itself. Press the main fold first, then trim the corner allowance diagonally so the two layers lie flat. Fold each arm of the hem separately and secure them to the body fabric, keeping the stitch line a consistent distance from the fold on both sides.
If a small lump still forms, trim a sliver from the corner allowance rather than stitching tighter. Extra bulk removed now saves you unpicking later.
Finish the Remaining Three Edges
Repeat the measure, press, fold, pin and stitch sequence on the other three edges, working in the same order every time so the corners stay consistent. Check each finished edge against the measured finished size before you move on.
Some makers knot both the top and bottom edges of a weaving before hemming. It takes two minutes and stops the edge unravelling if the piece is moved or cleaned in between.
Add a Sleeve, Pocket, or Rod Wrap
The top edge usually does not get an ordinary hem, because it has to carry the hanging weight. Instead, fold the top allowance over a dowel and stitch along the base of the fold, or wrap the edge of the hanging around the rod and secure it with whip stitches or a few rows of machine stitching.
For a heavy piece, add a strip of heavier fabric or webbing across the top and stitch it to the body at both ends. That spreads the load and stops the corners from distorting.
Press, Hang, and Inspect the Finish
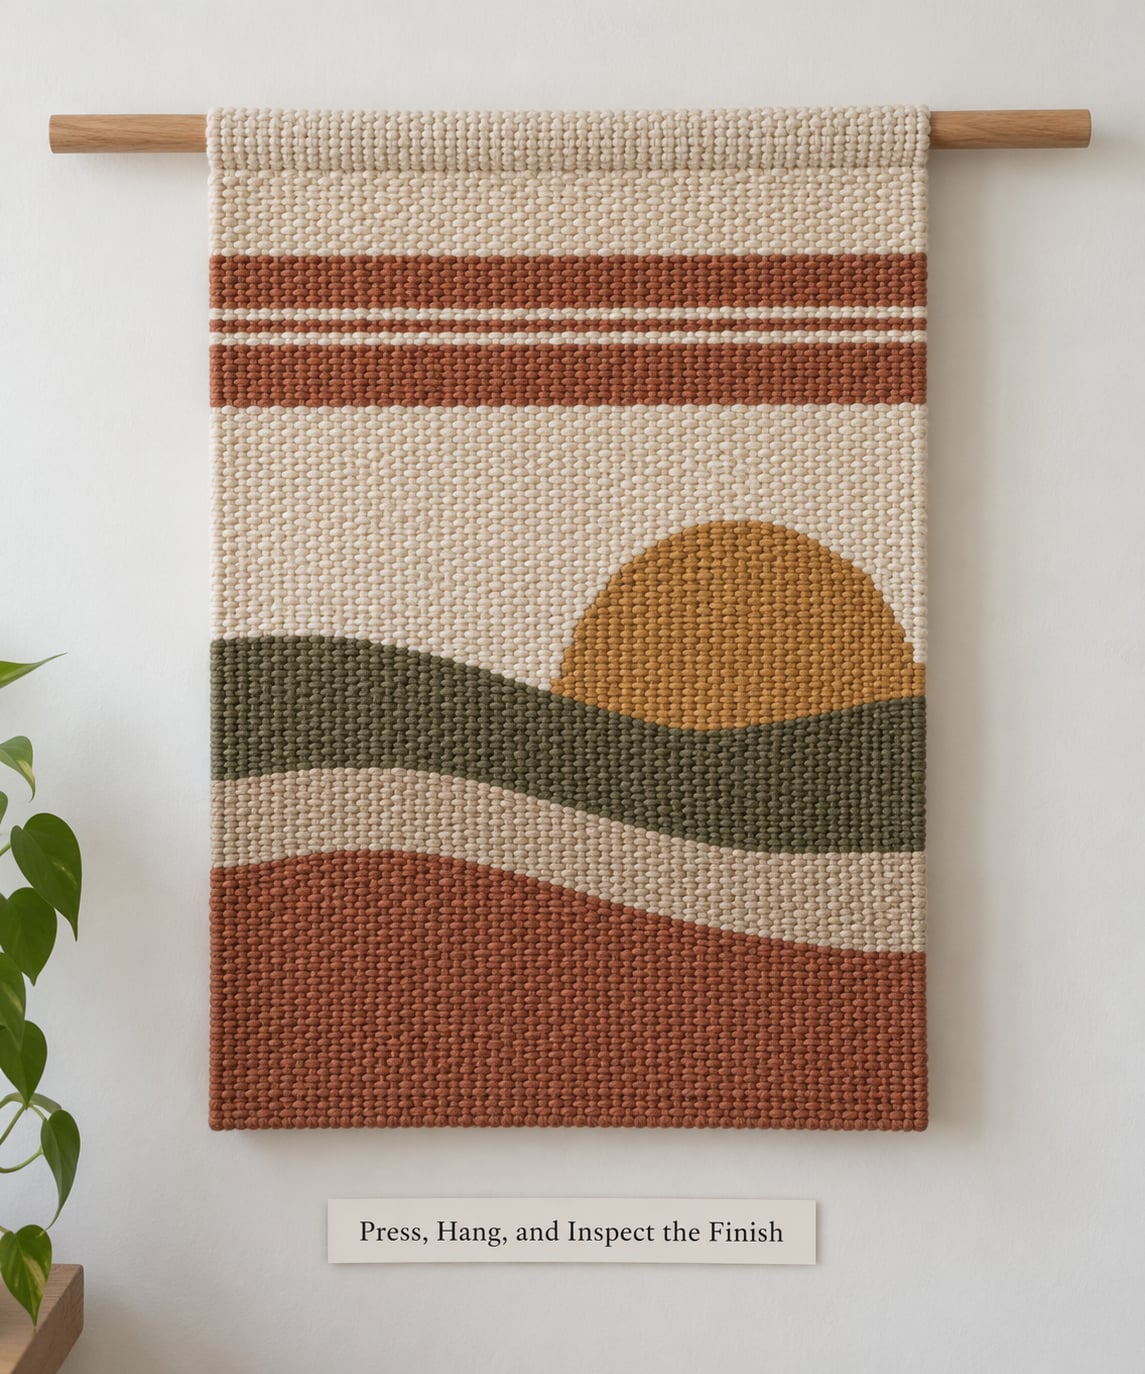
Press the finished piece from the wrong side with a cloth, working section by section so the fold stays sharp. Skip the iron entirely on lofted quilting and on anything with beads, yarn loops or a padded surface, since pressing flattens exactly the texture you built.
Hang the piece and step back a few feet. Look for three things: high points where the edge dips, loose points where a stitch missed, and any corner pulling out of square. Unpick a single bad stitch, refold and re-stitch — fixing one small area now is far quicker than living with a wavy border.
For a piece that will hang from a nail or push-pins, push the pins through a folded hem tab rather than through the face of the work. That way nothing visible is punctured and torn.
Common Mistakes and How to Fix Them
Wavy hem. You stretched the fabric while pinning. Unpick the whole edge, press the allowance flat, re-pin with the fabric relaxed, and restitch. A hem pinned under tension will always end up rippled.
Puckered or gathered edge. Usually a stitch length that is too long for the material, or heavy thread on a fine weave. Switch to 10 to 12 stitches per inch and use a single thread strand.
Rolled raw edge. The allowance is too narrow for that fabric, or the fabric is too thick to fold. Unpick and refold at a wider allowance, and trim bulk from the seam before folding.
Skipped or loose stitches. The needle is not entering the fabric at a consistent depth. Slow down, and check the needle size — a blunt needle drags and makes holes that then look like loose stitches.
Bulky corners. You mitred after folding both edges and left extra fabric inside. Trim the corner allowance diagonally down to the stitch line, then fold and refold the mitre so the layers match exactly.
Finished piece smaller than planned. You measured the finished size from the wrong edge, or the allowance went on one side only. Measure across the finished hem, not along it, before you cut anything.
Beading or batting that will not take a hem. Stop stitching and change approach. Back the edge with a strip of fabric or fusible interfacing and use a rolled or wrapped edge instead, which adds no bulk and leaves the decoration untouched.
One habit worth keeping: press, stitch, press again, then check the measurement a second time. Most of the problems above show up at that final check, when they cost two minutes to fix.
Frequently Asked Questions
What is the best hem width for a wall hanging?
Match the hem to the material. Use 1/4 inch (6 mm) for light cotton, canvas and cross stitch, 1/2 inch (12 mm) for woven wool and handspun yarn, and 3/4 inch (18 mm) for quilted or appliqued panels. Wide allowances on a fine weave bulk up the edge, and narrow allowances cannot hide a thick cut edge. Measure the finished size first, then work out the allowance from the fabric you actually have.
Should I hem the top edge of a wall hanging?
Not usually with a normal hem. The top edge carries the weight of the whole piece, so it is usually folded over a dowel or hanging rod and stitched along the base of the fold, or wrapped around the rod and secured with whip stitches. On a very heavy woven hanging, stitch a strip of heavier fabric or webbing across the top to spread the load across the full width.
Can I hem a quilt or thick textile wall hanging?
Yes, but use a wider allowance and avoid pressing it flat. Quilting with batting will pucker if you pin it or press it hard, so use clips along the fold and a 3/4 inch (18 mm) allowance so the loft has room to compress. If the surface is quilted or appliqued, press only from the back and skip the iron over any raised or beaded areas.
Is a blind hem better than a ladder stitch for wall art?
A ladder stitch, which is the hand equivalent of a blind hem, is usually better for wall hangings. It hides almost completely inside the fold, takes a firm bite of the body fabric, and needs no machine. A ladder stitch works on woven pieces, macrame and embroidery, while a simple running stitch along the fold is the safer choice on thick quilting or fragile fabric where a small needle bite could damage it.
How do I keep a hem straight on uneven fabric?
Do not chase the edge — copy the wobble and it gets worse. Mark your own guide line with chalk or a fabric marker, following the thread grain rather than the raw edge, then pin and press along that line before you fold. On thick or lofted fabric, swap the pins for clips so you do not dimple the surface. Check the measurement at each corner before you stitch that edge.
Can I use fusible tape instead of stitching the hem?
Yes, on cotton and canvas it works well and needs only an iron. Follow the tape manufacturer instructions, press the tape inside the fold, and test a corner first because the bond is weaker than stitching. Do not use it on wool, wool blends, a woven wool hanging or anything you want to drape — the adhesive will not bond and the stiff strip will spoil the fall of the fabric.
Final Check Before Hanging
Before you commit a single stitch, pin and hold the full perimeter of the piece against the wall where you intend to hang it. Look at it from across the room, check that the corners are square and the allowance is the same width on every side, and adjust anything that reads as uneven.
That dry fit takes two minutes and it is the step people skip. Get it right there and the stitching afterwards is just the part that makes it permanent. This guide covers the whole process of how to hem the edges of a wall hanging, from the first clip of loose threads to the last press, so take your time with the measuring and the rest takes care of itself.