Mounting fabric on a board means stretching a finished textile flat across a rigid backing, usually acid-free foam board or mat board, then securing the edges so it hangs wrinkle-free inside a frame. For most pieces the whole job takes 20 to 40 minutes once you have measured up. The technique matters more than any fancy tool: uneven tension stretches the weave and distorts the design permanently, so the sequence below moves from the centre outward and never pulls one side tight before the opposite side.
I have mounted samplers, framed quilting, and stretched woven panels for gallery walls, and the mistakes are always the same three. Working too fast across the board, pulling harder than the fabric needs, and choosing a fastening method that fights the textile instead of supporting it. Get those right and almost anything else is recoverable.
Table of Contents
- What You Need
- Rigid support
- Enough fabric to wrap
- Cutting and covering tools
- Fastening supplies
- Measuring tools
- Safety kit
- How to Mount Fabric on a Board: Step-by-Step
- 1. Choose a mounting method for the fabric
- 2. Prepare the board and work area
- 3. Clean, flatten, and align the fabric
- 4. How to mount fabric on a board evenly
- 5. Secure the fabric without damaging it
- 6. Let the fabric settle and inspect the surface
- 7. Add a backing and prepare it for display
- Common Mistakes
- Using a board that is too weak or too small
- Stretching too tightly
- Fastening unevenly or too far apart
- Covering the surface of valuable work
- Trapping moisture between fabric and board
- Mounting an antique or valuable textile without advice
- Frequently Asked Questions
- What size staples should I use to mount fabric on a board?
- Can I mount textured or bulky fabric without flattening its surface?
- Is foam board a good support for mounting fabric?
- How do I remove wrinkles from fabric after mounting it?
- Should I mount an antique or valuable textile myself?
- Conclusion
What You Need
The list is short, and most beginners already own two-thirds of it. What changes from project to project is the board and the fastening.
Rigid support
Acid-free foam board or mat board works for most embroidery, weaving and quilt blocks. Foam core (the same material as presentation foam) is stiffer and cheaper but is not archival unless labelled acid-free. Plywood, MDF and birch panel give you a truly rigid surface for large woven pieces, weighted work, or anything over about 24 inches across. Corrugated cardboard is fine for a study or a school project but will bow under a heavy piece.
Enough fabric to wrap
Your board should be about 3 inches larger than the finished piece on every side so you have material to pull around the back. If the fabric is already cut close to the design, glue canvas strips to the edges first, which is the standard trick for borderless work.
Cutting and covering tools
A craft knife with a fresh blade and a metal straightedge, plus a cutting mat. For the back of the mount, acid-free tissue paper, kraft paper or a second sheet of board covers the raw edges and stops the fabric from fraying into the frame rebate.
Fastening supplies
Depending on your method: flathead pins or T-pins for positioning, serrated tacks for a semi-permanent hold, heavy-duty staples for gallery wraps on stretcher bars, waxed linen or polyester thread for lacing, and archival spray adhesive only when glue is genuinely the right call. Masking tape is useful as a temporary hold.
Measuring tools
A tape measure, a straightedge, and a pencil. The sizing maths is worth writing down before you cut: for a framed piece, the board needs to be about 1/8 inch smaller than the frame opening so it drops in without wedging, and about 3 inches larger than the artwork on each side for wrapping.
Safety kit
Eye protection and a cutting mat when you work with staples and a craft knife. Keep the blade hand away from the pull direction when you stretch fabric across the board, since tension plus a sharp blade is how people nick their fingers.
How to Mount Fabric on a Board: Step-by-Step
1. Choose a mounting method for the fabric
Five methods cover almost every case, and each suits a different fabric and a different level of permanence.
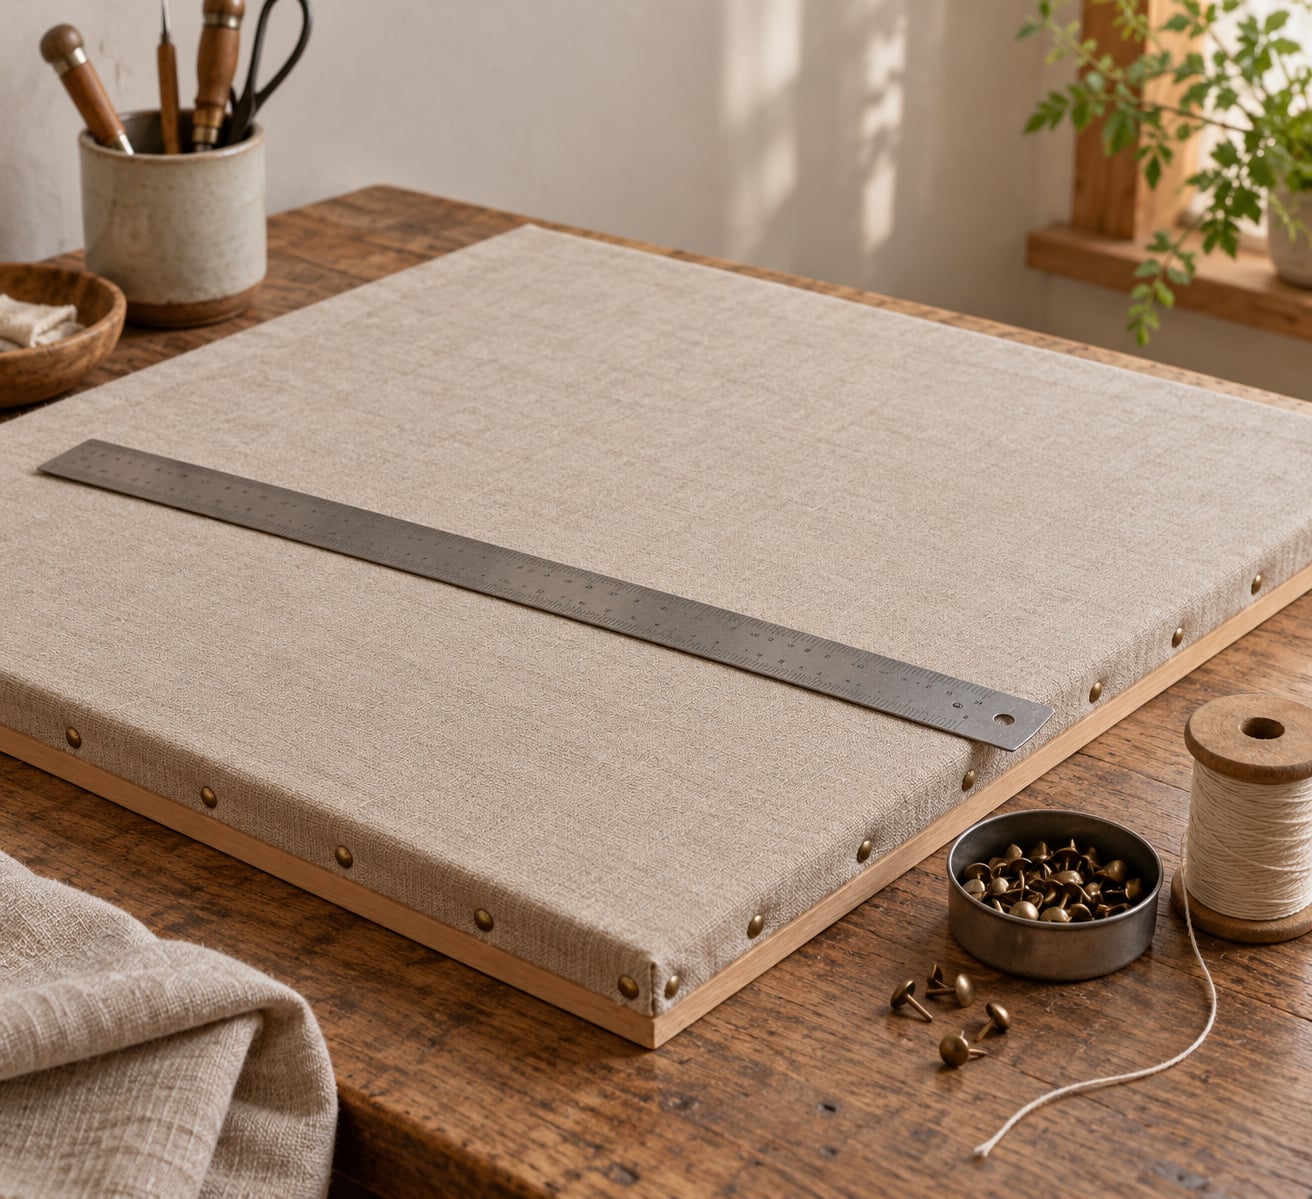
Stapling to a rigid board or panel suits heavy woven work, large panels, and anything that will not be removed. It is fast, strong and essentially permanent, which makes it wrong for heirloom textiles and wrong for anyone who may want to rehang the work later.
Pinning or lacing with thread suits embroidery, cross stitch, samplers and anything valuable. Lacing over the edges of the board keeps the face of the work free of holes and can be undone later, which is why conservation-minded mounters reach for it. Thread-lacing is also the usual answer when someone asks for a non-permanent mount.
Spray adhesive suits flat, stable, modern work where permanence is acceptable and the fabric will not be removed. It is the least suitable option for sheer, light-coloured or antique textiles, and glue that soaks into stitching stiffens it. Do not use it on a piece you want reversible.
Gallery wrapping on stretcher bars suits canvas, larger mixed-media pieces and dimensional work. The fabric wraps the sides of the frame and is stapled to the back, which gives a finished, installable object rather than a flat board. Work in alternating opposite sides, not around the frame edge by edge, or the fabric ends up diamond-shaped.
Sandwich mounting, where the finished piece sits on a board and is stitched or tacked to a mat board strip around the perimeter, is the choice for shaped, raw-edged or irregular work where hiding the edges matters more than stretching tight.
2. Prepare the board and work area
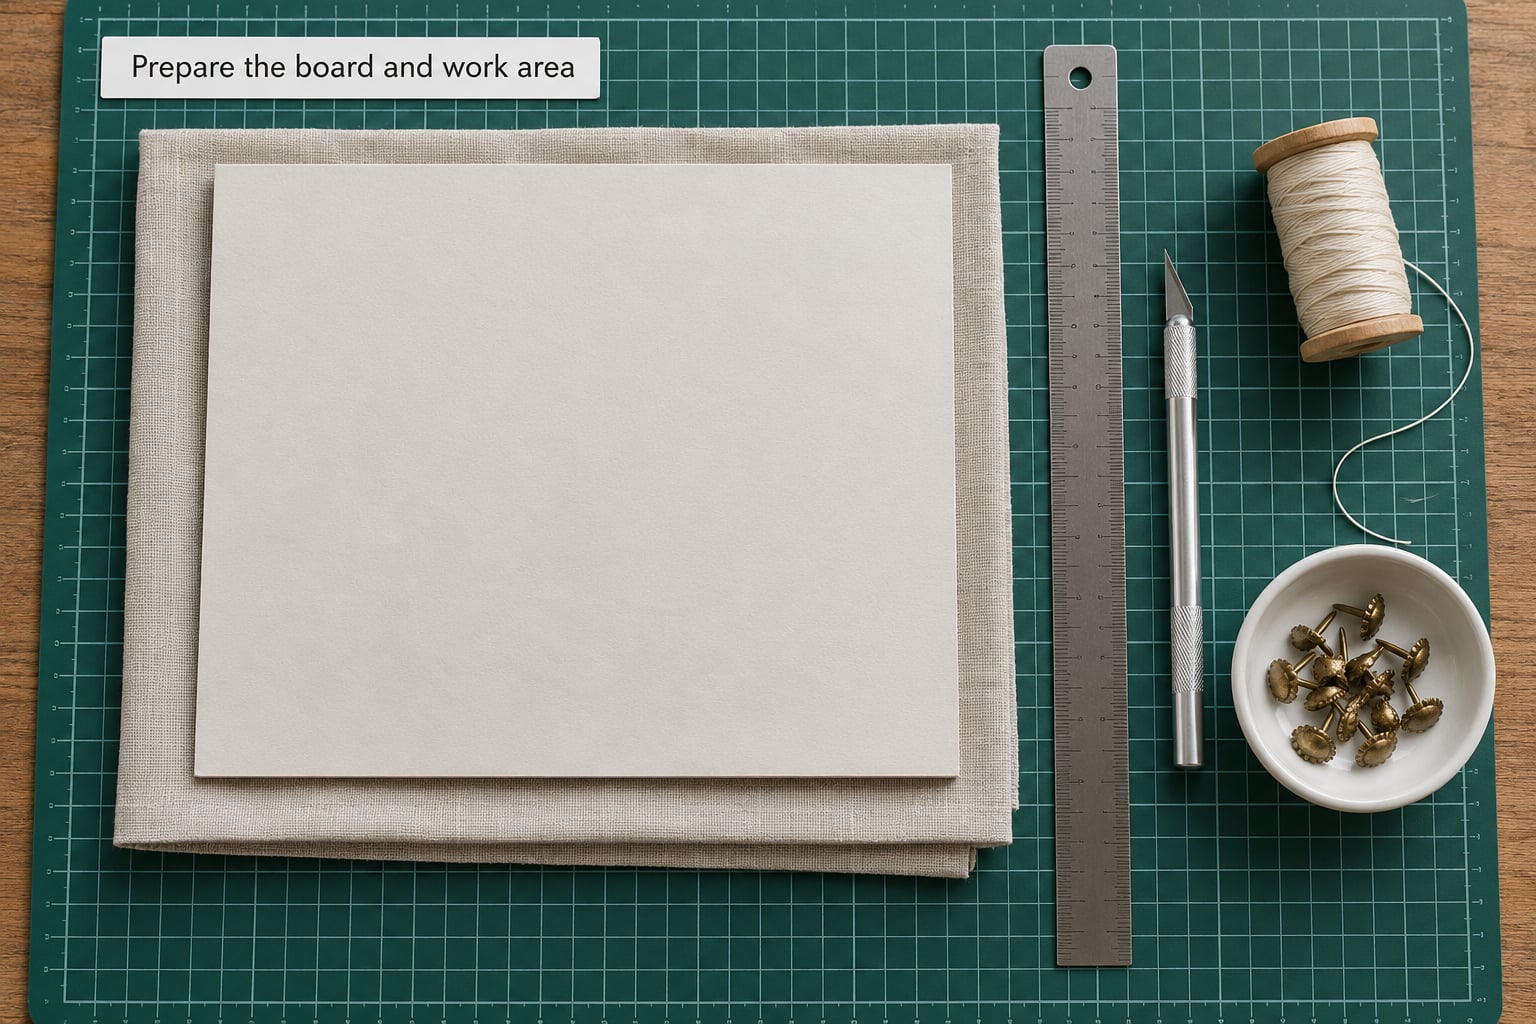
Cut the board first, before the fabric is anywhere near your table. Measure the finished piece in two places, not one, because a woven panel that measures 12 inches at the top can measure 12 and a half at the bottom. Add 3 inches to each side for wrapping, then check the board against your frame opening and trim it so it sits about 1/8 inch under the opening.
Press the board flat under a heavy book overnight if it is warped. A bowed board is the quiet cause of most fabric that looks slack after a month on the wall.
Clear a space larger than the finished piece. You need room to put your hands on all four sides at once, which for a 24-inch panel means a table you can walk around. Lay the board face up, lay out your fastening tool and fasteners within reach, and lay your fabric out flat beside it to shake off loose threads before it goes on.
3. Clean, flatten, and align the fabric
Shake the piece over the table or brush it with a soft lint roller. Grit trapped under a mounting is almost impossible to remove later without creasing the weave, and a single knot of thread on the back will print a hard line through the front.
Find the grain before you pin anything. In a woven piece that means locating the warp threads running from top to bottom and squaring them to the board edge; keep the weft packed rather than letting it spread, or the pattern will look wider than the weaver intended. In a knit or jersey, align the stretch direction so the ribs run the same way all round the board.
Lay the fabric over the board face up and rotate it until the design sits where you want it. Use two or three removable pins or bulldog clips to hold the layout, then step back a full arm’s length and check the edges. Correct the alignment now; once anything is fastened, shifting means starting over.
4. How to mount fabric on a board evenly
Pin the centre of the fabric to the centre of the board first, then the centre of each of the four sides, working opposite pairs. The pull should be firm but not straining: if you can see the weave distorting or the stitches lengthening between pins, you are pulling too hard and the damage is permanent.
From the centre, move outward to the quarter points and then the edges, alternating opposite sides every time. Right edge, pause, left edge, pause. Top, pause, bottom. This alternating rhythm is what keeps the tension even across four directions instead of pulling the piece into a parallelogram.
Work your way around the perimeter in roughly 4 to 6 inch increments, checking the diagonal measurements as you go. Measure corner to corner in both directions: when those two numbers match within an eighth of an inch, the fabric is square and the tension is even. Re-measure after each full circuit, because fabric that looked even on one pass often drifts by the time you reach the last side.
If you over-tightened a section, release that point completely and redo it last, after the rest of the perimeter is set. Fabric relaxes as it is worked, so the last stretch you make is the one that sets the final tension.
5. Secure the fabric without damaging it
Staples hold best on plywood, MDF or stretcher bars. Use short heavy-duty staples, place them about 1 inch apart along the back edge, and keep clear of bulky seams, cords and knots where the staple would stand proud. Wear eye protection, and remember these are permanent holes.
Serrated tacks are the traditional choice on lighter board. Drive them in pairs, alternate with the grain direction of the edge, and leave the head proud so you can pull them later if the piece ever needs adjusting.
For lacing, run the thread through a thick bookbinder needle and bring it up from underneath at 1 inch intervals, following the shape of the edge: down one side, around the corner, up the next. Fabric people call the tension “differential” and that is the whole skill. Pull until the surface looks flat and the thread disappears into the weave, then stop. Over-pull lacing flattens texture and drags the design out of square, which is exactly what you are mounting to avoid.
For a temporary hold while you check the layout, masking tape along the back edges is enough. Never tape the face of the work; tape adhesive lifts fibre finishes and leaves a dull strip you cannot fully remove.
6. Let the fabric settle and inspect the surface
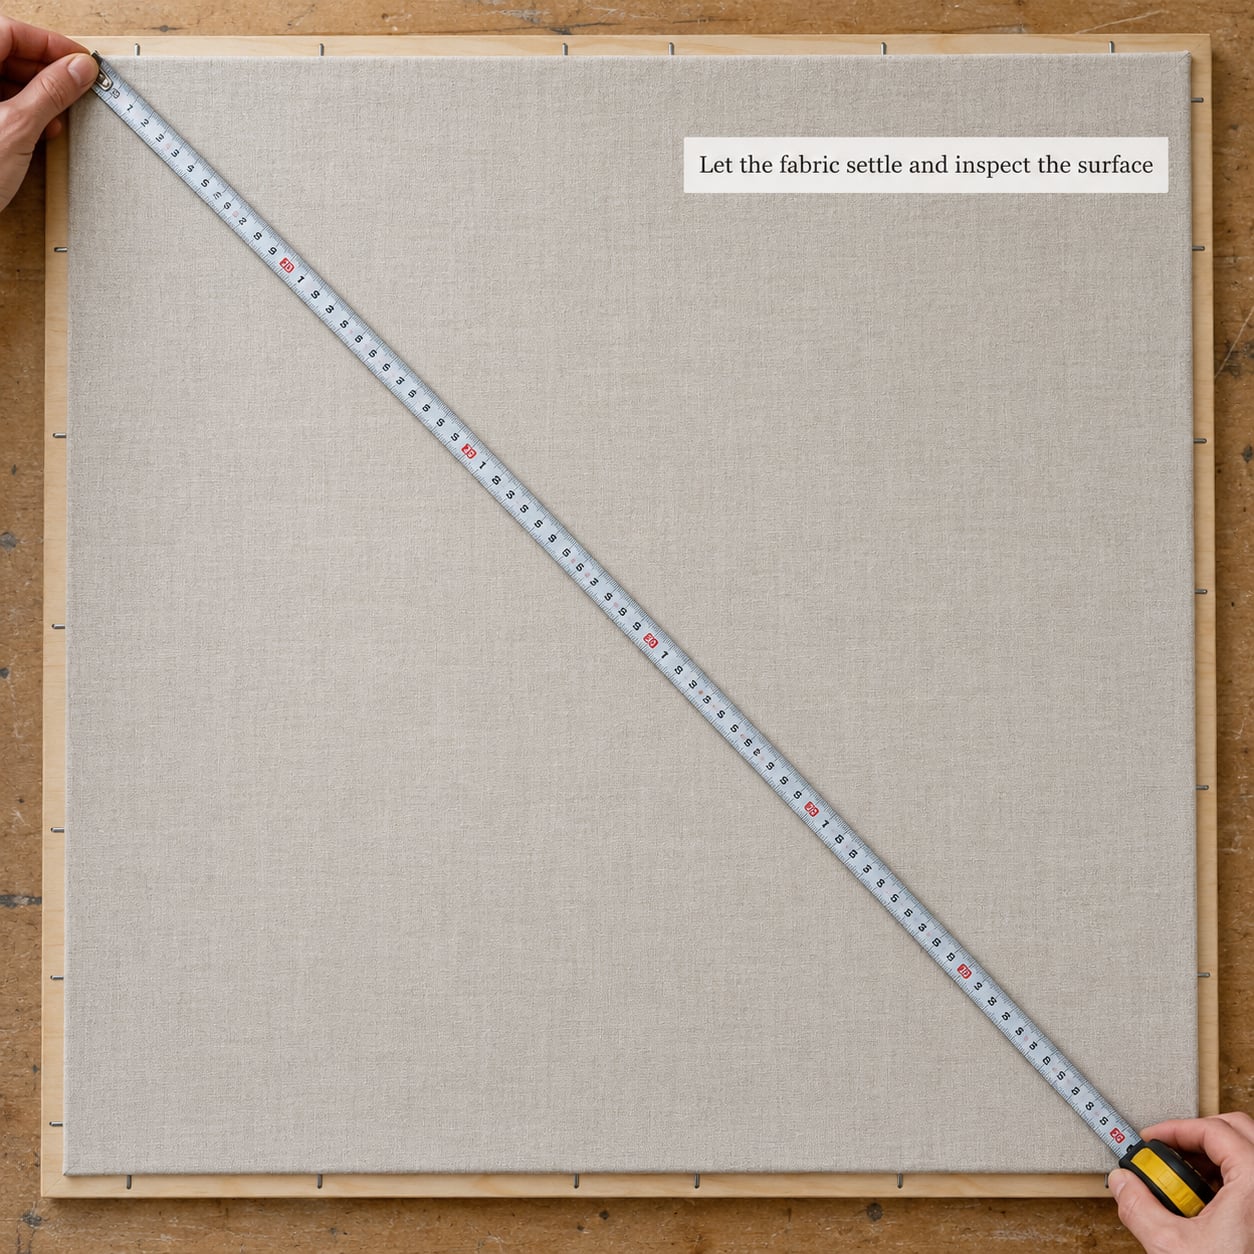
Walk away for 30 minutes, or come back tomorrow if you can. New mounts relax as the fabric responds to tension, and the ripples you see at minute five are often gone at hour two.
Check three things when you come back. Tilt the piece under a raking light to catch shadows that indicate slack areas. Run a straightedge lightly across the surface to find dips. And measure the diagonals again, because a mount that has crept out of square is far easier to fix now than in a month.
To reset a slack area, pull out the fasteners in that stretch, re-stretch from the centre outward, and fasten again. If the whole face has loosened, remove everything and start from step three. Persistent slack usually means the board is too soft for the weight of the piece, and the fix is a stiffer support rather than tighter pulling.
7. Add a backing and prepare it for display
Fold the excess fabric neatly to the back and cover it with acid-free tissue, kraft paper or a second sheet of board. Two details matter here. Fold in the corners flat rather than letting them bulge, or the mount will not sit square in the frame. And use paper rated acid-free and lignin-free, because ordinary craft paper turns yellow and can stain a light fabric from behind within a couple of years.
Cut a shallow rebate or spacers if you plan to glaze the frame. Thread, beads, knots and French knots need about 5 mm of clearance from the glass, and a piece with real depth usually needs a shadow box or a deep frame rather than a standard one. For flat weaving and appliqué, glazing is optional; a wall hanging is generally better left glass-free so air can move around it and so the weave is not flattened against the glazing.
For hanging, paper-backing the mount and adding a French cleat rated for the weight works well on lighter pieces. If you want the fixing point nearly invisible on the wall, discreet small headless nails, or floret nails with the knurled brass head removed, sit almost flush and mark the wall far less.
Hang it out of direct sunlight and away from radiators, and never in a damp basement or garage. If you need to transport it, carry it upright rather than flat, because a flat mount carries its own weight across the whole surface and the edges bow first.
Common Mistakes
Using a board that is too weak or too small
A board that flexes will let the fabric relax, and the piece will ripple within weeks. A board cut too close to the design leaves nothing to wrap, so the back turns into a mess of raw edges and exposed tacks. Cut to the artwork plus 3 inches on all sides, and move to plywood or MDF the moment a piece is heavy, large, or permanently mounted.
Stretching too tightly
This is the mistake that cannot be undone. Over-stretched fabric distorts the weave, lengthens stitches, shifts the design off its intended grid, and makes the surface look cheap rather than taut. Tight should mean drum-taut: firm, with no soft slack between attachment points, but no distortion in the cloth itself.
Fastening unevenly or too far apart
Staples or tacks placed at random intervals create pockets where the fabric bags between them. Work at even spacing, roughly 1 inch on lighter fabric and up to 2 inches on heavy canvas, and keep the spacing consistent around all four sides.
Covering the surface of valuable work
Spacers, tape or a mat board window resting directly on the face of a piece will crush loops, beads and knots, and can pull fibres out permanently. Any cover goes above the fabric only with a real gap, and never sticks to the surface.
Trapping moisture between fabric and board
Mounting a piece that has just been washed or steamed, or gluing two damp surfaces together, locks humidity into the mount. The fabric can mildew or develop a musty smell, and adhesives fail. Let any damp textile dry fully and cool to room temperature before it goes on a board.
Mounting an antique or valuable textile without advice
Old silk, linen and dyed fibres are brittle and light-sensitive, and modern boards, adhesives and UV-filtering glazing are all too new to be trusted with them by default. Use staples, tacks or liquid adhesive on anything irreplaceable and you have made a decision you cannot reverse. Keep the mount reversible, use acid-free materials, and consult a textile conservator before mounting a piece of real monetary or sentimental value.
Frequently Asked Questions
What size staples should I use to mount fabric on a board?
For most canvas and woven panels, use heavy-duty staples in the 3/8 to 1/2 inch range. Anything longer risks piercing through to the front of the fabric, and anything shorter may not hold in plywood or MDF. Place them on the back edge only, about 1 inch apart, and wear eye protection. For light fabric on foam board, tacks or thread are usually a better choice than staples.
Can I mount textured or bulky fabric without flattening its surface?
Yes. Skip the tight centre-out stretch and use a sandwich or float mount instead: fasten the fabric loosely to the board, then attach a mat board strip or window frame around the perimeter with spacers so the texture sits inside a gap. For chunky knits, bouclé or heavily dimensional work, a shadow box with 1/2 inch or more of depth gives the surface room to keep its own shape.
Is foam board a good support for mounting fabric?
Foam board is an excellent support for embroidery, cross stitch, samplers and quilt blocks under about 16 inches across, provided it is labelled acid-free. It cuts cleanly, weighs almost nothing and takes tacks and thread well. It is too flexible for heavy weaving, large panels or pieces meant to hang for years, where plywood or MDF holds its flatness far better.
How do I remove wrinkles from fabric after mounting it?
Release the fasteners along the slack area, re-stretch from the centre outward, and fasten again. Persistent creases in the fabric itself need to come out before mounting, not after: press or steam the textile while it is still unmounted, following the fibre content, then let it cool flat. Never steam an antique or dyed silk piece without checking first.
Should I mount an antique or valuable textile myself?
For a piece with real monetary or sentimental value, talk to a textile conservator before you stretch, pin or staple anything. Ironing, steam, adhesives and tension can all cause irreversible change to aged silk, linen or dyed fibres. If you do mount it yourself, keep the method reversible, use acid-free and lignin-free materials, avoid glazing and direct light, and never use liquid adhesive.
Conclusion
Start with the board: cut it 3 inches larger than your piece on every side, flatten it under a weight overnight, and lay the fabric on top without fastening anything yet. Decide your method from the textile itself. Light and flat means pinning and thread lacing, valuable or heirloom means reversible mounting only, heavy and woven means staples on a rigid panel, and bulky texture means a spacer or shadow box rather than a stretched mount. Once the alignment looks right from a step back, work outward from the centre in opposite pairs, check the diagonals twice, and fasten only when the surface is flat and square. That is how to mount fabric on a board so it still looks right five years from now.