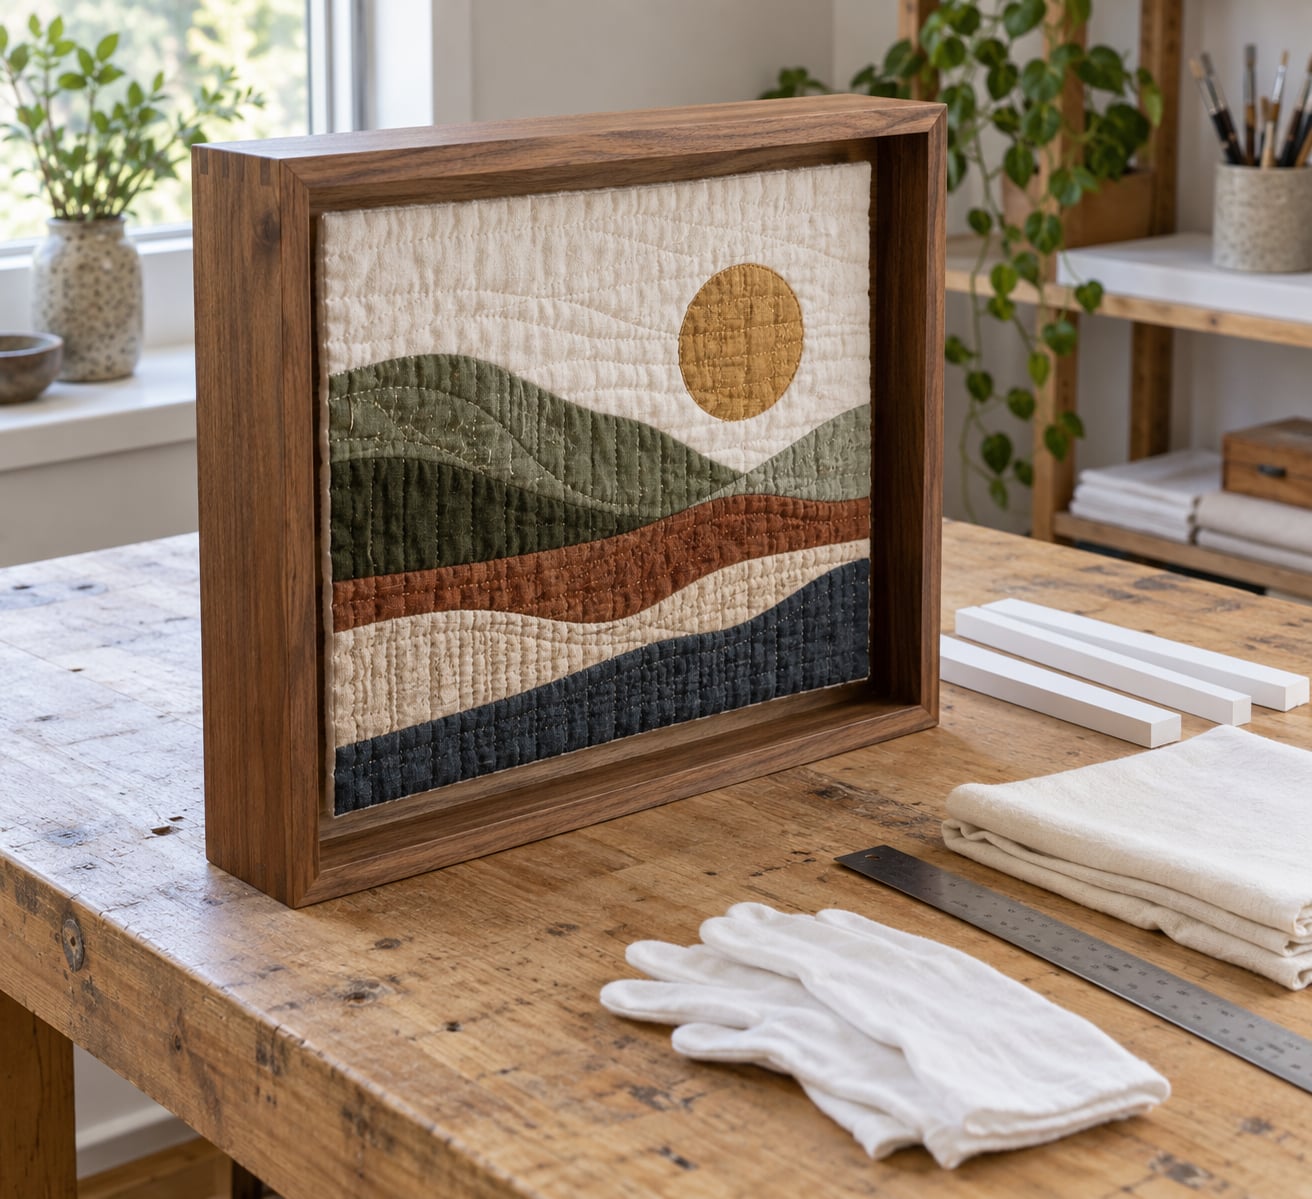
Yes, you can frame textile art without glass, and for quilts, embroidery and woven work it usually looks better that way. Glazing flattens the surface you worked so hard to build, throws glare across the room, and in humid conditions can hold moisture against the fabric. The standard approach is to mount the textile on acid-free board, hold it clear of the frame with spacers, and hang it in a deep frame with the front left open.
It is a weekend project for anything under about 30 inches across. A large quilt or a sculptural piece takes longer, mostly because fabric fights being pulled flat, and the one thing you cannot rush is even tension. Plan roughly two to four hours for a hoop-sized piece and most of a weekend for anything you have to sew extensions onto.
Glass still earns its place in a few situations: a wood stove in the room, a wall that catches direct afternoon sun, a judged exhibition with its own framing rules, or a piece so fragile that nothing should ever touch its surface. Even then, glazing can stay in the frame as long as spacers control the gap.
Table of Contents
- What You Need
- Step-by-Step: How to Frame Textile Art Without Glass
- How to Frame Textile Art Without Glass Safely
- Measure the Artwork and Plan the Spacing
- Add a Protective Backing and Spacer System
- Attach the Textile Without Straining It
- Close and Hang the Frame
- Common Mistakes
- Frequently Asked Questions
- Can you frame a quilt without glass?
- What type of frame is best for textile art?
- How do I keep fabric from touching the frame or backing?
- Does textile art need a shadow-box frame?
- Is acrylic or plastic glazing safer than glass?
- How should a textile artwork be protected from dust and light?
- Conclusion
What You Need
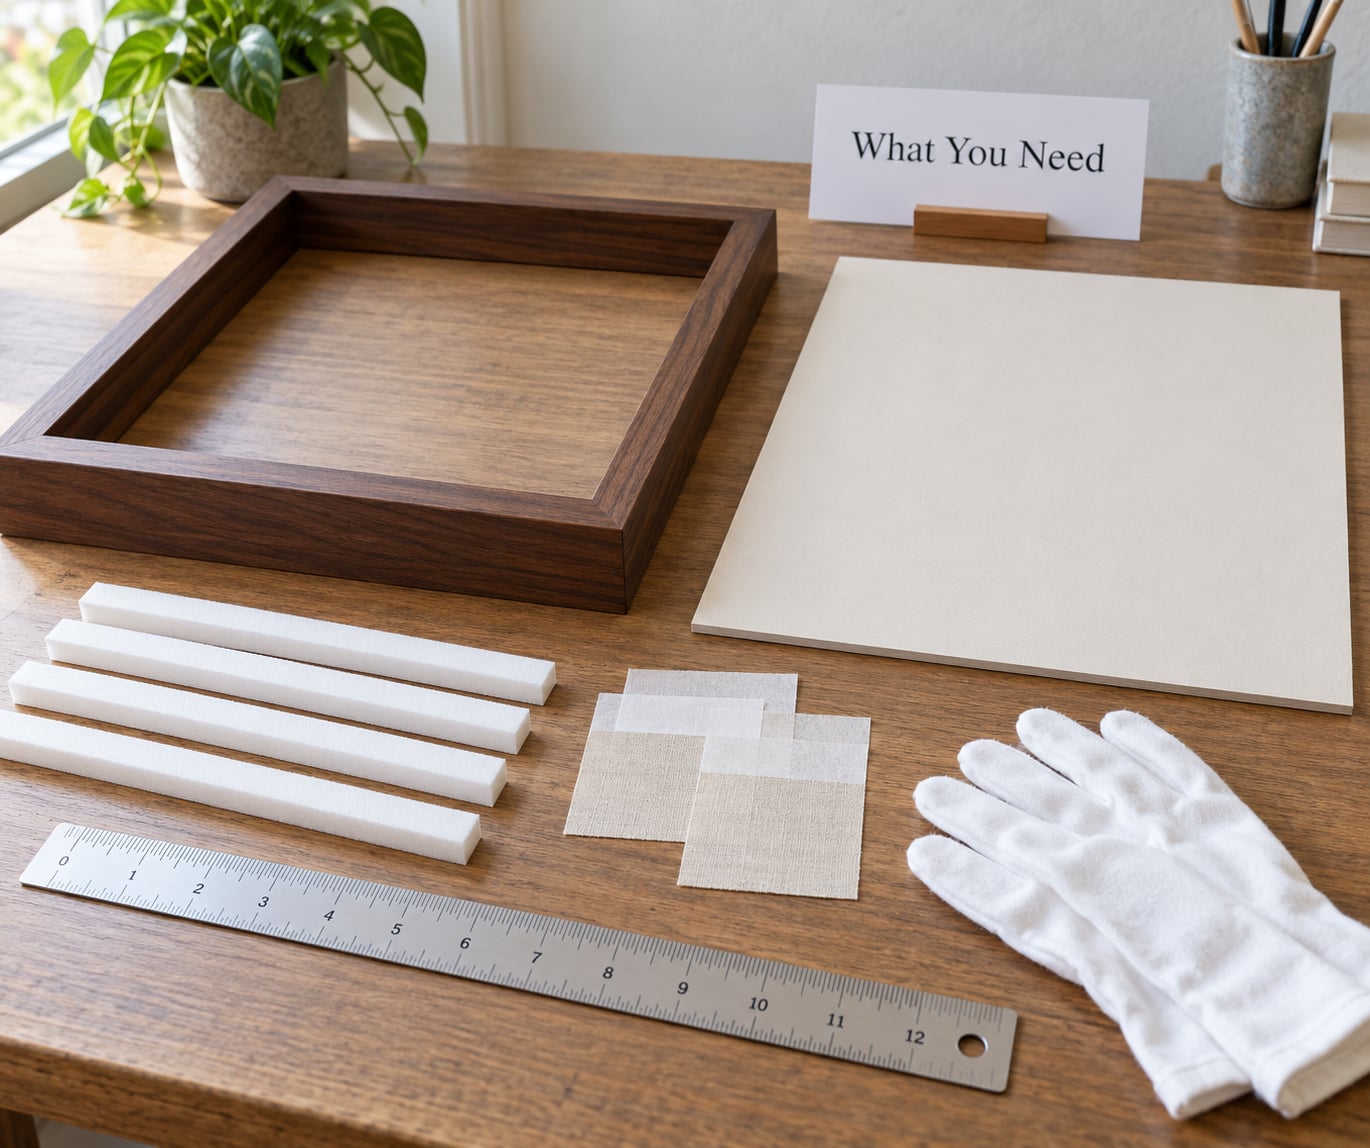
Gather everything before the textile comes out of its storage. The list is short, but skipping one item mid-project is how fabric ends up permanently creased.
- A deep frame or floater-style frame. Depth should clear the thickest point of your textile by a comfortable margin. A standard 8 by 10 inch frame holds a cross stitch comfortably and nothing heavier.
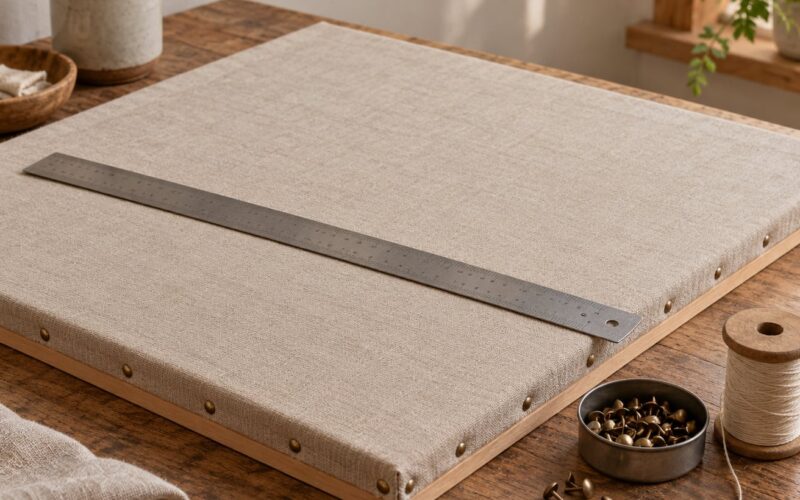
- Acid-free backing board. Rigid foam core or cotton rag board, cut about a quarter inch larger than the frame opening on each side so it sits in the rabbet.
- Spacers. Polyester batting sandwiched between two layers of plain fabric, pre-cut archival foam strips, or a raised rag mat cut as a ring. Any of these holds the textile off the frame.
- Hinging materials. Linen or cotton hinging tape with wheat starch paste, Japanese tissue hinges, or archival corner mounts. All three are reversible.
- Cotton gloves and a soft brush. Handling fabric with bare fingers transfers oils; the brush clears loose fibres after mounting.
- Ruler, pencil and a small square. For marking the backing and checking that the spacer ring sits square.
- Hanging hardware. Two D-rings or strap hangers rated well above the finished weight, plus screws into studs or suitable wall anchors.
If your frame is deep enough to accept a pane later, buy UV-filtering acrylic rather than glass as a spare part. It is lighter, easier to cut, and it will not shatter over a bedroom wall if something goes wrong.
Step-by-Step: How to Frame Textile Art Without Glass
How to Frame Textile Art Without Glass Safely
There is one rule behind every step that follows: the textile must not touch the frame, the backing or any pressure point. Contact is what causes abrasion, flattening and trapped moisture, and those are the three failures you cannot undo.
Start by inspecting the piece under good light. Look for loose threads, active pests, faded areas and any existing creases. Brush away surface dust before it becomes embedded. If the textile is an heirloom or has real value, photograph the front in detail first so you have a record of condition before anything is mounted.
Clean the inside of the frame with a dry cloth and a soft brush. Old frames carry sawdust, packing foam fragments and sizing residue, all of which end up pressed into fabric the moment you close the back.
Finally, choose a backing that supports the piece without compressing it. Rigid board suits flat embroidery and weaving. For puffier work, mount the textile over a layer of polyester batting so the loft is even instead of dented against a hard surface.
Measure the Artwork and Plan the Spacing
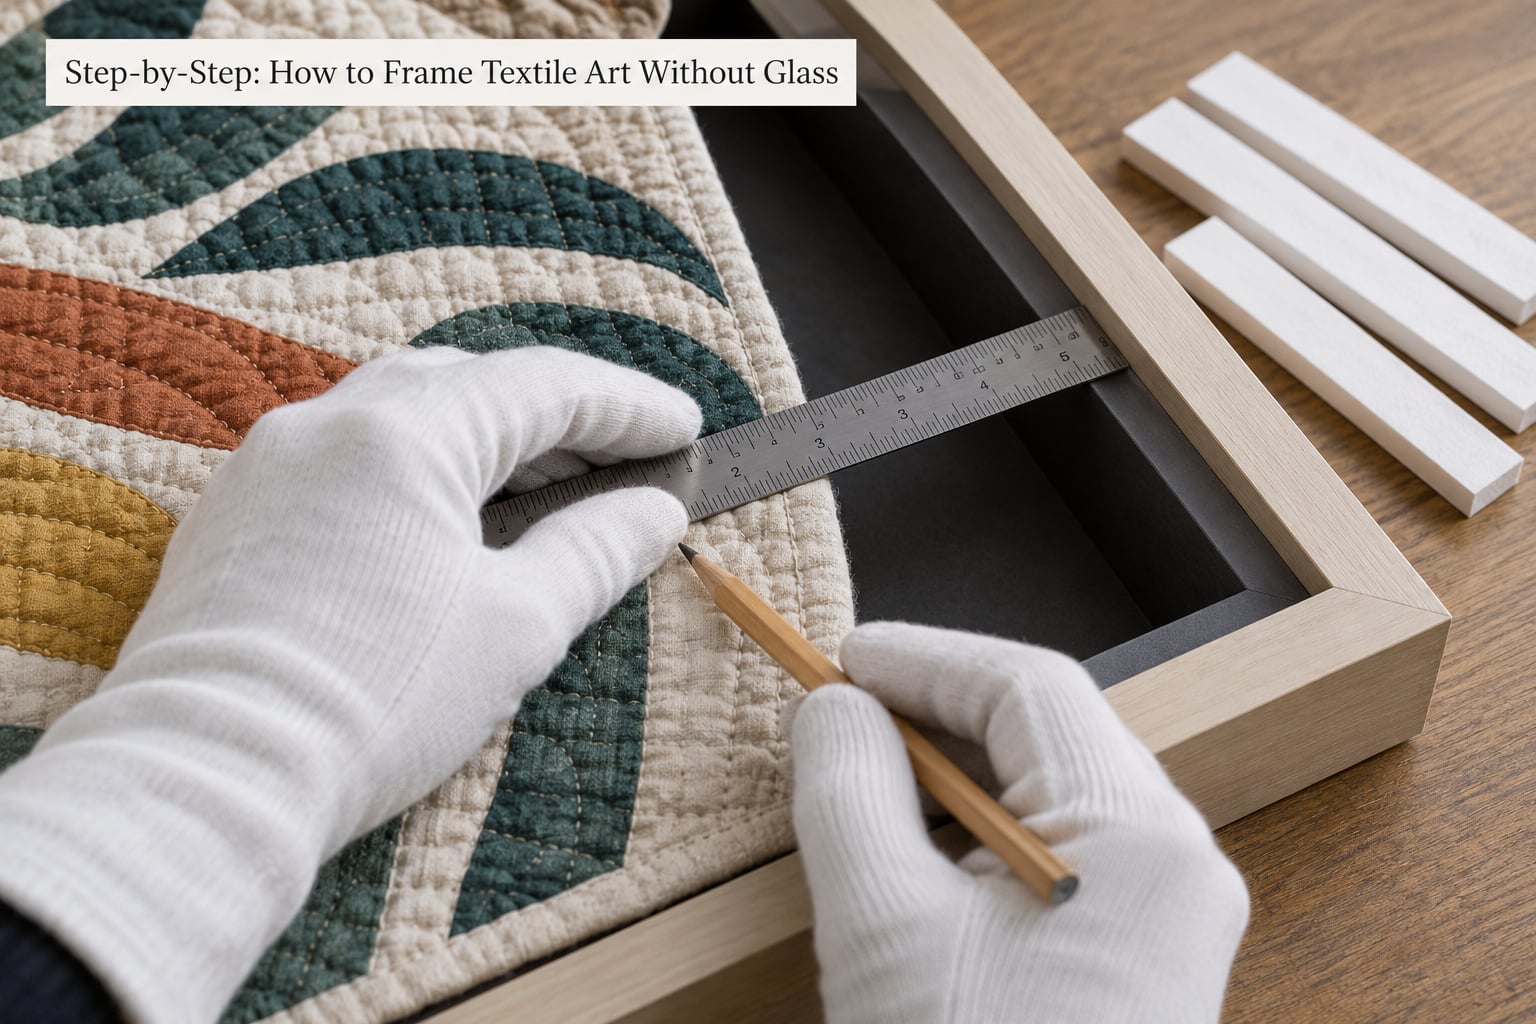
Measure the textile, not the frame. Record width, height and the thickest point of anything dimensional: batting, a raised motif, beads, a dowel rod or a hanging sleeve.
Add the thickness measurement plus a quarter inch to get your required frame depth. Then subtract the textile size from the frame opening to get the visible margin on each side.
For a square embroidery piece, a margin of about a quarter inch on each side reads as a deliberate border. Wider frames suit quilts and mixed-media work, where the fabric is the subject rather than a border around a subject.
Spacer width comes next, and it depends on what the frame front will be. With an open frame, use a narrow spacer of around a quarter inch, just enough to stop the textile touching the wood. With a shadow box, build the stack so the deepest part of the textile still clears the front by half an inch.
Add a Protective Backing and Spacer System
Cut your acid-free backing board to size and mark the outline of the textile on it in pencil. Dry fit the textile over the marks and adjust until the composition looks centred to you. Every viewer does not see the same centre, so trust your eye here.
Where the textile is valuable or light coloured, add a layer of undyed plain cotton between the fabric and the board. That layer wicks stray moisture and stops any sizing or edge dye from the board transferring into the work.
Build the spacer ring on the board’s back face. Cut archival foam strips or batting-wrapped fabric strips to the pencil marks, mitre the corners so they meet without overlapping, and press them down flat. A raised rag mat cut as a ring works the same way and looks more finished on the back of a gallery piece.
Fit check: the textile should sit proud of the spacer ring by its own thickness, with no point of contact anywhere around the perimeter. If you can push the fabric down into a dip, widen the spacer ring.
Attach the Textile Without Straining It
Stretching works for firm, tightly woven work that has fabric to spare. Pull the edges to the back of the board, tack them, then ease the middle. Keep the pull even in every direction, working in opposite pairs rather than going around the piece once.
Lacing suits anything that has slack or that you may want to re-tension later. With a needle and doubled thread, work small stitches through the batting at the back of the board, crossing the thread in a figure of eight over the fabric edges. Cross-stitch forums regularly recommend lacing for exactly this reason: tension stays adjustable for years.
Tape and adhesive both belong on the backing, not on the artwork. Hinging tape with starch paste along the back edge of the board is fully reversible, and Japanese tissue hinges behave the same way on the frame side. Spray adhesives are the option to avoid on anything you might want to de-mount later; hobbyists on professional framers’ forums report the yellowing that comes with them over time.
Avoid staples, ordinary tape, hot glue and any adhesive on visible fabric. Each of those either rusts, stains, or tears the cloth when the piece is removed.
Close and Hang the Frame
Before the back goes in, run a flashlight behind the frame and look for pinholes of light. Those are spots where the textile reaches the frame moulding, and each one is a future abrasion scar.
Add dust protection where the room needs it. A hinged backing board means you can open the frame, lift the artwork out for a gentle vacuuming with a screen over the nozzle, and put everything back.
Label the back with the title, your name, the date, materials used and the mounting method used. This is standard conservation practice and it tells the next person what is reversible and what is not.
Match hardware to weight. Two D-rings on wire, screwed into studs where possible, handle a mid-size quilt; a single picture hook will not. For anything above roughly ten pounds, use two attachment points so the load is shared and the frame sits flat against the wall.
Common Mistakes
- The frame is too shallow. If the textile is compressed when the back goes in, you will flatten the work you wanted to display. Solution: move up one frame size or build the depth with a spacer ring.
- Fabric resting against a pane or the frame. Solve it with spacers rather than by pressing harder. Contact, not gravity, is what flattens pile and traps moisture.
- Standard foam board instead of acid-free board. Cheap board contains lignin and acids that migrate into fabric over years. Solution: replace with archival foam core or rag board before mounting anything.
- Uneven stretching. A piece pulled tight on two sides will sag on the other two. Solution: work in opposite pairs, use lacing instead of stretching, and check diagonals as you go.
- Moisture trapped inside the frame. Condensation shows up as a faint tide mark or a musty smell. Solution: ventilation matters more than glazing; keep the frame off exterior walls and off damp closets.
- Adhesive applied directly to the artwork. Solution: tape, paste or hinges belong on the board and the frame. Keep the textile itself free of anything sticky.
- Hardware sized for a print. Solution: rate the fittings at least double the finished weight, and use two points on anything heavy so it cannot swing and hit the wall.
One more worth naming: dust. Unglazed work in a room with a wood stove or an open fireplace will need a soft brush more often than most people expect. Regular, gentle cleaning beats any coating you could apply.
Frequently Asked Questions
Can you frame a quilt without glass?
Yes, and most quilts look better that way. Mount the quilt on acid-free board, hold it off the frame with spacers and leave the front open. Skip glazing on any piece with heavy batting or lofted areas, since a pane presses the surface flat. Keep the frame off damp exterior walls and clean dust away with a soft brush on a schedule.
What type of frame is best for textile art?
A deep frame or floater-style frame with an open front works for almost everything. Choose a depth that clears the thickest point of the work plus a quarter inch, and a width that gives you a border you like. For dimensional or sculptural pieces, a shadow box with a solid front gives the extra room the shape needs.
How do I keep fabric from touching the frame or backing?
Build a spacer ring on the back of the mounting board. Cut strips of archival foam, batting wrapped in plain cotton, or a raised rag mat to the size of the textile, mitre the corners, and press them flat. Fit check by pushing gently at each point around the edge. Any dip or contact point means the ring is too narrow there.
Does textile art need a shadow-box frame?
Only if the work is dimensional or you plan to add a pane later. Flat embroidery, weaving and most fabric collages mount and hang perfectly well in a standard deep frame with an open front. A shadow box earns its cost when batting needs protecting, when the piece has a raised element, or when the front will eventually carry a UV-filtering acrylic.
Is acrylic or plastic glazing safer than glass?
For a fabric piece that may someday carry glazing, acrylic is the safer choice. It is lighter, easier to cut to size and will not shatter. It does scratch more easily than glass, so clean it with a soft cloth only. The important part is the spacer gap between the textile and the pane, which keeps the fabric from touching either one.
How should a textile artwork be protected from dust and light?
Keep it off direct sunlight, since fading is cumulative and cannot be reversed, and dust it gently with a soft brush on a regular schedule. A hinged backing lets you lift the piece out for cleaning with a screen over the vacuum nozzle. In a high-dust room, a UV-filtering acrylic front with proper spacers gives you both protection and safe clearance.
Conclusion
Start with the frame, not the fabric. Pick a deep frame with an open front that clears the thickest point of your textile, then measure the piece and mark where the spacer ring goes on the acid-free board. Build that ring in batting or archival foam before anything is mounted, and the fabric will sit proud and dimensional instead of pressed flat.
Keep every attachment reversible, use two hanging points for anything heavy, and label the back. That is the whole job: a supported piece, no contact anywhere, and a method the next person can undo.