If you have ever turned a finished piece over and found a hard little knot sitting on the back, you already know why people look for a knotless finish. To knot embroidery thread invisibly, you skip the knot entirely: you leave a tail on the reverse side and secure it by weaving it under the stitches you have already made, so nothing shows on either face. It takes about a minute once you get the hang of it, and it is the difference between a piece you are proud to frame and one you turn around the other way.
Should you knot your embroidery thread at all? For most beginners on everyday practice pieces, a small knot is fine and it is not worth the stress. Once your work is framed, worn, or given away, the knotless start and the woven tie-off are worth the extra thirty seconds because they leave no bump to snag a sweater and nothing to pull through after a wash.
Table of Contents
- What You Need
- Step-by-Step: How to Knot Embroidery Thread Invisibly
- Step 1: Prepare the Thread and Fabric
- Step 2: Make a Temporary Anchoring Stitch
- Step 3: Position the Final Stitches
- Step 4: Hide and Secure the Thread End
- Step 5: Trim and Inspect the Finish
- Joining a New Thread Mid-Project
- Common Mistakes and How to Fix Them
- Frequently Asked Questions
- What is the easiest way to knot embroidery thread invisibly?
- Can I finish embroidery without a visible knot on the front?
- Should I use one strand or multiple strands when finishing embroidery?
- Where should I hide the thread end after the last stitch?
- Why does my invisible embroidery finish come loose?
- Conclusion
What You Need
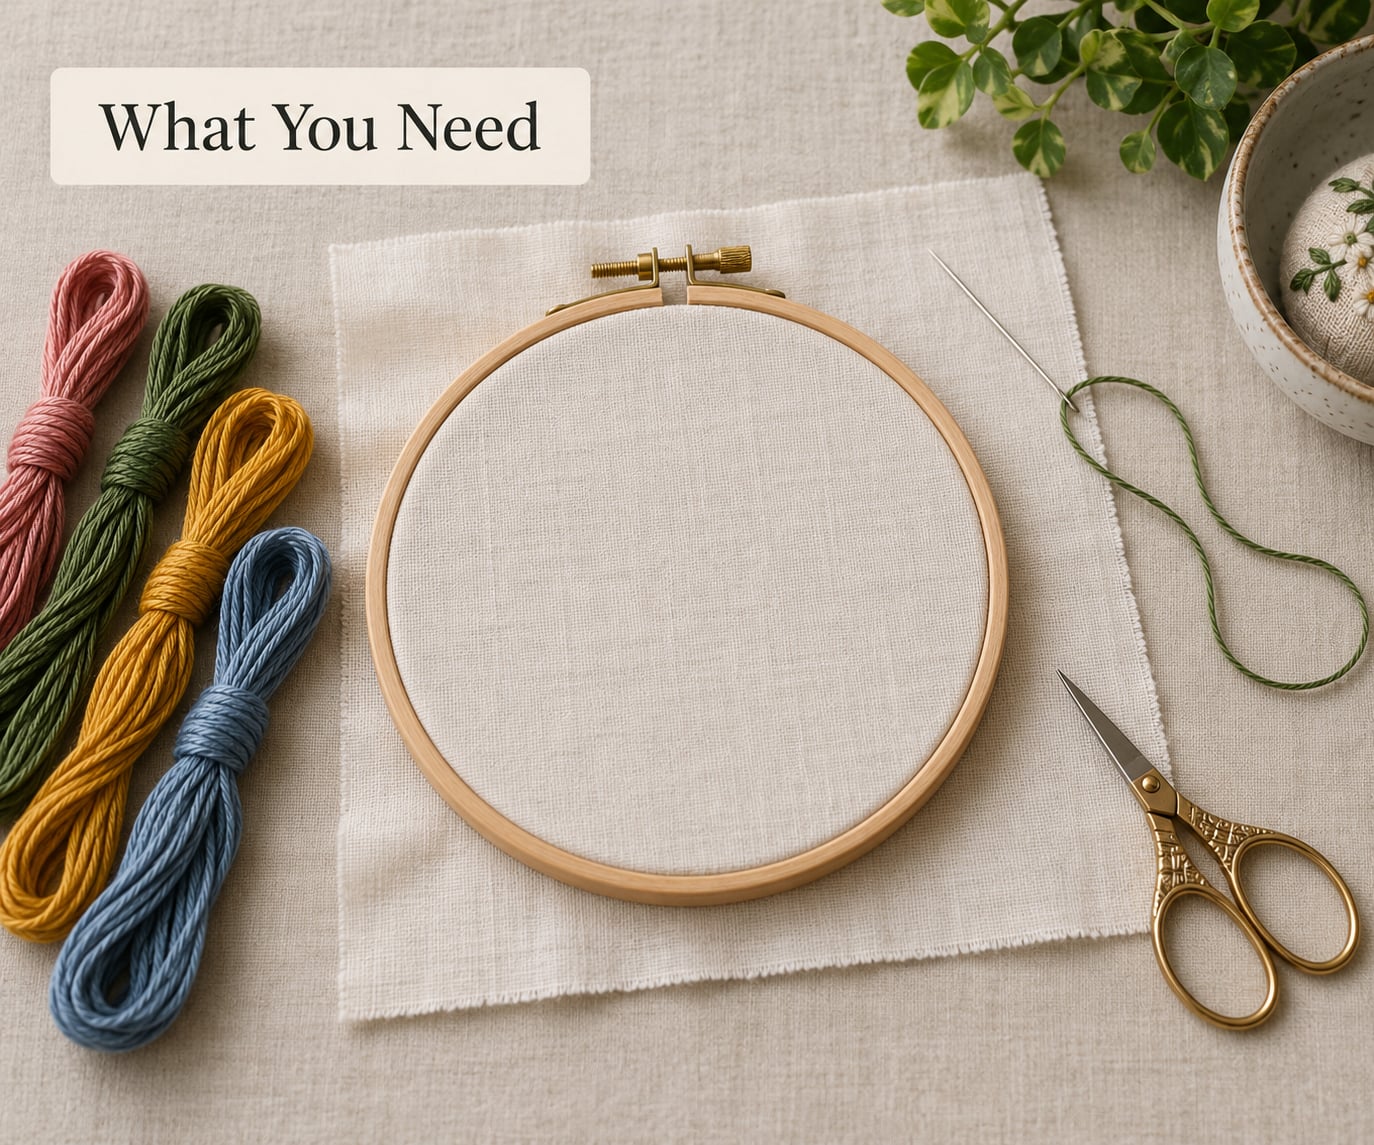
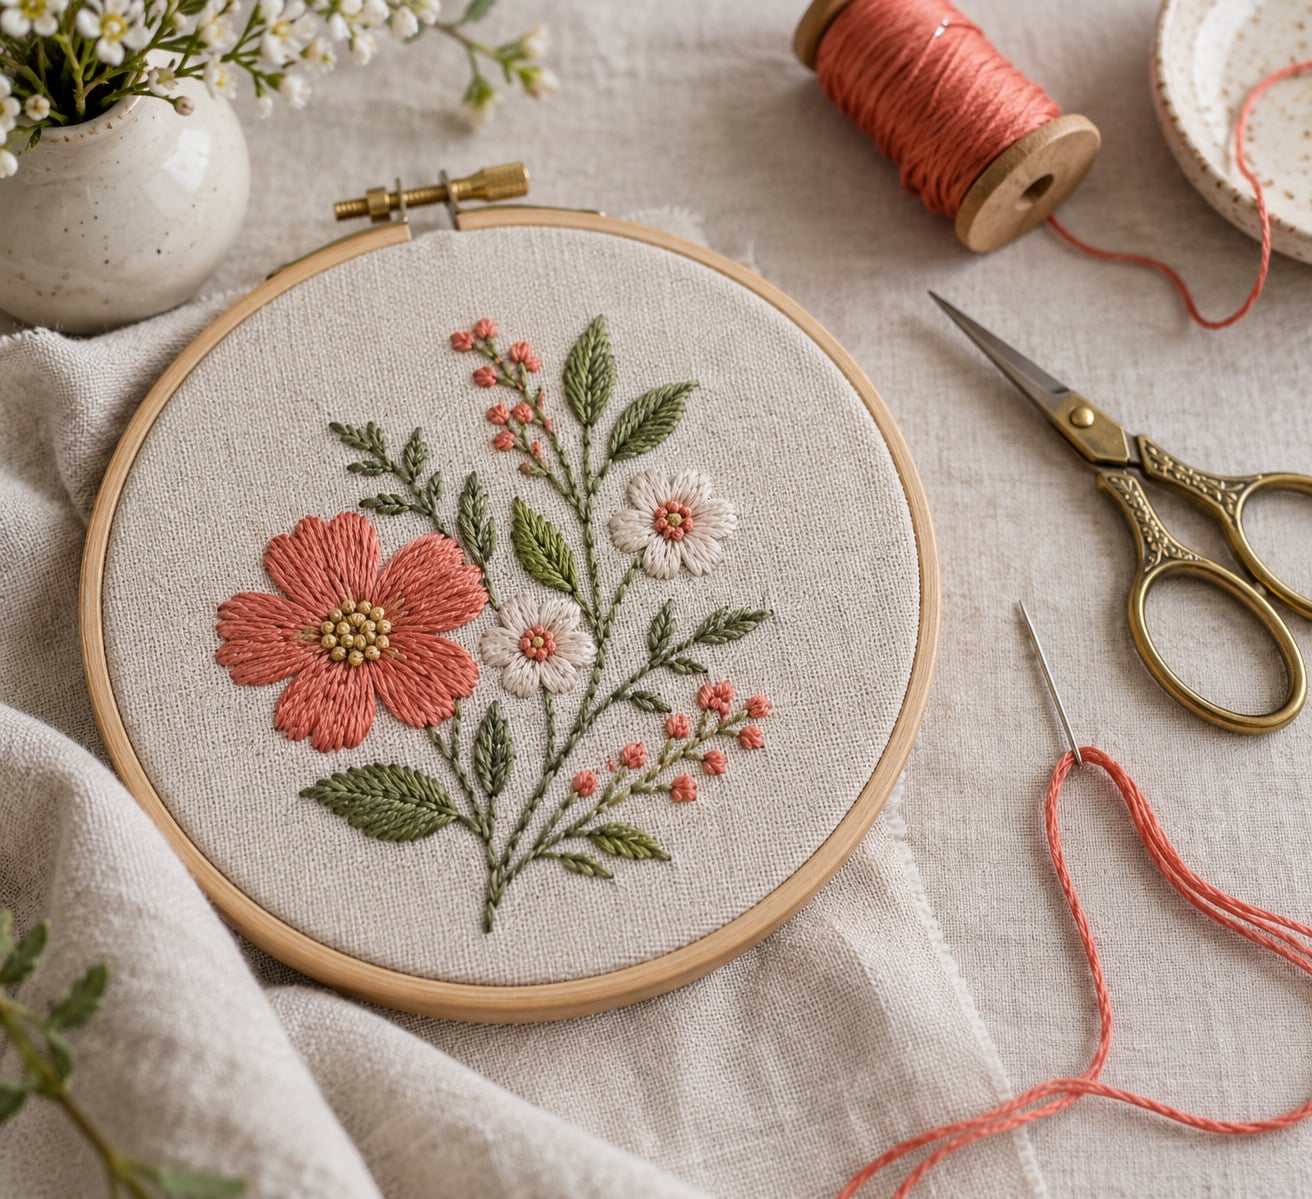
You need less than most people expect. Everything on this list is already in a working embroidery kit, so this is not a shopping list, it is a setup list.
- Embroidery floss in a workable length. A single strand is too fragile for most starts. Two strands is the everyday default for lettering and small detail, three for bolder fills. Cut roughly 18 to 24 inches (45 to 60 cm) for a small piece and add length only if you are covering a large area.
- A tapestry needle with a large eye. The big eye is what lets the floss pass through without splitting the coating. A sharp needle meant for sewing machine work will punch holes in your fabric.
- Fabric plus a backing or a hoop. Linen, cotton, or felt held in a hoop keeps the tension even. Working flat on a firm surface is fine too, just more forgiving of small mistakes.
- Sturdy small scissors. You will trim the tail flush with the fabric, and dull snips crush floss and leave a frayed end that works loose.
- Optionally a pin or an awl. A pin holds the starting tail out of the way. An awl makes a starter hole on denim, thick canvas, or felt where a needle struggles to pierce cleanly.
Fabric choice decides which methods even work. On felt, denim, and thick linen, the tail can travel under the surface and disappear entirely. On tulle, mesh, or sheer silk there is nothing to sew over and nothing to hide behind, so a buried tail shows as a pinprick or a dark line on the front. On knit jersey the stitches stretch apart when pulled, which lets even a well-secured tail creep out. Plan your finish around those three limits rather than forcing one method onto everything.
Before you stitch, condition the floss. Pinch it near the needle eye, pull the length through your fingers a few times, then let it hang for a minute while you prepare the fabric. Conditioning relaxes the twist that makes thread tangle itself into knots mid-stitch, and a relaxed thread also sits flatter when you weave it under stitches.
Step-by-Step: How to Knot Embroidery Thread Invisibly
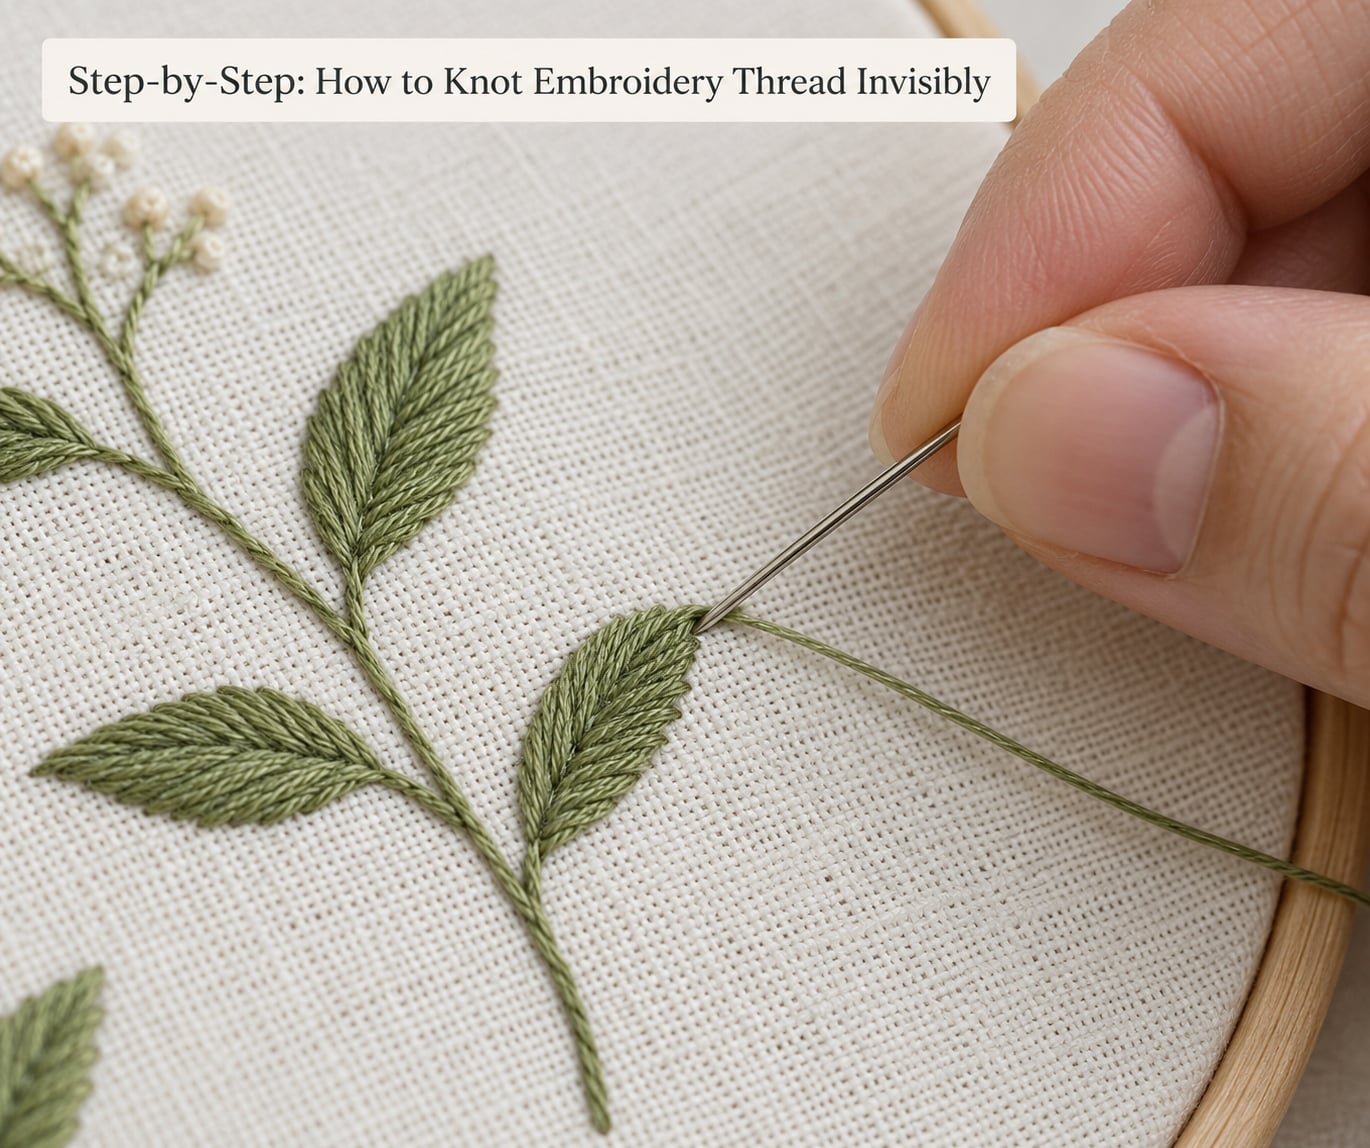
The method below works for both halves of the job: starting the thread without a knot and finishing it without a knot. Follow it once and it becomes muscle memory.
Step 1: Prepare the Thread and Fabric
Cut your floss, separate the strands you need, and fold the length back on itself so you are working with two or three strands rather than the whole six. Fold at about a third of the way from the end so the loop you form later sits right at the needle eye. Condition the floss between your fingers, then lay it flat for a minute.
Tension the fabric in a hoop if you have one. Before the first stitch, take a test pass: push the needle through, confirm it goes in without forcing, and check that the floss slides rather than snagging. On thick material, pre-pierce the hole with a pin or awl rather than shoving the needle sideways, because a forced needle widens the hole and leaves a visible gap on the front.
Step 2: Make a Temporary Anchoring Stitch
Bring the thread up from the reverse side about 1 cm behind where your first visible stitch will land, and leave a tail of roughly 7 to 10 cm (3 to 4 inches) sitting flat on the back. That tail is your anchor. Too short and it can slip out; too long and it shows as a stray line when you trim.
Hold the tail against the fabric with a pin, or wind it around your finger until it is under tension while you stitch over it. You are stitching directly on top of the tail, which is the entire trick. Every stitch you make now traps it, and once the work is cut away from that spot the tail is held on both sides.
Step 3: Position the Final Stitches
Work your stitches until you are one or two away from the end. Plan the last visible stitch before you take it, because once the thread is out of your control you cannot reposition where it hides.
Bring the needle up as close as you can to the last completed stitch, ideally 2 to 3 mm away, so there is existing thread work right beside the exit point. That nearby stitching is what the tail will weave under. If you are at the very edge of the piece with nothing beside you, extend by one stitch or add a small securing stitch in the margin before you finish.
Step 4: Hide and Secure the Thread End
This is the core of how to knot embroidery thread invisibly. Slide the needle under three to five of the stitches you already made, running it along the underside of the thread rather than through the middle of it. Skipping over each strand keeps the thread from fraying and splitting. Bring the needle out a short distance further along.
Catch the anchored tail with the needle and pull it through that same path so it travels under the stitches alongside the thread you are finishing. Repeat the pass two or three times, always along a slightly different line, and pull each one until the floss lies flat with no slack. The surrounding stitches grip the tail and that grip is what holds it, so the tail does not need a knot of its own.
Work in one direction across the back so your weaving looks deliberate rather than random. If the fabric starts to pucker, you are pulling too tight; ease off and let the thread relax before the next pass. Pull until it is snug and flat, never until the cloth dimples.
Step 5: Trim and Inspect the Finish
Cut the tail close to the fabric surface with sharp scissors, leaving no stub. Hold the piece up and turn it over. Look for three things: no loop of thread on the reverse side, no thread crossing the front, and no gap where the thread entered.
For a framed piece, lay the work face down on a towel and press gently from the reverse with a warm iron. That flattens the woven pass so the back reads as solid stitching instead of a tangle. For anything that gets washed, press rather than leave it loose, and give the tie-off an extra pass through the stitches.
Two habits keep the finish quiet. First, never pull the thread away from the fabric at a sharp angle when you tighten, since that tension is what draws a buried tail through to the front. Second, resist trimming early. Cutting while the tail is still loose is how you end up with a thread that walks out the first time the piece is handled.
Joining a New Thread Mid-Project
Running out of floss halfway through a fill is normal, and a mid-project join does not have to be visible. Start the new thread the same way you started the first, one or two stitches back from where the old thread ended, with a 7 to 10 cm tail caught under your stitching. Leave a small gap of unworked stitches between the two threads so neither one can pull the other loose, then stitch over both tails for several stitches.
When you trim, cut the old thread flush and leave the new tail longer, then weave it under the stitches you are about to make. On the back, the transition reads as ordinary stitching. If the join falls somewhere highly visible, overlap the two threads under three or four stitches instead and pull the old one out from underneath afterwards.
Common Mistakes and How to Fix Them
The thread shows on the front. You passed the tail through from the reverse and it landed on the face of the work. Unpick that stitch, turn the work over, and come up from the back so the needle enters a fraction below an existing stitch. On sheer or open-weave fabric the entry hole always shows slightly, which is why this method is not the right choice there.
The finish puckers the fabric. You pulled too hard. Loosen the last pass, lift the work off the table, and let it relax for a minute before pulling again. Snug and flat is the target, not tight.
The buried tail worked loose. Usually the weave crossed under too few stitches, or it ran for too short a distance. Redo it, this time under five stitches and over a longer span, and take two full passes rather than one. If the piece is washable, use a third pass.
You picked the wrong method for the fabric. On tulle or mesh there is no back structure to weave into, so switch to two passes through the fabric itself at slightly different angles and keep the tail as short as you dare. On knit jersey, work a small anchoring stitch through the fabric first and weave only lightly.
You trimmed too early. The thread moves until it is fully settled. Let the tail sit for a minute, press the back, then cut it flush.
Frustrating knots keep forming mid-stitching. That is twist, not your tying. Pinch the floss near the needle eye and run it through your fingers to relax it, then drop the needle and let the work hang while the spin releases. A slip knot has a loop at its base and two legs; pull the leg on the side opposite the loop to undo it without disturbing your stitching.
You already have a visible knot stitched in. You have three options, in order of preference. Unpick the knot stitches with a seam ripper or your needle and restitch the area with the woven method. Or unpick only enough to open the knot, then run the loose end under several existing stitches to bury what remains. Or, if the knot sits somewhere genuinely unavoidable, flatten it with a finger, trim it very close, and cover it with a couching stitch or a bead. On an edge that stays visible, the couching stitch usually wins.
Frequently Asked Questions
What is the easiest way to knot embroidery thread invisibly?
The easiest method is the buried tail with a woven tie-off. Leave a 7 to 10 cm tail on the reverse side, stitch over it for several stitches so it is trapped, then at the end slide the needle under three to five completed stitches and pull the tail through the same path twice. The existing stitches grip the thread and hold it, so no knot is ever needed. It takes under a minute once you have done it a few times.
Can I finish embroidery without a visible knot on the front?
Yes, and the front never shows the finish at all if you keep the thread on the reverse side. Bring the needle up 2 to 3 mm from your last completed stitch and immediately run it back under three to five of those stitches so nothing crosses the face. Trim the tail flush afterwards. The one exception is very sheer or open-weave fabric, where the entry hole can show as a small pinprick regardless of technique.
Should I use one strand or multiple strands when finishing embroidery?
Use the same number of strands you have been stitching with. A single strand of six-strand floss is fragile and slides out from under the weave more easily, while three or more strands can be too bulky to pass neatly beneath existing stitches. Two strands is the most reliable for lettering and detail, and three holds well for fills. If you increased strands mid-piece, weave the heavier tail under the stitches on the side with more coverage.
Where should I hide the thread end after the last stitch?
Hide it under the stitches closest to your final exit point, working along the back of the work for at least three stitches and repeating the pass twice. Keep the entry point close, around 2 to 3 mm from an existing stitch, so there is thread structure right beside you. If the end of the piece has no stitching near it, add one securing stitch in the margin and bury the tail there before you trim flush.
Why does my invisible embroidery finish come loose?
Four causes account for nearly every failure. You wove under too few stitches, so there was nothing gripping the tail. You pulled the pass too loosely, leaving slack that shifts under handling. You changed the number of strands, so the tail was thinner or thicker than the stitches holding it. Or the piece was washed or worn without an extra pass. Redo it under five stitches, pull until it lies flat, and add a third pass for anything washable.
Conclusion
Here is the whole method in one move: finish your last visible stitch, come up 2 to 3 mm from it, slide the needle under three to five stitches you already made, pull the tail through that same path twice, and trim only once the thread lies flat with nothing showing on either side.
Do that on every piece and no knot is ever part of your embroidery. The back stays soft enough to sleep against, nothing snags on a collar, and a wash does not unravel the last few stitches.