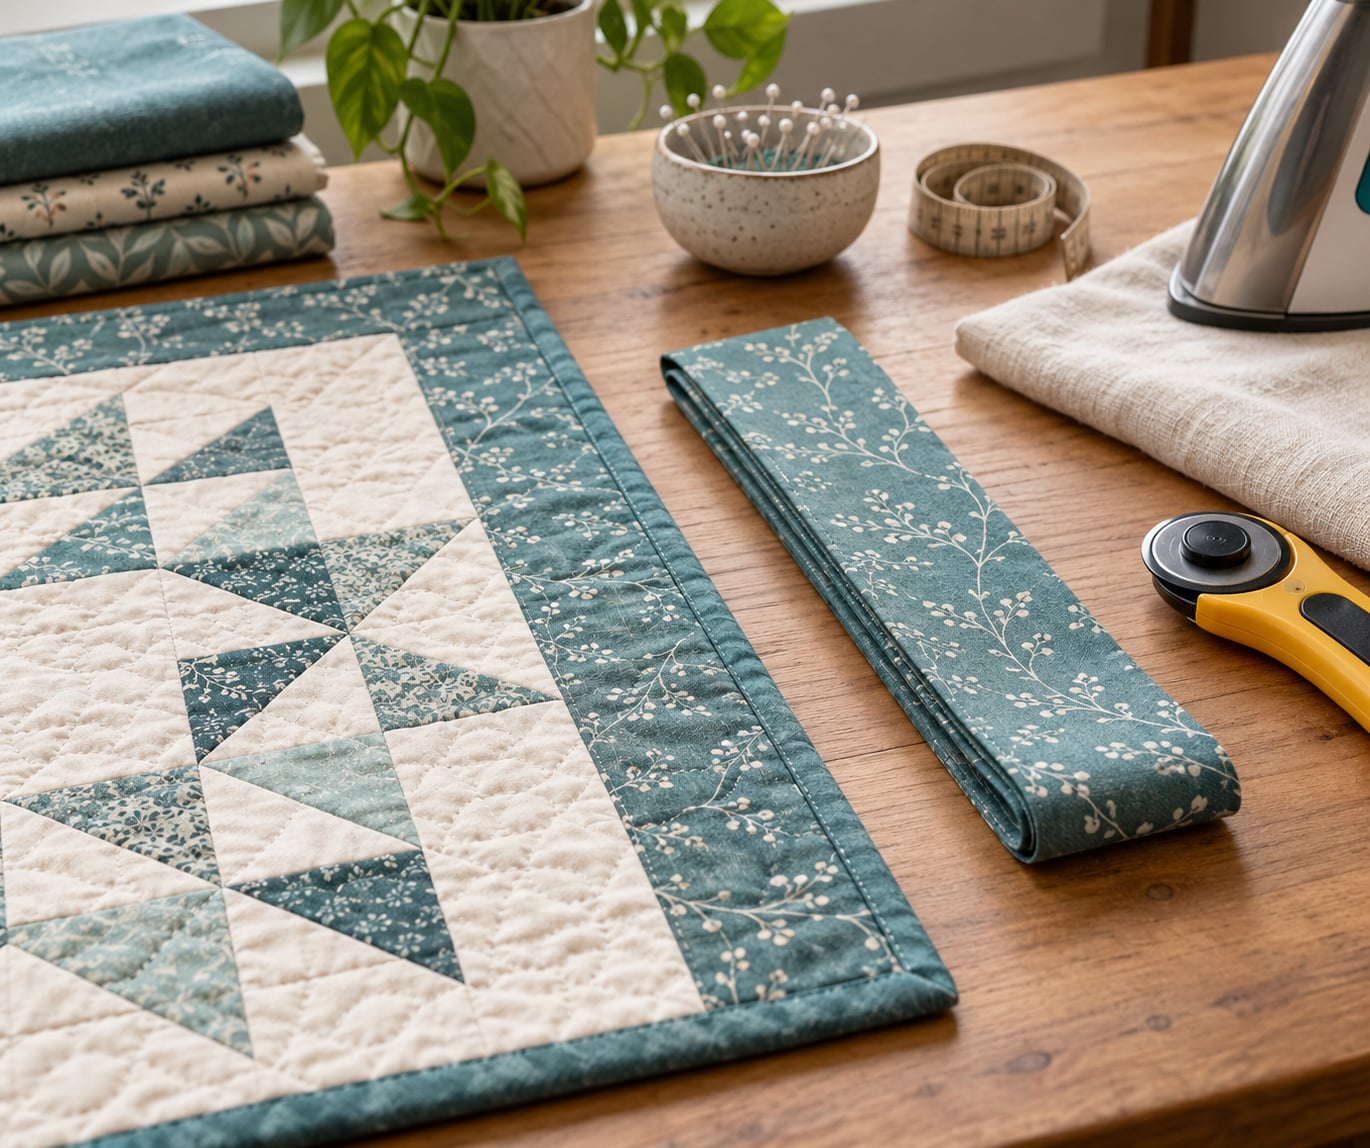
You can finish a quilt without binding by using the pillowcase method, also called turn-and-stitch or the envelope method: sew the quilt top, batting and an oversized backing right sides together, leave a gap, turn the whole thing right side out, and the seam itself becomes the finished edge. It takes about the same time as cutting one long binding strip, and no hand sewing at the end.
If you have never done it before, practice on a 12 by 18 inch placemat. The corners are where people get stuck, and a small sample teaches them in twenty minutes instead of on a quilt you care about.
The short version: the pillowcase method in eight steps
- Press and trim the quilt top so all four corners are square.
- Cut the batting to the size of the top, then cut the backing 2 inches larger on every side.
- Layer backing, batting and top with right sides facing out at the edges, and pin the three layers together.
- Sew around all four sides with a 1/4 to 1/2 inch seam allowance, leaving a 6 to 8 inch turning gap in one side.
- Clip each corner at 45 degrees, close to the seam.
- Turn the quilt right side out through the gap and push the corners out with a point turner.
- Press the edges, then close the turning gap with a ladder stitch or hand-sewn running stitch.
- Topstitch the seam allowance down for a crisp modern edge.
Table of Contents
- What You Need
- How to Finish Quilt Edges Without Binding: Step-by-Step
- Step 1: Prepare and press the quilt edge
- Step 2: Choose and cut the edge-finishing fabric
- Step 3: Fold and attach the first side
- Step 4: Work around corners and finish the final side
- Step 5: Press, stitch, and inspect the finished edge
- Common Alternatives to Traditional Binding
- Common Mistakes and How to Fix Them
- Tips for a Clean, Durable Finish
- Frequently Asked Questions
- Can I finish a quilt without binding at all?
- Should I quilt the layers first or finish the edges first?
- How big should the turning gap and the backing be?
- How do I get the corners sharp when I turn the quilt?
- What if my quilt backing is too small?
- Is a binding-free quilt edge durable enough to wash?
- Conclusion
What You Need
Everything here is a tool you probably already own. The list matters less than the one rule underneath it: match the finishing fabric to the edge you are finishing and to the look you want when you are done.
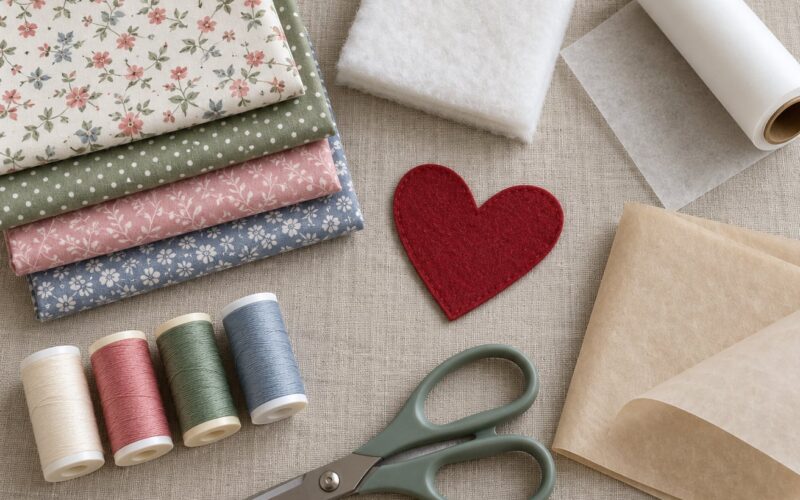
- A stable finishing fabric. Cotton or cotton blends work well. Anything loosely woven or slippery behaves badly around a curve.
- A rotary cutter, quilting ruler and cutting mat for squaring the batting and cutting the backing square.
- Long pins or clips to hold three layers together around the whole perimeter before sewing.
- A pressing cloth and a hot iron. More pressing than you expect, and every bit of it matters.
- A walking foot and a straight stitch of 3 to 4 stitches per inch, or a regular foot and a short stitch if your machine gets skipped stitches.
- A point turner, stiletto or chopstick for pushing corners out from the inside without tearing the seam.
- Quilt marking scissors and tweezers for clipping the corners accurately.
- A blind hem foot or a needle and thread for closing the turning gap.
If the quilt edge is straight and rectangular, the pillowcase method below is the safest place to start. If it is curved, pointed or irregular, jump to the facing option further down, because a fold-over finish needs a straight edge to lie flat against.
How to Finish Quilt Edges Without Binding: Step-by-Step
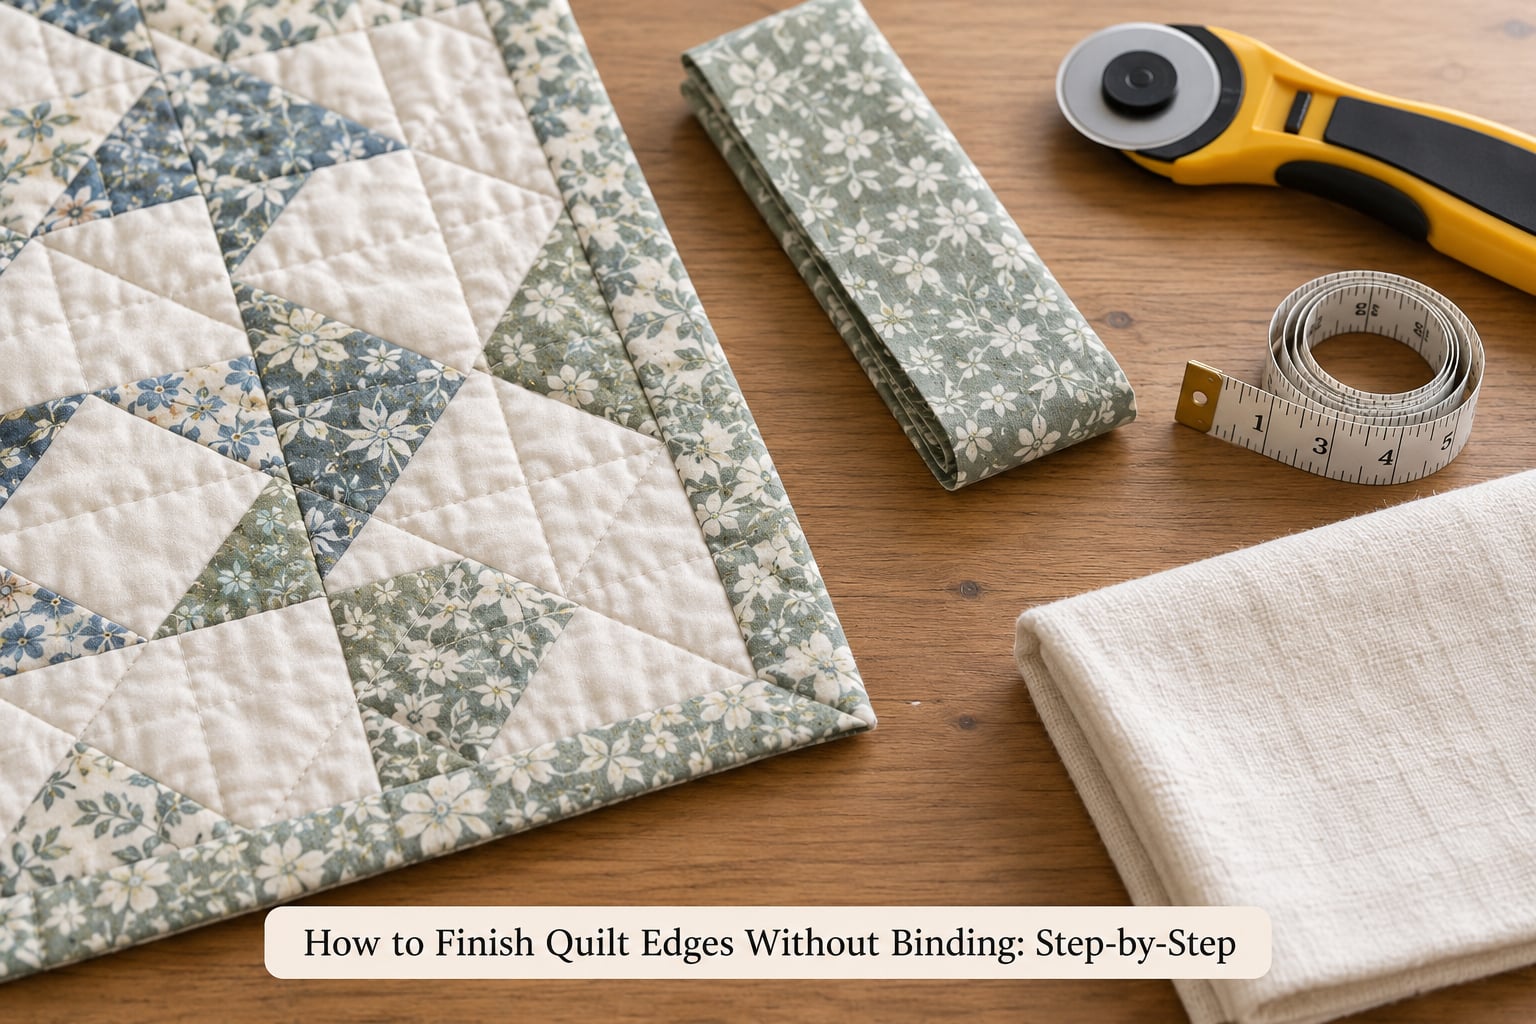
This is the method that gets called the birthing method too, and all four names mean the same thing. The reason it works is simple: sewing the layers right sides together traps every raw edge inside the seam allowance, so when you turn the quilt through a gap, the raw edges travel inward and the seam line becomes the visible edge.
Step 1: Prepare and press the quilt edge
Square the corners of the quilt top first. Fold each corner along the diagonal and trim the excess so the point is clean, then press the top flat. A wavy top edge will make a wavy finished edge no matter how carefully you stitch, so spend the time here.
Trim the batting to match the top exactly. Leaving batting extending past the top creates a lumpy edge that you will be fighting at every stage after this.
Give the whole sandwich one good press before you add anything. Work from the centre outwards, and do not press hard over seams that are already stitched, or you will create ridges you cannot flatten later.
Step 2: Choose and cut the edge-finishing fabric
Cut the backing 2 inches larger than the quilt top on each side. That extra 2 inches is the strip that becomes the finished edge once it is folded over and sewn down.
If your seam allowance is generous, add to that. A 3/8 or 1/2 inch seam allowance eats into the overhang, so cut 2 1/2 to 3 inches of extra per side. The rule that holds for any allowance is: overhang should be at least twice the seam allowance plus the finished width you want, so a 1/4 inch seam gives you roughly 3/4 inch of visible edge.
Coordinate or contrast, it is your call. A contrasting fabric reads as a deliberate border; a fabric pulled from the quilt top itself reads as a seamless continuation. Just avoid a directional print on the overhang strips, because the grain will not match and it shows.
Step 3: Fold and attach the first side
Lay the backing right side up, then batting, then the quilt top right side up. The right sides of the top and backing face away from each other at the outer edge, which is what sets up the turn later.
Pin the three layers together every two or three inches, working around all four sides. Push pins in at an angle so you can see the seam allowance as you sew.
Start sewing at a corner, using a 1/4 to 1/2 inch seam allowance, and pivot at each corner by stopping with the needle down and lifting the foot. Sew all four sides. Backstitch at the start and stop, and backstitch again for an inch at each corner.
Step 4: Work around corners and finish the final side
Leave a 6 to 8 inch turning gap in the middle of one side. On a quilt larger than about 50 inches square, make it 8 to 10 inches, because a narrow gap is frustrating to reach into. Leave the gap on the side that sits against the wall when the quilt hangs, so the closed seam is out of sight.
Trim the batting flush with the top, then trim the backing so it sits about 1/4 inch beyond the stitched line. That little step keeps the batting from creeping toward the opening.
Clip each corner diagonally at 45 degrees, taking the excess fabric to within a thread of the seam without cutting the stitches. This is the moment the square corner becomes a usable one, so take your time.
Turn the quilt right side out through the gap, working one side at a time and easing the corners with your fingers. Push each corner out with a point turner until the point is sharp, then press it in place.
Step 5: Press, stitch, and inspect the finished edge
Press the seam allowance toward the finished side along the whole perimeter, pressing the corners last so they lie flat. Then close the turning gap with a ladder stitch, or machine stitch across it on the diagonal for a neater result.
Topstitch along the folded edge if you want the crisp gallery look. A 1/8 inch stitch just inside the folded edge works well on a cotton backing, and stitching in the ditch where the backing meets the top works when you want an almost invisible line.
Now run your fingers around the whole edge. Look for any gap where the batting shows through, any corner that has rounded off, and any place the fabric is pulling. Fix those before the quilt is used or washed, because once it is quilted and bound the problem is buried inside.
Common Alternatives to Traditional Binding
Most people asking how to finish quilt edges without binding are actually choosing between four options, and the names get mixed up constantly. Here is how they differ.
| Finish | How it works | Best for | Skill level | Durability |
|---|---|---|---|---|
| Pillowcase, turn-and-stitch or envelope | Sew top, batting and oversized backing right sides together, turn through a gap | Crib quilts, placemats, table runners, wall quilts, any straight rectangular edge | Beginner | Very good, fully enclosed and washable |
| Self-binding with the backing | Backing left long, folded over the front edge and topstitched down | Quick finishes and scraps you already have on hand | Beginner | Good, though the front edge has no enclosed seam behind it |
| Facing | Narrow strips sewn to the front, turned to the back and hidden | Curved, pointed, scalloped and irregular edges | Intermediate | Excellent, professional show standard |
| Knife edge or raw edge | Layers left unattached at the perimeter, raw edges left visible | Art quilts and wall hangings that are never washed | Beginner | Low, and the raw edge will fray with handling |
Self-binding is the fastest of the four. Cut the backing several inches larger than the top, fold the overhang to the front, press, and topstitch down the folded edge. It takes ten minutes and needs no turning. The trade-off is that the back of the quilt stays exposed and a light batting edge shows through a thin top, which is why I use it for quick pieces and art quilts rather than anything that gets washed often.
Facing is the answer for shaped edges. Cut strips 2 inches wide from fabric matching the quilt front, sew them to the right side along the raw edge with right sides together, turn them to the back at the seam line, press, and topstitch from the front or the back so no facing shows. At an outside corner you trim the seam allowance and pivot; at an inside corner you clip it. It is more work than the other methods and it is the one that produces a genuinely show-quality edge.
Knife edge means leaving the perimeter unbound entirely, with the batting and backing edges raw. Some finishers run a line of stitching or beads over the edge to hold it. It is the right choice for a gallery wall piece you hang and never wash, and the wrong choice for a crib quilt, a throw or anything a child will put in a washing machine.
One more honest note: there are situations where binding is genuinely the right answer. Heirloom quilts, heavy-use throws and anything laundered hard all benefit from the double thickness of a bias binding at the edge, and most quilt shows still expect it. The alternatives save time, not weight.
Common Mistakes and How to Fix Them
- The corner will not turn sharply. You clipped too close to the seam and cut into the stitches, or not close enough and left a wedge of extra fabric. Clip at exactly 45 degrees, one thread outside the seam line, and stop cutting as soon as you reach the corner.
- The corner bulges after turning. The quilt top was not square before you started, or the batting was left oversized. Trim the top corners diagonally first and trim the batting flush, and the bulk disappears.
- The edge gaps along one side. The backing stretched as it was sewn, or the seam allowance wandered. Pull the backing gently to even before each seam, and if the top is thin or slippery, add a strip of lightweight fusible interfacing to the back of the top around the perimeter.
- The edge twists or goes wavy. You sewed with the fabric pulled taut. Ease the layers as you go and stretch nothing; a slightly generous seam allowance is easier to correct than a rippled one.
- The backing raveled before you turned it. The raw edge sat exposed longer than expected. Trim it close to the stitching as soon as it is sewn, and press it inward immediately so the fray is trapped inside the seam.
- Stitching shows along the front. The seam allowance pokes out because you sewed with a wide allowance on a curve. Trim the allowance after turning, before pressing.
- The finished edge looks flat and lifeless. You pressed it toward the front instead of the back. Press the allowance to the back so the quilt top lies completely flat and uninterrupted, then topstitch close to the fold for a crisp line.
Tips for a Clean, Durable Finish
Press as you go, and press in the right order: seam allowance to the back, corners last, topstitch line last of all. Half the ragged edges people end up with are simply steps that were skipped or done out of sequence.
Keep your stitch length consistent. Three to four stitches per inch on the machine seam is plenty; short stitches at the turning gap should match. Very short machine stitches can perforate cotton and weaken the finished edge over years of washing.
Choose a stable finishing fabric. Medium-weight cottons are the easy choice. Voile, lawn and silk are lovely in a quilt top but fight you around a curve, so keep them out of the finish strip.
Test on scraps. Take two 10 inch squares, layer them with a batting scrap, and run the whole sequence before you do it to the crib quilt. Five minutes on the scrap removes almost every question you would otherwise ask halfway around a large quilt.
On shaped edges, work in short sections rather than one long seam. Sew a few inches, stop, clip, turn, press, then carry on. Long seams on a curve bunch; short ones lie flat.
About hand stitching: closing the turning gap is the only hand sewing the method requires, and it takes about five minutes. If you would rather avoid it entirely, machine stitch the gap closed on the diagonal with the edges turned in first. It reads as a deliberate little seam on the back and the front stays untouched.
Match direction when you join fabric. If the overhang comes in more than one piece, check the print before you sew them together, because a mismatched stripe is visible from across a room.
Frequently Asked Questions
Can I finish a quilt without binding at all?
Yes. The pillowcase method, also called turn-and-stitch or the envelope method, encloses every raw edge inside a seam so nothing needs a separate binding strip. You sew the top, batting and an oversized backing right sides together, leave a turning gap, turn the quilt right side out, and the seam becomes the visible edge. It suits crib quilts, placemats, table runners and wall quilts.
Should I quilt the layers first or finish the edges first?
Finish the edges first. Sewing the perimeter on an unquilted sandwich keeps the layers flat and even, and once the edge is closed and topstitched you can quilt straight through the middle without distorting anything. If you quilt first, the bulk in the batting shifts as you handle the quilt and the turned edge is harder to keep square.
How big should the turning gap and the backing be?
Cut the backing 2 inches larger than the quilt top on every side, and add more if you are using a wide seam allowance. Leave a turning gap of 6 to 8 inches for small projects such as placemats, and 8 to 10 inches once the quilt is past about 50 inches square. Put the gap on the side that faces the wall when the quilt hangs.
How do I get the corners sharp when I turn the quilt?
Three things: square the quilt top corners before you start, trim the batting flush with the top, and clip each corner diagonally at 45 degrees one thread outside the seam line. Push the corner out from the inside with a point turner rather than pulling on it, then press it before you stitch the gap closed.
What if my quilt backing is too small?
You cannot do a fold-over finish without an overhang, so add fabric. Sew a strip of matching or coordinating fabric to each short side of the backing first, pressing the seams open, until the backing extends the amount you need past the quilt top. Alternatively, use self-binding, which only needs an inch or two, or cut the quilt top down to match what you have.
Is a binding-free quilt edge durable enough to wash?
The pillowcase and facing finishes are, because both fully enclose the raw edges and can be laundered normally if you stitch the gap closed firmly. The knife edge is not, since it leaves raw fabric exposed and will fray with handling. For anything washed often, topstitch the folded edge a second time after quilting to reinforce it.
Conclusion
Start with the pillowcase method, because it is the one that works on a straight rectangular edge every time and it fully encloses the raw edge. Press and square the quilt top first, trim the batting flush, then cut the backing 2 inches larger on every side so you have a clean overhang to fold over.
After that it is just repetition: pin, sew at 1/4 to 1/2 inch, leave a 6 to 8 inch gap, clip the corners at 45 degrees, turn, press, close, topstitch. Work around in short sections rather than one long pass, and give each corner a press before you move on. If the corners come out sharp on a scrap placemat, they will come out sharp on anything larger.