Machine applique is the technique of attaching small fabric shapes to a background fabric with a sewing machine instead of a needle and thread. If you have never appliqued before, this guide walks through how to applique by machine for beginners from the first cut of fabric to the final press.
The honest version: the technique itself is forgiving. A first attempt usually comes out slightly wonky, and experienced sewists say so over and over on quilting forums. Work a practice block, stitch the same shape four different ways, and the second one already looks twice as good. A beginner pillow panel takes about an hour.
Table of Contents
- What You Need
- Step-by-Step Machine Applique for Beginners
- 1. Choose a Simple Project and Fabric
- 2. Prepare and Position the Applique Pieces
- 3. Add Stabilizer Behind the Fabric
- 4. Set Up the Sewing Machine
- 5. Stitch the First Side of the Applique
- 6. Trim and Turn the Applique
- 7. Stitch and Finish the Project
- Common Mistakes and How to Fix Them
- Frequently Asked Questions
- What are the three types of applique?
- What sewing machine foot should I use for applique?
- Do I have to stitch the edges if I use fusible web?
- What is the best stitch for machine applique?
- Can I do machine applique with a regular sewing machine?
- Why does my applique pucker around the stitching?
- Conclusion: Start With a Small, Simple Shape
What You Need
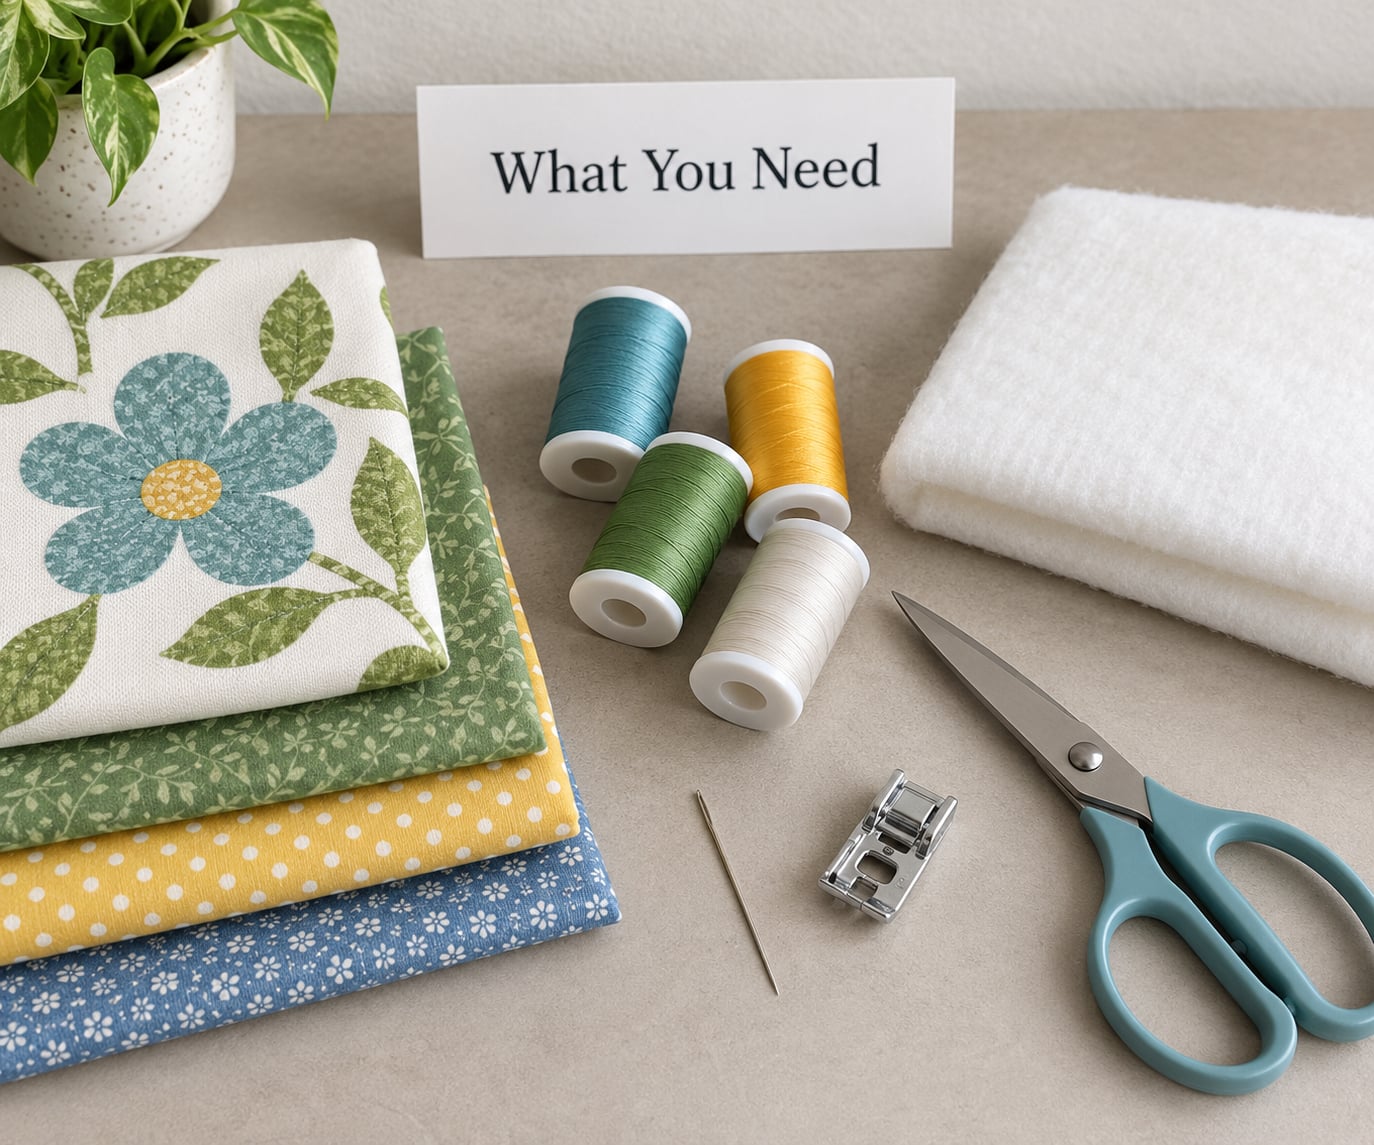
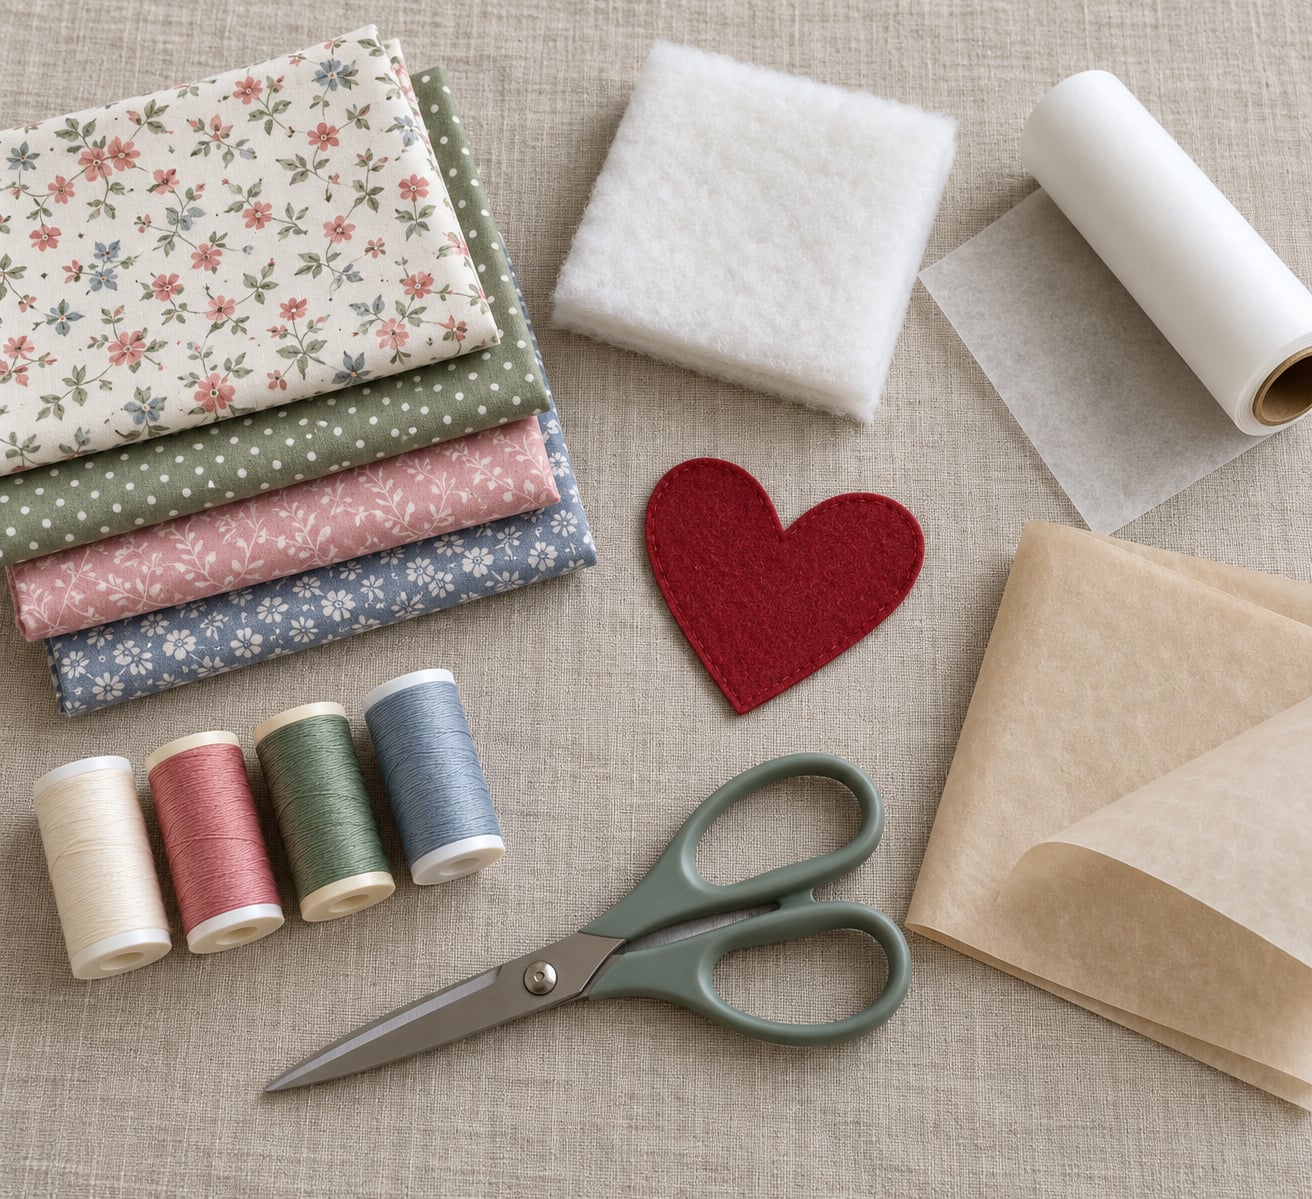
Most beginners already own half of this. What you cannot skip is a sharp needle and something to stabilize with.
- Background fabric — medium-weight cotton or quilting cotton, prewashed so it will not shrink later.
- Applique fabric — anything from 1/4 inch to 3/8 inch thick, thinner than the background if possible.
- Fusible web — paper-backed fusible interfacing, lite weight for knits, regular weight for cotton.
- Stabilizer — tear-away stabilizer behind dense stitching, cut-away for items that get washed often.
- Thread — all-purpose polyester in a color matching the applique hides small wobbles.
- Sharp needle — 75/11 or 80/12 sharp, because a blunt ballpoint snags and shreds the edge.
- Presser foot — the standard foot works; an open-toe applique foot just shows you more.
- Small sharp scissors or applique scissors — for cutting tight curves without nibbling them.
- Iron and pressing sheet — parchment paper or a silicone pressing mat protects the soleplate from fusible gunk.
- Temporary adhesive or pins — optional, useful for extra-heavy or slippery fabrics.
One rule about fabric weight: if the applique fabric is heavier than the background, the finished piece will ripple. Swap them rather than fighting it.
Step-by-Step Machine Applique for Beginners
1. Choose a Simple Project and Fabric
Start with one shape on one background panel. A heart, a leaf or a single letter is plenty for a first run. A busy design with six layered motifs teaches you nothing, because you will not know which decision caused the problem.
Check the fabric weight by holding a scrap in the light. Quilt-weight cotton for the background, dress-weight cotton for the applique, and a knit only if you have used lite fusible web. Always prewash and press your fabrics first; factory sizing is the quiet cause of most puckering you will ever fight.
2. Prepare and Position the Applique Pieces
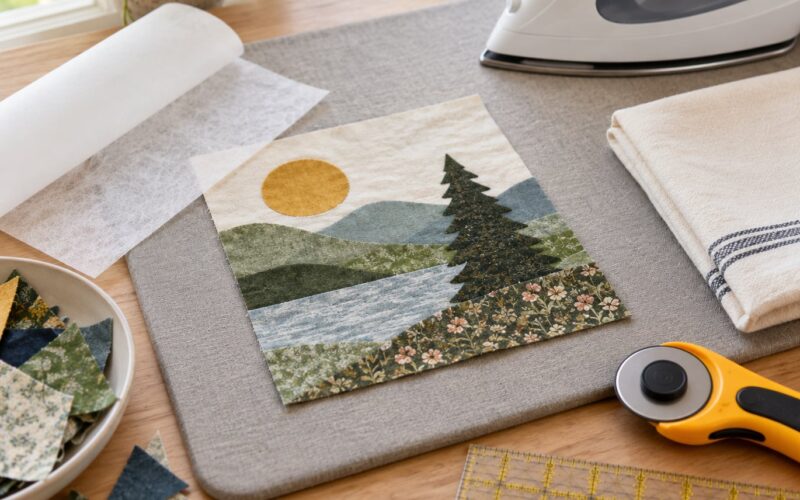
Trace your pattern onto the paper side of the fusible web reversed. This is the step beginners miss, and it is why half of all first-attempt letters come out mirrored on the final piece. Cut the shape out loosely, about a quarter inch outside the line.
Press the web glue-side down onto the wrong side of the applique fabric. Press down and hold, never slide, because sliding drags the shape out of position. Let it cool for about 30 minutes, then peel the paper backing off slowly at a low angle.
Now cut out the shape right on your traced line. You will have a clean, stiff edge that will not fray while you stitch it. Position it right-side up on the background fabric and press it down for 10 seconds, again without sliding.
Use a paper pressing sheet between layers if you are building a motif in parts, so the heat goes into the fabric instead of into your iron.
3. Add Stabilizer Behind the Fabric
Yes, most of the time you need stabilizer, and here is the simple rule: dense stitching such as a satin stitch needs it, a loose zigzag on medium-weight cotton often does not.
Tear-away stabilizer goes behind the background fabric and comes off by tearing after the stitching. Cut-away stays in permanently and suits towels, garments and anything laundered. Wash-away dissolves in water and is handy if you want zero residue. Do not lower or switch off the feed dogs; the machine needs them to move the fabric evenly.
4. Set Up the Sewing Machine
Thread the machine, install the 75/11 sharp needle, and start with a medium zigzag at a length of 1.0 to 1.5 mm for a first run. For satin stitch, drop the stitch length to around 0.5 mm and widen the zigzag until the needle moves side to side about 1 mm either side of the edge.
Set the machine to finish each stitch with the needle down. That single setting is what makes pivoting possible. Test your tension on a scrap of the same two fabrics, and if the top thread looks tight and the bobbin thread sits on top, loosen the top tension a notch.
The presser foot choice is not make-or-break. A standard foot will sew an applique, though its solid toe covers the exact edge you need to see. An open-toe applique foot lets you watch the raw edge run alongside the needle, and a walking foot helps if the background is bulky.
Compare the four stitches you will meet most:
| Stitch | Suggested setting | Skill level | Best for |
|---|---|---|---|
| Zigzag | Medium width, length 1.0 to 1.5 mm | Beginner | First projects, forgiving shapes |
| Satin stitch (tight zigzag) | Length 0.5 mm, narrow spread | Intermediate | Clean coverage on light fabrics |
| Blanket stitch | Short length, wide spread | Intermediate | Visible, decorative edge |
| Straight stitch | Length 2.0 to 2.5 mm | Beginner | Quick baste, non-washable pieces |
5. Stitch the First Side of the Applique
Start a few stitches before the shape, across the edge and onto the background fabric, so the thread is anchored before it matters. Slow the machine down. Plan more time than you think you need.
Do not steer the fabric around a curve. This is the single most important habit in machine applique. Keep the fabric still, let the stitch form, then pivot the fabric so the next stitch lands where you want it.
At a sharp point, stop with the needle fully down, raise the presser foot, turn the fabric a few degrees, lower the foot and keep stitching. People compare this to a clock hand moving around a dial: stitch, pivot, stitch, pivot.
6. Trim and Turn the Applique
This applies to turned-edge and needle-turn work, which is the traditional alternative to the fusible method. Turned edge is forgiving but slow; needle-turn uses a tiny hook to grab the seam allowance inside a curve, and it takes practice to get a smooth result.
Whatever the method, clip the curve, trim the seam allowance to a quarter inch, turn the shape right-side out and press it accurately before stitching it down. Secure the raw edges or conceal them inside the stitch line. Raw edge applique, where nothing is turned, is the fastest machine method but is only safe on pieces you never wash, unless you cover the raw edge with a satin or blanket stitch.
7. Stitch and Finish the Project
Sew around the whole shape, stitch straight across the starting point to lock it, then pull both thread tails to the back and tie a small knot. Snip the tails close. Remove any stabilizer, tear-away by hand along the stitch line rather than ripping upward.
Press the finished block from the right side, then turn it over and press again from the back to raise the stitching. Your applique is secure and flat when the background shows no ripples, the edges lie smooth with no gaps, and turning the piece over reveals no loops of thread on the back.
A few extras worth knowing. For applique letters and numbers, print the template at actual size, never scaled to fit the page, and check the one-inch reference square printed on most templates before you trace anything. For layered motifs, build the pieces in reverse order, smallest on top, pressing each layer as you go. And if you own an embroidery machine, hooped applique is a different technique with its own rules; for a beginner, do the domestic machine version first.
Common Mistakes and How to Fix Them
Every one of these is reversible. Unpick the stitches, peel the shape off, and go again — fabric does not hold a grudge.
| Problem | Cause | Fix |
|---|---|---|
| Background puckers around the stitching | Steering the fabric, missing stabilizer, or factory sizing | Pivot instead of steering, add tear-away behind the work, and prewash your fabric |
| Edges fray after washing | Raw edge was left unstitched | Cover the raw edge with satin or blanket stitch, or use a turned edge |
| Shape shifts or comes out crooked | Sliding the iron, or loose fusible web | Press without sliding, cool fully before handling, and use regular-weight web |
| Paper backing tears as you peel it | Peeling while still warm | Wait until the piece is fully cool, then peel slowly at a low angle |
| Skipped stitches or breakage | Blunt or wrong-size needle, or pushing thick layers | Change to a fresh 75/11 sharp needle and let the machine do the work |
| Glue gunk on the iron or needle | Fusible web pushed onto a bare soleplate | Use a pressing sheet, and wipe residue from the needle with a damp cloth after use |
Two habits prevent most of the table above. Test your machine settings on two scraps of the exact fabrics you plan to use, and stitch every shape before committing to the piece you care about. Needle gumming from fusible residue is why a scrap test is worth the five minutes it costs.
Frequently Asked Questions
What are the three types of applique?
The three main types are hand applique, where the raw edge is turned and stitched by hand with small invisible stitches; machine applique, where a fusible web holds the shape and a sewing machine stitches the edge in zigzag, satin or blanket stitch; and embroidery machine applique, where a computerized machine stitches the fabric shape onto the background inside a hoop. Beginners usually start with machine applique because it is the fastest route to a crisp edge.
What sewing machine foot should I use for applique?
The standard foot on your machine will sew an applique perfectly well, so nothing needs buying first. An open-toe applique foot is the upgrade worth having later, because the cut-out toe lets you see the raw edge running beside the needle. A walking foot also helps on bulky backgrounds. Do not lower or disable the feed dogs; the fabric needs them to advance evenly.
Do I have to stitch the edges if I use fusible web?
For a wall hanging or a decorative panel you will never wash, fusing alone holds the shape and you can skip the stitching. For anything that goes through a washing machine, you must stitch every edge. Fusible web is a temporary hold, not a permanent bond. Covering the raw edge with a satin stitch or a blanket stitch also stops it from fraying in the wash.
What is the best stitch for machine applique?
A medium-width zigzag at a length of 1.0 to 1.5 mm is the best stitch for a first project, because it is forgiving and hides small wobbles. Satin stitch, which is a very tight zigzag at a length around 0.5 mm, gives the cleanest finish but is harder on curves. A blanket stitch looks decorative and deliberate. Choose matching thread while you learn, then try contrast when you feel confident.
Can I do machine applique with a regular sewing machine?
Yes. A basic domestic sewing machine with a zigzag is all you need, and that covers most of the stitches used in machine applique. Hooped embroidery machine applique is a different, separate technique that requires an embroidery machine and a hoop. If you own only a plain machine, do not buy anything special: a sharp 75/11 needle and an open-toe foot are the only two optional extras worth buying.
Why does my applique pucker around the stitching?
Puckering almost always means the fabric is being dragged sideways while it is being stitched. Keep your hands off the fabric and pivot it with the needle down instead of steering it. Add tear-away stabilizer behind the background, and check that your fabric was prewashed, because factory sizing shrinks and wrinkles as it heats. Slower machine speed helps too.
Conclusion: Start With a Small, Simple Shape
Cut one heart from a leftover scrap, fuse it to a square of cotton, and stitch it with a medium zigzag. That single exercise teaches you pressing, cutting, pivoting and troubleshooting in about twenty minutes, and it costs nothing if it goes wrong.
Do the same shape four times with four different stitches before you start a real project. When you can hold a corner without wobbling, the technique has already clicked, and anything larger becomes a matter of patience rather than skill. That is genuinely all machine applique is.