Fusible web is a heat-activated adhesive sheet, usually sold with a paper backing, that you iron onto the wrong side of fabric to bond layers together permanently without stitching. To learn how to use fusible web in fabric collage, you arrange your pieces, apply the web, press, and check the bond. A first small collage takes about an hour, and the difficulty sits with the iron, not the sewing.
The reason artists reach for it is speed and a clean edge. Cut shapes stay crisp, the collage holds its shape instead of curling, and there is no stitch line running across the composition to interrupt the image.
Table of Contents
- What You Need
- How to Use Fusible Web in Fabric Collage
- Prepare and Arrange the Fabric Pieces
- Apply the Fusible Web
- Layer and Press the Collage
- Finish and Reinforce the Collage
- Common Mistakes
- Frequently Asked Questions
- Is fabric collage made with fusible web washable?
- Why is my fusible web not sticking to my fabric?
- What is the difference between fusible web and fusible interfacing?
- Can I sew through fusible web after fusing it?
- Which fabrics should I avoid using with fusible web?
- Conclusion
What You Need
Fusible web is a thin mesh coated with a solid glue that activates with heat. You sandwich it between two layers of fabric and press, and the glue melts, flows into the weave, and sets as it cools. That is the whole mechanism. Everything below exists to help you do it evenly.
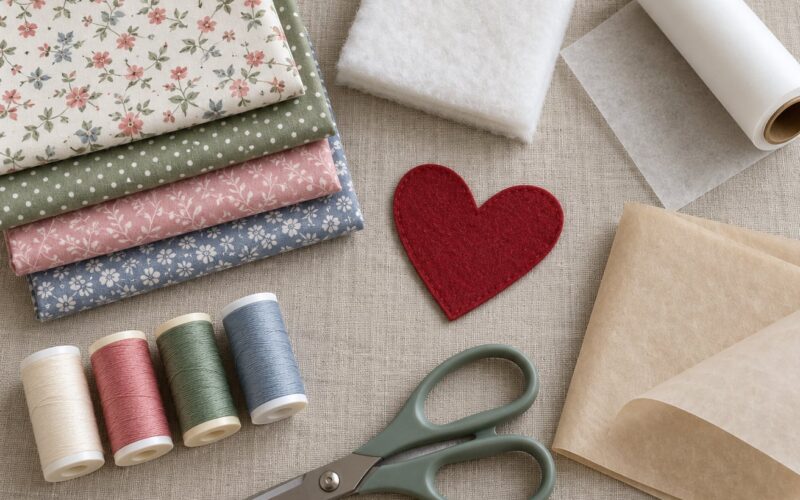
A short list covers most projects. Grab a pack of paper-backed fusible web in a weight that matches your fabric, a stack of scraps, an iron with a steam setting you can switch off, and a pressing cloth.
- Fusible web. Standard paper-backed sheets handle cotton and quilting weight. A sewable web lets you stitch through the finished piece without gumming the needle.
- Fabric scraps. Press every piece flat before you cut, because wrinkles you fuse in stay there permanently.
- An iron. Any household iron works as long as it reaches medium to high heat. A steam function is handy for initial pressing but should be off or dry during fusing.
- A pressing cloth. A clean cotton or muslin square protects both the iron soleplate and the fabric from scorch marks.
- Parchment or release paper. Cut a few spare sheets to slide under and over the web so you never press adhesive directly onto the iron.
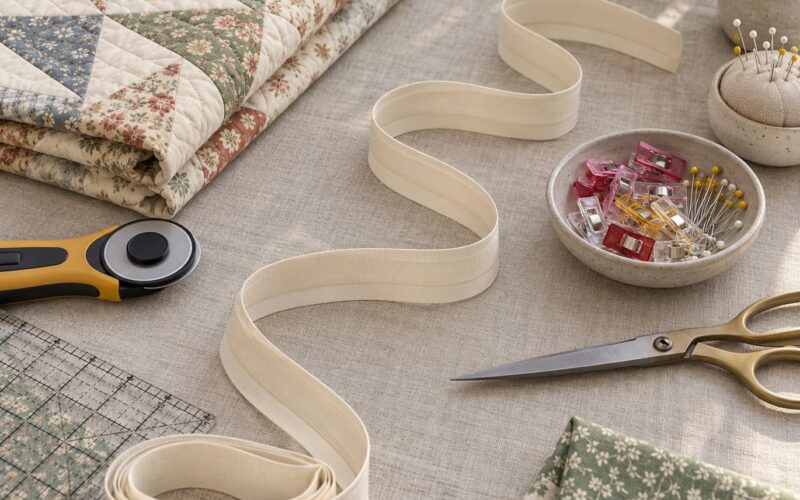
- Rotary cutter or sharp scissors. A rotary cutter with a quilting ruler gives straight edges on long landscape shapes.
- Optional appliqué tools. An appliqué roller, stiletto, or fine-tip marker helps you nudge small shapes before the press.
How to Use Fusible Web in Fabric Collage
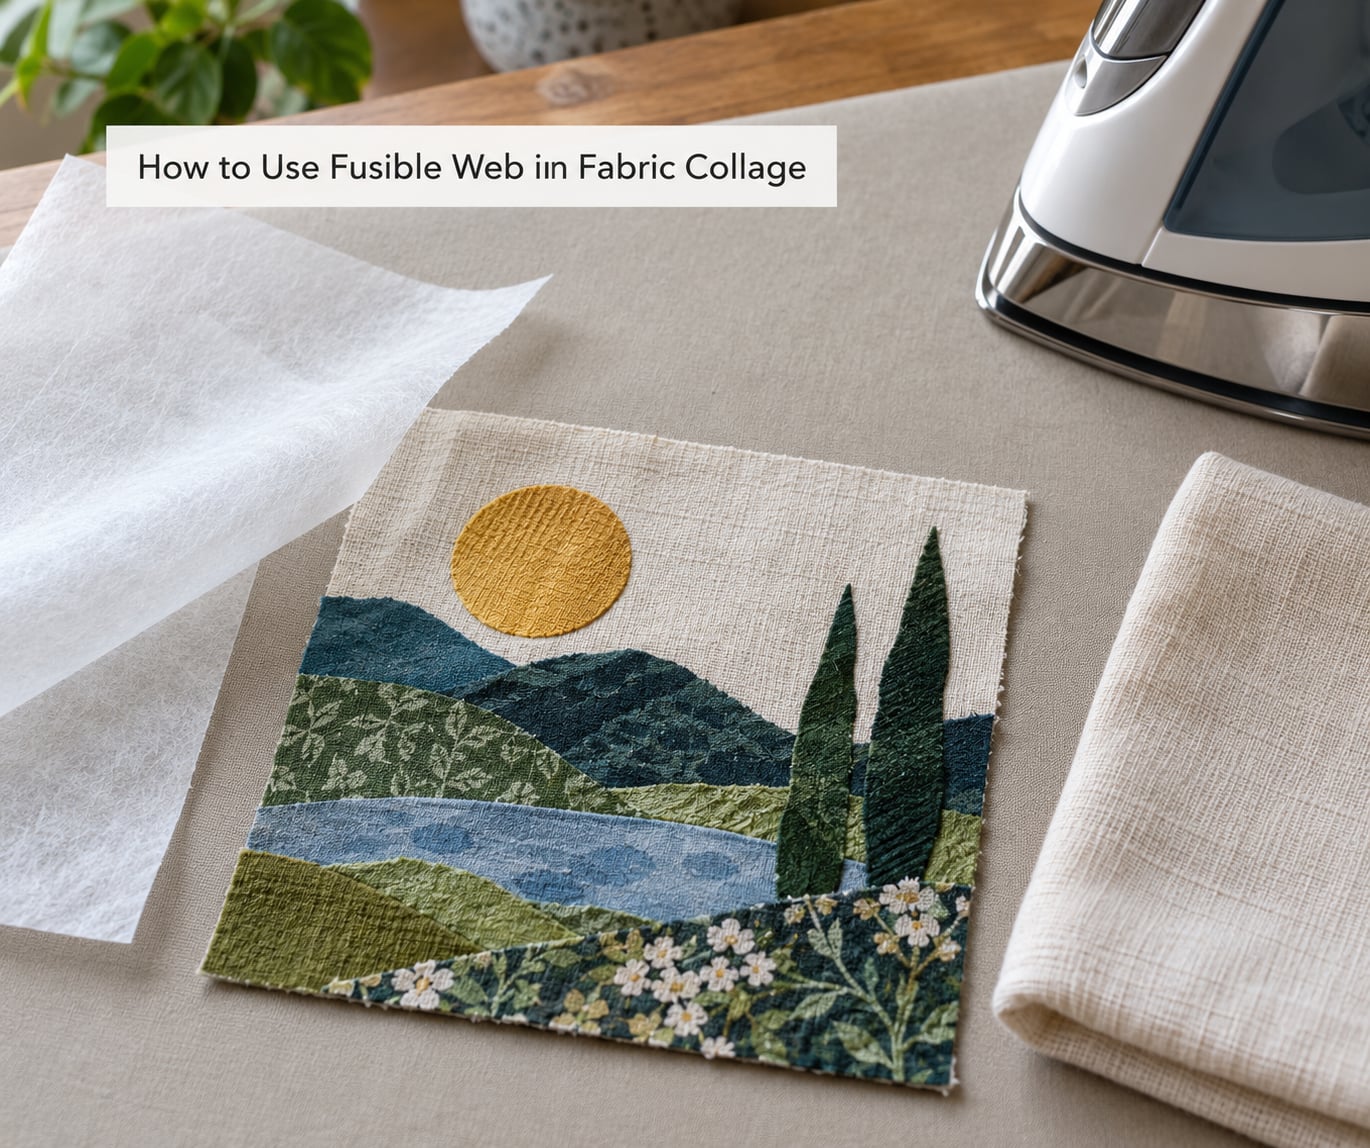
The method comes down to four moves: prepare the pieces, fuse web onto them, stack and press, then check and reinforce. The order matters more than the products you pick. Arrange the whole composition before any adhesive goes near it, because once pieces are bonded you cannot easily re-position them.
Prepare and Arrange the Fabric Pieces
Wash and dry your fabric first. Shrinkage that happens after the collage is finished will pucker everything you fused, and no amount of pressing pulls that back out.
Press each piece smooth with a hot dry iron, then cut your shapes. Slightly oversize every shape at this stage. You can trim an edge after fusing, but you cannot add fabric back on a shape that was cut too small.
Lay the shapes out on a heat-safe surface in the arrangement you want, without adhesive. Step back a few feet and check the balance. If you do not like it now, this is the free moment to change your mind.
Apply the Fusible Web
Measure each fabric shape and cut a piece of fusible web about a quarter inch smaller all round. That margin keeps adhesive from squeezing out past the edge and hardening into a stiff ridge.
Set the iron to medium with the steam off. Lay the fabric wrong side up, place the web on top with the glue facing the fabric, and press from the centre outward in short overlapping strokes for about five to ten seconds per area. The paper backing stays on top and protects your fabric from the iron.
Let the piece cool for a minute, then peel the release liner away at a shallow angle so it does not lift the adhesive. If it starts to lift the fabric, press the web on again for a few extra seconds. Handle the adhesive side sparingly; oils from your fingers reduce how well it bonds.
Layer and Press the Collage
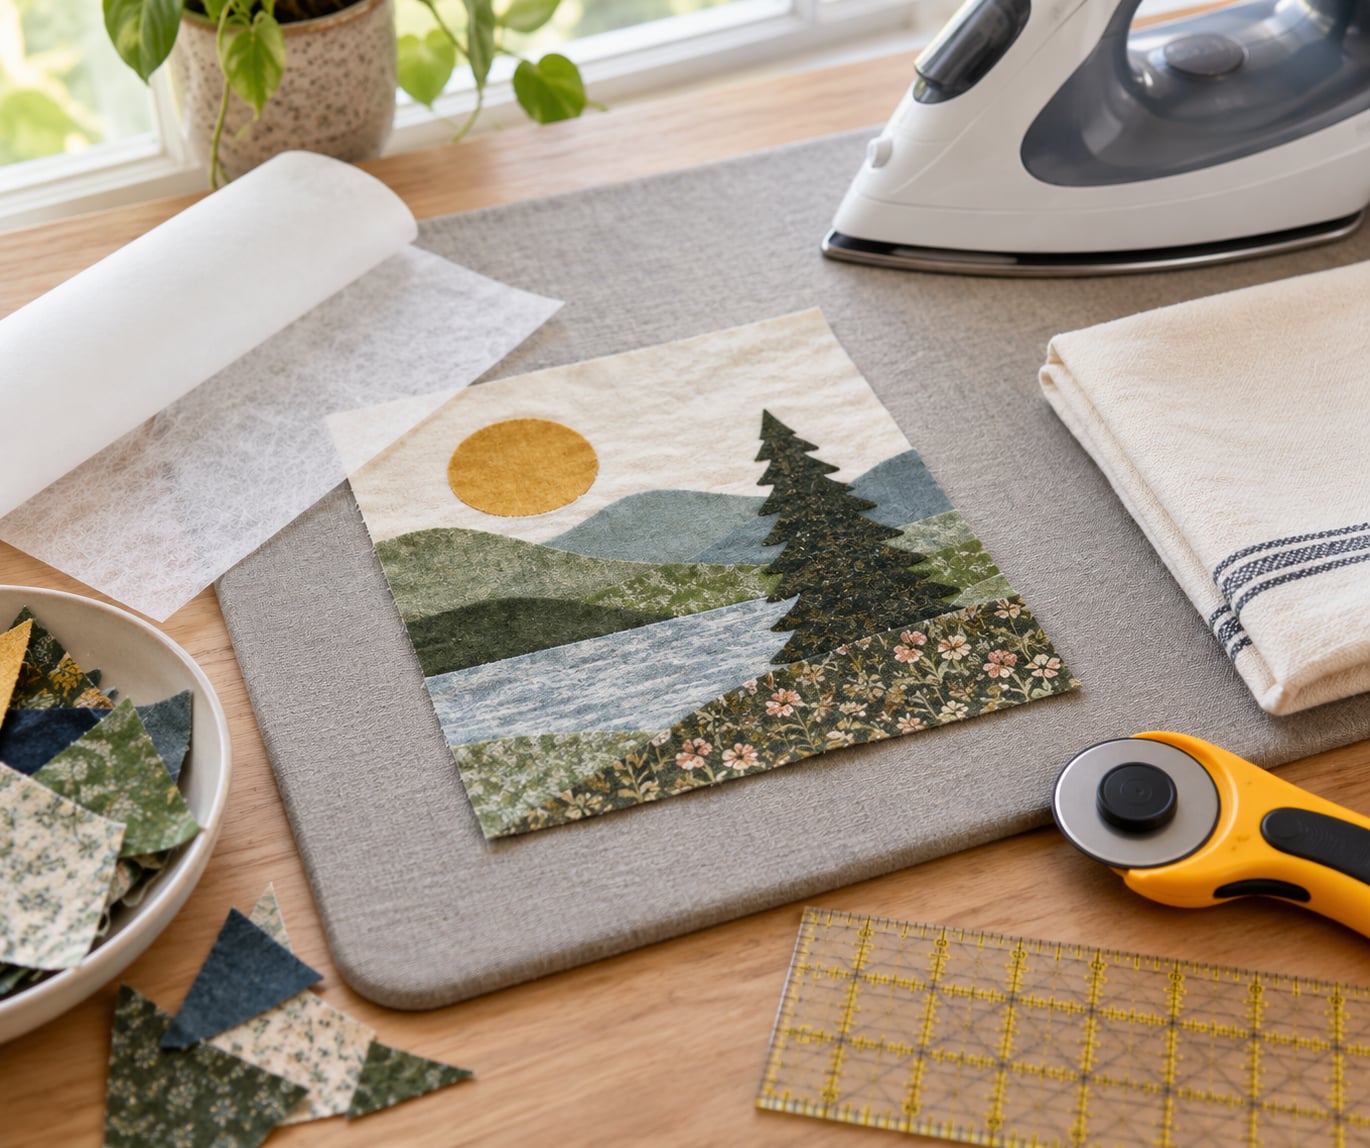
Build the stack with the base fabric on the bottom, the prepared shapes adhesive side up, and a clean sheet of parchment or release paper on top. That paper gives you a firm, even surface to press and removes the chance of adhesive transferring to the iron.
Cover everything with your pressing cloth and press firmly with the iron set to medium heat. Give each area about fifteen seconds, three passes total, lifting and repositioning between passes so the heat reaches every layer evenly. Hard pressure matters as much as heat here; the glue needs to be pushed into the fabric fibres.
Peel the paper off before the piece cools completely, while the adhesive is still warm and tacky, then press again for ten seconds. That second press is what turns a temporary hold into a permanent bond. Lift the collage by the base fabric only, never by a small top shape, and check the bond from the reverse side.
Finish and Reinforce the Collage
Let the piece lie flat as it cools. The bond sets as it drops in temperature, and moving it warm invites puckering.
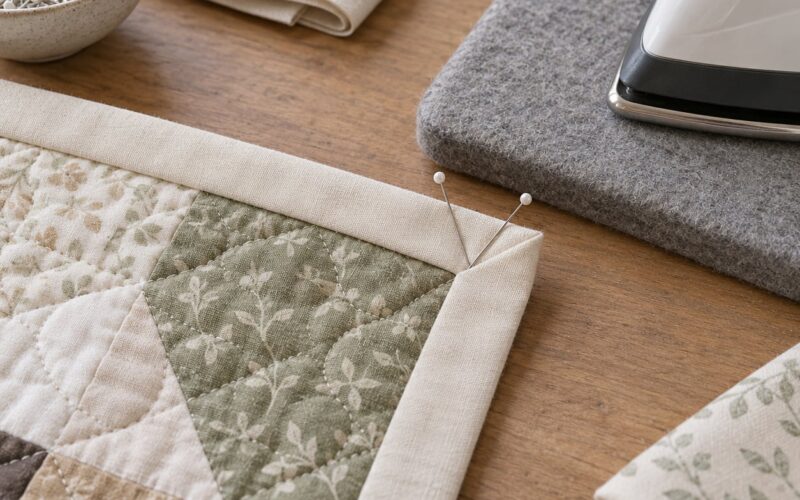
Trim any adhesive that seeped past an edge flush with the fabric. For raw-edge collage, you can stop there and stitch later. For anything that will be washed or handled, run a line of quilting stitches through all layers about an eighth inch in from the edge, which locks the bond permanently.
Keep embellishments like beads, rhinestones, sequins, and glued trims until the fusing is complete. Heat dulls plastic and melts glue, so add them after the piece has cooled and the seams are secure. If you want a quilted finish rather than a bonded one, add batting to the back and quilt all the layers on a sewing machine, testing first that your web is sewable.
Common Mistakes
Almost every fusible web problem traces back to heat, pressure, time, or a dirty surface. Work through these in order.
The web will not stick at all. This happens when the iron was not hot enough, the press was too brief, or the fabric carried sizing or fabric softener that blocked the glue. Wash or scrape the softener off, raise the iron to high for synthetics and to medium for cotton, and extend each pass to twenty seconds. Test on a scrap and peel it to check the bond before you commit a whole piece.
Adhesive squeezed out past the edges. You cut the web too large or pressed too long. Cut the web a quarter inch smaller than the fabric and use two passes instead of four.
Pieces shifted while you pressed. A double-sided web holds shapes together before you apply heat, which removes most of this problem. With single-sided web, tack the layers with a temporary spray adhesive or place each piece individually and press before stacking the next.
Bubbling and puckering. Fabric that is too sheer for the web, or a piece that was not perfectly dry, will bubble. Denser webs cope with sheer fabrics better. Cotton only pucks if it is damp, so press the fabric bone dry before fusing.
The collage feels stiff and board-like. This is the complaint that pushes people back to sewing. Web stiffens exactly what it bonds, so on fluid fabrics use the lightest weight available, fuse only the structural layers, and use freezer paper or a glue stick for delicate accents and curves.
A sticky iron afterwards. Keep parchment paper between the adhesive and the soleplate on every press, and wipe the iron on a damp cloth after use.
Two habits prevent most of the above. Press a test scrap of every fabric before you start the real piece, and check the bond by trying to peel it apart while it is still warm.
Frequently Asked Questions
Is fabric collage made with fusible web washable?
It depends on the web. Paper-backed sewing-weight web is generally washable on a warm gentle cycle once the bond has fully cooled and set, while no-bord web intended for permanent bonding can be stiffer and less forgiving. Test a sample of your own fabrics before washing the finished piece, and always follow the care instructions printed on the web package.
Why is my fusible web not sticking to my fabric?
The usual causes are a too-cool iron, too little pressure, too short a press, and fabric softener or sizing blocking the adhesive. Wash the fabric first to remove softener, set the iron to medium heat with steam off, and press about fifteen seconds per area in two or three passes. Test the bond on a scrap by peeling it apart while still warm.
What is the difference between fusible web and fusible interfacing?
Fusible web is a pure adhesive sheet used to bond two layers of fabric to each other. Fusible interfacing has a backing fabric with adhesive on one side and is meant to add body, stabilise, or stiffen the wrong side of a single layer. Interfacing will not reliably stick two collage pieces face to face; that job needs web.
Can I sew through fusible web after fusing it?
Only if you use a sewable web. Non-sewable no-bord adhesive melts into the needle eye and needle shaft and quickly gums up the machine. Sewable web is designed to be pierced safely, so if you plan to quilt or add stitching to the collage, choose that type from the start rather than trying to add it later.
Which fabrics should I avoid using with fusible web?
Sheer fabrics such as organza and chiffon bubble rather than bond, stretchy knits shift during pressing, and waterproof or coated fabrics will not bond at all. Very bulky wadding and pile fabrics trap air and give an uneven bond. Stick to quilting cotton, felt, denim, canvas, and stable polyester blends for reliable results.
Conclusion
Start by arranging the composition on the table and cutting a test scrap of each fabric. Fuse the web to the wrong side of the shape, leaving a quarter-inch margin, then press the layers with parchment paper top and bottom at medium heat and firm pressure for two or three passes.
Check the bond from the back while the piece is still warm, add stitching if you want it to survive washing, and leave the embellishments until the very end. Master those four moves and the rest is just choosing better colours.