Knowing how to hand stitch through heavy fabric is mostly a setup problem, not a strength problem. You need a thick, sharp needle that matches the weave, thread that is strong enough for the load but still fits the eye, fabric that stays put while you work, and a push from a thimble so the needle never has to be levered by hand. Get those four right and canvas, denim, upholstery cloth, leather, and quilt sandwiches go through almost as calmly as cotton. Get them wrong and your needle bends, your thread snaps, and your line wanders off the chalk.
I have broken plenty of needles on this. Most of them happened because I was pushing too hard on the wrong tool rather than working too hard on the right one. The fix, honestly, takes about two minutes to set up on a scrap of the same fabric, and it saves the whole project.
Table of Contents
- What You Need
- Step-by-Step: How to Hand Stitch Through Heavy Fabric
- Choose the Right Needle for the Fabric
- Select Thread That Will Not Cut or Snap
- Mark a Straight and Even Stitch Line
- Pierce and Pull the Stitch Without Crushing
- Lock, Knot, or Backstitch the Finish
- Common Mistakes When Stitching Heavy Fabric
- Common Mistakes
- Frequently Asked Questions
- What type of needle is best for hand sewing thick fabric?
- What thread should I use for heavy fabric hand stitching?
- How do I hand sew through batting and multiple layers?
- How long should my stitches be in heavy fabric?
- What do I do when my stitches come out uneven?
- Conclusion
What You Need
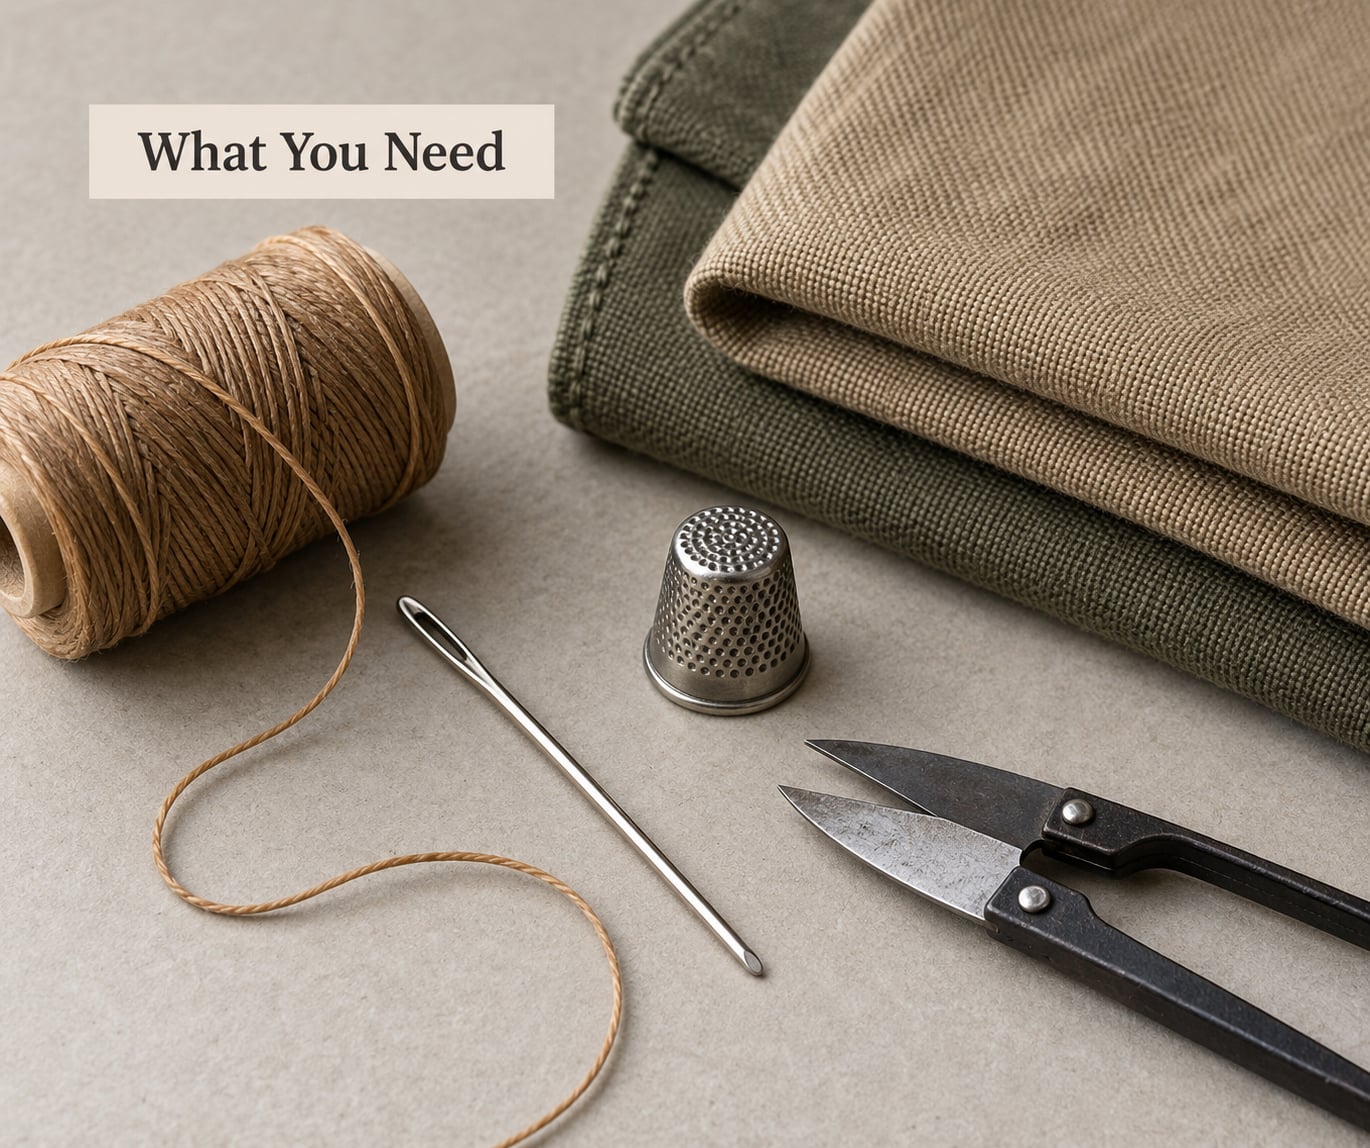
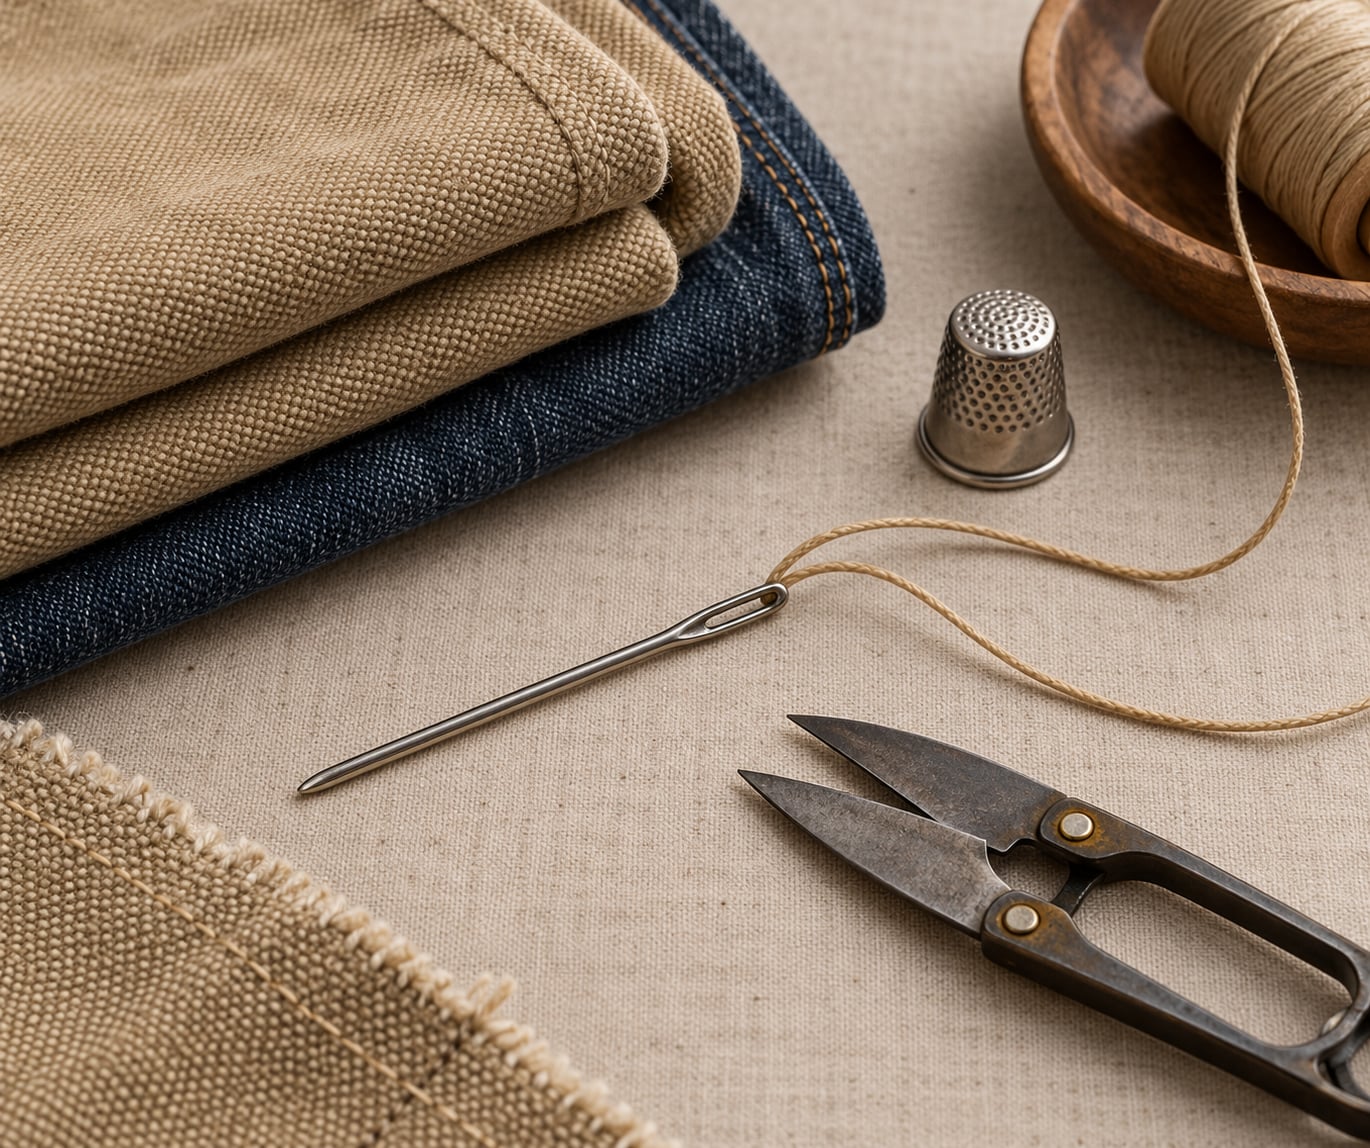
Most of the tool list is short, and the expensive-sounding items are the two that matter most: a needle with real steel in it and something to protect the finger that takes the force. Everything else can come out of a sewing box.
Here is what I keep within reach for heavy fabric hand stitching.
- A sharp needle sized for the fabric. Sharps or upholstery needles for woven cloth, leather needles for hide and vinyl, long darners for deep layers, blunt-point needles for canvas and knit so you part fibers instead of spearing them.
- Strong thread that fits the eye. Bonded nylon for invisible strength, heavy-duty polyester for abrasion resistance, waxed linen or cotton for a visible hand-stitched look that will not wick through the fabric.
- A thimble or a palm thimble. A closed metal thimble for pushing the needle, or a leather or plastic palm thimble that covers the ball of your thumb and heel of your hand for bigger areas.
- Fabric snips or sharp scissors. Heavy thread is hard to cut with small scissors, and leaving long tails to cut later invites fraying.
- Marking tools. A fabric pencil, tailor’s chalk, or washable marker, plus a ruler and small clips or pins.
- Optional: a sewing awl. For leather, webbing, sailcloth, and quilt backings that a needle simply cannot penetrate on its own.
- Optional: a hoop, clamp, or sandwich board. Anything that keeps bulky fabric flat and immobile while the needle goes through.
One thing to clear up before you pick anything: a lower needle size number means a thicker needle. A size 14 sharps is a sturdy general-purpose needle, while a size 18 sharps is finer than a size 14. Upholstery needles, which are the thickest of the common hand needles, run from roughly size 1 up to about 12. Beginners read the label, see the biggest number, and pick the flimsiest needle in the pack.
The other sizing rule that catches people: the thread has to pass through the eye with a little room to move. Thread jammed tight in a small eye will abrade against the metal every time you pull, and it will snap inside a few stitches. If you have to wrestle the thread through the eye, the needle is wrong.
Step-by-Step: How to Hand Stitch Through Heavy Fabric
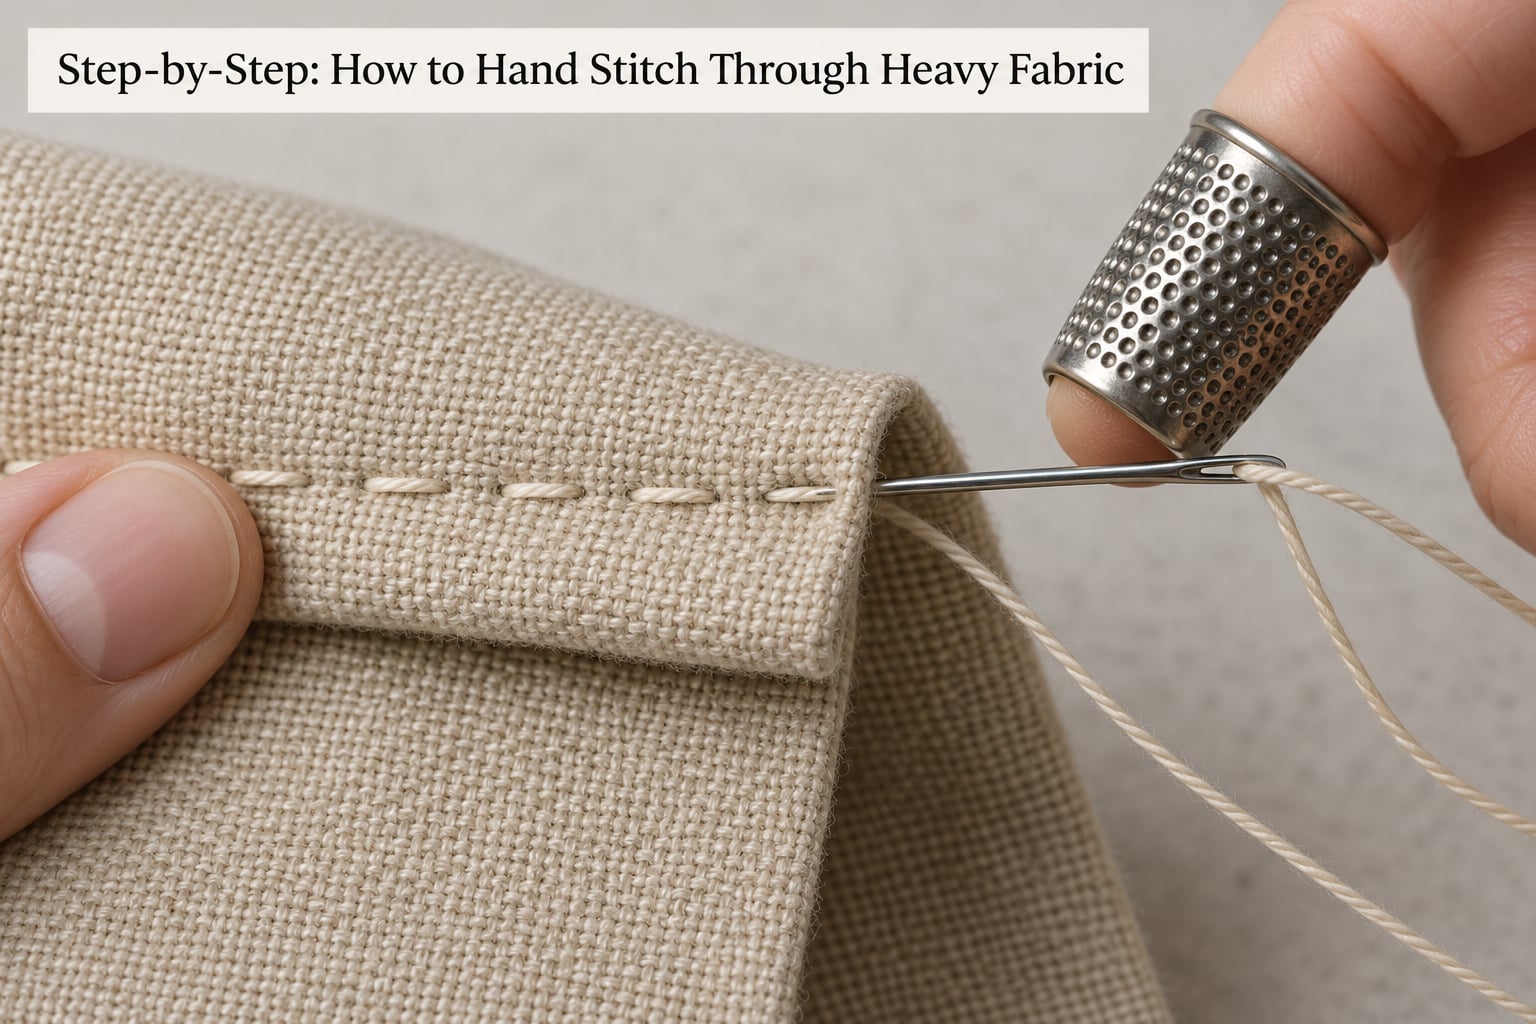
Set up on a scrap of the same fabric first. Push the needle through twice without forcing it. If it bends, stops halfway, or needs a fist, stop and change something before you touch the project.
Here is the full method, in the order that avoids most failures.
Choose the Right Needle for the Fabric
A needle for heavy fabric must do two jobs at once: carry the load without bending, and make a hole the thread can pass through cleanly. Those two jobs pull in opposite directions, which is why there is no single answer, only a match table.
- Sharps have a fine sharp point and a thin round shaft. They are the usual choice for seams on woven cloth and denim because the point slips between yarns instead of splitting them.
- Upholstery needles are longer, much thicker, and often have a sharp point with a rounded shoulder and a flat-sided shank. They carry thick threads and take a real push without deforming.
- Darning needles are long with a large eye, intended for mending and darning. The long blade is what makes them good for deep layers, since one stroke reaches through a whole quilt sandwich.
- Leather needles have a triangular or curved blade. The shape creates a channel in the hide as it goes, so the hole widens slightly behind the needle instead of staying too tight around the thread.
- Blunt-point canvas needles slide between fibers and push them aside. On heavy duck canvas and on knits they will not split yarns the way a sharp point does.
Here is the matching table I work from. Sizes vary slightly between brands, so treat these as starting points and adjust one step at a time.
| Fabric | Needle type | Starting size | Thread |
|---|---|---|---|
| Dense duck or cotton canvas | Blunt-point canvas or sharps | Upholstery 10 to 12, or sharps 16/18 | Bonded nylon, or 12 weight cotton doubled |
| Denim, up to 12 oz | Sharps or jeans needles | Sharps 14/16 | Heavy-duty polyester or cotton |
| Denim, 14 oz and heavier | Upholstery | Upholstery 8 to 12 | Bonded nylon or waxed linen |
| Upholstery fabric and foam sandwich | Upholstery or long darner | Upholstery 6 to 10 | Bonded nylon, waxed polyester |
| Leather and vinyl | Leather or sail needle | Any listed size; point matters more than number | Waxed linen or bonded nylon |
| Quilt sandwich, three layers plus batting | Long darner or quilting needle | Depends on top and backing; upgrade for dense backing | 12 weight cotton or heavy polyester, doubled |
| Burlap, rug backing, webbing | Upholstery | Upholstery 12 or heavier | Waxed polyester or bonded nylon |
Two habits prevent most broken needles. First, change the needle the moment it feels dull or draggy, because a dull point is what snaps needles rather than guiding them. Second, if the point will not start into the fabric without a hard poke, the needle is too small or the wrong shape, not your technique.
Select Thread That Will Not Cut or Snap
Thread choice in heavy fabric is a balance between two failure modes. Too thin and it abrades against the fabric edge and breaks mid-stitch. Too thick and it will not pass the eye, or it forms a stiff ridge right where the fabric bends and then splits the cloth.
Bonded nylon is the strongest hand-sewing thread most people use and barely stretches, which makes it a good pick for a load-bearing repair on canvas or webbing. Heavy-duty polyester is more forgiving, slides well, resists abrasion, and handles needle changes without drama. Waxed linen and waxed cotton are the traditional choice for visible topstitching, saddle work, and big stitch quilting, because wax seals the fibers so they cannot fray and the wax keeps the thread from cutting into the fabric as it flexes.
Thread length matters too. Too short and you are rethreading every eight stitches, which is where most fraying starts. Too long and you tangle it, and the friction of a big loose loop against rough fabric wears it thin. A useful rule is roughly 18 to 24 inches for a single strand, doubled to about 15 inches per layer, cut at an angle so the strands do not frayed on their ends while you thread the eye.
To wax thread properly, run it through a cake of beeswax a dozen times while pressing gently, then run it between your thumb and forefinger to smooth and set it. Do not leave a thick white shell on it, because excess wax transfers onto the fabric and shows as a smear on the finished seam. A light, even coating is the goal.
Mark a Straight and Even Stitch Line
Heavy fabric will not forgive a wandering line, because you cannot see or correct a crooked stitch until the seam is done. Mark the whole run before you stitch, not stitch by stitch.
Lay the fabric flat, decide your stitch length, and use a ruler to divide the seam into equal intervals. For 14-inch canvas with a 1/2 inch stitch, that is 28 evenly spaced marks. Mark lightly with tailor’s chalk or a washable marker and keep the marks faint enough that they disappear or stay hidden under the thread.
Marking tools differ by fabric. Chalk works on most wovens and scrapes off denim if you rub. A washable pen shows well on canvas and linen. On very heavy pile, on velvet, or on anything you do not want to risk, mark on the seam allowance side and rely on the fold as your guide.
Clips or pins go along the line after marking, perpendicular to the seam, spaced every few inches. They stop the layers from shifting relative to each other, which is the real cause of the drifting stitches you see in tutorials from before anyone used clips.
Pierce and Pull the Stitch Without Crushing
Everything in this step is about force. You are trying to push a stiff point through a dense weave, and if your wrist is doing the pushing you will tire out, crush the fabric, and bend the needle.
Put the thimble on the finger that pushes the needle. Rest the needle against the thimble’s dimpled face, hold the needle just behind the eye, and push from the wrist and forearm rather than from the fingers. The thumb and forefinger should guide rather than squeeze.
Support the fabric on the far side. Rest it on a scrap of wood, a folded towel, a thick book, or the closed pages of a magazine, or put your other hand underneath. Needle tips that emerge into open air immediately bend, and they sometimes snap and fly, which is a documented injury in sewing forums and not a joke.
Insert the needle slightly off the vertical, a few degrees, and rotate your wrist as it comes through the far side. The twist widens the eye as the point exits, which makes the thread pass more easily and removes a common cause of needle snapping right at the surface. Keep the needle parallel to the fabric where it passes through the middle layers rather than driving it straight down like a punch.
Pull the thread through in stages, not all at once. Take up the slack in the near hole, then pull until the stitch length is set, then move to the next hole. Full stitch length per stitch keeps the tension identical from one hole to the next, which is what makes hand stitching in heavy fabric look deliberate rather than lucky. Too much tension draws the fabric in and puckers it; too little leaves a slack loop that snags later.
Lock, Knot, or Backstitch the Finish
In heavy fabric, finishing is not a decorative step. The seam carries real load, so the end of the thread needs to be anchored rather than merely tied off.
There are three finishes I trust, and they combine well.
- Short backstitch run. After the last stitch, bring the needle up about a stitch length back, go down through the same hole, come up one stitch further back, and repeat for two or three stitches. This locks the thread into the seam line and spreads the load over several holes.
- Knot near the previous stitch. Make a small overhand knot right against the last stitch entry hole and tug it snug, then add a second knot. On heavy fabric this needs wax or it will slide.
- Tie off on the wrong side. Take a small bite through the back of the seam, wrap twice around your finger to form a loop, pass the thread through the loop, and pull it tight against the fabric.
Run the tail through a beeswax cake to stiffen the last half inch so it cannot pull back out, or clip it flush and add a dab of thread glue for leather and vinyl where the surface is slick and smooth.
Then test it. Pull the seam gently in both directions with a bit of weight behind it. If the threads shift, the holes open, or the thread slides, the finish is not enough, and now is the time to add another backstitch instead of finding out later.
Common Mistakes When Stitching Heavy Fabric
Five mistakes account for nearly every failed hand-sewn seam on heavy material, and each has a direct correction.
Skipped or crooked stitches. The needle is not going in where you think, usually because the fabric shifted between marking and stitching. Fix the cause, not the symptom: pin or clip the layers, mark after the fabric is fully spread, and re-pierce in the exact hole you marked rather than eyeballing the next one.
Thread fraying or breaking mid-pull. This is nearly always a thread and eye mismatch or an unwaxed thread being abraded by the fabric edge. Downsize the thread, use a larger eye, and wax it.
Puckering and gathered fabric. You are pulling too hard or pulling at inconsistent tension. Take up only enough slack to close the hole, keep each stitch the same length, and if the fabric is cut off-grain, stabilize it before sewing.
Bent or broken needle. The needle is too fine for the fabric, the fabric was unsupported on the far side, or you twisted mid-push. Fix any one of those and the needle survives.
Tunneling, where stitches disappear into the fabric. The hole is being re-entered instead of being moved along. Enlarge the stitch length to about three times the thread diameter and look at the fabric between holes.
There is one more that belongs here: sewing through a seam intersection or a fold. Needle tips catch on the raised edge of a seam allowance and deflect sideways. Move the stitching line away from the ridge, or rock the needle through it at a shallow angle.
Common Mistakes
Broken needles are the complaint I see most often, and the pattern behind them is consistent enough to fix once. Push the needle through material it is not designed for and it will bend; bend it back and forth repeatedly and it will snap. Nobody gets this wrong by being slow, only by being under-equipped.
If you keep breaking needles, change one variable at a time in this order. Move up to a thicker needle first. Then confirm the point is correct for the fabric, sharp for wovens, blunt for canvas and knits, triangular for leather. Then check that the fabric is supported underneath. Then check that you are not twisting. Most people find the needle size was the whole problem.
For genuinely dense material such as leather, webbing, sailcloth, or a quilt backing with a heavy woven core, switch to an awl for the holes and use the needle only to carry the thread. This is the single most repeated practical tip across the sewing and sailmaking forums, and it is the right answer more often than people expect. Punch each hole with the awl along your marked line, spacing them at your stitch interval, then swap to a needle with an eye large enough to hold the hole open. Leathercraft contributors are blunt about it: if both the needle and the thread are too thick for the hole, stop forcing the needle.
Finger strain has a simple solution that people skip: use the thimble. Some experienced sewists argue it is optional if you have calluses or good technique, and that is fair. But the ones who skip it tend to be doing occasional work. If you are sewing heavy fabric regularly, a palm thimble covers the thumb and heel of the hand and removes most of the load from the finger joint that would otherwise take it.
Stitch length is a project decision, not a rule. Match the thread to the hole you are making, and keep every hole in the row the same size. Big stitch quilting, sashiko, and visible decorative hand stitching all want generous intervals around 1/4 to 1/2 inch. A structural seam on canvas wants intervals fine enough to keep the layers from separating, often around 1/8 inch. Leather wants the widest and most widely spaced line you can get away with, because every hole is a stress riser.
Two practices save the most time. Test on scraps, and do it with the same fabric, the same number of layers, and the same thread. And learn the two-tool awl workflow before you need it, because it is miserable to learn mid-project.
Finally, know when to stop hand stitching. Long straight seams on very bulky upholstery, a full quilt back binding, or a garment panel with more than four thick layers are machine jobs. Hand stitching is unbeatable for repairs, visible decorative work, curved seams, and anywhere a machine would struggle to fit, but fighting a machine job by hand costs you hours and produces a worse result.
Frequently Asked Questions
What type of needle is best for hand sewing thick fabric?
For dense woven cloth such as canvas, denim, and upholstery, an upholstery needle in the 8 to 12 range is the workhorse choice. Use a blunt-point canvas needle when you do not want to split yarns, a long darner when passing through deep quilt layers, and a triangular leather needle for hide or vinyl. Remember that a lower size number means a thicker needle, and always change to a new needle the moment it feels dull.
What thread should I use for heavy fabric hand stitching?
Bonded nylon gives you the strongest hand-sewn seam with almost no stretch, which suits load-bearing repairs on canvas and webbing. Heavy-duty polyester is easier to thread and handles needle changes without fraying. For visible stitching, waxed linen or waxed cotton seals the fibers and will not wick through the fabric as it flexes. In every case, match the thread so it passes through the needle eye with a little free movement.
How do I hand sew through batting and multiple layers?
Use a long darning needle so one stroke crosses the whole sandwich without regrabbing the layers, and support the underside on a board or folded towel so the point does not bend. Push with a thimble from the wrist, keeping the needle parallel through the middle of the layers. Plan your lines so they do not land directly on a seam ridge, and treat the quilt sandwich as one thick fabric when choosing your needle.
How long should my stitches be in heavy fabric?
Make every hole in the row the same size, and size the interval to the work. Structural seams on canvas and denim want roughly 1/8 inch so the layers cannot shift. Visible hand stitching and big stitch quilting take 1/4 to 1/2 inch, and leather wants the widest spacing you can use because every hole weakens the hide. Whatever length you pick, stay consistent across the whole row.
What do I do when my stitches come out uneven?
The problem is almost always fabric movement rather than the needle. Spread the layers fully, clip or pin them perpendicular to the seam, then re-mark the line and re-pierce in the exact marked hole rather than eyeballing the next one. Keep tension moderate and pull each stitch to the same length. If stitches disappear into the fabric between holes, your interval is too short for the thread diameter.
Conclusion
Start with the match: a thick, sharp needle sized for the actual fabric, thread that fits the eye without straining, and fabric held flat and still. Push with a thimble from your wrist, support the far side so the point comes out straight, and pull each stitch to the same length. That is the whole method.
Before you start the real project, take two passes through a scrap of the same fabric with the same layers, which is the fastest way to learn how to hand stitch through heavy fabric without ruining a panel. If the needle goes through twice without bending, you are ready. If it does not, change the needle size before you change anything else.