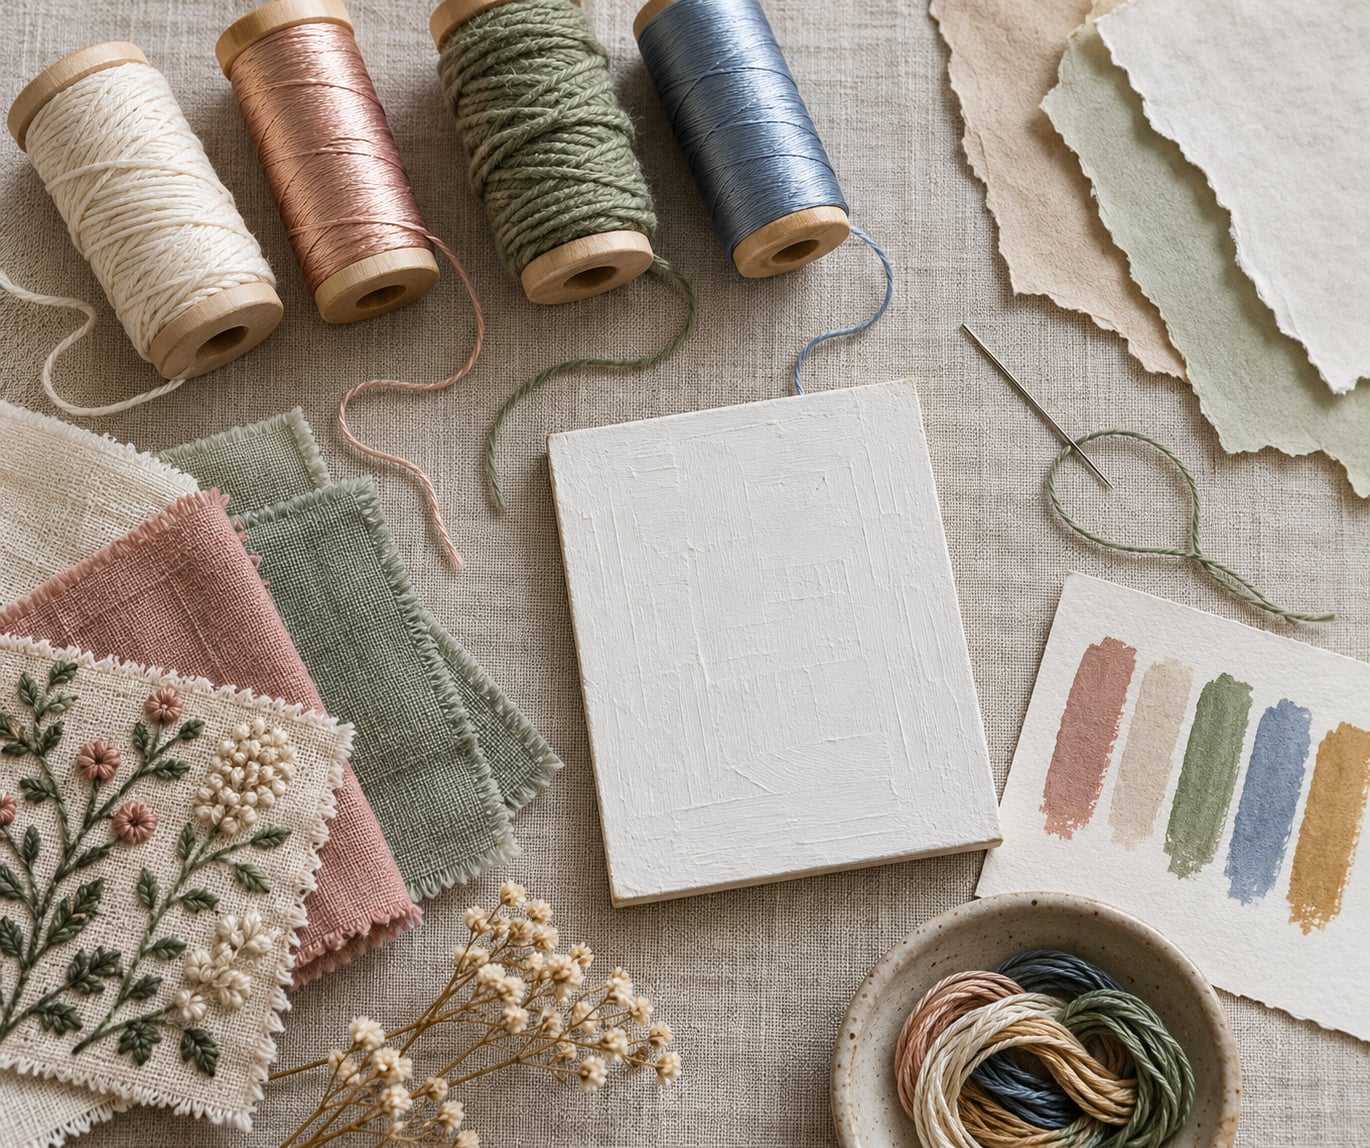
Choosing embroidery thread for mixed media comes down to four things: the surface under the needle, the stitch you are building, how the thread has to feel and wear, and how its color behaves next to paint. Get those four right and the work stitches itself. Get one wrong and you get fraying, sinking, or a line that fights everything else on the panel. Allow about 20 minutes and a two-inch swatch before you commit.
Most of what sits at the top of the search results for this question was written for people running an embroidery machine and buying thread by the cone. That is a different job. A painter adding stitch to gessoed canvas, a collage maker stitching through paper, a fiber artist couching found objects — none of them need bobbin tension or hoop sizing. They need to know how a thread behaves on a painted surface. This guide is built around that question.
Table of Contents
- What You Need
- Step-by-Step: Match the Thread to Your Mixed Media Surface
- 1. Identify the Surface and Its Needs
- 2. Choose the Right Thread Fiber
- 3. Select a Thread Weight and Texture
- 4. Test Color, Bending, and Fastness
- 5. Match the Thread to the Stitch and Needle
- 6. Make a Small Sample Before Committing
- Common Mistakes
- Frequently Asked Questions
- What type of embroidery thread is best for mixed media artwork?
- Is cotton embroidery thread suitable for painting on fabric?
- Should I use embroidery thread on wood or paper?
- What thread weight works best for detailed mixed-media stitches?
- How do I stop embroidery thread from fraying or pilling?
- Can I use metallic embroidery thread with painted or textured surfaces?
- Conclusion
What You Need
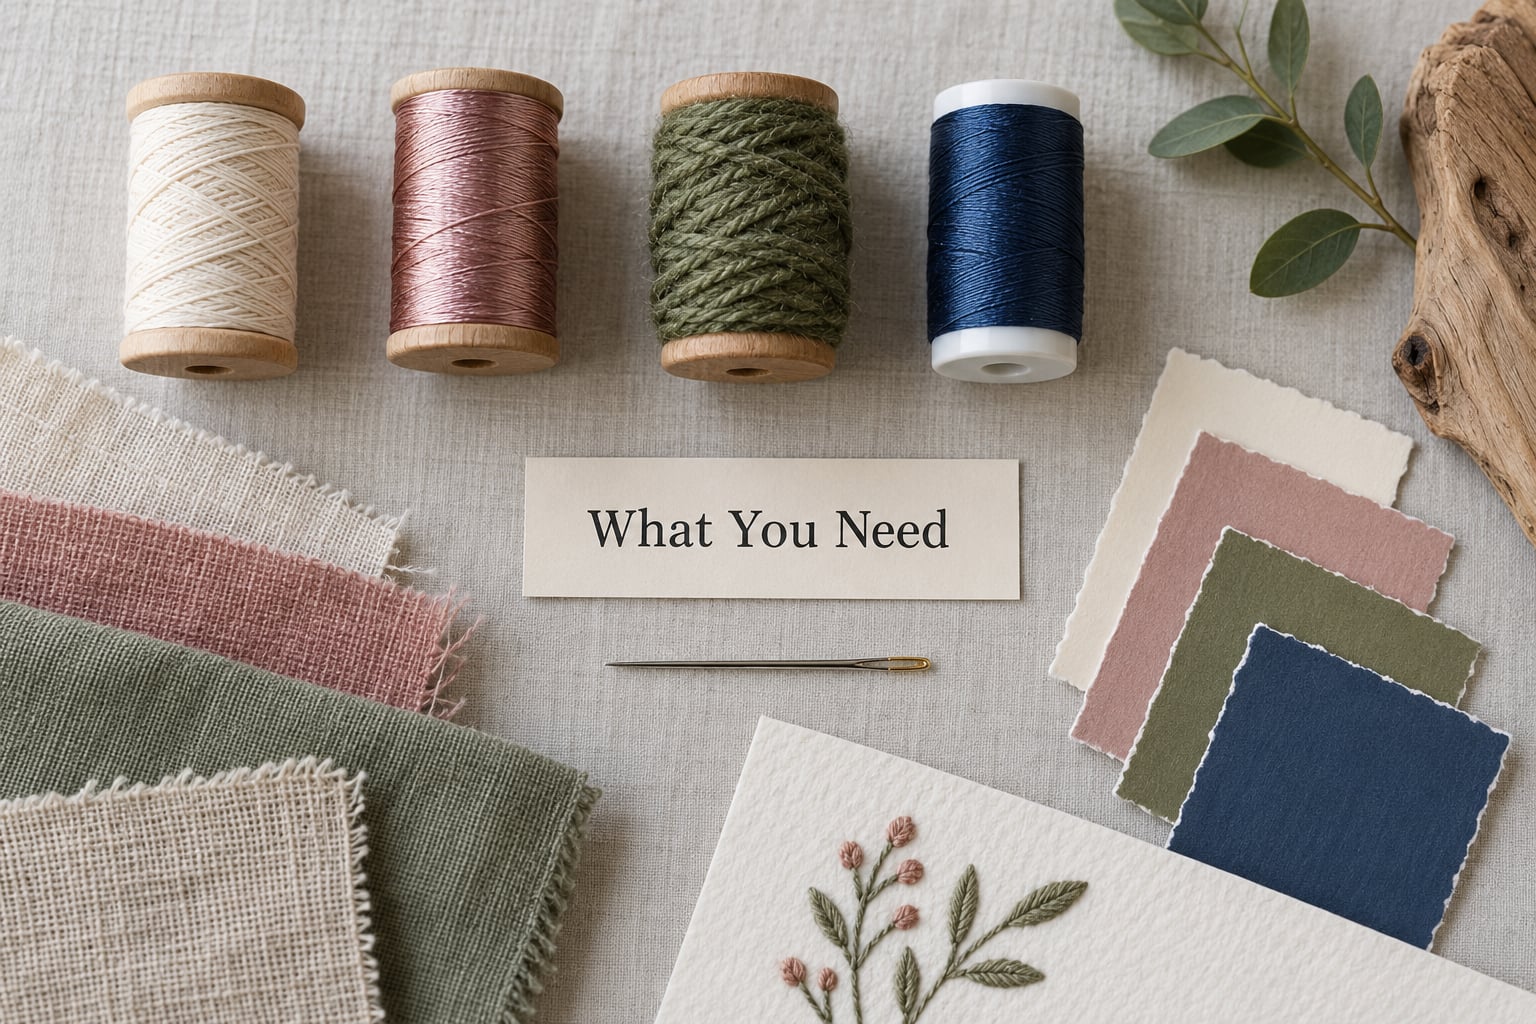
You cannot pick thread from a shelf until you know what the thread is going into. Gather these seven things before you shop, and half of the decision disappears.
- Your base and surface materials. Not a category — the actual list. Painted canvas, dyed cotton, muslin, book paper, watercolour paper, gessoed panel, found objects. Each one behaves differently under a needle.
- The stitch scale. Smallest line you plan to draw. If it is thinner than a pencil mark, you are shopping for fine thread. If it is a graphic bar an inch wide, you are shopping for something substantial.
- A thread weight range. Even a small piece usually wants two weights. A fine line for drawing and a heavier one for texture or filling.
- Your color palette, laid out physically. Paint chips, fabric scraps, paper offcuts. Screens lie about how a color reads on a warm or absorbent ground.
- Needle types and sizes you already own, plus one large-eye needle for anything metallic or stiff.
- Wash, abrasion, and light expectations. Will this be handled, rubbed, washed, or hung in a window? That decides between mercerized cotton and polyester faster than any swatch.
- A test area. An offcut of the real surface, not a substitute. A scrap of quilting cotton tells you nothing about stitching into acrylic and gesso.
Two extras worth having within reach: a thread conditioner wax block for metallic and stiff threads, and a blunt tapestry needle. I keep both permanently beside my stitching chair because changing needles mid-project is the fastest way to blunt a fresh one.
Step-by-Step: Match the Thread to Your Mixed Media Surface
The correct thread for mixed media work is not the one that looks nicest on the spool. It is the one whose fiber, weight, and hand suit the surface underneath it and the stitch you are building. Work through the six steps below in order and the choice becomes repeatable instead of a guess.
1. Identify the Surface and Its Needs
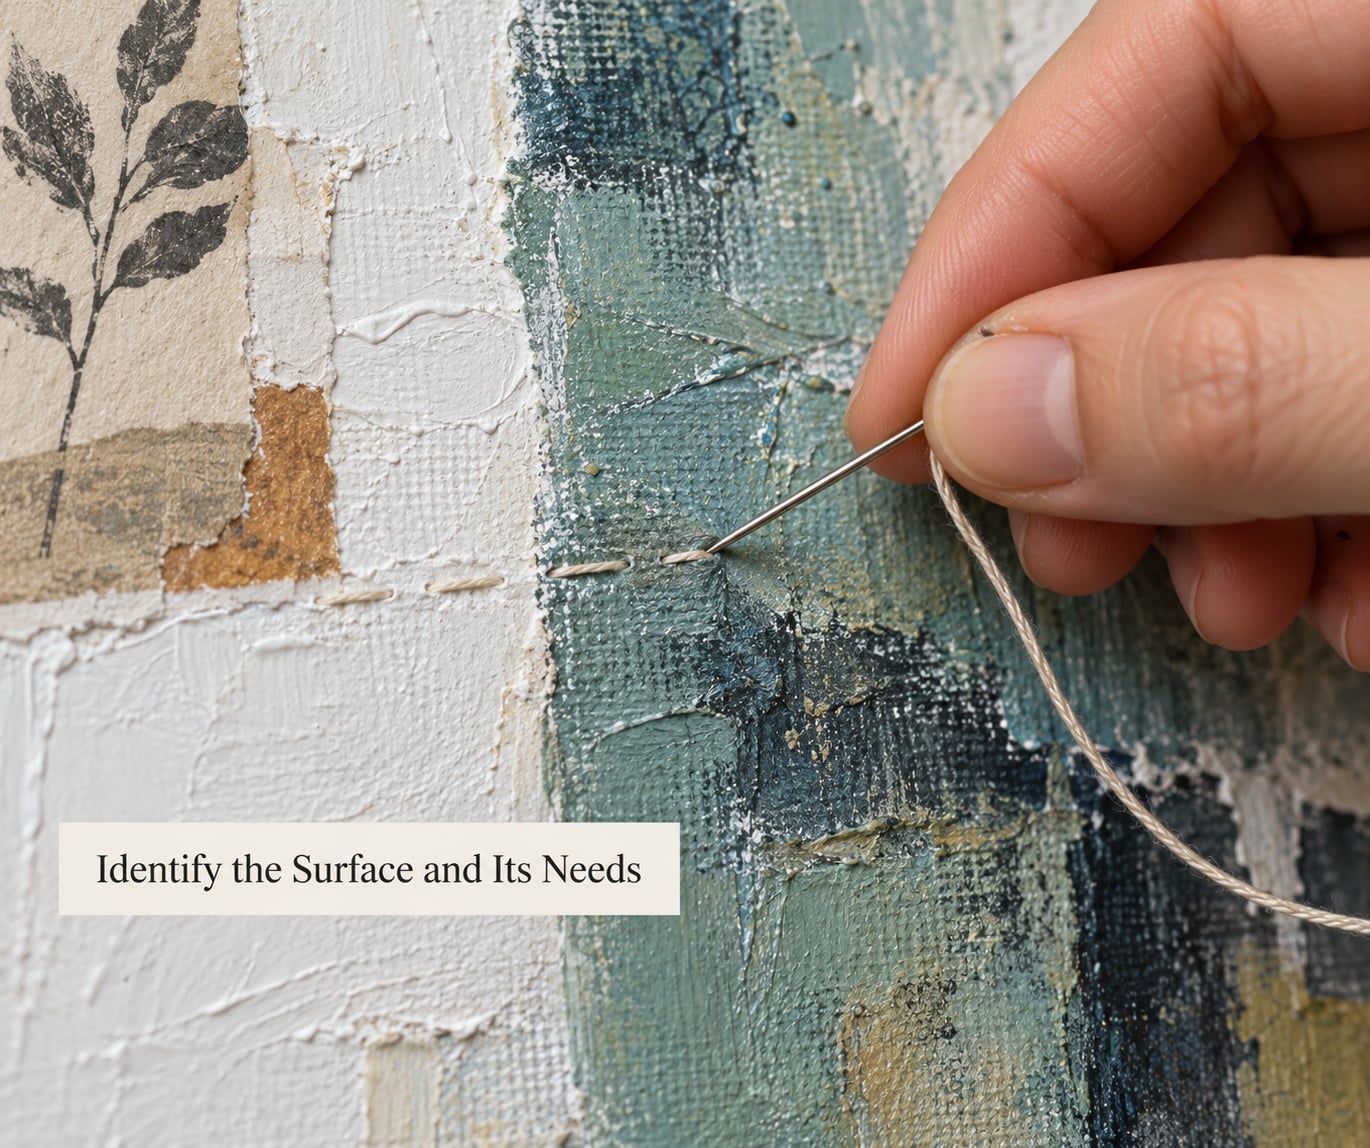
Start with the substrate, because it decides how much the thread has to do.
Open fabric — cotton, linen, muslin, denim — lets the needle through easily and lets the thread sink in unless you add a stabilizer underneath. The thread wants to be flexible here, so cotton, rayon, or fine polyester all work. The risk is the fabric pucking under heavy fill or couching.
Painted canvas and panel are the tricky ones. Paint, gesso, and acrylic medium form a skin that thread can disappear into. On absorbent paint the stitch sinks and softens within hours. Sealing the painted surface with a wax or matte medium before stitching keeps the line sitting on top where you placed it.
Paper is unforgiving. A sharp needle splits it, and repeated passes turn the hole into a tear. Matte medium or a glue stick on the back stiffens the sheet enough to take a needle, and a blunt tapestry needle avoids the split. Paper also drinks color, so dark thread looks richer there than it does on canvas.
Board and wood need the least stretch but take the most needle damage. Run a line of strong thread along the back like a stirrup to take the tension, change needles often, and expect each hole to be permanent.
Found objects bring their own rules. Metal edges blunt needles fast, hard plastic needs a large-eye needle to pass through at all, and anything sealed can be slippery for thread that has to grip.
Then ask what the thread has to be: flexible like the fabric, visible like a drawing, structural like a seam, or resistant to rub and light. One thread rarely does all four.
2. Choose the Right Thread Fiber
Fiber decides sheen, stretch, absorbency, and how the thread ages. This is the table I keep beside the studio wall.
| Fiber | Hand and sheen | Durability | Best mixed media surfaces | Best stitches |
|---|---|---|---|---|
| Mercerized cotton floss | Matte to light luster, six separable strands | Moderate; can fray on rough surfaces | Cotton, linen, painted and sealed canvas | Running stitch, outlines, knots, fill |
| Perle cotton | Rounded and cord-like, sizes #3 to #12 | Good, tight twist resists abrasion | Canvas, denim, paper, board | Big graphic marks, couching, texture |
| Rayon | Very high sheen, soft drape | Low to moderate, best kept out of sun | Smooth surfaces, silk, fine fabric | Fine detail, thread painting |
| Polyester | Glossy to semi-matte, strong stretch | High; resists abrasion, UV, and washing | Anything that will be handled or washed | Durable outlines, outdoor work, fill |
| Silk | Soft, fluid, natural sheen | Moderate; silk thread needs humidity care | Fine fabric, silk, delicate paper | Fine detail, subtle tonal blending |
| Crewel wool or tapestry yarn | Fuzzy, matte, bulky | Good; sheds a little at first | Canvas, board, heavy collage | French knots, bullion knots, texture |
| Linen | Dry, matte, slightly stiff | Very high | Paper, board, sealed surfaces | Outlines, whip stitch, rustic texture |
| Metallic | Hard luster, foil or film core | Low; breaks and kinks easily | Smooth or sealed surfaces | Couching, highlights, accents |
| Variegated or hand-dyed | Color shifts along the length | Varies with fiber | Painted grounds where shifting color reads | Loose fill, background texture |
| Ribbon or flat thread | Wide, flat, soft | Good | Fabric, canvas | Couching, edging, surface coverage |
Do not assume all synthetic threads behave alike. Rayon and trilobal polyester look similar on a card and behave nothing like each other on a painted panel: rayon has almost no abrasion resistance and fades faster, polyester holds its color through handling and sun. Mercerized cotton sits between them, splitting into strands for control but losing tensile strength as you separate it.
3. Select a Thread Weight and Texture
Weight is how heavy a line reads on the surface. In mixed media it is a compositional decision, not just a mechanical one — a heavy thread placed over thin ones moves forward, and the same thread underneath recedes.
Stranded cotton floss arrives as six plies. Separate them with your fingers and use the number the stitch needs. Fewer strands means a finer, more controllable line; more strands means a bolder mark with better coverage and less fraying.
| Thread and strands | Paired needle | How the line reads |
|---|---|---|
| 1 strand of floss | Size 9 or 10 embroidery needle | Fine drawn line, minimal coverage |
| 2 strands | Size 7 or 8 | Light line with a little body |
| 3 strands | Size 7 | Standard surface embroidery line |
| 4 to 6 strands | Size 5 or 6 | Bold mark, strong coverage |
| Perle #5 or heavier | Tapestry needle | Rounded cord line, raised texture |
| Metallic thread | Large-eye or goldwork needle | Reflective accent, couched rather than pulled through |
Weight numbering is not universal, which trips people up constantly. Perle cotton uses #3 to #12 where bigger means thicker. Machine thread uses 40wt and 60wt where bigger means thinner. Cotton a broder and sashiko thread are described by ply count, and industrial thread is quoted in tex or denier. None of these convert cleanly into each other, so read the label rather than comparing numbers across brands.
Texture is the other half. Tightly twisted thread resists abrasion and frays less. Loosely twisted, hand-dyed, and wool threads shed fibers and snag on paint ridges, which is a feature when you want a soft built-up surface and a problem when you want a crisp line.
4. Test Color, Bending, and Fastness
Everything above is theory until it meets paint. Run three tests on an offcut of the real surface, and you will answer most of your questions in one sitting.
The stitch test. Work each candidate through the same small area using the stitch you actually plan. Look at whether the thread sinks into the ground, whether the surface puckers, and whether the color changes once the stitches sit for an hour. Thread that looks right in your hand can turn a full step darker on absorbent paint.
The rub test. Take a damp white cloth and rub the stitched area firmly, then dry the cloth and look for color. This is the fastest way to find out whether a color is really fast or just looks it. Check again with a dry cloth for lint pickup, which tells you how much fiber is shedding onto the rest of the piece.
The water test. Wet the swatch, blot it, and see if color moves into a paper towel laid underneath. This catches the thread that bleeds on paper and card stock even when it behaves on canvas.
For color choice against a painted ground, work in a fixed order: check value first, then temperature, then saturation, then decide whether the line is an accent or a whisper. A light thread on a dark ground reads loud; a dark thread on a dark ground reads as a shadow. Against busy collage, pull two or three colors from the piece itself rather than adding something new.
One more practical note for color continuity. Skeins of the same color from different dye lots can drift, and artists who stitch across lots end up with a visible seam in a finished piece. Buy the number of skeins you need for a project at once and keep the labels.
5. Match the Thread to the Stitch and Needle
Stitch structure dictates how many strands the thread should carry. Thin stitches need thin thread, and forcing thick thread through them creates the pucker and snagging that ruins painted surfaces.
- Running stitch and back stitch — 1 to 3 strands. This is your drawing line, so choose a thread with sheen if you want it to sit forward on the surface.
- Satin stitch and fill — 1 to 2 strands for fine areas, 3 for bold. Lay the stitches parallel and keep tension even so paint ridges do not catch the thread.
- Couching — anything that is not thread: yarn, ribbon, wire, found fiber. The couching thread stays thin, usually 1 strand, and only needs to tack down.
- French knots and bullion knots — wool, perle, or doubled floss. These carry most of the surface interest, so the fuzz and the bulk are the point.
- Whip stitch and blanket stitch — strong thread with good tensile strength, because the whole line carries load. Perle or linen behave better here than fine floss.
- Outlining and lettering — 1 to 2 strands with a small needle. Ink or paint outline stitches first if the surface keeps swallowing the thread.
Now pair the needle. A needle that is too large opens a hole bigger than the stitch and lets edges of the surface lift. A needle that is too small has to be forced, which bends it and frays the thread on the way down. When you feel resistance on the entry, change up a size or use a blunt needle. On board, wood, and paper, replace needles far more often than feels necessary — a dull needle is the usual cause of thread breaking, not a bad thread.
6. Make a Small Sample Before Committing
Build one swatch that carries the planned thread, the planned color combination, the planned stitch density, and the real surface treatment. Two inches square is usually enough to be honest.
Leave the swatch alone for a day, then look at it fresh. Check the scale against your actual artwork, the tension, the finish, and whether the thread now sits on the surface or has sunk in. That last check matters most on paint, where a thread that looked raised on day one can settle and half disappear by day three.
If the sample fails, change one variable at a time. Different fiber, different weight, sealed surface, larger needle. Changing all four at once tells you nothing about which one fixed it.
Common Mistakes
Choosing thread by color alone. The prettiest spool in the room will still sink into unsealed gesso. Fix: pick the fiber first for the surface and stitch, then match color to that. Color is the last decision, not the first.
Ignoring the base material. Thread chosen on a smooth cotton swatch behaves differently on dyed, absorbent fabric or a rough painted ground. Fix: always test on an offcut of the real surface, and give absorbent paint a wax or matte seal before stitching.
Assuming all synthetic threads behave the same. Rayon and polyester share a glossy look and almost nothing else. Fix: check the fiber content, not the finish. Polyester for handling and sun, rayon for fine sheen on surfaces that will stay indoors.
Using a needle that is too large or too small. Large needles tear the surface and lift edges; small needles bend and fray the thread. Fix: pair strand count to needle size using the chart in step 3, and change needles the moment stitching feels resistant.
Overworking the surface. More stitches, more tension, and heavier thread do not add detail — they add pucker, distortion, and paint loss. Fix: build density with several light layers rather than one heavy pass, and stitch with a light hand.
Skipping the colorfastness test. A damp cloth test costs 30 seconds and saves the whole piece. Fix: rub a damp white cloth over every sampled color, and water-test anything going on paper.
A few closing tips. Cut thread 18 to 24 inches long rather than short lengths — rejoining mid-stitch is the top cause of tangles and shedding. Pass cut ends through thread conditioner wax before starting on anything stiff or metallic. And keep a small notebook of what worked: thread, color code, needle, and dye lot. Nothing in art practice is wasted, and hand stitching always asks you to repeat the same color months later.
Frequently Asked Questions
What type of embroidery thread is best for mixed media artwork?
There is no single best thread, and most mixed media pieces use two or three in combination. A matte mercerized cotton floss handles drawn lines and knots, a fine rayon or polyester covers smooth fill areas, and wool, linen, or ribbon builds texture. Match each thread to the surface beneath it rather than to the whole piece at once, and confirm the choice with a small swatch before you start.
Is cotton embroidery thread suitable for painting on fabric?
Yes. Paint first, let the fabric dry fully, then stitch with cotton. Mercerized cotton takes color well, handles knots, and stays flexible with the cloth instead of stiffening it. Two cautions for mixed media: work only on fully dry paint, and keep stitches light on a fine weave, since dense filling can pull the weave out of shape and pucker the surface.
Should I use embroidery thread on wood or paper?
Both work well once the surface is stabilized. Glue paper to a board with a matte medium, then stitch with a tapestry or blunt needle so you do not split the sheet. On a wood panel, run a strong line of thread along the back to take the tension, and expect every hole to stay visible. Fine needles punch into hard surfaces and dull quickly, so change them often.
What thread weight works best for detailed mixed-media stitches?
Fine detail needs less thread in the needle rather than a different kind of thread. One strand of stranded floss with a size 9 or 10 needle gives a fine drawn line. Two or three strands with a size 7 or 8 needle keep control while adding body. Bold graphic marks reverse that: four to six strands with a size 5 or 6 needle.
How do I stop embroidery thread from fraying or pilling?
Cut longer lengths than you think you need, roughly 18 to 24 inches, so you never rejoin mid-stitch. Use a large-eye needle so the thread passes without scraping and stripping its twist. Rough ends are the usual culprit, so run them through a thread conditioner wax block before stitching and trim them cleanly rather than tearing them.
Can I use metallic embroidery thread with painted or textured surfaces?
Yes, with care. Metallic thread has a film or foil core that kinks and breaks, and a rough painted ground will shred it faster than smooth canvas. Use a large-eye or goldwork needle, thread conditioner, and shorter lengths than usual. On heavily textured surfaces, lay the line down with couching stitches instead of forcing the needle through paint ridges.
Conclusion
Start by naming your surface, not your thread. Pick a fiber and weight that suit that surface and the stitch you are building, then stitch a two-inch test and leave it overnight before you buy the full amount. How to choose embroidery thread for mixed media comes down to those three actions, and everything else — sheen, texture, color — is decided once they are right.